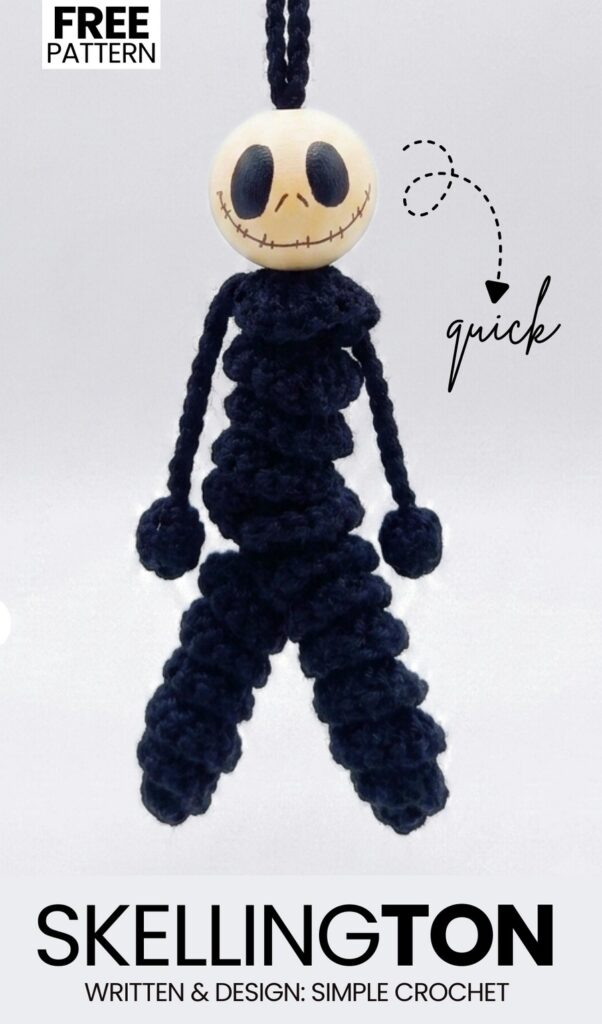
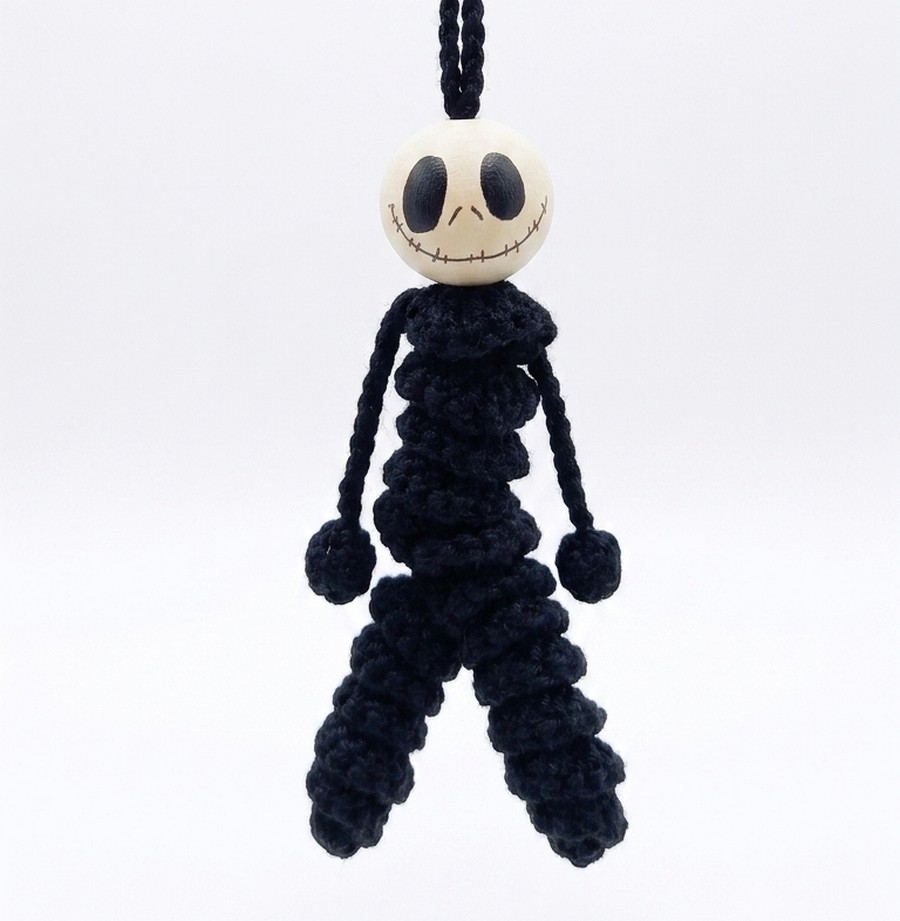
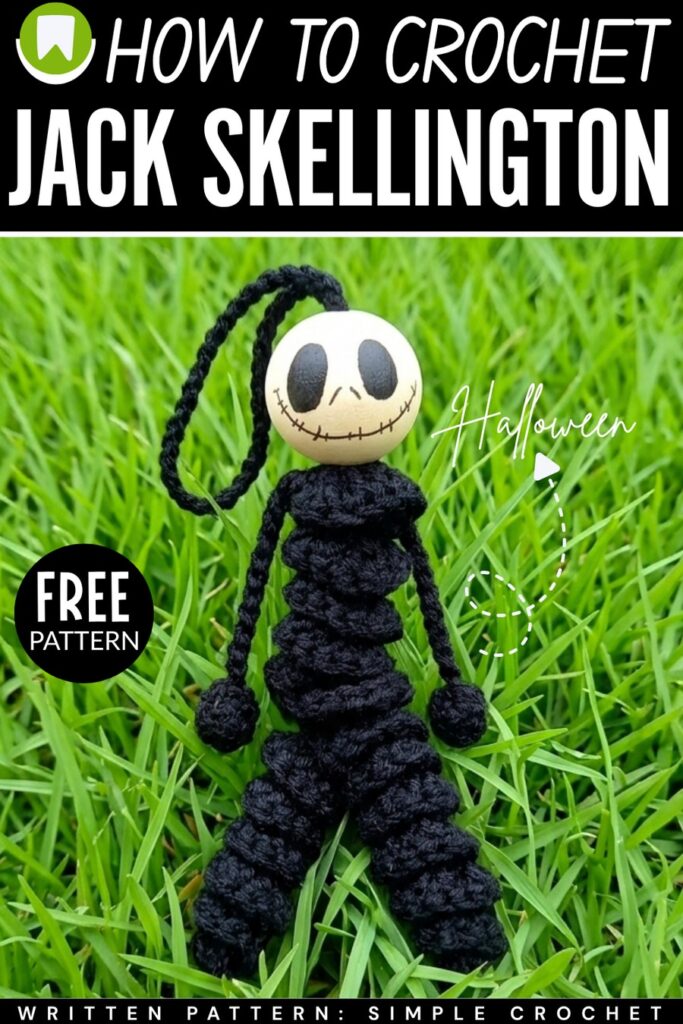
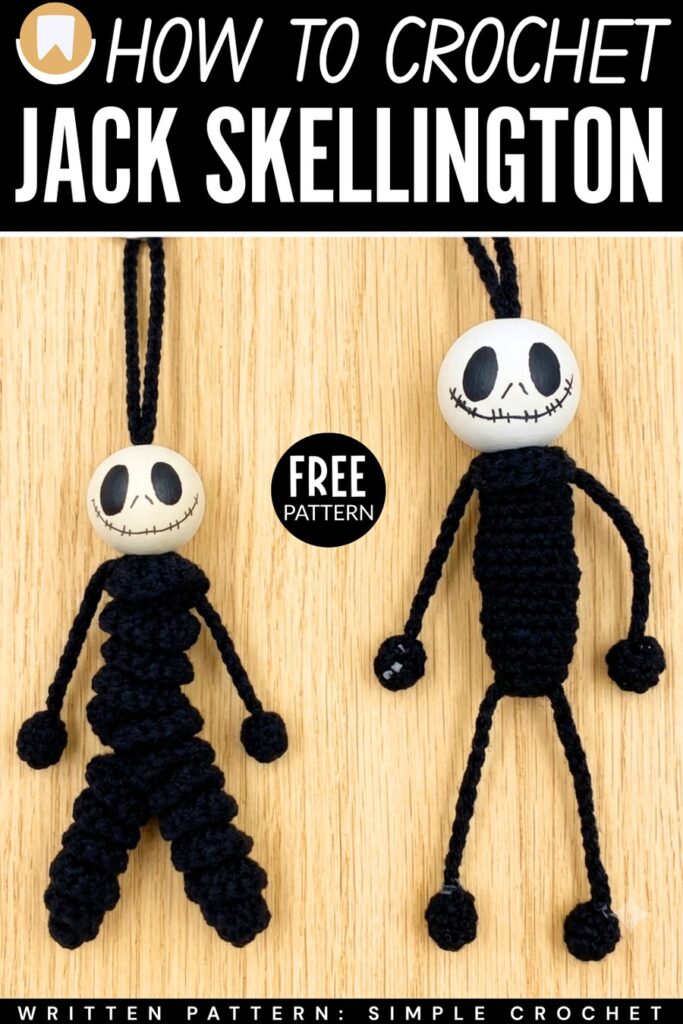
Just today, I shared a pattern to crochet a witch girl with a hand-drawn face keychain. Continuing the “crochet puppets with wooden ball face” series, today, learn how to crochet this leggy Jack SKELLINGTON keychain that measures only 8cm tall. This very special design makes a Jack with a coiled body (just like in a wind spinner) and long legs and arms. Since we will be using the wooden beads instead of balls, the hanging loop can be passed through, tightening the loops!
This method makes a Jack SKELLINGTON with a much more flexible body; kids can bend its body and play with it like a fidget toy. You can also draw the Jack SKELLINGTON face in your own way, but with the tutorial, you can learn a much better face pattern in detail.
Following this tutorial, soon I will share many more patterns to crochet the wooden head puppets, both for Halloween and fall. You can also crochet your SKELLINGTON by crocheting a stuffed body, but with this method, you can crochet a spring SKELLINGTON. Now, continue reading to learn more about the 20-minute crochet jack project and how to crochet one with the hand-drawn pattern.
[ez-toc]
Pattern to Crochet Twisted-Body Jack SKELLINGTON Keychain
Here is how to crochet spooky-cute Jack Skellington Keychain – a perfect little project to kick off the autumn and Halloween. Using black yarn for a swirly body, a wooden bead for the face, and chains for the long dangling limbs, this original design is much quirkier and UNIQUE. It’s a great project for beginners as well, and you can also make many and sell them at craft fairs.
Materials Needed
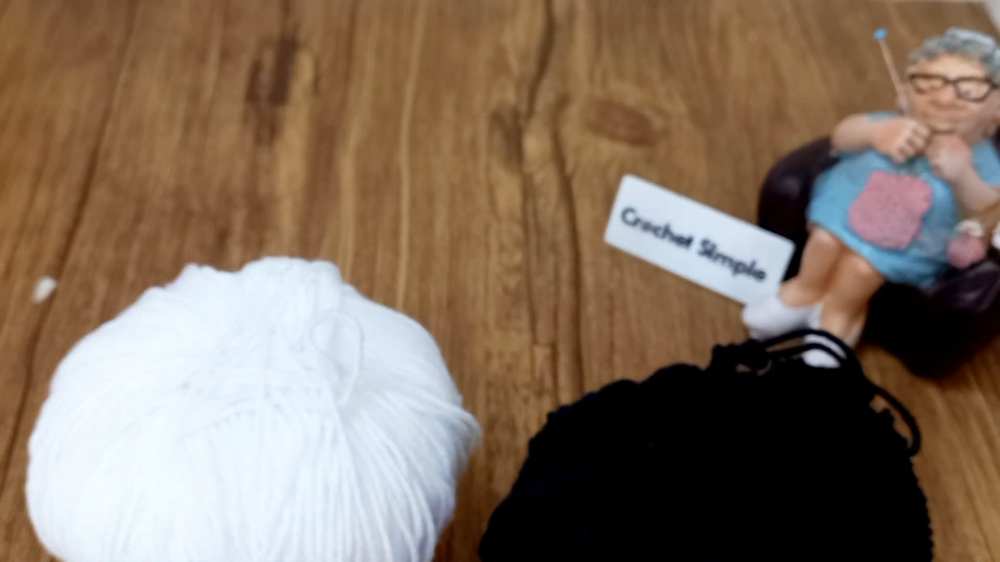
Yarn: Black cotton yarn (or you can practice with white first to see your stitches better).
Crochet Hook: 2.5 mm hook.
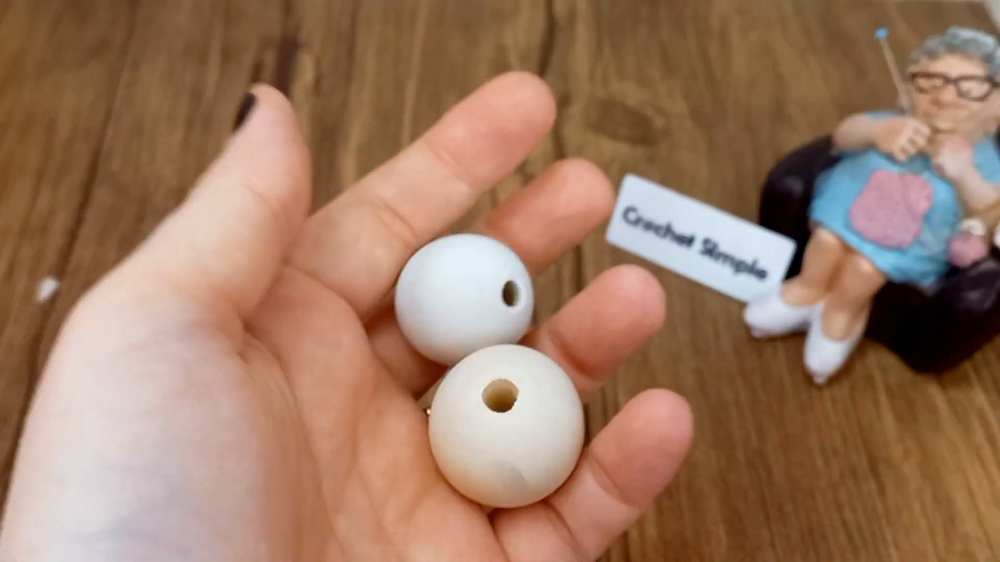
Wooden Bead: A small, plain wooden bead to use as the head (available online or at local craft stores).
Pencil, Eraser, and Black Marker: To sketch and fill in Jack Skellington’s face on the wooden bead.
Felt Balls / Pom-Poms: Small white or black ones for the hands and feet.
Warm Glue (Hot Glue): To secure the head, hands, and feet in place.
Yarn Needle & Scissors.
Keyring: Any style you prefer.
Step 1: Prep the Head (The Wooden Bead)
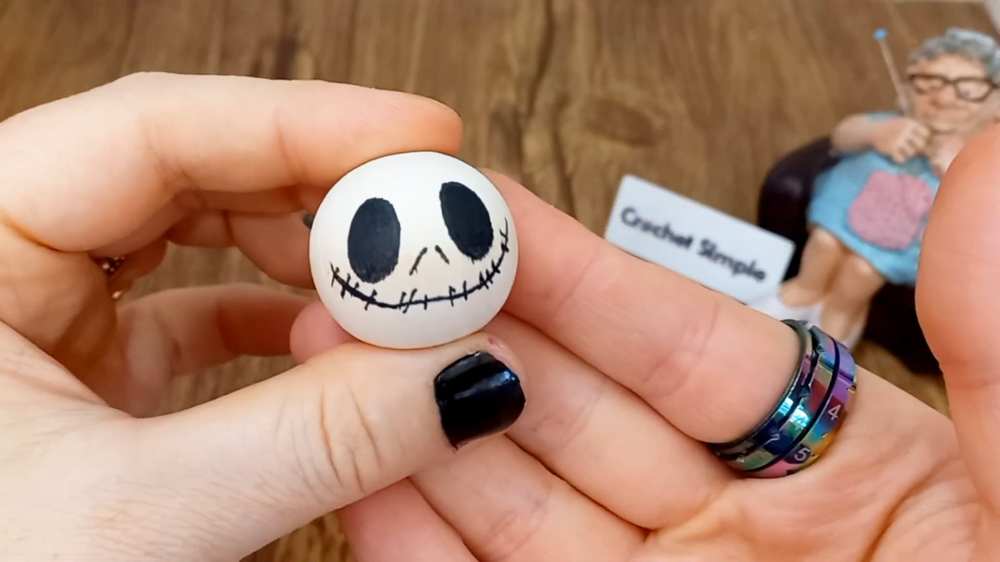
Using a pencil, gently sketch Jack Skellington’s face onto your wooden bead: two circles for the eyes, two small slits for the nose, and a long smiling line for the mouth.
Use the eraser if you need to fix any mistakes.
Are you a Beginner? Learn Crocheting Easily!
You can learn to crochet this Halloween jack SKELLINGTON as a beginner by following this tutorial, too:
Take your black marker and slowly trace your lines, completely filling in the eyes.
Add tiny vertical stitch marks across the smile line for his signature stitched-up mouth. Put this aside for now.
Step 2: The Body
Note: Using white yarn first to show the stitches clearly, but the final project uses black yarn.
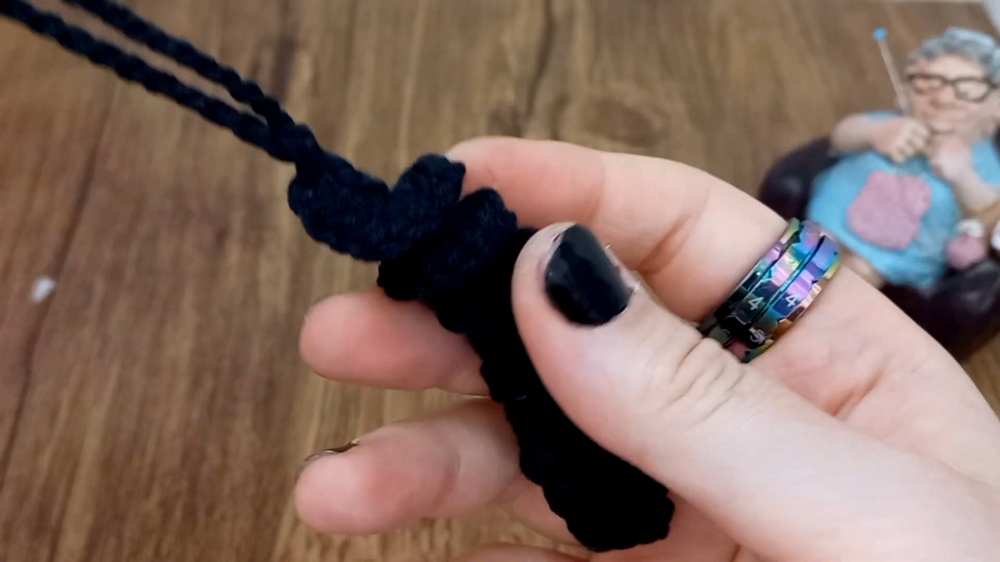
- Make a slip knot and chain (ch) 14.
- Yarn over and insert your hook into the 3rd chain from the hook. Make 4 half double crochets (hdc) into that same chain space.
- Moving down the chain, work 4 hdc into every single chain until you reach the end (the very first chain you made).
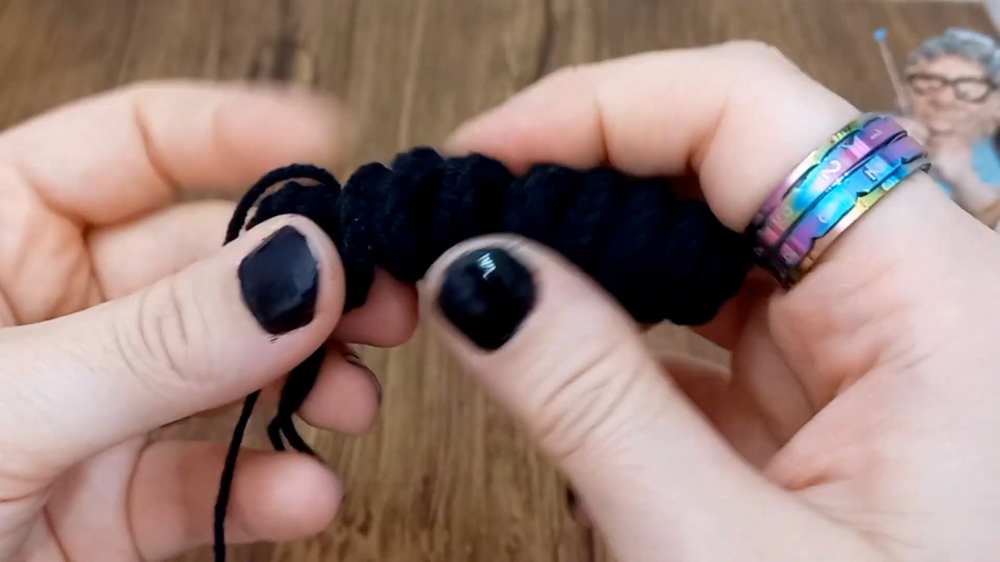
- Working 4 stitches into each chain causes the work to naturally twist and curl into a spiral shape—this creates Jack’s swirly, ghostly body!
- When you reach the end, chain 3, and join with a slip stitch (sl st) into the first chain to finish off the body section. Roll up and shape the spiral with your fingers so it sits nicely.
Step 3: The Hanging Strap
- Without cutting your yarn, chain 14 directly from the top of the body. (Note: You can chain 15 or more if you want a longer loop).
- Bring the end of the chain back down to the top of the body, insert your hook into the first chain/stitch at the top of the body, and make a slip stitch to form a loop.
- Chain 1, cut the yarn, and fasten off. Weave in the loose end.
Step 4: The Arms and Legs
Arms:
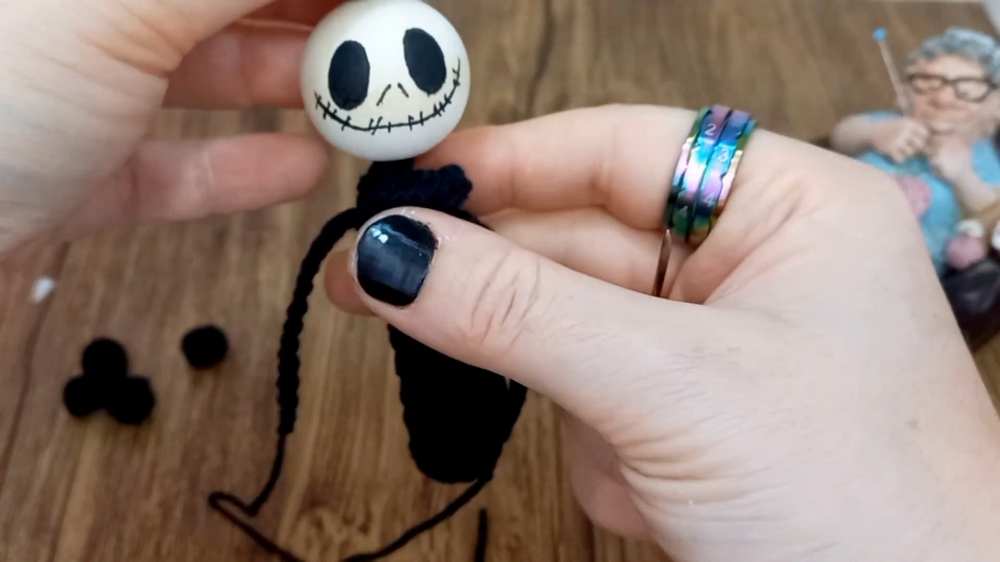
- With a new strand of yarn, simply chain 35 (add a few more if you want his arms longer!).
- Cut the yarn, leaving a tail.
- Thread the chain on your yarn needle and pull it horizontally straight through the upper part of the swirly body so equal lengths of the chain hang out on the left and right sides.
Legs:
- Make another chain of 35 (or 40).
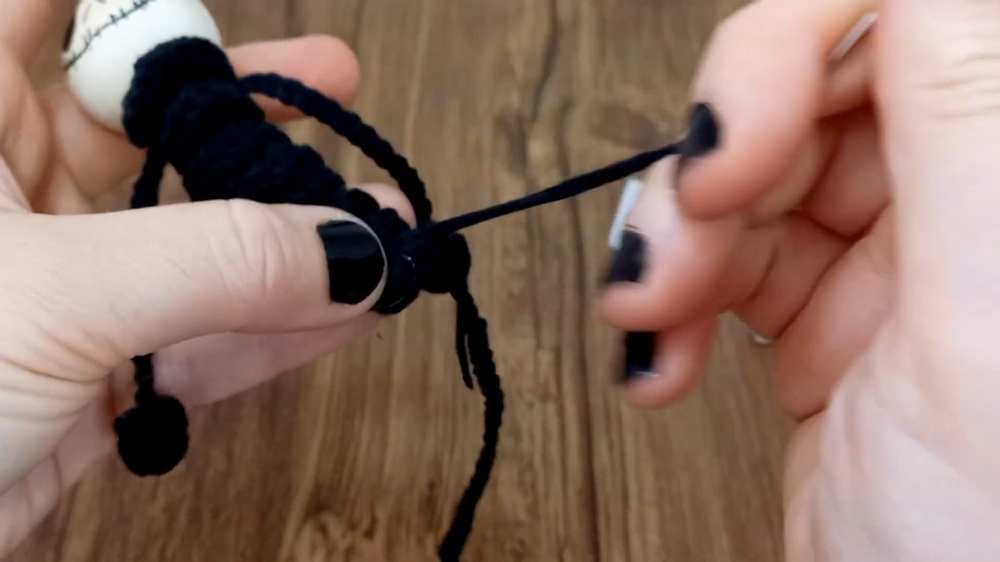
- Thread this chain onto your needle and insert it vertically up from the bottom center of the swirly body, letting the two ends hang down as the legs.
Step 5: Assembly
Add the Head: Pinch the top chain loop (the hanging strap) and push it straight through the hole in your decorated wooden bead, pulling the bead down so it rests snugly on top of the black swirly body. Secure the wooden bead to the top of the body using a small dab of warm glue.
Add Hands and Feet: Thread the ends of the arm and leg chains through your small felt balls/pom-poms. Secure each ball at the end of the chain using a small dot of warm glue, then trim the excess yarn tails.
Attach the Keyring: Slip your metal keyring onto the top chain loop that sticks out above the wooden head.
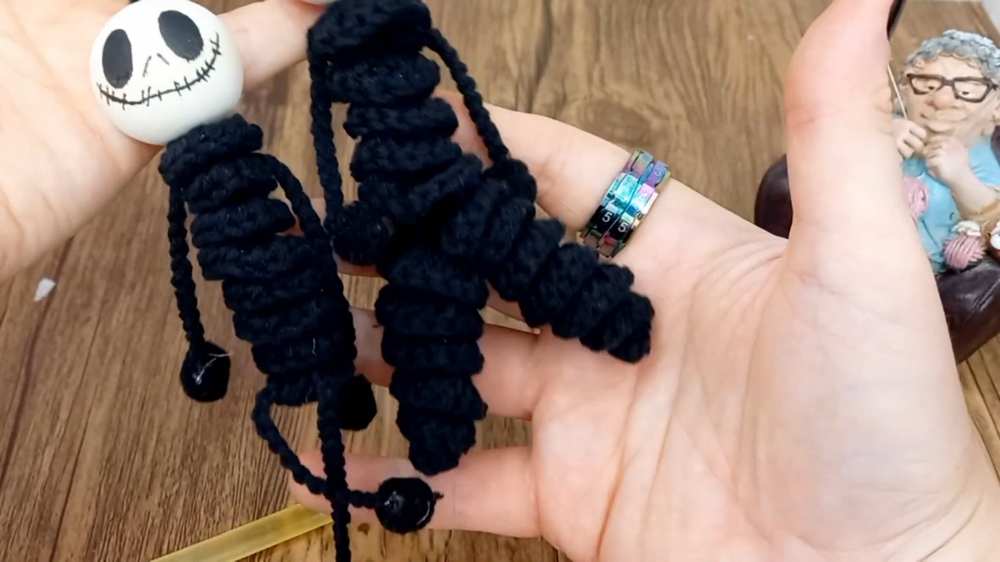
Your spooky Jack Skellington keychain is complete!
Share on Social Media!
See More:

How to Crochet Mini Jack-o-Lantern Pumpkin Candy Holder for Halloween

Featuring: How to Crochet A Plush Blushing Flying Mr. Soul Ghost Plushie for Halloween

How to Crochet Bunny Bat White Foldable Wings Amigurumi with Bow for Halloween

Tester Call: How to Crochet A Spooky Flowers Red Horns Potted Buddy Plushie for Halloween
Tester Call: How to Crochet A Red & Black Spooky Turtle Plushie for Halloween
Tester Call: How to Crochet REALLY Spooky Witch Halloween Treat Plushie
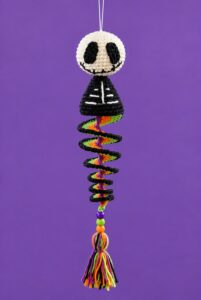
Featuring: How to Crochet the Skeleton Wind Spinner With Stripes of Halloween Colors
Tester Pattern: How to Crochet A Cape-Wearing Red Buddy Plushie for Halloween