The pattern type available is the Video tutorial by An! So, show support for her!
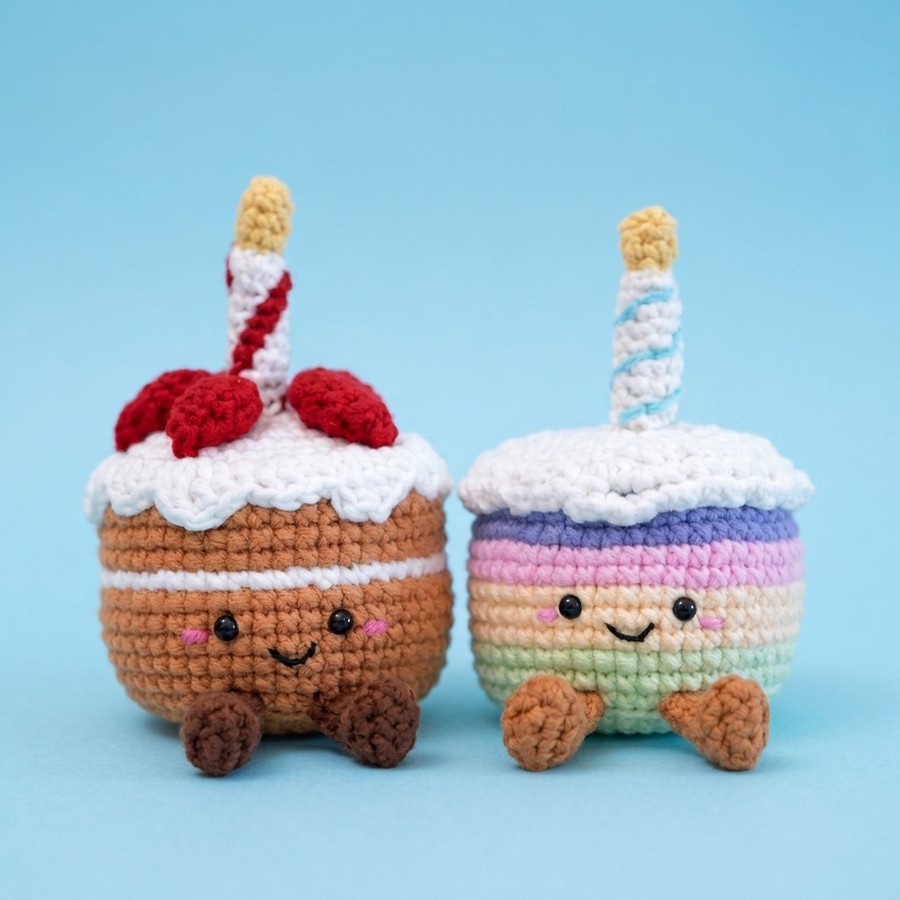
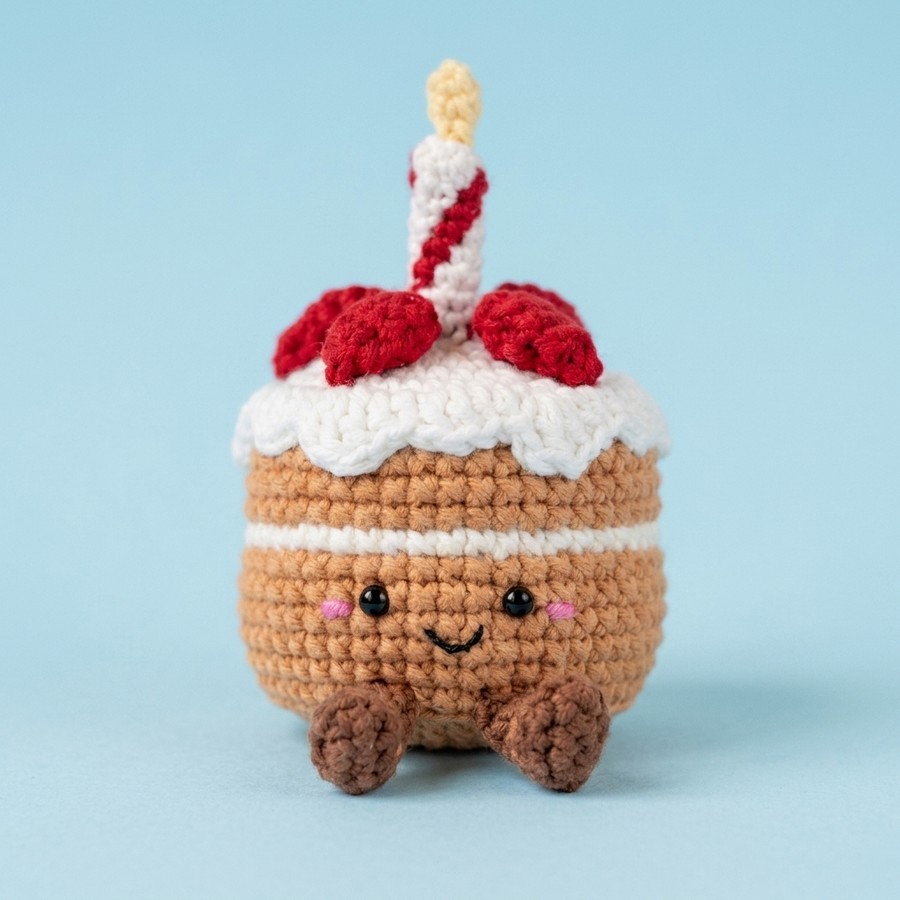
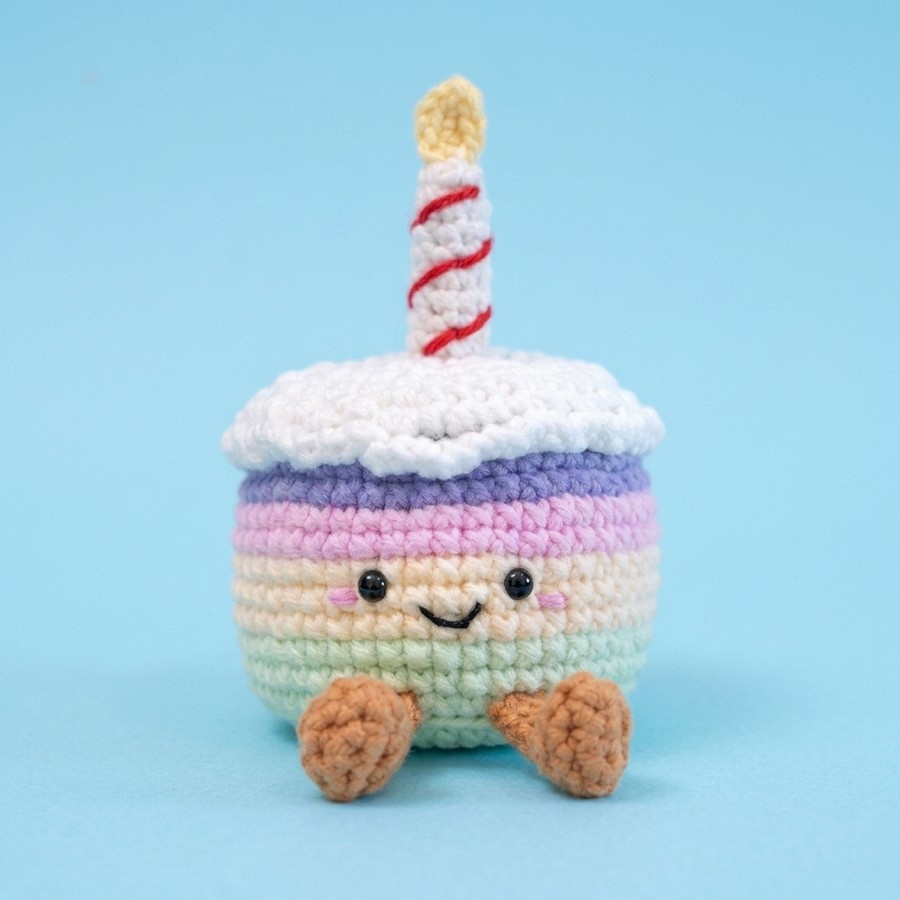
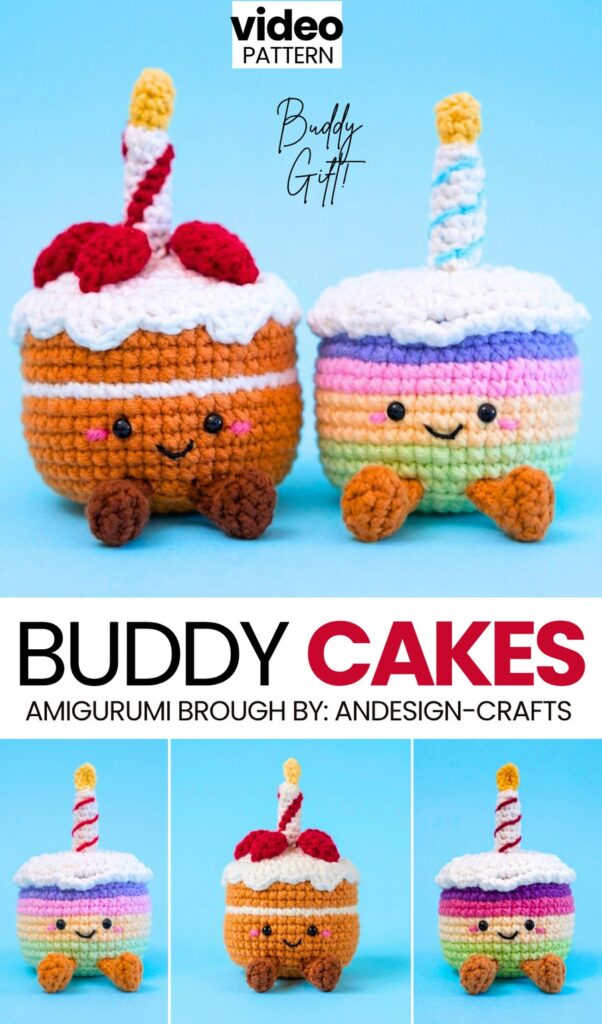
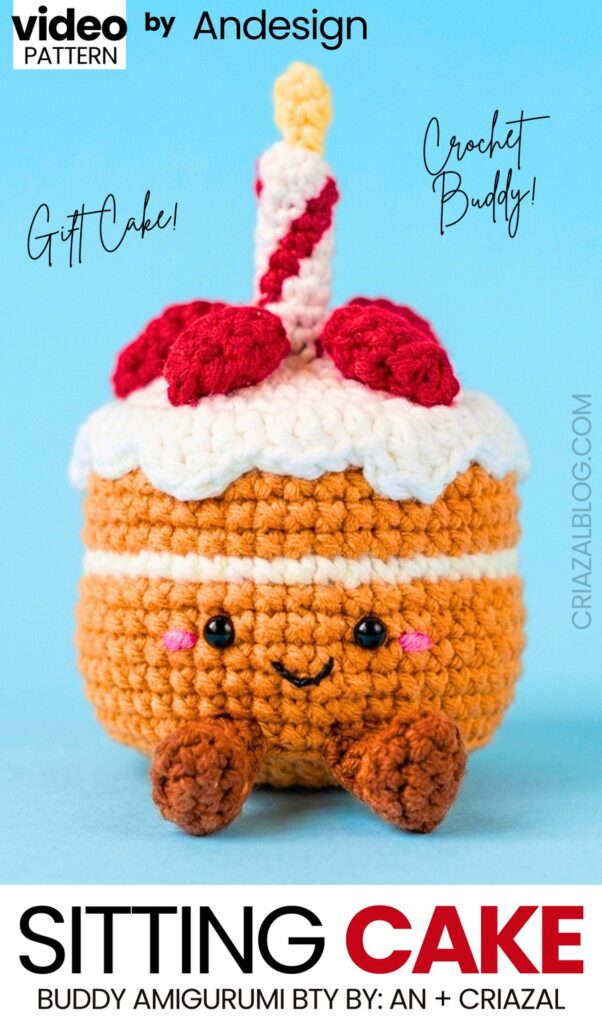
For this year’s festivals or the birthday of someone dear, learn how to crochet these cheering and ABSOLUTELY KAWAII, Amuseable birthday cake amigurumi. In this 2-in-1 tutorial, you will learn step-by-step both the traditional Jellycat birthday cake amigurumi and an even more colorful and cute variation that I have named the pastel stripes cake buddy amigurumi. Crochet the one you like the most and send it as an ETERNAL crochet gift and a desk buddy. The idea is to crochet a small cake amigurumi with a peppermint candle on the top, an iconic Jellycat face, and legs.
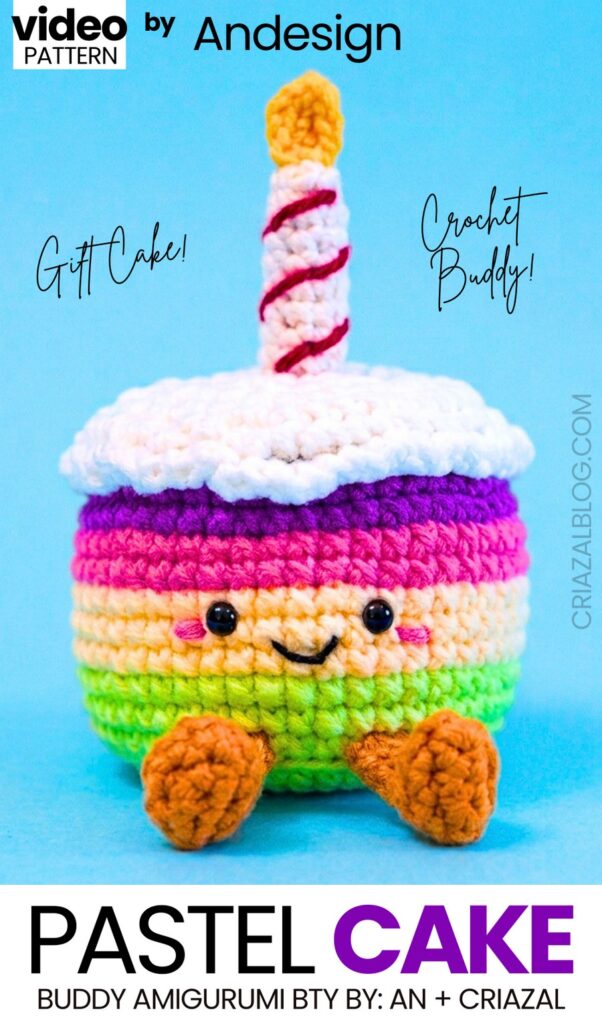
For the pastel rainbow cake variation, you won’t have to crochet those little strawberry amigurumi above the icing. It is actually designed as a candy-striped crochet cake in purple, pink, pistachio, and yellow.
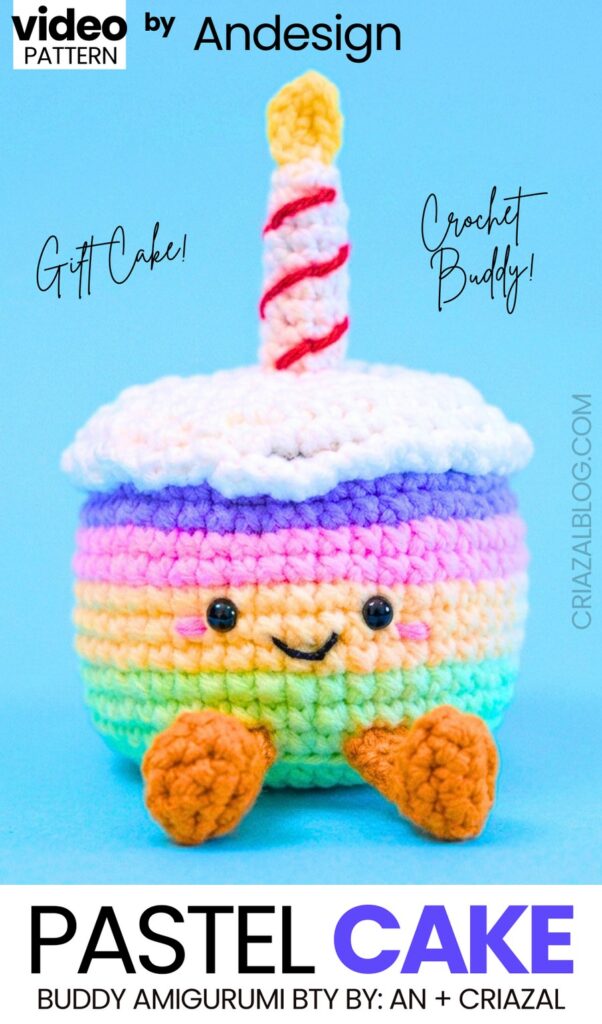
The Jellycat face is the simplest: just small half beads, a C-smile, and an embroidery-line blush on the cheeks. For the legs, we shall use the oval base instead of the crochet circle base. This will give us the perfect crochet amigurumi Jellycat legs made in the coffee color. You can easily finish this crochet Jellycat set within 2 hours and prepare the most memorable gift for someone. Now, continue reading to learn more about this perfect project!
[ez-toc]
Tutorial to Crochet the 2 Cute Rainbow Cake Amigurumi
This tutorial teaches how to crochet a Jellycat rainbow cake amigurumi. First, crochet a flat circular base using light green yarn. Continue crocheting upward while changing yarn colors from green to yellow, pink, and purple to create colorful cake layers.
Next, decrease using white yarn in back loops to shape the top of the cake, place safety eyes, and fill with stuffing. Crochet white cream loops on top using chain stitches. Then, crochet two small legs, a candle, and a flame. Finally, sew the candle, flame, legs, and mouth details onto the cake body.
Difficulty Level
Intermediate
Explanation: This project is intermediate because it requires smooth color changes between cake layers, working in both front and back loops, assembling small details like the candle and legs, working a picot stitch for the flame, and melting eye backings for safety placement.
Pattern Abbreviations & Materials
Pattern Abbreviations:
MR: Magic Ring
ch: Chain
sc: Single Crochet
inc: Increase (2 single crochets in the same stitch)
dec: Decrease
sl st: Slip Stitch
BLO: Back Loop Only
FLO: Front Loop Only
Materials:
4-ply cotton yarn (green, yellow, pink, purple, white, blue, orange/red)
3.0 mm crochet hook
4 mm eye beads
Polyester fiberfill stuffing & stuffing tool
Yarn needle
Stitch marker
Scissors
Lighter (for melting eye ends)
Learn Crocheting Now!
Better learn the whole method of crocheting this cute rainbow cake amigurumi with the following tutorial:
Written Pattern?
You can also use the “ask” feature of the tutorial to retrieve the quick pattern. This pattern-getting method is designer-compliant!
Share on Social Media!
See More:
Tester Call: How to Crochet Jellycat Potato Ghost Plushie for Halloween
Featuring: How to Crochet Jellycat Pumpkin Plushie for Fall & Halloween
Featuring: How to Crochet Dressed-Up Goat Ladies Holiday Amigurumi for Little Ones

How to Crochet Bunny Bat White Foldable Wings Amigurumi with Bow for Halloween
Tester Pattern: How to Crochet Amigurumi Spooky Red & Black Mushroom Plushie
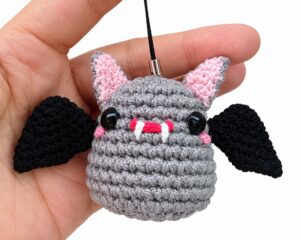
How to Crochet Red Mouth Spooky-Cute Grey and Black Bat Amigurumi

How to Crochet An Amigurumi Long-Legged Kawaii Pumpkin in Shoes Buddy
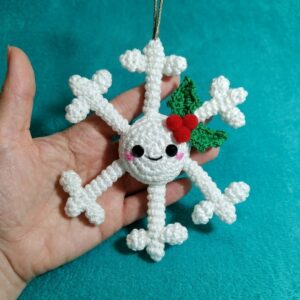
How to Crochet Snowflake Buddy Amigurumi with Holy Leaf
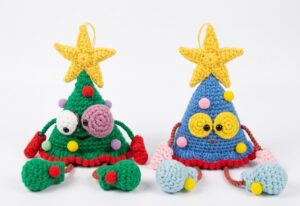
How to Crochet the Craziest FUNNY Christmas Tree Buddy Amigurumi Ornament