Pattern Type: Video Tutorial & Written, all by the passionate crafter.
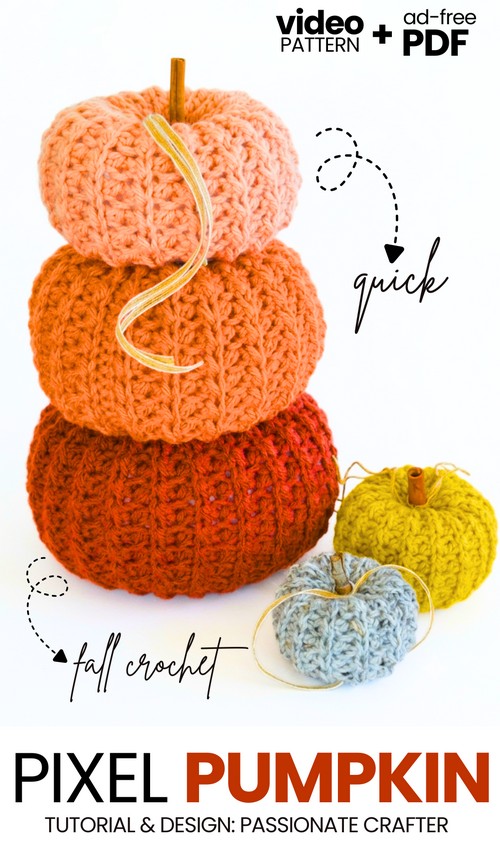
Classical pumpkin ribbing undoubtedly has the MOST APPEALING texture! I have already featured the full method to crochet a BLO hdc ribbed fall pumpkin. Now is the time to crochet these UNIQELY textured crochet cottage pumpkins following a 6-in-1 pattern. This is still as easy as the classical pumpkin, as you only have to add BLO slip stitch to your rectangle, and you will get that pixelated vertical ribbing all around the pumpkin.
Crochet a tier of these pumpkins in aqua, dull orange, and golden yellow this fall to decorate for Thanksgiving or just because it’s fall. This crochet ribbed fall pumpkin also has the Cinnamon stem and twine cords.
The idea is to alternate between half double crochet and slip stitch in BLO to crochet a rectangle for your pumpkin. Isn’t it easy? Well, yes, because you are still using 2 of the 6 basic crochet stitches, and the rest of the method, such as seaming the rectangle, is the same. You can also crochet yours in XS to use as a keychain or make a bigger one to use as a cushion! Anyway, continue reading to learn more about this fall crochet project.
[ez-toc]
Tutorial to Crochet Pixel Ribbing Pumpkin Amigurumi
This tutorial shows how to crochet a pumpkin by making a flat rectangle and folding it into a tube. You begin with a foundation chain, then work rows of half double crochet and slip stitches into the back loops only. This creates a ribbed texture.
Once the rectangle is long enough, you join the edges with slip stitches. Next, you crochet around the top and bottom with single crochet decreases to close the ends. Finally, you stuff the pumpkin, pull a needle through the center to shape it, and add a stem made of wood, cinnamon, or crocheted yarn.
Difficulty Level
Beginner. This pattern is beginner-friendly because it uses basic stitches (chains, slip stitches, single crochet, and half double crochet) and straight rows. Shaping a flat rectangle into a 3D pumpkin is much easier than crocheting a sphere in the round. The texture is created simply by working into the back loops.
Materials & Abbreviations
Materials Needed:
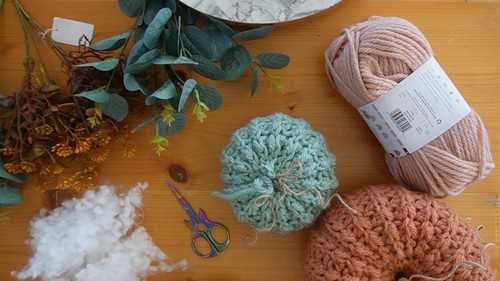
Yarn: Bulky weight yarn (Lion Brand “Hue + Me” is used in the video). If you make the crochet stem, you will also need DK weight yarn.
Hook: 6.5 mm crochet hook (and a 3.75 mm hook for the optional crochet stem)
Stuffing: Fiberfill / poly-fill
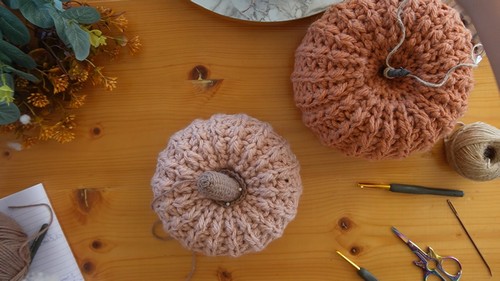
Notions: Yarn needle (with a large eye), scissors, stitch markers, and optional safety pins
Stem: Cinnamon sticks, wooden twigs, twine, ribbon, or the crocheted stem
Pattern Abbreviations:
ch: Chain
sl st: Slip stitch
sc: Single crochet
hdc: Half double crochet
BLO: Back Loop Only
dec: Decrease
inc: Increase

Difficult Stitches Explained
1. Slip Stitch into the Back Loop Only (BLO)
Working slip stitches into the back loop creates the tight, compressed valleys of the ribbed texture.
Look at the top “V” of the stitch. The loop furthest from you is the back loop.
Insert your hook only under this back loop.
Yarn over and pull the yarn through the loop and straight through the loop already on your hook in one fluid motion. Do not make this stitch too tight, or it will be hard to work into on the next row!
Learn Crocheting Now!
Better learn the whole method of crocheting this pixel ribbing fall pumpkin with the following tutorial:
Written Pattern?
Follow the free pattern with the pictures or use the “ask” feature of the tutorial to retrieve the quick pattern. Both of these methods are designer-compliant!
See More:

Crochet CUTEST Guest-Welcoming BOO Ghost with Bow, Hat and Pumpkin Accessories

Tester Call: How to Crochet A Candy Corn, Pumpkin & Kawii Buddy Potted Plant Plushie

Featuring: How to Crochet the Smallest Pumpkin Fall Turtle Plushie with Orange & Parrot

Pattern Tester: How to Crochet Pumpkin Ridges Face Donut Ring Plushie for Fall

How to Crochet An Amigurumi Long-Legged Kawaii Pumpkin in Shoes Buddy

How to Granny Square with Pumpkin Applique in the Middle

Tester Pattern: To Crochet Pumpkin Hello Kitty Plushie with Big Paws Buddy

Featuring: How to Crochet Tiered Unusual Texture Pumpkin Decoration (3 Sizes)

Tester Pattern: To Crochet A Grizzly Bear Presenting You A Pumpkin Plushie