Show support for Heather!
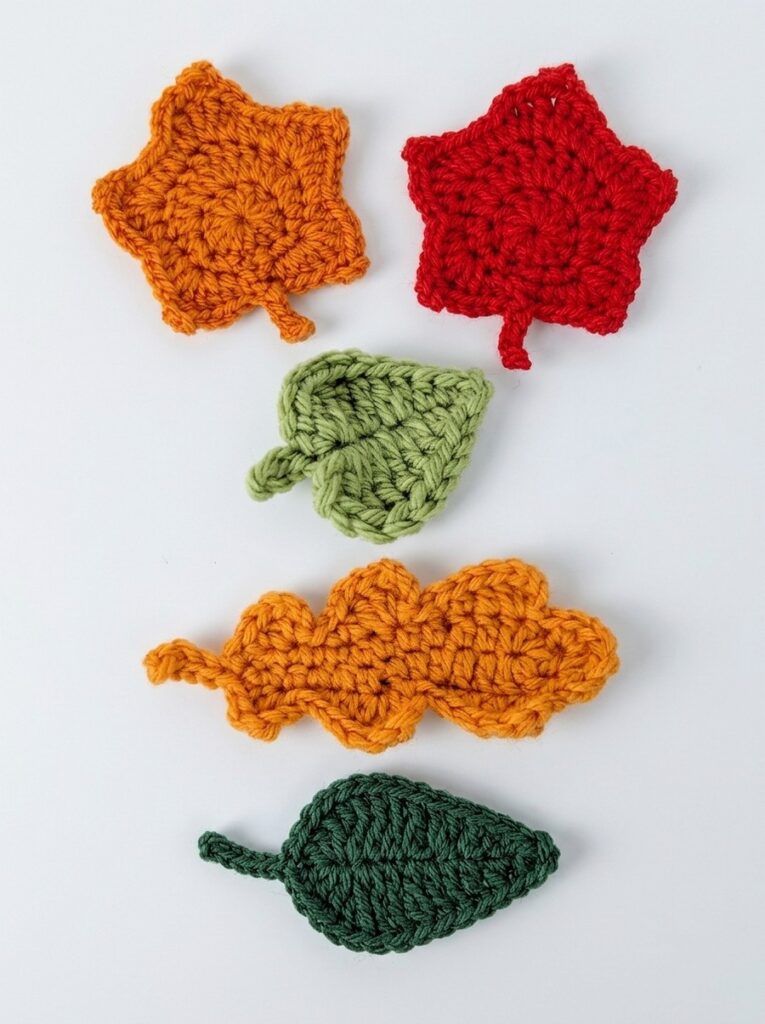
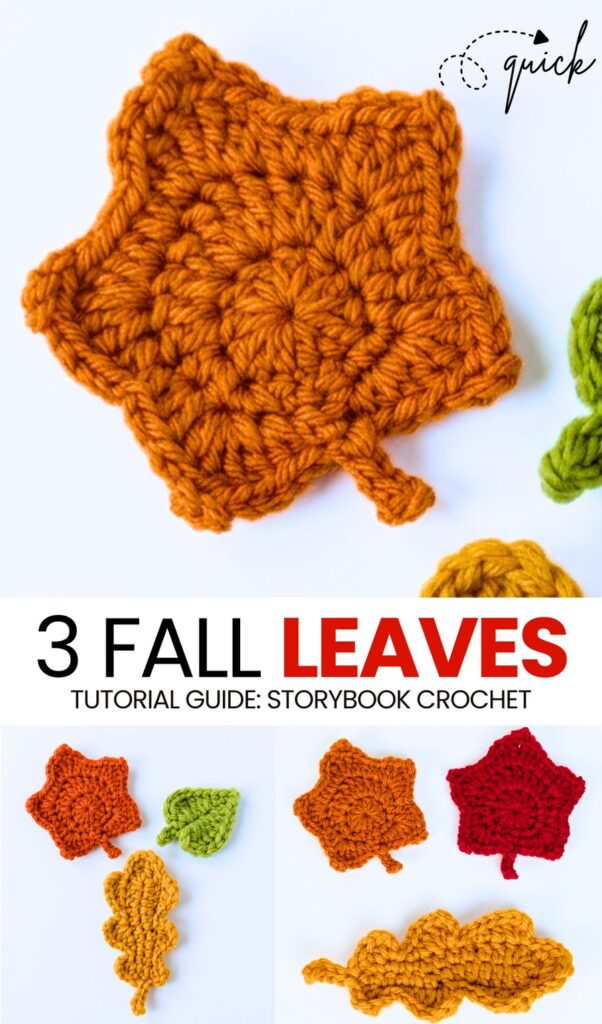
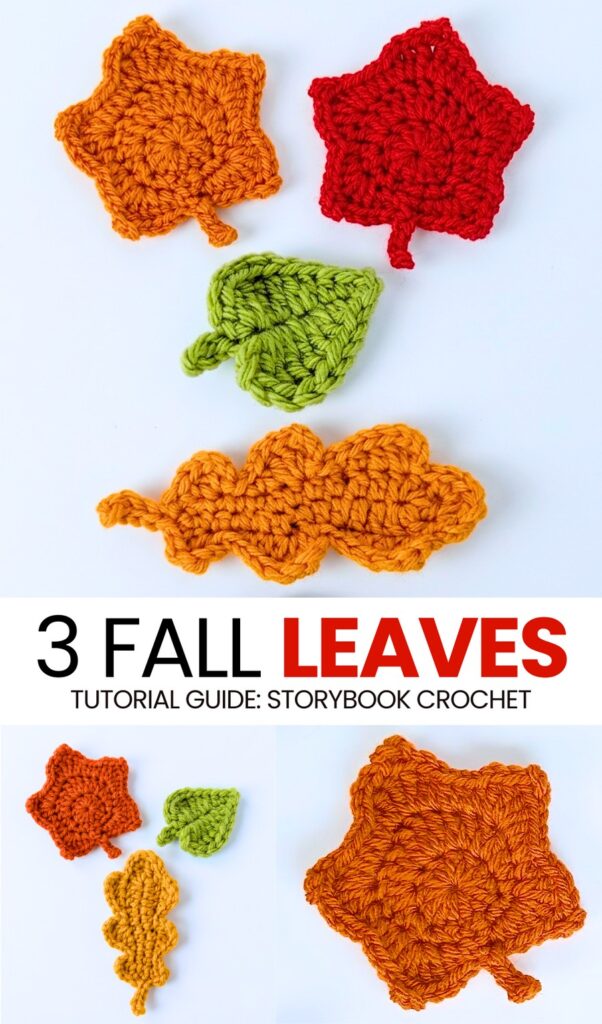
One tutorial, 3 fall leaf patterns – welcome to another beginner fall crochet masterclass. Today, you will learn how to crochet a solid maple, a rustic oak leaf, and a perfect elm leaf. Crocheting these autumn leaves will be fun, and when you have a handful of them, you can combine them to make an autumn garland. These are all the classic patterns to make the autumn leaves.
So, you can use these crochet patterns in tons of other fall projects, especially amigurumi & plushies. You can also add these crochet autumn leaves to hairclips, hairbands, and use the maple leaf as a coaster.
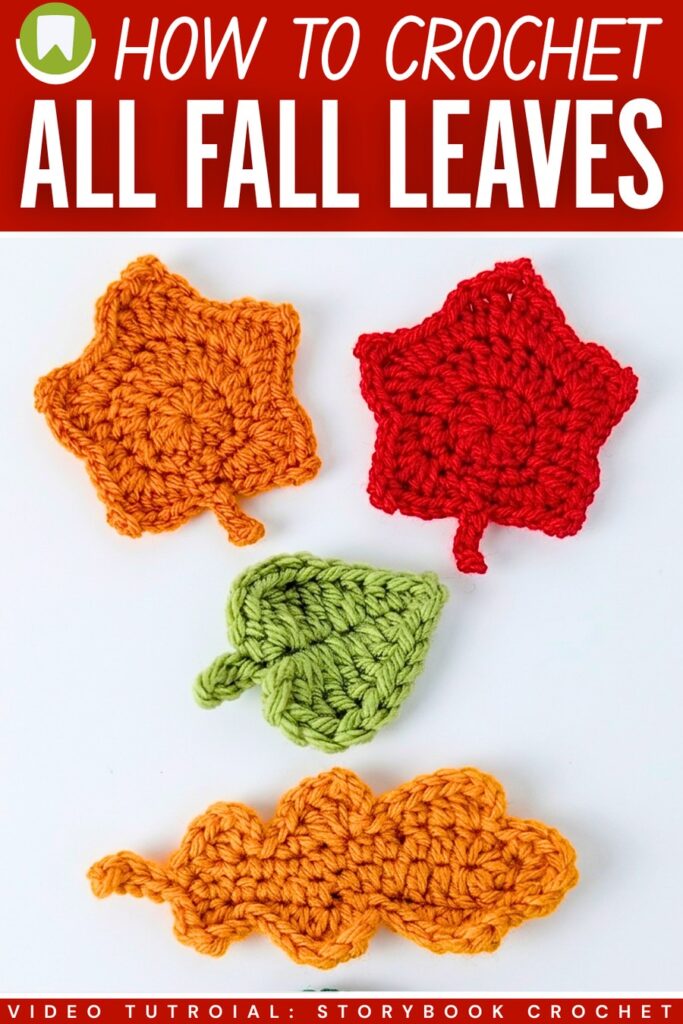
The elm leaf is the smallest one, so I recommend crocheting that one first. You can choose earthy red, golden yellow, light green, brown, and even dark green for these autumn leaves. You can also crochet them as a charm for crochet pumpkin plushies and amigurumi. My favorite one is the solid maple leaf. Anyway, continue reading to learn more about this crochet fall project.
[ez-toc]
Crochet Maple, Oak & Elm Leaf Tutorial
Here is the step-by-step guide on how to crochet three different styles of autumn leaves. The three styles are the Classic Maple leaf, the Rustic Oak leaf, and the Whimsical Elm leaf. You can make these leaves using yarn in red, orange, yellow, green, and brown colors.
These crocheted leaves are great for making garlands, decorating tables, or adding to other crafts. You can use any yarn size you want. The process is easy to follow and perfect for bringing a warm autumn feel to your home.
Difficulty Level
Easy
Why this is the difficulty: These are designed as “easy fall leaves.” Leaf patterns use small amounts of yarn and basic, repetitive crochet shapes that work up very fast. Because they do not require advanced shaping, they are beginner-friendly.
Pattern Abbreviations
The following are the abbreviations used to teach you how to crochet these leaves:
- ch: chain
- sl st: slip stitch
- sc: single crochet
- hdc: half double crochet
- dc: double crochet
- tr: treble crochet
- st: stitch
Materials Needed
- Yarn: Worsted weight (Size 4) yarn (the tutorial uses mustard yellow, but any warm autumn shade works)
- Hook: US 4.0mm crochet hook (or any hook that matches your chosen yarn size)
- Extras: Scissors and a yarn needle for weaving in the ends
Difficult Stitch Details
To create the tall, pointed edges on leaves (like the Classic Maple), leaf patterns often rely on the Treble Crochet (tr) stitch. It is slightly taller than a double crochet.
How to make a Treble Crochet (tr):
- Yarn over your hook two times.
- Insert the hook into the designated stitch.
- Yarn over and pull up a loop (you will now have four loops on your hook).
- Yarn over and pull through the first two loops (three loops remain).
- Yarn over and pull through the next two loops (two loops remain).
- Yarn over and pull through the final two loops.
Learn Crocheting Now!
Better learn the whole method of crocheting all these leaves in under 35 minutes with the following tutorial:
Written Pattern?
You can use the “ask” feature of the tutorial to retrieve the quick pattern. This is the designer’s compliant way!
Since these are the classical patterns, here is the tutorial!
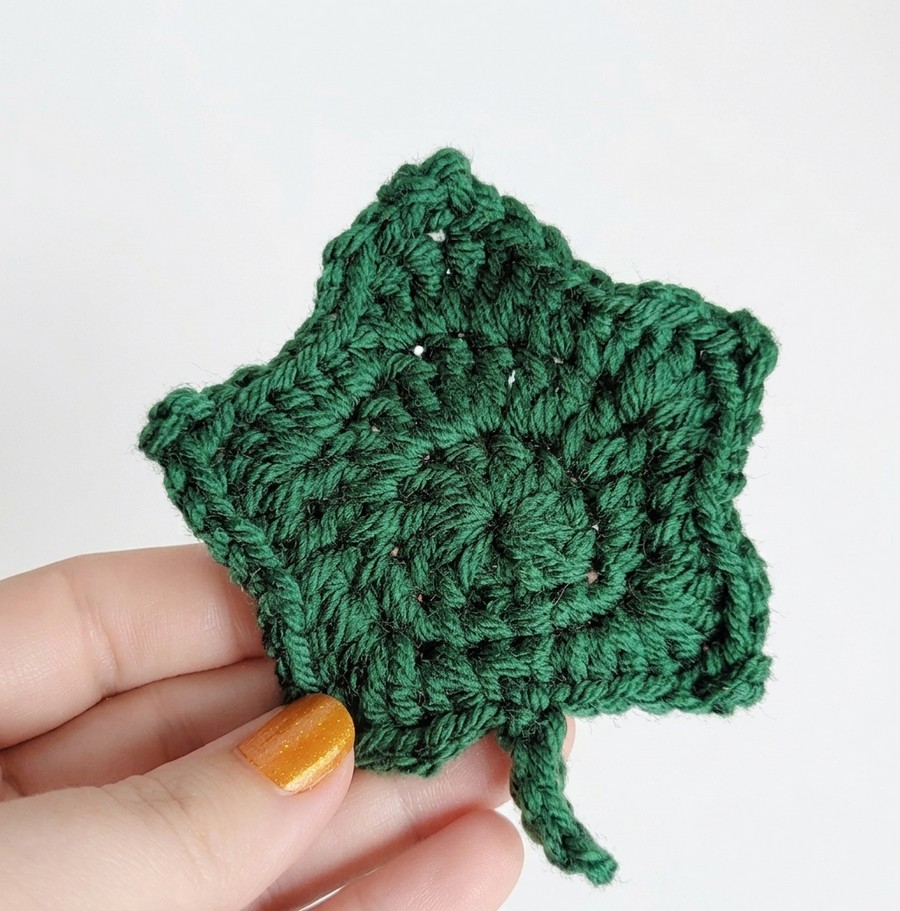
1. Classic Maple Leaf
This pattern starts from the center and works outward to create five distinct points.
Round 1: Make a Magic Ring. Chain 1, work 10 sc into the ring. Pull the ring tight and slip stitch (sl st) into the first sc to join. Round 2 (Creating the Lobes):
Base: Sl st into the 1st stitch.
Small Lobe 1: In the 2nd stitch, work all of the following: (sc, hdc, ch 2 picot, hdc, sc).
Space: Sl st into the 3rd stitch.
Medium Lobe 2: In the 4th stitch work: (hdc, dc, tr, ch 3 picot, dc, hdc).
Space: Sl st into the 5th stitch.
Large Top Lobe: In the 6th stitch work: (dc, tr, dtr [yarn over 3 times], ch 3 picot, tr, dc).
Space: Sl st into the 7th stitch.
Medium Lobe 3: In the 8th stitch work: (hdc, dc, tr, ch 3 picot, dc, hdc).
Space: Sl st into the 9th stitch.
Small Lobe 4: In the 10th stitch work: (sc, hdc, ch 2 picot, hdc, sc).
Stem: Sl st into the 1st stitch to close the leaf. Chain 6. Sl st into the 2nd chain from the hook and in each of the remaining 4 chains. Sl st back into the base of the leaf and fasten off.
2. Rustic Oak Leaf
Oak leaves have smooth, rounded lobes. This pattern builds a central vein first, then adds the rounded bumps around the outside.
Round 1: Chain 12. Sc in the 2nd chain from the hook and in the next 9 chains. In the last chain, make 3 sc (this helps you turn the corner). Working down the opposite side of the starting chain, sc in the next 10 chains. Turn your work. Round 2 (Creating the Lobes):
Lobe 1: Sl st in the first stitch. Skip 1 stitch, work 5 hdc in the next stitch. Skip 1 stitch, sl st in the next stitch.
Lobe 2: Skip 1 stitch, work 5 dc in the next stitch. Skip 1 stitch, sl st in the next stitch.
Top Lobe: Skip 1 stitch, work 5 dc in the very top center stitch of the leaf.
Lobe 3 (Moving down the other side): Skip 1 stitch, sl st in the next stitch. Skip 1 stitch, work 5 dc in the next stitch.
Lobe 4: Skip 1 stitch, sl st in the next stitch. Skip 1 stitch, work 5 hdc in the next stitch. Skip 1 stitch, sl st in the last stitch.
Stem: Chain 5. Sl st in the 2nd chain from the hook and in each chain down. Sl st to the base of the leaf and fasten off.
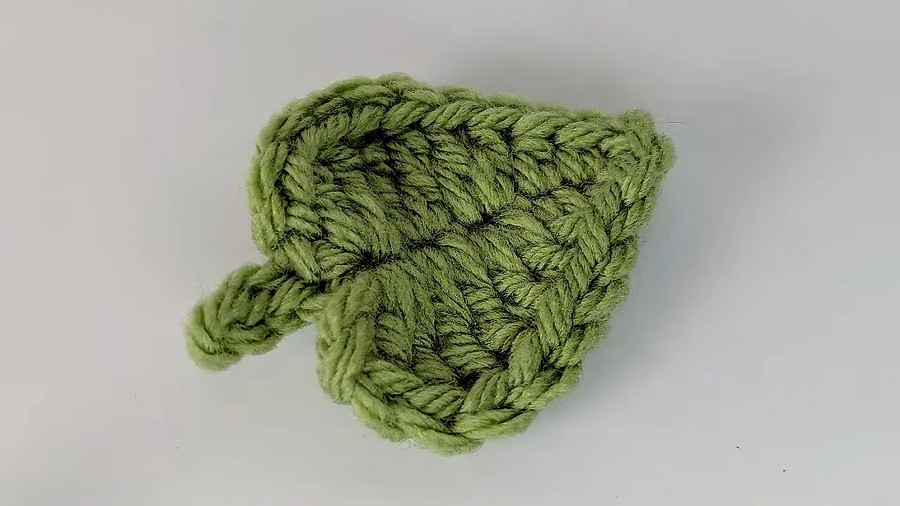
3. Whimsical Elm Leaf
Elm leaves are simple ovals with a jagged, serrated edge.
Round 1: Chain 11. Sc in the 2nd chain from the hook, hdc in the next, dc in the next 2, tr in the next 2, dc in the next 2, hdc in the next, 3 sc in the last chain (this forms the rounded tip). Working down the opposite side of the chain: hdc in the next, dc in the next 2, tr in the next 2, dc in the next 2, hdc in the next, sc in the last chain. Join with a sl st to the first sc. Round 2 (The Jagged Edge):
Chain 1. Sc in the next stitch, chain 2, sl st back into the first chain (this makes a tiny point), sc in the same stitch.
Repeat this sequence in every other stitch all the way around the leaf to create the whimsical, textured edge.
Stem: When you reach the base, chain 5. Sl st in the 2nd chain from the hook and in each chain down. Sl st to the base of the leaf and fasten off.
Share on Social Media!
See More:
How to Crochet Snowflake Buddy Amigurumi with Holy Leaf
How to Crochet A Mushroom & Maple Leaf Keychain for Fall
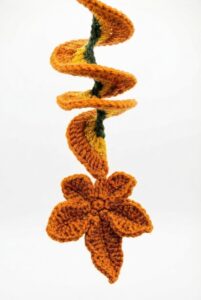
How to Crochet Autumn’s Ultimate Wind Spinner with Maple Leaf

How to Crochet UNIQUE Baby Ghost in a Fall Leaf Crown for Halloween
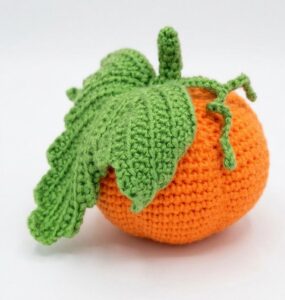
Free Crochet Pumpkin Amigurumi with a Life-Like Leaf Pattern for Fall
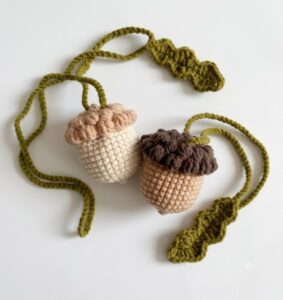
Featuring: How to Crochet 2-in-1 Acorn Bag Charm Pouch + Oak Leaf Tutorial
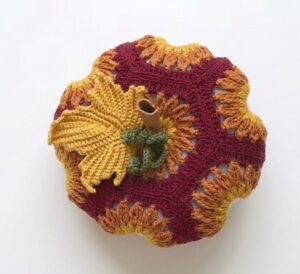
How to Crochet A Fall Pumpkin Out of Fallburst Motifs with a Maple Leaf
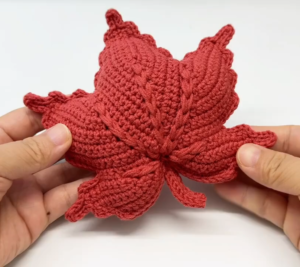
How to Crochet Maple Leaf Amigurumi Pillow Pattern for Fall
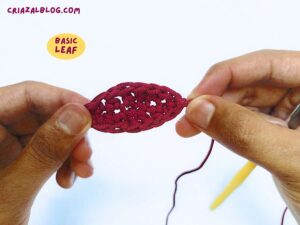
How to Crochet Easy Leaf for Charms (Pattern for Beginners)