


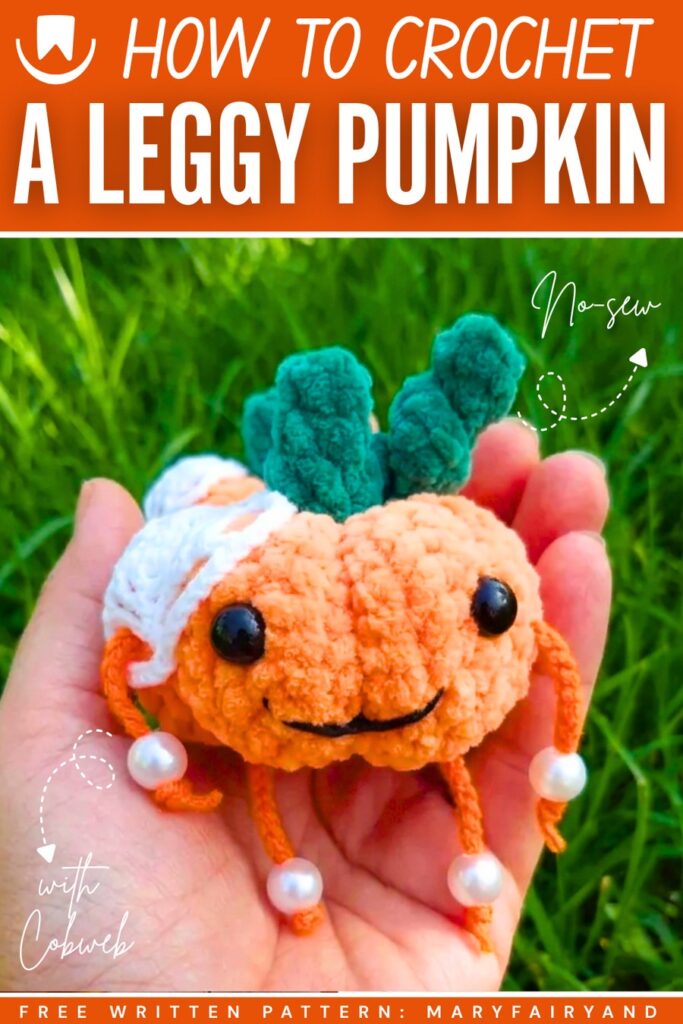
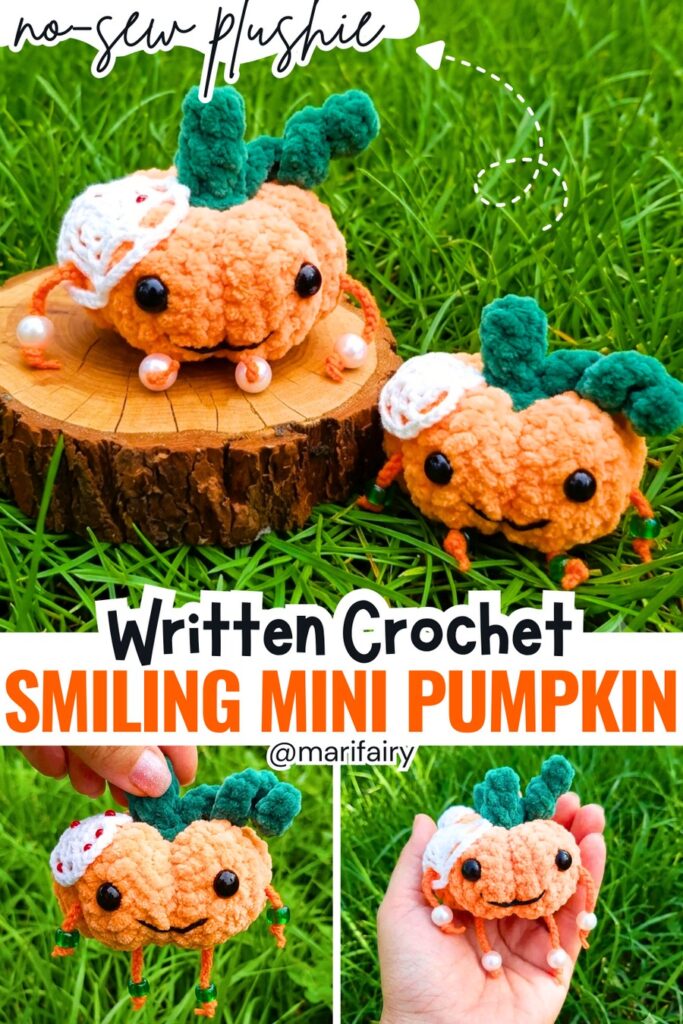
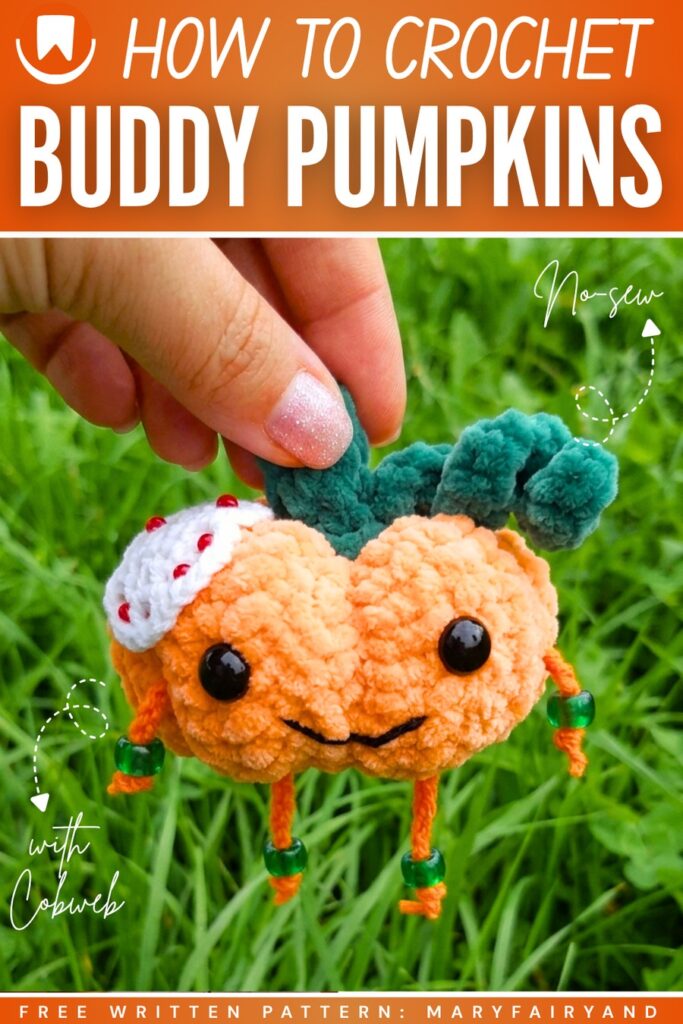
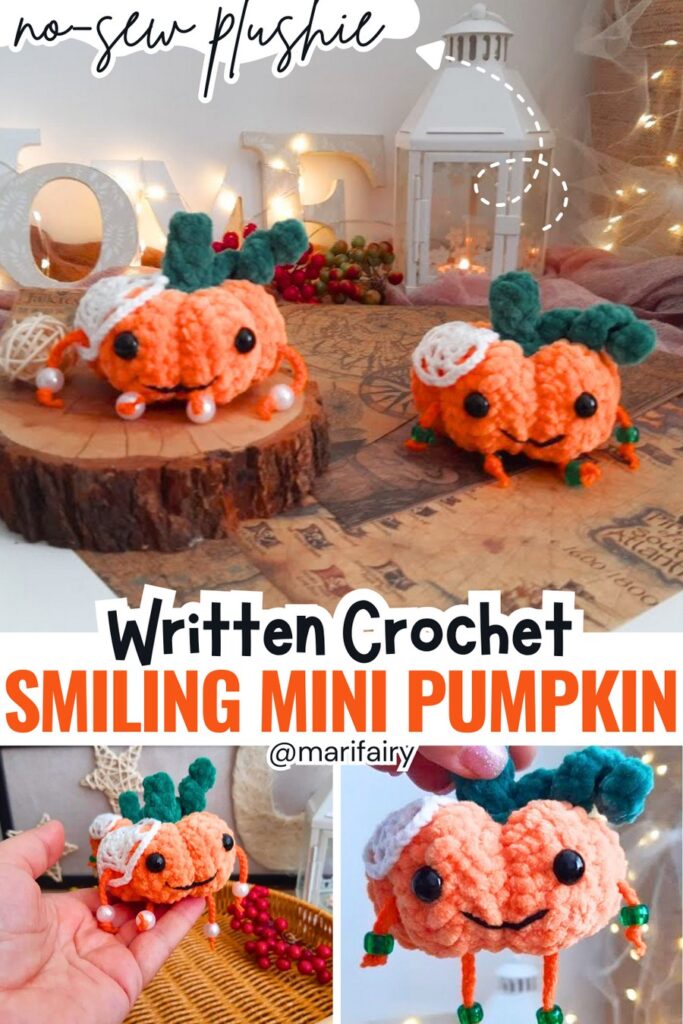
Looking for the cutest crochet pumpkin plushie to bring smiles to little faces? Learn how to crochet this oh-so-cute leggy pumpkin plushie with a FREE written pattern and a tutorial as well. This chubby crochet pumpkin is small, has a cute smile, and is decorated with a little crochet spiderweb.
Crochet it as a Halloween trick-or-treating bag hanging, a last-minute present for kids, or as a Thanksgiving present. It is crocheted just like the ribbed fall pumpkin from a rectangular piece.
This crochet pumpkin plushie only measures a few centimetres, so you can easily crochet yours within 30 minutes. We also have a crochet curly vine and a stalk, which will be crocheted a little oversized to make this smiling pumpkin plush look cute. Now, continue reading for the full crochet pattern to make this plush.
[ez-toc]
How to Crochet Smiling Cobweb Pumpkin Plushie
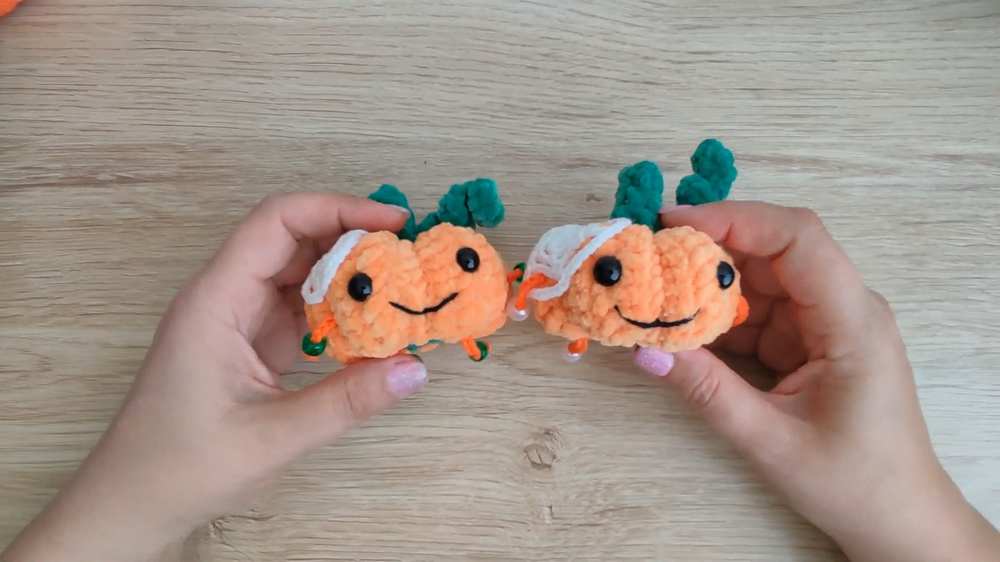
This project creates a small, 7-8 cm amigurumi pumpkin with a cute face, dangling chain-stitched arms and legs, and a crocheted spiderweb patch.
Made primarily with soft plush yarn, it is a fun, quick autumn make that works perfectly as a keychain, backpack charm, or car accessory.
Materials
- Plush Yarn (Chenille): Orange (e.g., Himalaya Dolphin Baby 80316) for the pumpkin body and Green for the stem, base, and vine.
- Sport Weight Yarn (Cotton/Acrylic Blend): Orange for the arms/legs, White for the spiderweb, and Black for embroidering the mouth (e.g., YarnArt Jeans).
- Crochet Hooks: 4.0 mm (for plush yarn) and 2.5 mm (for sport weight yarn).
- Safety Eyes: 10 mm.
- Extras: Hollowfiber stuffing, yarn needle, scissors, stitch marker, craft glue (optional, for attaching details), and 4 small beads for the hands and feet.
Abbreviations (US Terms)
- ch: chain
- sc: single crochet
- dc: double crochet
- sl st: slip stitch
- BLO: back loop only
- MR: magic ring
- FO: fasten off
Pumpkin Pattern
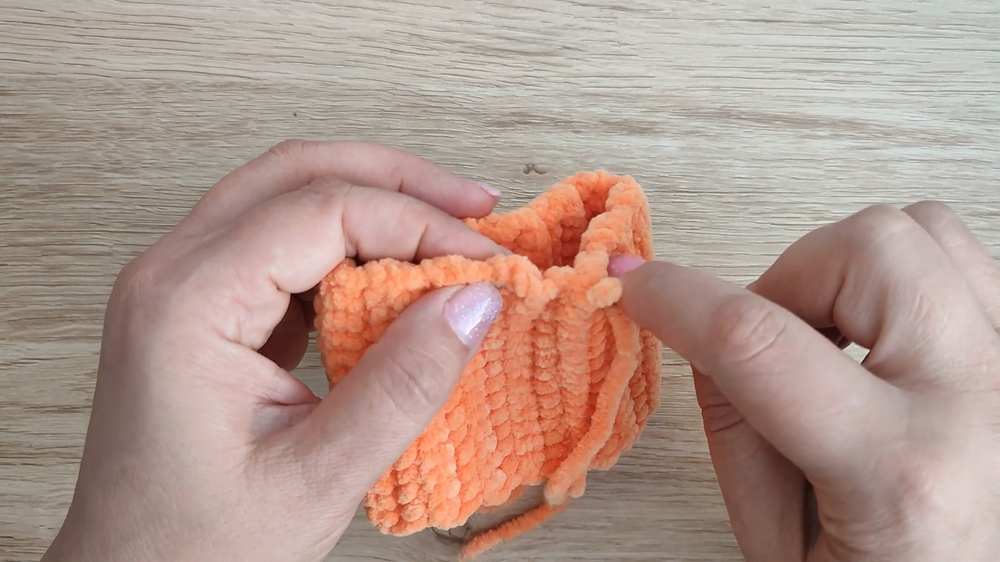
Body (Orange Plush Yarn, 4.0 mm hook): The body is worked flat in rows and then seamed to form a tube.
- Ch 16.
- Row 1: Starting in the 2nd ch from the hook, 15 sc across.
- Row 2 & Onward: Ch 1, turn. 15 sc in BLO. Repeat this row until the panel is wide enough to form a nicely shaped pumpkin (approx. 15-20 rows).
- Seaming: Fold the panel in half and sl st or sew the two short ends together to form a tube. FO, leaving a long tail.
Are you a Beginner?
If you can’t follow the written pattern, continue with the tutorial or the pattern below!
Shaping the Pumpkin:
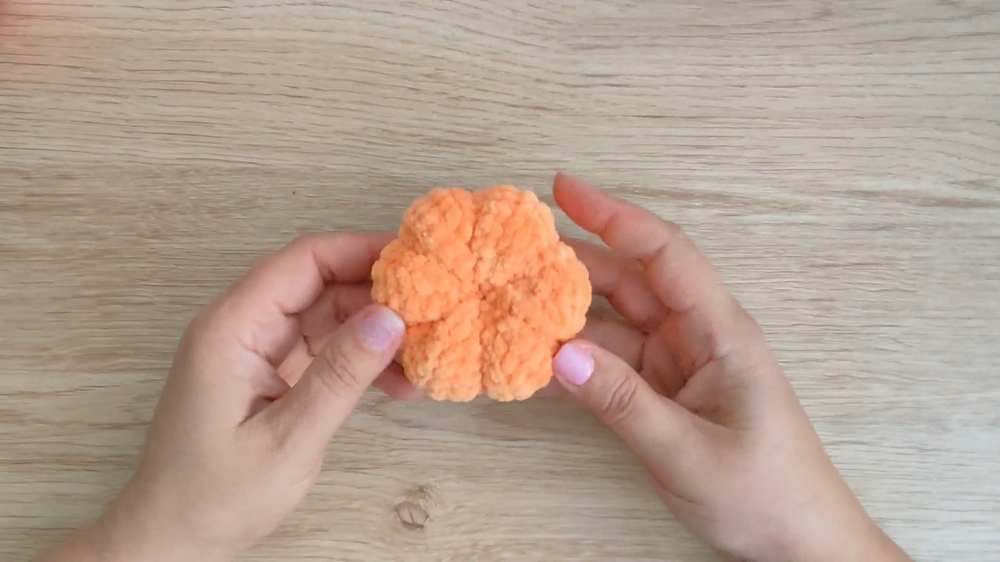
- Using a yarn needle and strong cotton yarn, thread through the edge of one open end, pull tightly to cinch it completely shut, and knot it inside.
- Stuff the pumpkin with hollowfiber. Do not overstuff; it needs to remain squishy enough to shape.
- Cinch the top opening shut using the same method.
- Segmenting: Thread a long needle with strong yarn. Insert the needle straight down through the top center and out the bottom center. Wrap the yarn around the outside of the pumpkin and go back through the center. Pull tightly to create the pumpkin indentations. Repeat this to create 6 to 8 equal segments. FO and hide the knot.
Bottom Base (Green Plush Yarn, 4.0 mm hook):
- Ch 2.
- 6 sc in the 2nd ch from the hook (or 6 sc in a MR).
- FO and glue or sew this patch to the bottom center of the pumpkin to hide the cinched hole.
Stem (Green Plush Yarn, 4.0 mm hook):
- Ch 2. 6 sc in the 2nd ch from the hook (or 6 sc in a MR). (6)
- Rnds 2-4: 6 sc around. (6)
- FO.
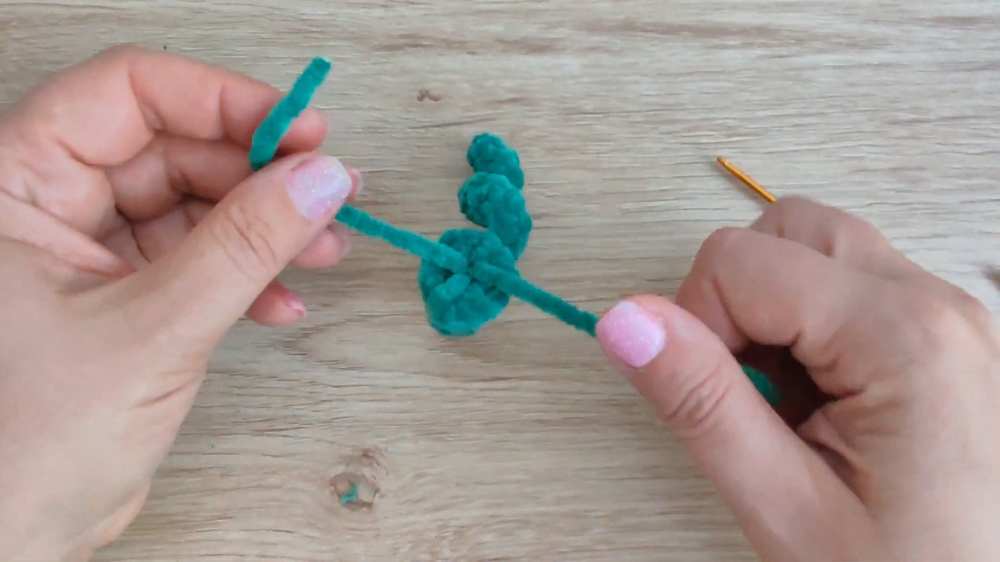
Curly Vine (Green Plush Yarn, 4.0 mm hook):
- Ch 16.
- Starting in the 2nd ch from the hook, 15 sc across.
- FO. Pull the vine through the base of the stem and secure it. Glue or sew the completed stem to the top center of the pumpkin.
Details & Accessories
Arms & Legs (Orange Sport Yarn, 2.5 mm hook):
- Legs (Make 2): Ch 30. FO. Thread a bead onto one end and knot it so it doesn’t slip off. Thread the other end through the bottom of the pumpkin. Repeat for the second leg, ensuring they hang symmetrically.
- Arms (Make 2): Ch 20 to 25. FO. Attach beads to the ends and thread them through the sides of the pumpkin symmetrically.
Share on Social Media
Spiderweb (White Sport Yarn, 2.5 mm hook):
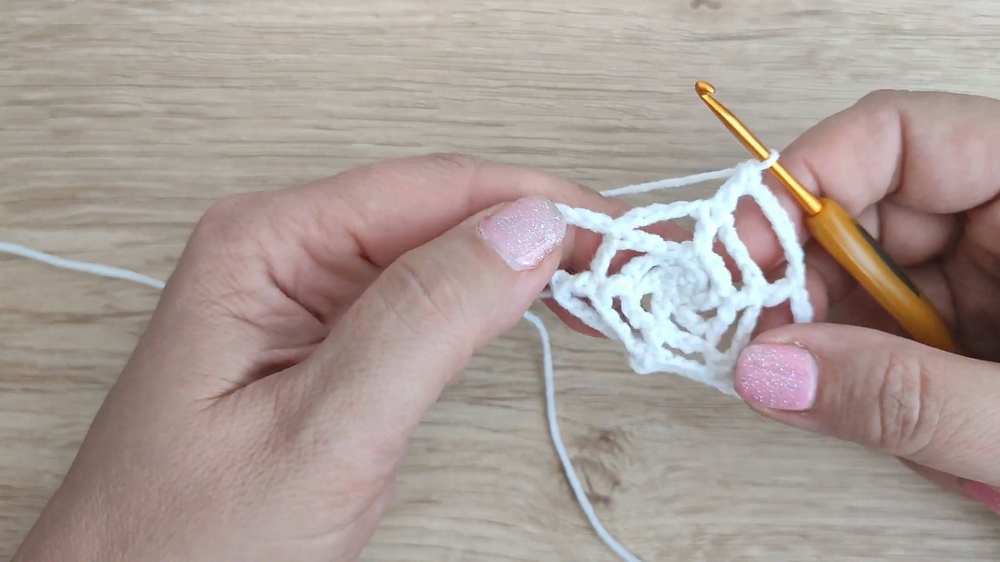
- Rnd 1: 6 sc in MR. Sl st to join. (6)
- Rnd 2: Ch 4 (counts as 1 dc + ch 2). dc in next st, ch 2. Repeat from * around. Sl st to 2nd ch of starting ch.
- Rnd 3: Ch 6 (counts as 1 dc + ch 4). dc in next st, ch 4. Repeat from * around. Sl st to 2nd ch of starting ch.
- Rnd 4: Ch 8 (counts as 1 dc + ch 6). dc in next st, ch 6. Repeat from * around. Sl st to join.
- FO. Glue or sew the spiderweb slightly off-center to the side of the pumpkin. You can thread one of the arms through the web so it hangs freely.
Face Assembly:
- Glue or insert the 10 mm safety eyes symmetrically onto the front of the pumpkin.
- Use a strand of black sport yarn to embroider a gentle, smiling mouth directly below the eyes.
Save for Later!
See More:

Crochet CUTEST Guest-Welcoming BOO Ghost with Bow, Hat and Pumpkin Accessories

Tester Call: How to Crochet A Candy Corn, Pumpkin & Kawii Buddy Potted Plant Plushie

Featuring: How to Crochet the Smallest Pumpkin Fall Turtle Plushie with Orange & Parrot

Pattern Tester: How to Crochet Pumpkin Ridges Face Donut Ring Plushie for Fall

How to Crochet An Amigurumi Long-Legged Kawaii Pumpkin in Shoes Buddy

How to Granny Square with Pumpkin Applique in the Middle

Tester Pattern: To Crochet Pumpkin Hello Kitty Plushie with Big Paws Buddy

Featuring: How to Crochet Tiered Unusual Texture Pumpkin Decoration (3 Sizes)

Tester Pattern: To Crochet A Grizzly Bear Presenting You A Pumpkin Plushie
