Author: Talha
I am a crochet designer, macramé maker and a crafter who also loves doing MATH.

Contributor: Mia of MiaHandKnitting
Mia is a Chinese croceheter who has been our collaborator since late 2025 via mycraftybasket.
Today, let’s crochet this BEAUTIFUL pumpkin storage basket to decorate for fall. This is the vintage, ribbed variation crocheted with the yellow yarn for the body and brown for the stem. It definitely won’t get floppy with that vertical ribbing, and you can put your jewelry, dry fruits, small gifts, or all other small things in this pumpkin pot.
The pumpkin lid is my favorite part of this pumpkin storage box, and it is very satisfying to put it over to close the pumpkin pot. All it requires is working in rounds, also using Post Double Crochet along the way.
Crochet Vintage Pumpkin Basket
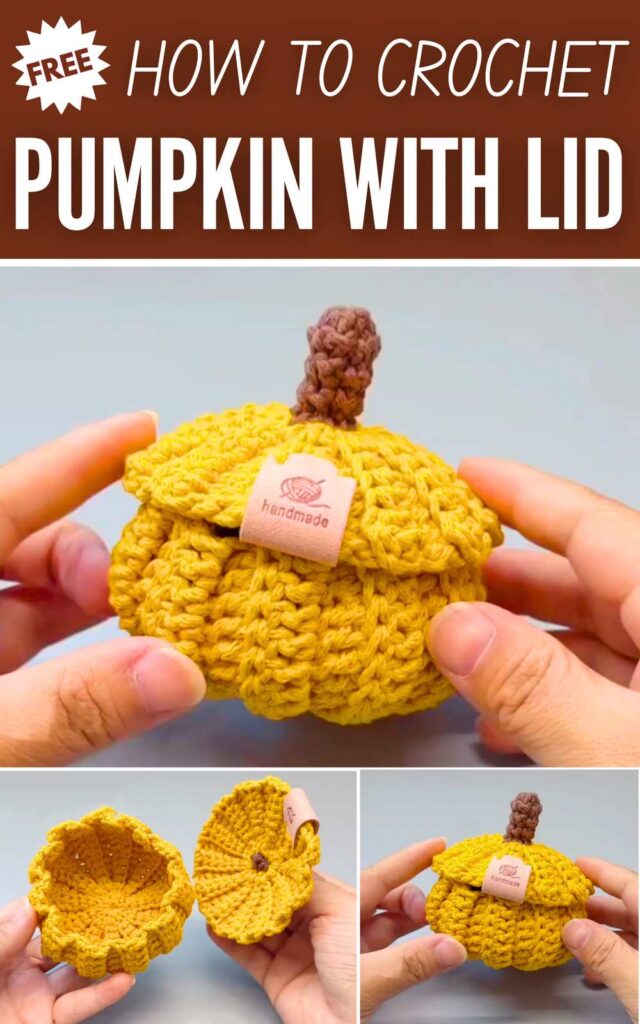
You can also make your crochet mini pumpkin pot in orange, light green, and even white. White is my favorite, as cottage and farmhouse decorations always feature a white or dull orange pumpkin plush and cushions. The pattern is below if you are ready to learn to crochet this pumpkin storage box!
Crochet COOL Variation of Pumpkin Storage Basket Pattern
This cute and useful mini pumpkin storage box is perfect for keeping your small items safe and neat. It is a strong little box, so it will hold its shape very well. You can use it to store rings, earrings, pins, or small craft tools. It also makes a great desk decoration for autumn or Halloween while still doing a good job as a small box.
The crochet steps are very simple and great for beginners. You will work in flat rows to make a bumpy texture that looks just like a real pumpkin. Have fun making it!
Materials You Will Need
- Yarn: Medium-weight yarn (one color for the pumpkin, and a little bit of green or brown for the stem)
- Crochet Hook: 3.5 mm
- Yarn Needle: For sewing the pieces together
- Scissors
Stitch Words (Abbreviations)
- ch = chain
- st = stitch
- sl st = slip stitch
- sc = single crochet
- hdc = half double crochet
- dc = double crochet
- BLO = back loop only (this means you only put your hook under the back side of the v-shape on top of the stitch)
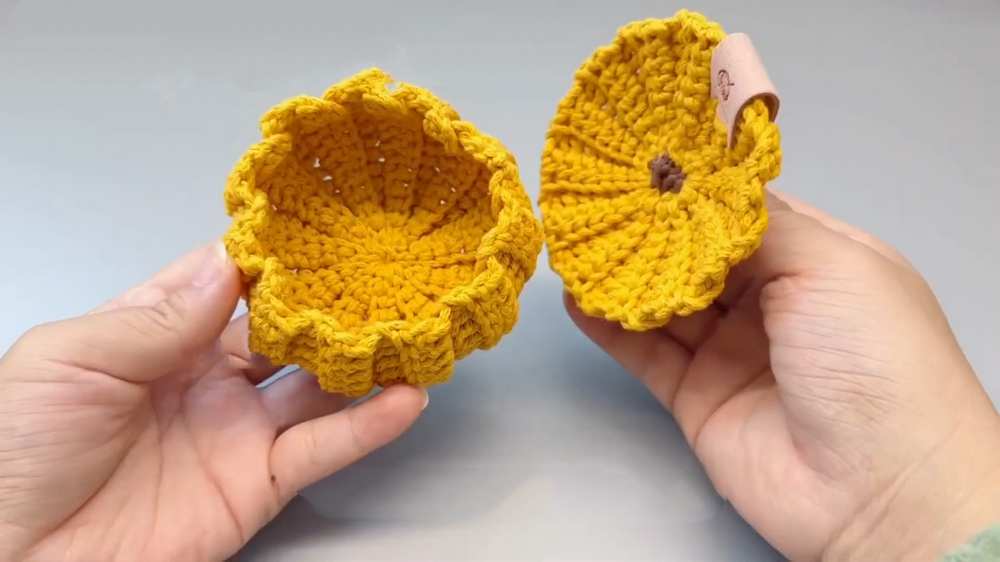
How to Make the Pumpkin Box (Main Body)
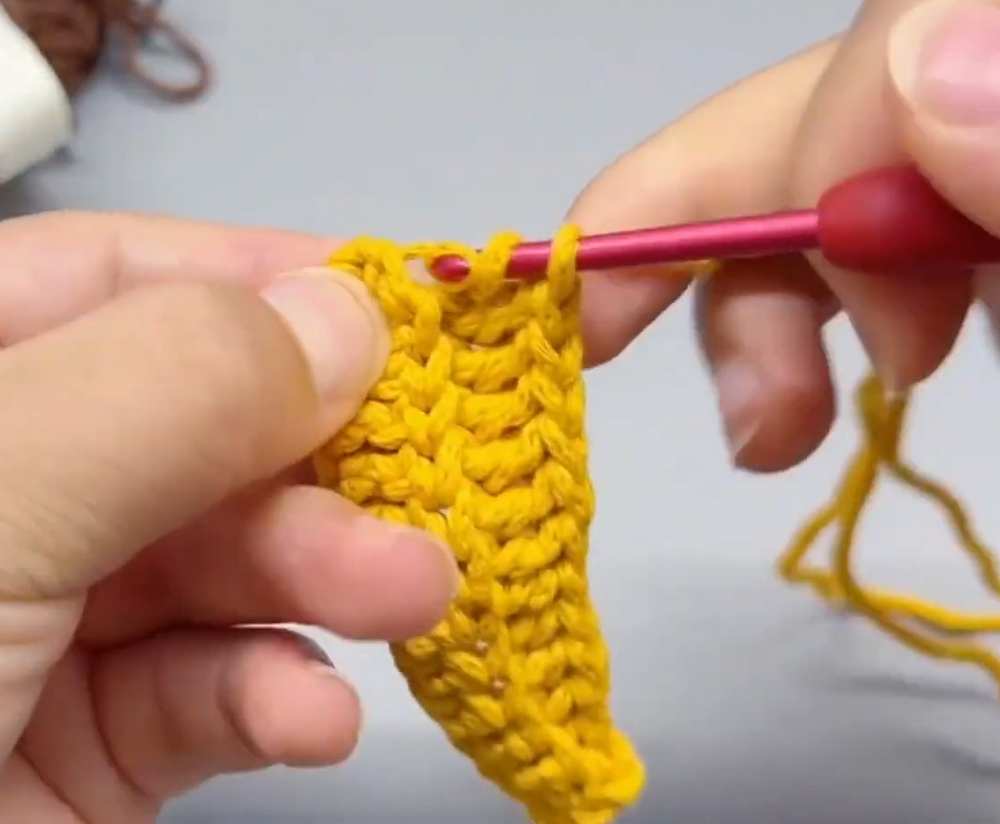
Row 1: Chain 14. Start working in the 2nd chain from your hook. Make 1 sl st, 2 sc, 7 hdc, 2 sc, 1 sl st. (13 stitches in total) Row 2: Chain 1, turn your work. For this row and all the next rows, work in the BLO (back loop only).
Make 1 sl st, 2 sc, 7 hdc, 2 sc, 1 sl st. (13 stitches)
Rows 3 to 22: Keep repeating Row 2. You will make 22 rows in total.
Wanna Make it Even easy to Learn?
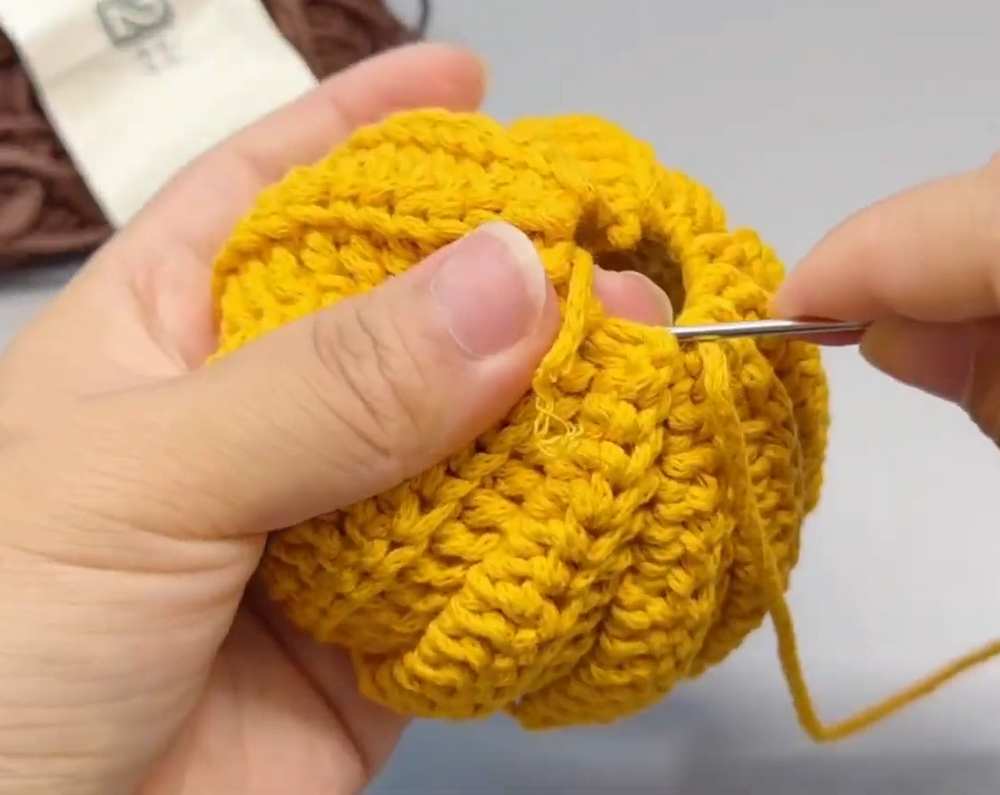
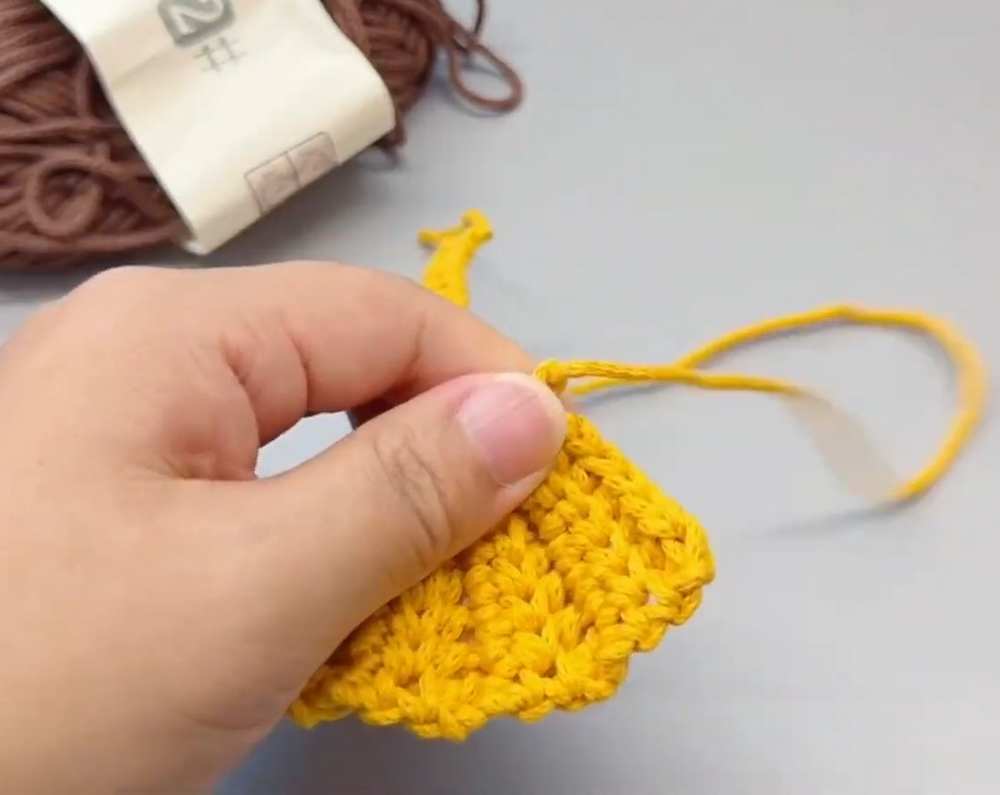
Putting the body together: Cut the yarn, but leave a very long piece of yarn for sewing. Fold your flat crocheted piece in half. Sew the first row and the last row together stitch by stitch so it makes a tube shape.
Next, pass your needle and yarn in and out around the edge of one open side (this will be the bottom of your box). Pull the yarn very tight to close the bottom hole completely. Tie a tight knot to keep it closed.
How to Make the Lid
Row 1: Chain 9. Start working in the 2nd chain from your hook. Make 2 sl st, 2 sc, 3 hdc, 1 dc. (8 stitches in total)
Row 2: Chain 1, turn your work. Work in the BLO. Make 1 dc, 3 hdc, 2 sc, 2 sl st. (8 stitches)
Row 3: Chain 1, turn your work. Work in the BLO. Make 2 sl st, 2 sc, 3 hdc, 1 dc. (8 stitches)
Rows 4 to 24: Keep repeating Row 2 and Row 3 until you have 24 rows in total.
Putting the lid together: Cut the yarn, but leave a long piece of yarn for sewing. Fold the piece in half and sew the first and last rows together, just like the body. Then, pass your needle and yarn in and out around the top edge (the edge with the tight slip stitches). Pull the yarn very tight to close the center hole. Tie a knot to keep it closed.
How to Make the Stem
Round 1: Make a magic ring (a starting loop). Chain 1, make 6 sc into the ring. Pull the ring tight. Join with a sl st to the very first stitch. (6 stitches)
Rounds 2 to 4: Chain 1, make 1 sc in each stitch around. Join with a sl st to the first stitch at the end of each round. (6 stitches)
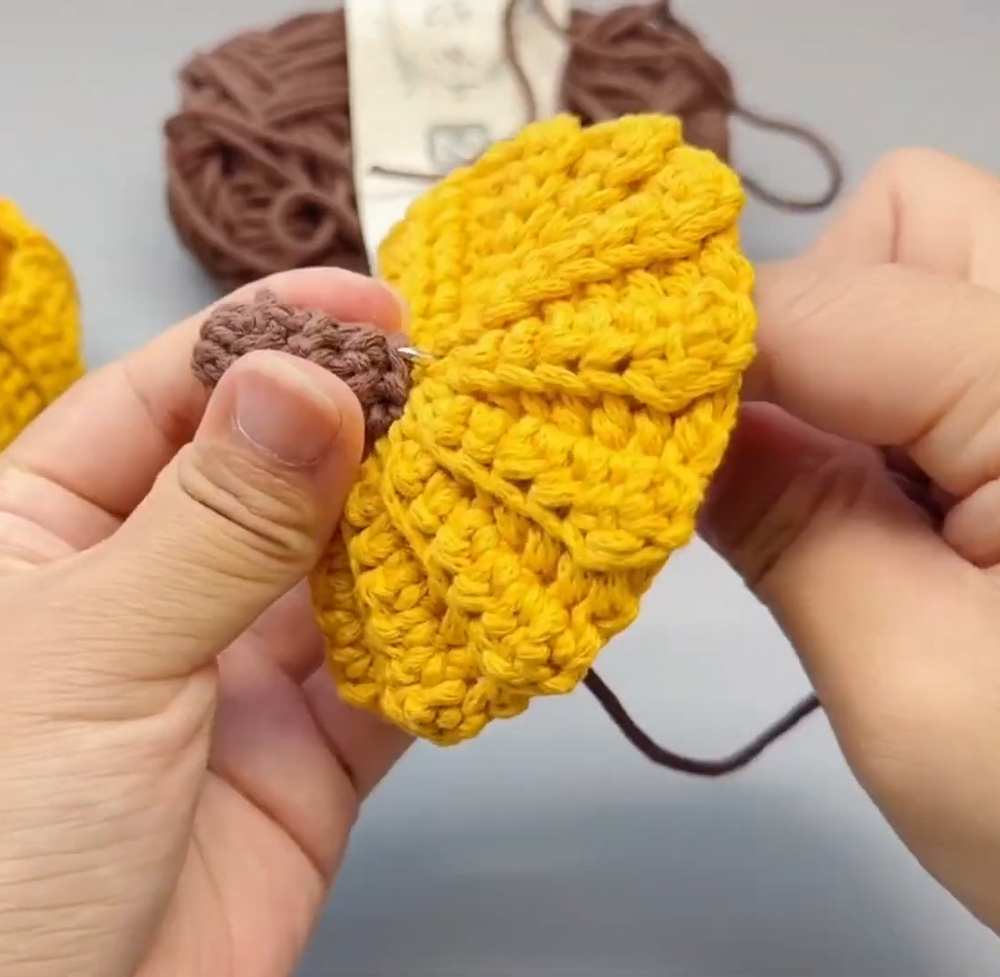
Putting it on: Cut the yarn and leave a tail for sewing. Use your needle to sew the bottom of the stem directly over the closed center hole on top of your lid.
Place your lid on your pumpkin body, and your mini storage box is complete!
See More:
Featuring: How to Crochet A Back-to-School Pumpkin Bookmark for Fall
How to Crochet UNIQUE Craft-Style 3D Pumpkin Fall Decoration
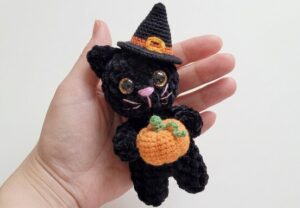
How to Crochet A Cosplay No-Sew Cat Plushie Holding A Pumpkin
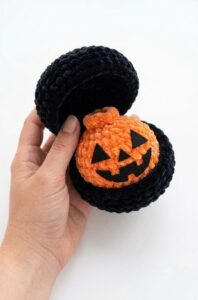
Tester Call: How to Crochet A Pumpkin Dumpling Plush for Halloween
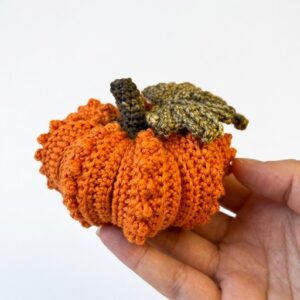
How to Crochet the Popcorn Texture Pumpkin Amigurumi for Fall
Crochet Character Pumpkin Series with Free Patterns
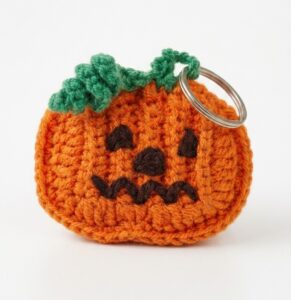
How to Crochet 2-Designs-In-1 Crochet Halloween Pumpkin Charms
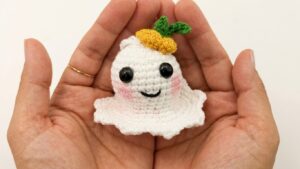
How to Crochet A Ghost Amigurumi Lifting A Pumpkin for Halloween
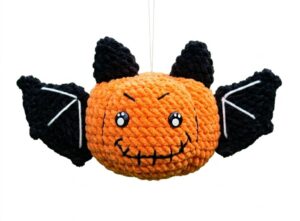
How to Crochet Kawaii-Eyed Pumpkin with Bat Features Plushie