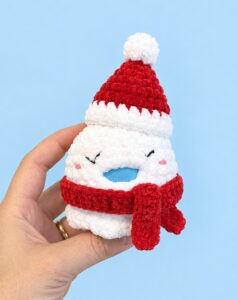
Today’s crochet plushie from the “making your favorite animals in holiday accessories” series is funny, cute, and SUPER adorable. So, be sure to gift this little no-sew pug in a slouchy Santa hat plushie, with a step-by-step tutorial for absolute beginners. This is a girl gift crochet puppy plushie for its little crochet skirt, cute glitter eyes, and long eyebrows. This is actually part of the crochet dressed buddy puppy plushies!
Measuring approximately 8 cm (3.1 inches) tall, this tiny pup features signature pug wrinkles, folded ears, a protruding muzzle with a sweet little tongue sticking out, and a flared dress. Best of all, this crochet plush BUDDY pug gift project is designed to be 100% no-sew and seamless.
Including the tail, legs, arms, ruffled skirt, head, muzzle, and ears, it is crocheted in one piece from the bottom up! There is no sewing of separate limbs or ears. Now, continue reading to learn more about this oh-so cute plush little pug toy!

Pattern to Crochet the Slouchy Dressed Santa Hat Pug Plushie
Skill Level: Beginner – Level 5
Materials & Tools
Super Bulky Plush / Chenille Yarn (~100 g / 120 m, e.g., YarnArt Dolce, Himalaya Dolphin Baby, or Wolans Bunny Baby):
Main Color (MC): Beige / Fawn / Light Taupe (for body and head)
Dress Color (DC): Peach, Coral, or Pink (for dress and skirt)
Contrast Color (CC): Dark Brown (for paws, muzzle, and ears)
Red: Small strand of plush yarn (for the tongue)
Crochet Hook: 4.0 mm
Safety Eyes: 12 mm (black or glitter)
Plastic Nose (Safety or Craft/Glue-on): 7 mm × 9 mm (black)
Fiberfill Stuffing
Sturdy Thread or Cotton Yarn: (Matching body color or white) for eye indentation sculpting
Thin Black Thread or Embroidery Floss: For pug eyebrows and eyelashes
Tapestry / Yarn Needle, Scissors, Stitch Marker
Craft / Fabric Glue: (Optional, if gluing on the nose)

Stitch Guide & Abbreviations (US Terms)
MR: Magic Ring
ch: chain
sc: single crochet
dc: double crochet
inc: increase (2 sc in the same stitch)
dec: invisible decrease (sc 2 stitches together)
sl st: slip stitch
BLO: back loops only
FLO: front loops only
st(s): stitch(es)

Special Stitches
3-dc Bobble (Paws & Muzzle): Yarn over, insert hook into st, pull up a loop, yarn over, pull through 2 loops (2 loops on hook). Repeat 2 more times in the same st (4 loops on hook). With the next color, yarn over and pull through all 4 loops on hook to complete the stitch.
4-dc Bobble (Ears): Yarn over, insert hook into st, pull up a loop, yarn over, pull through 2 loops. Repeat 3 more times in the same st (5 loops on hook). With MC, yarn over and pull through all 5 loops on the hook.
Hat Pattern
Part 1: White Tip / Pom-Pom
Using White yarn:
Round 1: 6 sc in a magic ring (6)
Round 2: (1 sc, inc) x 3 (9)
Round 3: 9 sc around (9)
Round 4: (1 sc, dec) x 3 (6)
Stuff the white tip lightly.
Part 2: Red Body
Switch to Red yarn:
Round 5: Dec 2 times, 2 sc (4)
Round 6: (1 sc, inc) x 2 (6)
Round 7: 6 sc around (6)
Round 8: 5 sc, inc (7)
Round 9: 7 sc around (7)
Round 10: 6 sc, inc (8)
Round 11: 8 sc around (8)
Round 12: 7 sc, inc (9)
Round 13: 9 sc around (9)
Round 14: 8 sc, inc (10)
Round 15: (4 sc, inc) x 2 (12)
Round 16: (5 sc, inc) x 2 (14)
Round 17: (6 sc, inc) x 2 (16)
Round 18: (7 sc, inc) x 2 (18)
Round 19: (8 sc, inc) x 2 (20)
Part 3: White Brim
Switch back to White yarn:
Round 20: 20 sc around (20)
Round 21: (9 sc, inc) x 2 (22)
Round 22: (10 sc, inc) x 2 (24)
Fasten off, leaving a tail for sewing.
How to Slouch the Hat
Keep the Upper Body Unstuffed: Leave the narrow red section (Rounds 5–14) mostly unstuffed or very lightly stuffed so it remains flexible and floppy.
Curve the Tip: Bend the upper red portion and white pom-pom tip downward to the right side over the body of the hat.
Tack in Place: Thread your yarn needle with a matching red yarn tail and take a couple of discrete stitches to anchor the folded tip to the side of the hat.
Abbreviations
st/sts: stitch / stitches
sc: single crochet
inc: increase (2 sc in the same stitch)
dec: decrease (sc 2 stitches together)
Pattern Instructions
Part 1: White Tip / Pom-Pom
Using White yarn:
Round 1: 6 sc in a magic ring (6)
Round 2: (1 sc, inc) x 3 (9)
Round 3: 9 sc around (9)
Round 4: (1 sc, dec) x 3 (6)
Stuff the white tip lightly.
Part 2: Red Body
Switch to Red yarn:
Round 5: Dec 2 times, 2 sc (4)
Round 6: (1 sc, inc) x 2 (6)
Round 7: 6 sc around (6)
Round 8: 5 sc, inc (7)
Round 9: 7 sc around (7)
Round 10: 6 sc, inc (8)
Round 11: 8 sc around (8)
Round 12: 7 sc, inc (9)
Round 13: 9 sc around (9)
Round 14: 8 sc, inc (10)
Round 15: (4 sc, inc) x 2 (12)
Round 16: (5 sc, inc) x 2 (14)
Round 17: (6 sc, inc) x 2 (16)
Round 18: (7 sc, inc) x 2 (18)
Round 19: (8 sc, inc) x 2 (20)
Part 3: White Brim
Switch back to White yarn:
Round 20: 20 sc around (20)
Round 21: (9 sc, inc) x 2 (22)
Round 22: (10 sc, inc) x 2 (24)
Fasten off, leaving a tail for sewing.
How to Slouch the Hat (Like in the Picture)
Keep the Upper Body Unstuffed: Leave the narrow red section (Rounds 5–14) mostly unstuffed or very lightly stuffed so it remains flexible and floppy.
Curve the Tip: Bend the upper red portion and white pom-pom tip downward to the right side over the body of the hat.
Tack in Place: Thread your yarn needle with a matching red yarn tail and take a couple of discrete stitches to anchor the folded tip to the side of the hat.
Learn Crocheting Now!
Better learn the whole method of crocheting pug plushies with a hat in this tutorial:
Share on Social Media!


See More:

Tester Call: How to Crochet Santa Belly Googly-Eyed Festive Dumpling in A Green Gift Box Plush
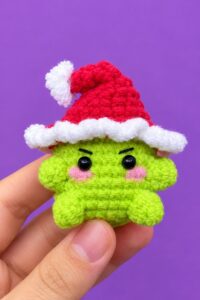
How to Crochet Grinch Mushy in Ruffle-Brim Santa Hat Miniature Amigurumi for Gifting
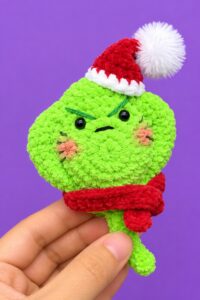
How to Crochet Mini Grinch Stingray in Santa Hat & Scarf Buddy Plushie for Gifting
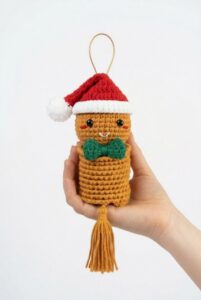
Featuring: How to Crochet Amigurumi Mr. Gingerbread in Santa Hat Wind Spinner for Christmas
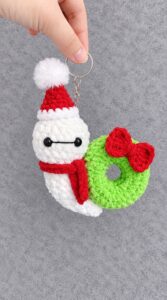
Tester Call: How to Crochet Mr. Baymax Snail in Santa Hat & Scarf with Christmas Wreath Shell Plushie
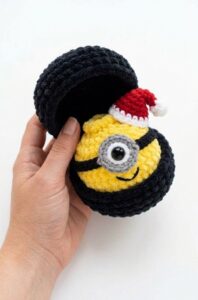
Tester Call: How to Crochet Iconic Googly Character Yellow Dumpling Plushie in Santa Hat
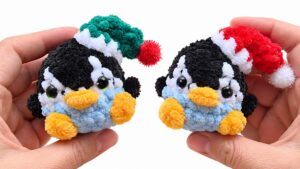
Featuring: Crochet No-Sew Holiday Fat Bird in Slouchy Santa Hat Plushie for Gifting
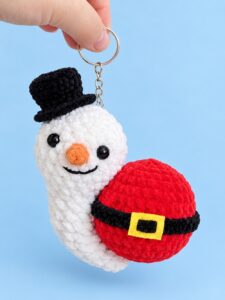
How to Crochet Plush Mr. Snow Snail with Santa Bauble Holiday Gift Plushie

Featuring: How to Crochet Funny Santa Flip-Over Coaster with Amigurumi Santa Cupcake