Show support for Mary!
Finally, today’s crochet plushie from the “crocheting your favorite animal buddy plushies in holiday accessories” series is wearing a crochet Elf plush hat with a fluffy pom-pom in white. Introducing the crochet plush baby chick in a slouchy Elf hat and a peppermint scarf. You can choose from the yellow and the Grinch green crochet plush baby chick following this pattern.
This Chick Amigurumi is a quick, seamless, and beginner-friendly crochet project made with super-soft plush (chenille) yarn. The entire chick—from the little feet, tail feathers, and wings all the way up to the puffy chef’s hat—is crocheted in one piece without needing to sew separate limbs.
Standing at approximately 8 cm (just over 3 inches) tall, this adorable little culinary chick makes a wonderful keychain, pocket buddy, bag charm, or cute kitchen desk decor
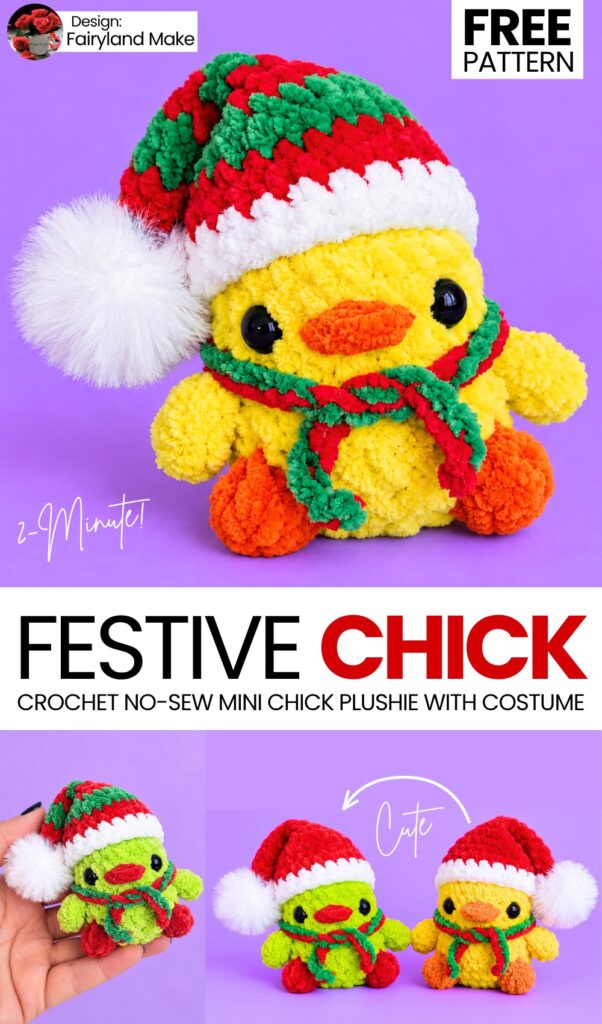
Pattern to Crochet the Festive Chick Plushie for Gifting
This Chef Chick Amigurumi is a quick, seamless, and beginner-friendly crochet project made with super-soft plush (chenille) yarn. The entire chick—from the little feet, tail feathers, and wings all the way up to the puffy chef’s hat—is crocheted in one continuous piece without needing to sew separate limbs. Standing at approximately 8 cm (just over 3 inches) tall, this adorable little culinary chick makes a wonderful keychain, pocket buddy, bag charm, or cute kitchen desk decor.
Materials & Tools
Super Bulky Plush / Chenille Yarn (approx. 100 g / 120 m):
Yellow: Body, wings, and tail
White: Chef’s hat
Orange / Rust / Mustard: Feet and beak
Crochet Hook: 4.5 mm
Safety Eyes: 8 mm (plug-in or glue-on)
Fiberfill (Holofiber): For stuffing
Tapestry / Yarn Needle: Blunt-ended with a large eye
Stitch Marker
Scissors
Hot Glue Gun (for securing eyes, optional)
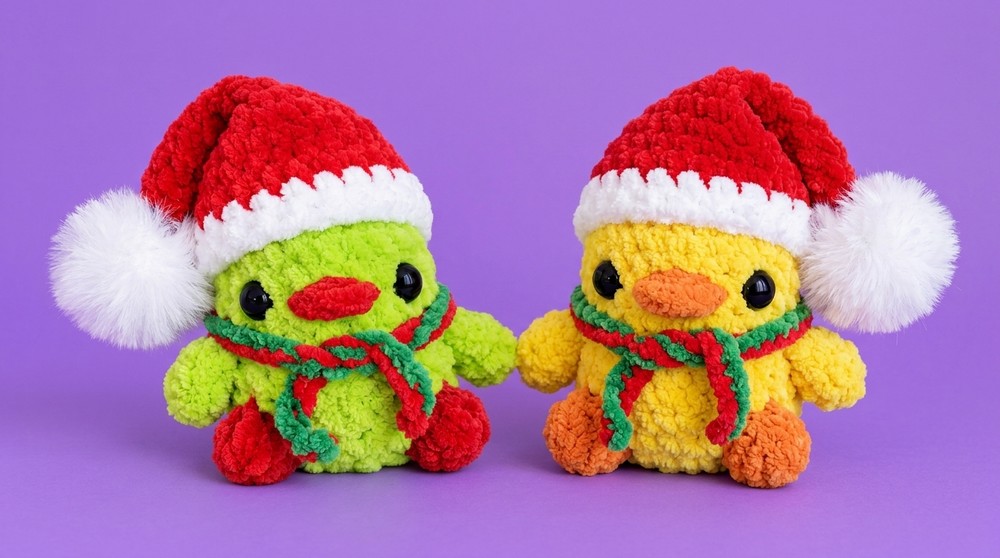
Materials for Accessories
Yarn: Plush yarn in Green, Red, and White
Hook: 4.5 mm crochet hook
Extras: Store-bought silky pom-pom (or custom yarn wrapped pom-pom), fabric/hot glue
Abbreviations (US Terms)
ch: chain
sc: single crochet
hdc: half double crochet
dc: double crochet
inc: increase (2 sc in the same stitch)
dec: decrease (single crochet 2 stitches together)
sl st: slip stitch
BLO: back loops only
FLO: front loops only
Popcorn (Foot): Work 5 dc into the same stitch. Drop the loop from hook, insert hook into the first dc from front to back, grab the dropped loop, and pull it through.
Bobble (Hat puff): 2-dc cluster (yarn over, insert hook, yarn over, pull up loop, yarn over, pull through 2 loops) repeat twice in the same stitch (3 loops on hook), yarn over and pull through all 3 loops.
st(s): stitch(es)
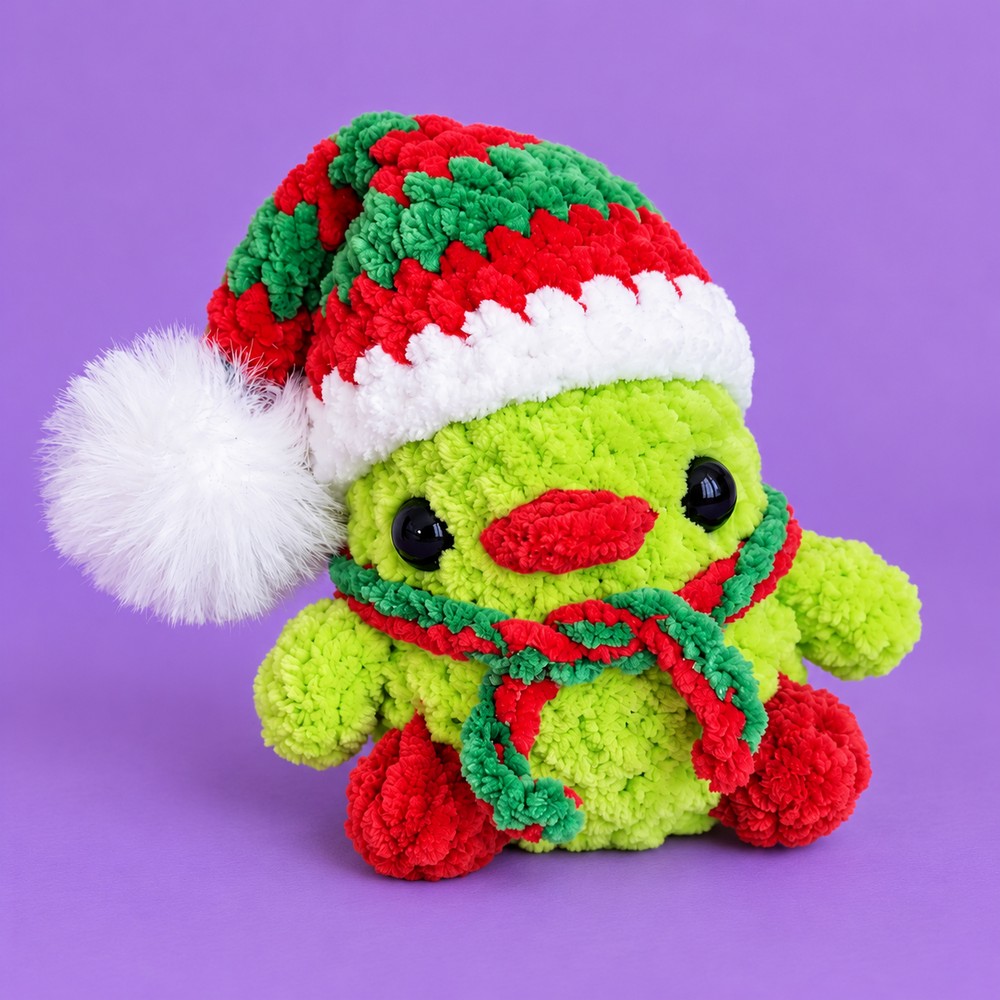
Video tutorial to Crochet the Chick Plushie
Pattern Instructions
Starting the Body (Bottom-Up)
Using Yellow yarn.
Round 1: Ch 2, work 6 sc into the 2nd chain from hook (or 6 sc in a Magic Ring) [6]
Round 2: 6 inc [12]
Round 3: (1 sc, 1 inc) repeat 6 times [18]
Round 4: Crocheting Feet and Tail Feathers
Work 4 sc in Yellow.
In the next stitch, begin the 5th sc in Yellow, but stop before the final pull-through: drop Yellow and complete the stitch with Orange yarn.
First Foot: In the next stitch, work a 5-dc Popcorn stitch in Orange. Close the popcorn by making ch 1 using Yellow yarn.
Work 4 sc in Yellow across the belly.
In the next stitch, begin a sc in Yellow, but finish the last yarn-over with Orange yarn.
Second Foot: In the next stitch, work a 5-dc Popcorn stitch in Orange. Close the popcorn with ch 1 using Yellow yarn.
Work 5 sc in Yellow toward the back.
Tail Feathers: In the last stitch of the round (working into the front loop only):
1 sl st, ch 4, sl st into the same front loop (Feather 1)
ch 4, sl st into the same front loop (Feather 2)
ch 4, sl st into the same front loop (Feather 3)
(Cut the Orange yarn, tie the ends securely inside the body, and tuck them away. You will continue with Yellow only.) [18 sts around]
Round 5: Working over Feet and Tail
Round 5: Work 18 sc around in Yellow:
Work 5 sc along the side.
Work 1 sc into the ch-1 closing loop on top of the first foot.
Work 5 sc across the belly.
Work 1 sc into the ch-1 closing loop on top of the second foot.
Work 5 sc along the other side.
Work the 18th sc into the unworked back loop behind the tail feathers. [18]
Round 6: Crocheting the Wings
Work 5 sc in Yellow.
First Wing: Ch 4. Starting in the 3rd chain from the hook, work 1 dc, then work 1 hdc in the remaining chain.
Continue on the body: work 8 sc in Yellow across the front.
Second Wing: Ch 4. Starting in the 3rd chain from the hook, work 1 dc, then work 1 hdc in the remaining chain.
Continue on the body: work 5 sc in Yellow to the end of the round. [18 body stitches]
Rounds 7–9: Body Height
Rounds 7–9 (3 rounds): Work 18 sc around in Yellow. When passing the wings, simply fold them forward and crochet directly into the body stitches beneath them. [18]
Round 10: Neck Decreases
Round 10: (1 sc, 1 dec) repeat 6 times [12]
(On the last decrease, stop before the final pull-through. Cut the Yellow yarn.)
Round 11: Neck Decreases
- Round 11: dec * 6 [6]
Fasten off and close the head!
Assembly & Finishing Details
Safety Eyes:
Position the 8 mm eyes on the face between Rounds 8 and 9, centered above the feet and between the wings.
Secure them firmly with glue (or safety backings if attached earlier).
Embroidering the Beak:
Thread a yarn needle with a strand of Orange plush yarn.
Insert the needle from the back or bottom and exit on the face centered between the two eyes.
Make 2 to 3 horizontal stitches across 1–2 stitches to form a small, plump beak.
Tie off the ends, pull them inside the body with your needle, and trim flush.
Hat
Cone Section
Start with Green plush yarn.
Round 1: 6 sc in magic ring [6]
Round 2: 6 sc [6]
Change to Red yarn on the final stitch of Round 2.
Round 3: (inc, 2 sc) x 2 [8] — or follow work to 7 sc depending on increase placement
Round 4: 7 sc [7]
Change to Green yarn on the final stitch of Round 4.
Round 5: 8 sc [8]
Round 6: 8 sc [8]
Change to Red yarn on the final stitch of Round 6.
Round 7: 9 sc [9]
Round 8: 9 sc [9]
Change to Green yarn on the final stitch of Round 8.
Round 9: 10 sc [10]
Round 10: 10 sc [10]
Change to Red yarn on the final stitch of Round 10.
Round 11: 12 sc [12]
Round 12: 12 sc [12]
Change to Green yarn on the final stitch of Round 12.
Round 13: 14 sc [14]
Round 14: 16 sc [16]
Change to Red yarn on the final stitch of Round 14.
Round 15: 18 sc [18]
Round 16: 20 sc [20]
Brim (White)
Change to White plush yarn on the final stitch of Round 16.
Round 17: 20 sc [20]
Round 18: 20 sc [20]
Round 19: 20 sc [20]
Fasten off and weave in ends.
Scarf
Holding one strand of Green and one strand of Red plush yarn together:
Row 1: Chain 20.
Fasten off and knot/weave the ends to create fringe or secure neat edges.
Assembly & Finishing
Pom-Pom: Use a pre-made silky pom-pom or make one using the yarn wrapping method.
Securely attach or glue the pom-pom directly to the tip of the hat using fabric glue or hot glue.

See More:

Tester Call: How to Crochet Santa Belly Googly-Eyed Festive Dumpling in A Green Gift Box Plush
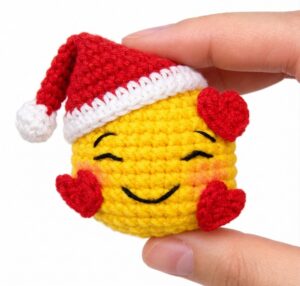
How to Crochet CUTE Heart & Smile Festive Emoji Buddy Amigurumi Gift for Holidays
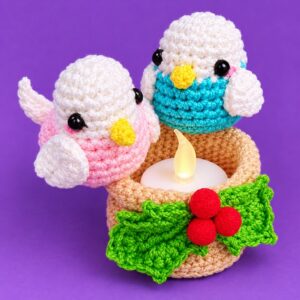
How to Crochet Festive Birds Amigurumi in Treat Basket & Holly Leaf Decoration
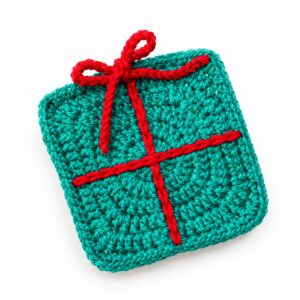
How to Crochet 15-Minute Gift-Shaped Festive Coaster (Ultimate Holiday Coaster)
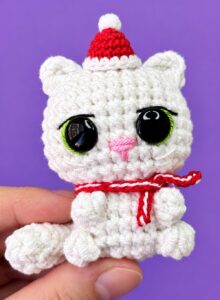
Tester Call: How to Crochet Mini Festive Hat & Striped Scarf No-Sew White Cat Amigurumi
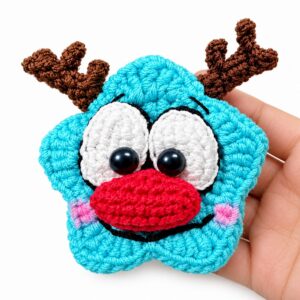
How to Crochet Funny Festive Red Nose Reindeer Star Christmas Ornament Amigurumi
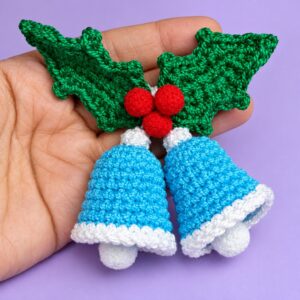
How to Crochet Holly Leaf & Pair of Bells Festive Holiday Decoration Pattern
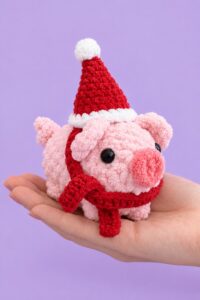
Tester Call: How to Crochet Festive No-Sew Pig Plushie with Coild Tail in Hat & Scarf
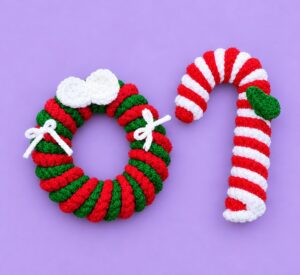
2-in-1 Tutorial: How to Crochet Red & White Festive Candy & Twisted Wreath from Crochet Stripe