Show support for Gulnara!
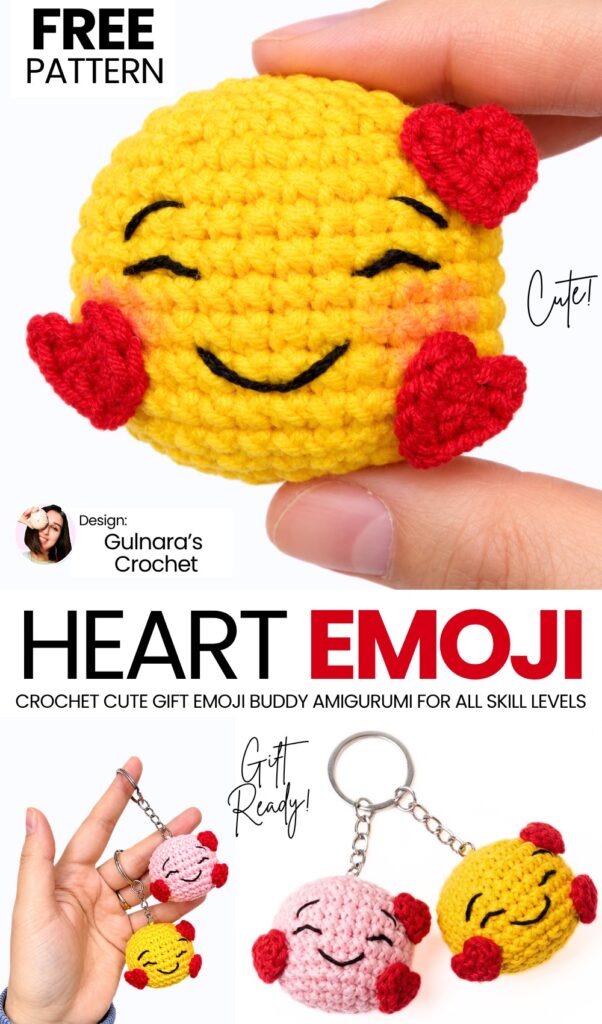
While I have been sharing crochet amigurumi Christmas and New Year gift patterns for a while now, so far, I have not shared any couple gift ideas. That’s why, today, I am sharing this oh-so-cute amigurumi UNIQUE heart emoji buddy that you can learn to crochet with a FREE written pattern and a step-by-step tutorial as well. You can crochet your emoji just like this smiling emoji with hearts, but to make it special for Christmas, I have also added an optional crochet Santa hat pattern.
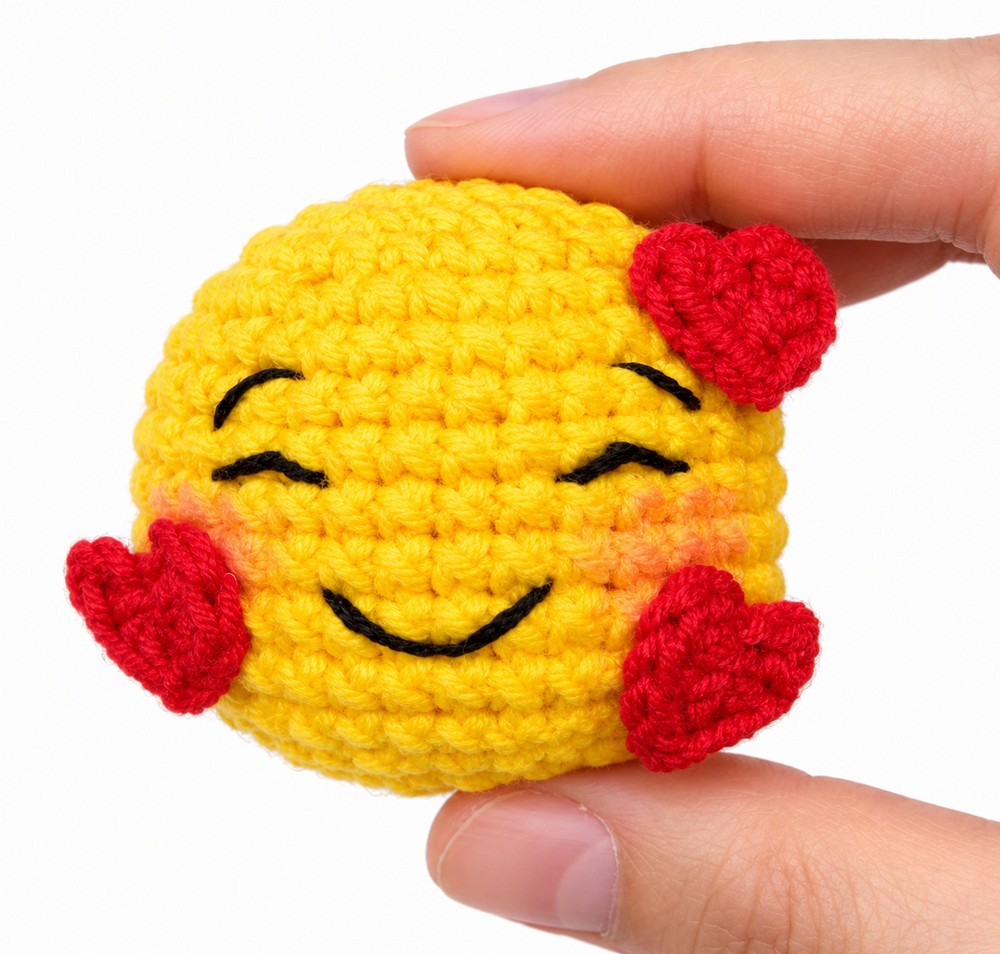
This cute and cheerful project creates a round, plush emoji ball adorned with embroidered smiling eyes and mouth, rosy pastel cheeks, and tiny red hearts.
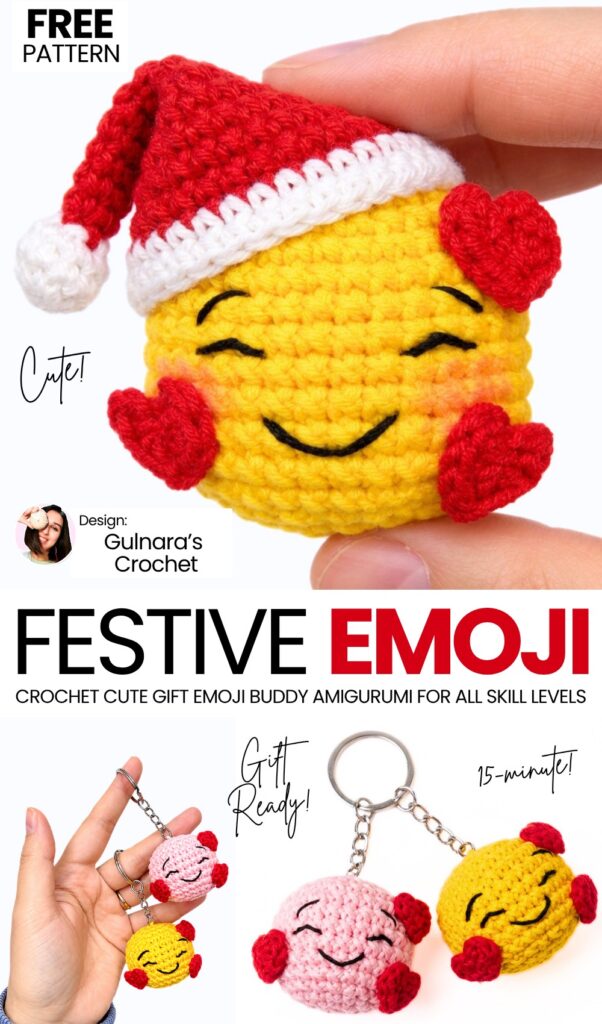
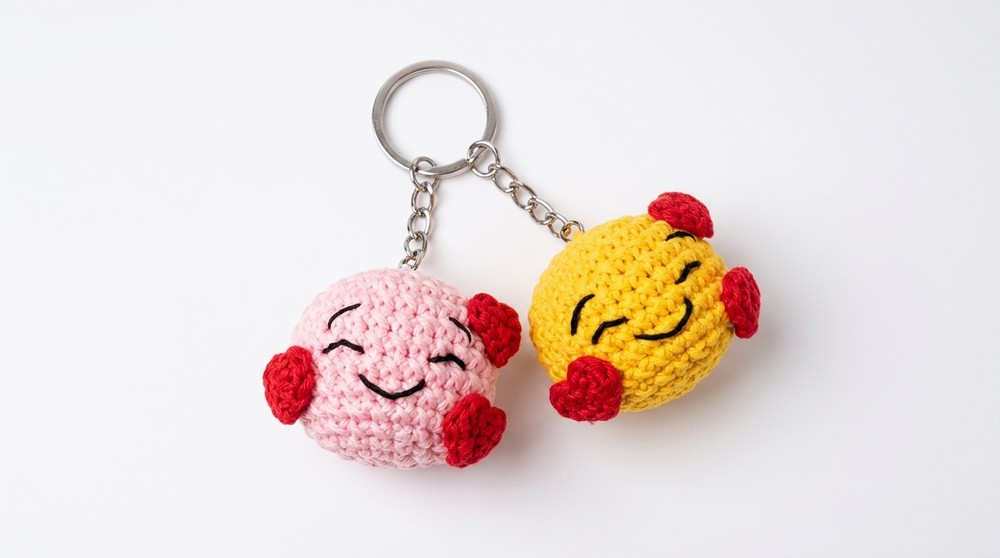
It works up quickly and only needs a crochet sphere or ball pattern that’s perfect for beginners! With a standard metal keychain ring or with an easy, no-hardware-needed crochet cord to hang on backpacks and tote bags. Now, continue reading for learning more about this amigurumi buddy Emoji for all skill levels!
Pattern to Crochet an Amigurumi Holiday Buddy Emoji
Skill Level: Beginner – Level 4
Materials Needed
Yarn:
Yellow yarn (sport or DK weight cotton or acrylic) for the emoji ball and cord
Red yarn (same weight) for the mini hearts
Brown or black yarn/embroidery floss for facial features
Crochet Hook:
2.50 mm (Tulip 4/0) for the emoji base and hearts
2.0 mm for the cord (optional, or use 2.50 mm)
Stuffing: Polyester fiberfill
Tools:
Yarn/tapestry needle
Stitch marker
Scissors
Sewing pins (for placing facial details)
Pink or red dry pastel / cosmetic blush and a small makeup/paint brush
Fabric glue or hot glue (optional; hearts can also be sewn on)
Keychain ring (optional)
Abbreviations (US Terms)
MR: Magic Ring
sc: Single crochet
hdc: Half double crochet
inc: Increase (work 2 sc in the same stitch)
dec: Decrease (single crochet 2 stitches together, preferably invisible decrease)
sl st: Slip stitch
ch: Chain
st(s): Stitch(es)
Are you a Beginner? Learn Crocheting Easily!
You can learn to crochet better with this crochet amigurumi emoji tutorial. Or continue to the written pattern below!
Part 1: Emoji Base (Main Size ~ 5 cm / 2 inches)
Worked in continuous spiral rounds without joining at the end of each round. Use a stitch marker to mark the beginning of each round.
Round 1: Make a magic ring, work 7 sc into the ring. Pull tight. (7 sts)
Round 2: Work 1 inc in each of the 7 sts around. (14 sts)
Round 3: [1 sc in next st, 1 inc in next st] repeat 7 times. (21 sts)
Round 4: [1 sc in next st, 1 inc in next st, 1 sc in next st] repeat 7 times. (28 sts)
Round 5: [3 sc, 1 inc in next st] repeat 7 times. (35 sts)
Rounds 6 to 12 (7 rounds total): Work 1 sc in each st around. (35 sts per round)
Round 13: [3 sc, 1 dec] repeat 7 times. (28 sts)
Round 14: [1 sc in next st, 1 dec, 1 sc in next st] repeat 7 times. (21 sts)
Round 15: [1 sc in next st, 1 dec] repeat 7 times. (14 sts)
Stuffing:
Stuff the ball firmly with fiberfill, shaping it into a smooth, even sphere. Avoid overstuffing so the stitches do not stretch open.
Round 16: Work 7 dec around. (7 sts)
Finishing: Slip stitch into the next stitch. Cut the yarn leaving an 8-inch tail.
Thread the tail onto a yarn needle, weave through the front loops of the remaining 7 stitches, pull tight to close the hole completely, secure with a knot, and push the remaining tail inside the sphere.
Part 2: Embroidering the Face
Prepare the Thread:
Cut a piece of brown or black yarn (about 30 to 40 cm). Separate the plies to get two thin strands for neat embroidery.
Mark with Pins:
Place sewing pins where you want the corners of the mouth, eyes, and eyebrows to be.
Mouth:
Insert your needle from the bottom of the head and come out at the left corner of the smile.
Stitch a gentle, wide curved smiling mouth across the lower third of the face, making tiny backstitches to curve the line smoothly. Add small upward ticks at each mouth corner.
Smiling Eyes:
Create two upward-curved arcs (happy closed eyes) positioned symmetrically above the mouth.
Add a small curved eyebrow angled slightly upward above each eye.
Fasten Off:
Bring both thread ends out through the bottom, tie a secure knot, snip excess, and hide the knot inside the head.
Blush Cheeks:
Scrape a tiny amount of pink/red dry pastel powder onto a piece of paper, dab a dry brush into the powder, and gently dust sweet rosy circles onto the cheeks just beside the smile.
Part 3: Mini Hearts (Make 3)
Worked flat into a magic ring.
Make a magic ring.
Chain 3.
Work all of the following stitches directly into the magic ring:
2 half double crochet (hdc)
1 single crochet (sc)
Chain 2
1 single crochet (sc)
2 half double crochet (hdc)
Chain 2
1 slip stitch (sl st) into the center of the ring.
Cut the yarn, leaving a 4-inch tail. Pull the magic ring tight to form the heart shape.
Weave the tails to the back of the heart, tie them securely, trim excess yarn.
Repeat until you have 3 tiny hearts.
Part 4: Assembling the Hearts
Position one heart near the upper right temple/eye.
Position the second heart on the left cheek area.
Position the third heart near the lower right cheek.
Secure each heart in place using a drop of fabric glue or by sewing them on with matching red thread.
Part 5: Hanging Cord (No Hardware Needed)
If you are using a metal keychain ring, attach it directly to the top using a jump ring or small sewn yarn loop.
To make the crochet hanging cord:
Cut a length of yellow yarn of approximately 2 meters (80 inches). Fold it in half.
Insert your hook under a stitch at the top center of the emoji head, catch the folded loop of the yarn, and pull it through.
Use the two-strand cord technique (Romanian cord / chain cord):
Wrap the lower working strand over the hook from front to back, then grab the upper strand and pull through both loops on the hook.
Continue until your cord reaches the desired length (around 10 to 12 cm / 4 to 5 inches).
Secure the loop by passing the end through the top of the emoji, tie the ends tightly together, and tuck the leftover tails deep inside the head with a needle.
Bonus: Mini Keychain Size Pattern (3.5 cm / ~ 1.4 inches)
For a smaller version using the same yarn and hook:
Round 1: 6 sc in MR (6 sts)
Round 2: inc x 6 (12 sts)
Round 3: [1 sc, inc] x 6 (18 sts)
Round 4: [1 sc, inc, 1 sc] x 6 (24 sts)
Round 5: [3 sc, inc] x 6 (30 sts)
Rounds 6 to 10 (5 rounds): 1 sc in each st around (30 sts per round)
Round 11: [3 sc, dec] x 6 (24 sts)
Round 12: [1 sc, dec, 1 sc] x 6 (18 sts)
Stuff firmly with fiberfill.
Round 13: [1 sc, dec] x 6 (12 sts)
Round 14: dec x 6 (6 sts)
Fasten off, close hole with a needle, embroider face, and attach mini hearts as done above.
Share on Social Media!

See More:

How to Crochet Sphere Faces Anti-Stress Softie Amigurumi (Emoji, Monster & More)
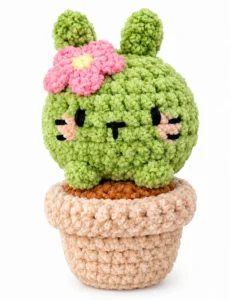
Featuring: Video Tutorial to Crochet Anti-Stress No-Sew Green Kitty over A Cactus Pot Plush
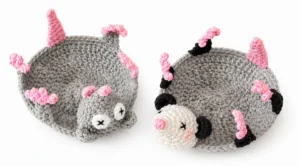
Featuring: How to Crochet Anti-Stress Rat and Oppossum Pop-Up Coaster Variation
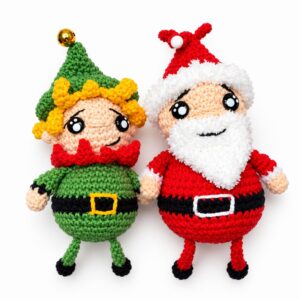
How to Crochet Leggy Anti-Stress 4-in-1 Christmas Character Amigurumi for Gifting

Tester Call: How to Crochet Mr. Santa Anti-Stress Donut Ring Plushie for Christmas
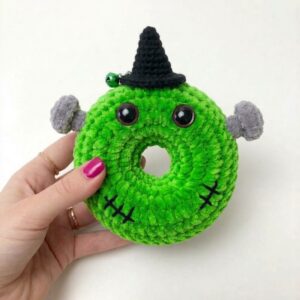
Pattern Tester: How to Crochet Anti-Stress Bolt Zombie Plush Ring for Gifting
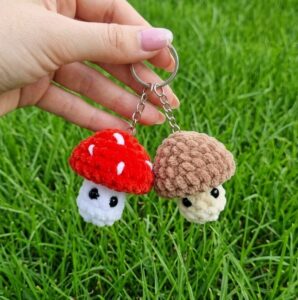
How to Crochet Miniature Anti-Stress Mushroom Plushie Toy for Fall
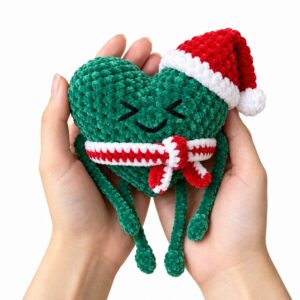
Tester Pattern: How to Crochet Slouchy Santa Hat Heart Plushie Gift with Scarf

Tester Pattern: How to Crochet A Spooky Face Potted Heart Buddy Plushie