Author: Talha
I am a crochet designer, macramé maker and a crafter who also loves doing MATH.
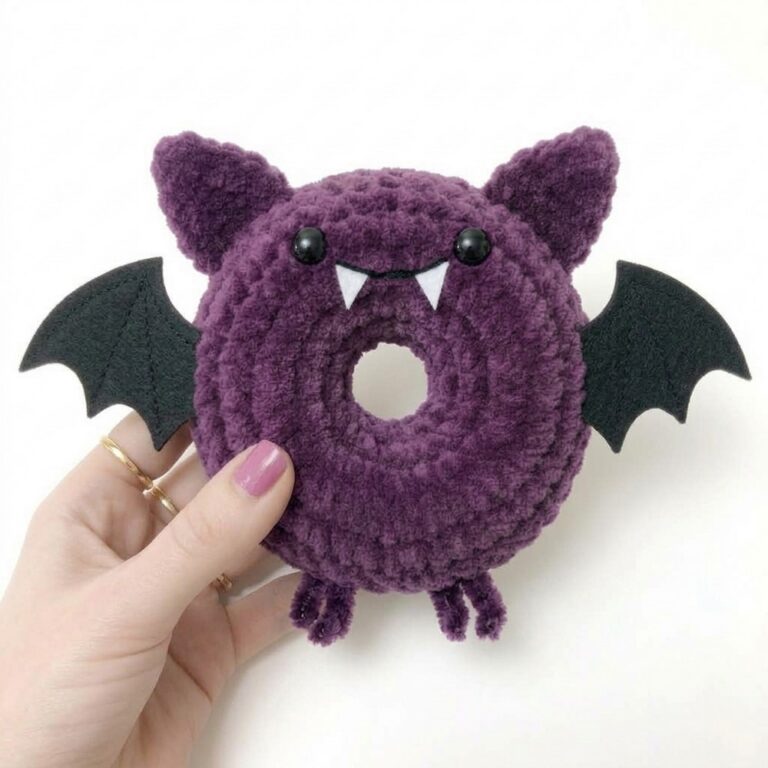
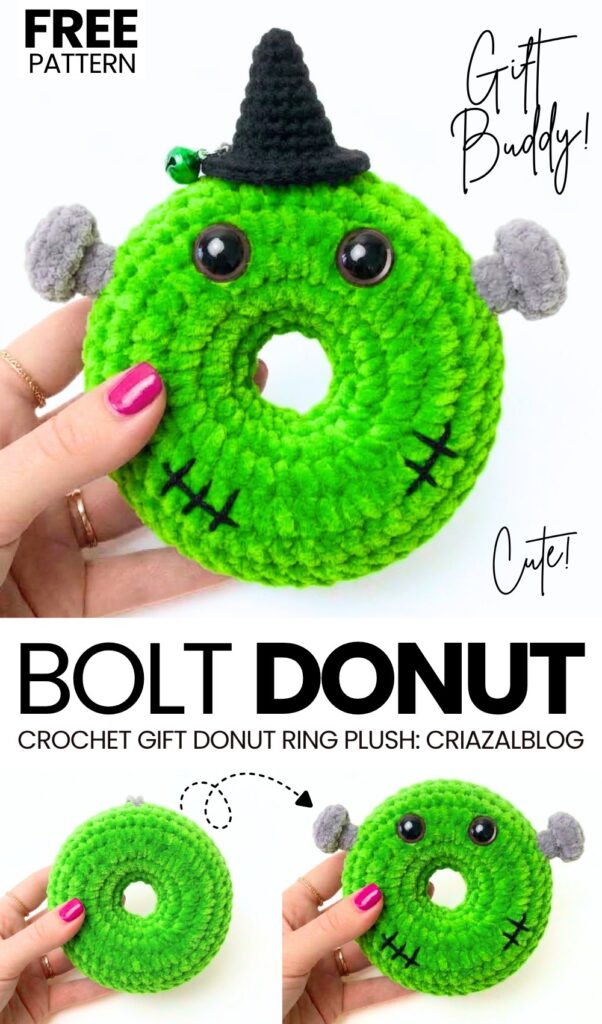
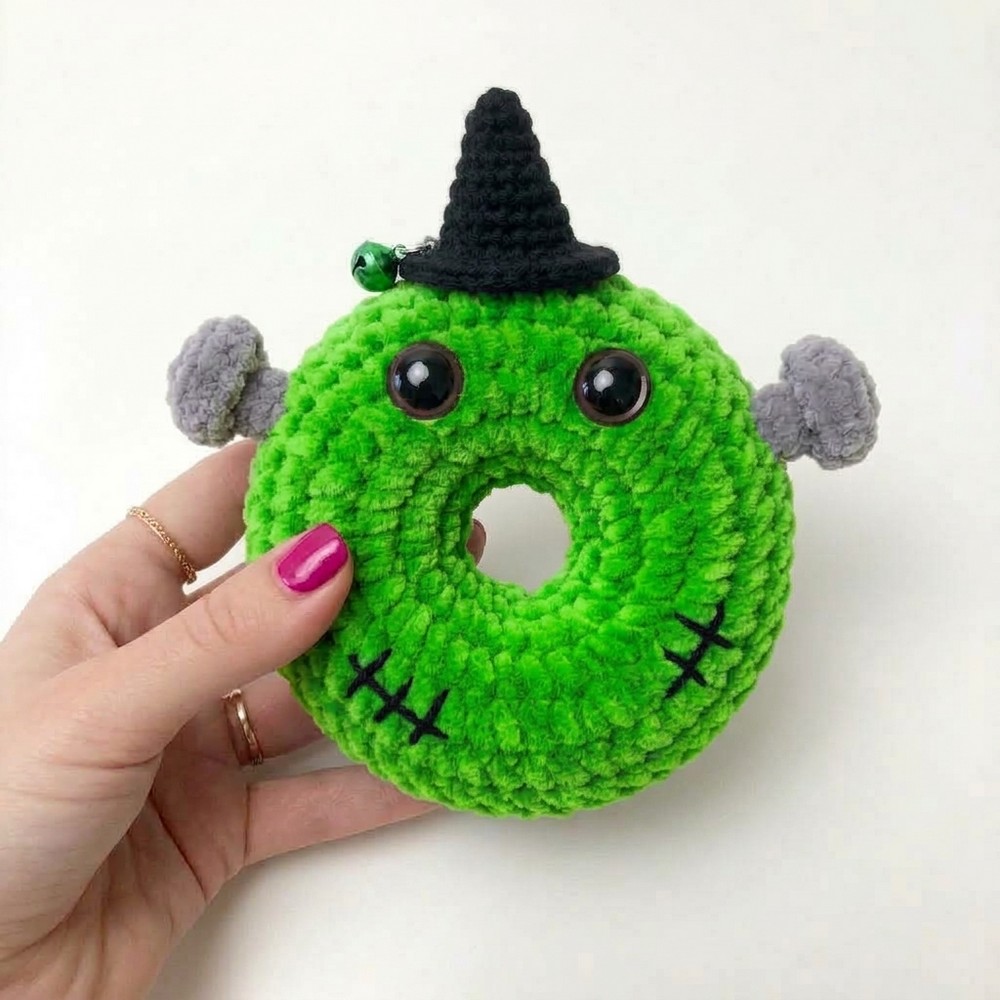
For this part of the “crochet UNIQUE character spooky cosplay donut rings” plushie series, I have chosen the bolt zombie as the spooky character! But I would rather call it the spooky-cute crochet plush, as it is simply the ADORABLE donut version of our crochet green zombie dumpling.
So, today, follow this FREE written pattern to crochet a super adorable bolt zombie in a witch hat donut ring gift plush. I have tried to keep all parts beginner-friendly and want you to have fewer parts to sew later on.
That’s why making this crochet bolt zombie plush would be super QUICK and easy for even beginners. The little embroidery scars and the crochet two-color eyes make it look simply cute. So, be sure to crochet this green donut plush this Halloween for sure!
Pattern to Crochet the Spooky-Cute Bolt Zombie Plush
Skill Level: Easy / Beginner
Terminology: US Crochet Terms
Pattern Details & Materials
Recommended Yarn:
Donut Base (Lime Green): Super Bulky Chenille / Plush Yarn (e.g., Premier Parfait Chunky or Hobbii Baby Snuggle)
Zombie Bolts (Grey): Skinny plush yarn.
Mini Witch Hat (Black/Purple & Orange): DK Weight Yarn
Hook Sizes: 4.25 mm (US G/6) for plush yarn; 2.75–3.0 mm for DK hat
Tools & Notions:
1 Pair of 12mm or 14mm Safety Eyes
Black embroidery yarn/floss (for stitched scars)
Tapestry needle & Scissors
Polyester fiberfill stuffing
Optional: Small green jingle bell charm & stitch markers
Stitch Abbreviations
| Abbreviation | Meaning |
| Ch / SC / HDC | Chain / Single Crochet / Half Double Crochet |
| Inc / Dec | Increase (2 SC in same st) / Decrease (SC 2 together) |
| Sl st / BLO | Slip Stitch / Back Loop Only |
| MR / St(s) | Magic Ring / Stitch(es) |
| (…) x n | Repeat instructions within parentheses n times |
| [Count] | Total stitch count at end of round |
Pattern Instructions
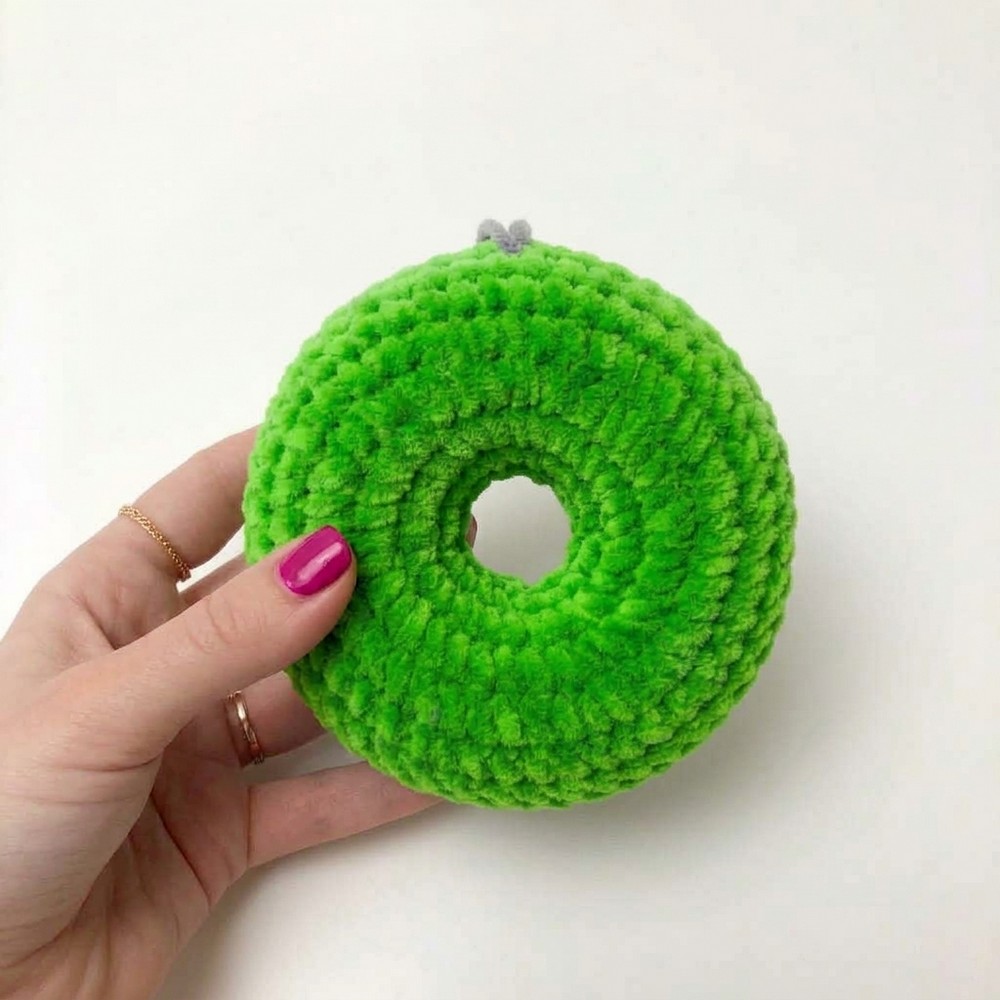
Donut Panels (Make 2 in Lime Green)
For Panel 1 (Front), leave a 12-inch tail at the initial chain and an 18–24 inch tail when finishing. Panel 2 (Back) uses standard short tails.
Initial Chain: Slip knot, Ch 20. Form a ring by making 1 SC directly into the 1st chain made (counts as 1st stitch of R1).
Round 1: (4 SC, Inc) × 4 [24 sts]
Round 2: (3 SC, Inc) × 6 [30 sts]
Round 3: (4 SC, Inc) × 6 [36 sts]
Round 4: (5 SC, Inc) × 6 [42 sts]
Round 5: (6 SC, Inc) × 6 [48 sts]
Rounds 6–8 (3 rounds): SC in each stitch around [48 sts]
Fasten off with a Sl st to the next stitch. Cut yarn.
Mini Witch Hat (DK Yarn)
Round 1 (Black or Purple): MR, 4 SC, sl st to join [4]
Round 2: Ch 1, (1 SC, Inc) × 2, sl st [6]
Round 3: Ch 1, (2 SC, Inc) × 2, sl st [8]
Round 4: Ch 1, (3 SC, Inc) × 2, sl st [10]
Round 5: Ch 1, (4 SC, Inc) × 2, sl st [12]
Round 6: Ch 1, (5 SC, Inc) × 2, sl st [14]
Round 7: Ch 1, 14 SC around, sl st [14]
Round 8 (Switch to Black or Orange): Ch 1, Inc with HDC in every stitch (2 HDC in each st), sl st around the rim [28]
Fasten off, leaving a tail for sewing.
Zombie Bolts (Make 2 in Grey Thin Plush Yarn)
Round 1: 6 SC in a MR [6]
Round 2: [2sc, inc] * 2 [8]
- Rounds 3: sc in each stitch across [6].
Round 4: In BLO, (SC, Dec) × 2, Dec [4]
Rounds 5–6 (2 rounds): SC in each stitch around [4]
Fasten off, leaving a long tail for attachment.
Assembly & Finishing
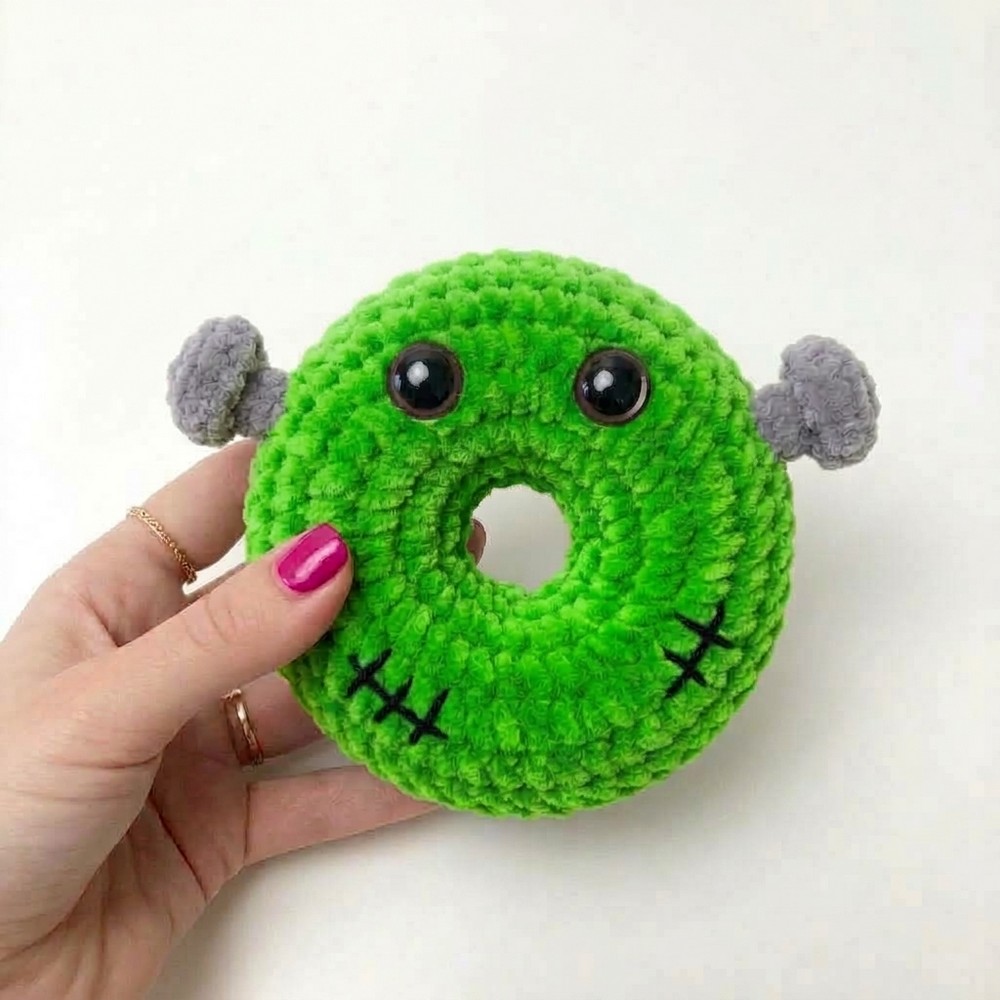
Face Details & Scars: Insert safety eyes between Rounds 3 and 4 of the front panel, roughly 5–6 stitches apart. Thread black embroidery yarn onto a tapestry needle and embroider cross-stitched scars/mouth lines along the lower edge of the front panel.
Attach Bolts & Hat: Sew the base of the grey bolts to the outer sides of the front panel around Round 6. Sew the mini witch hat to the upper curve of the donut, attaching an optional jingle bell to the brim.
Sew Inner Ring: Place the front and back panels wrong-sides together. Using the 12-inch green inner tail, whipstitch the inner chain edges (20 sts) together stitch-by-stitch around the center hole. Secure inside.
Sew Outer Edge & Stuff: Thread the 18–24 inch tail and align the 48 outer stitches of both panels. Begin sewing the outer edges together through both loops. Stuff firmly with fiberfill when ¾ closed, finish seaming, weave in all ends, and trim.
See More:
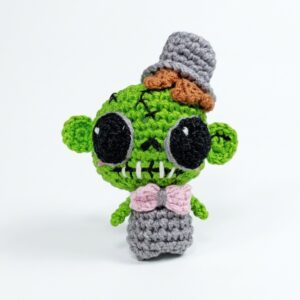
How to Crochet Green Bolt Zombie Man Amigurumi Doll Pattern
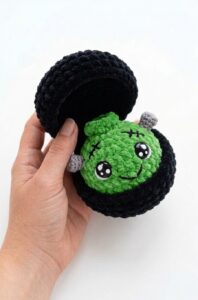
Tester Call: Free Crochet Kawaii-Eyes Bolt Zombie Dumpling Plushie
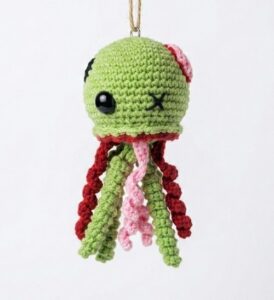
Featuring: How to Crochet Zombie Ghost Jellyfish Halloween Present Amigurumi for Kids
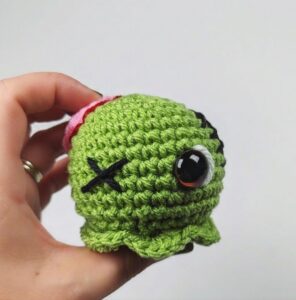
Featuring: How to Crochet Zombie Baby Ghost Amigurumi Plush for Halloween
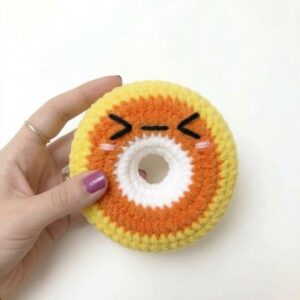
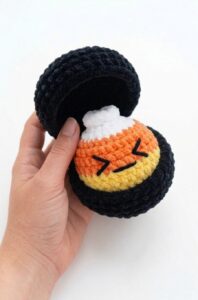
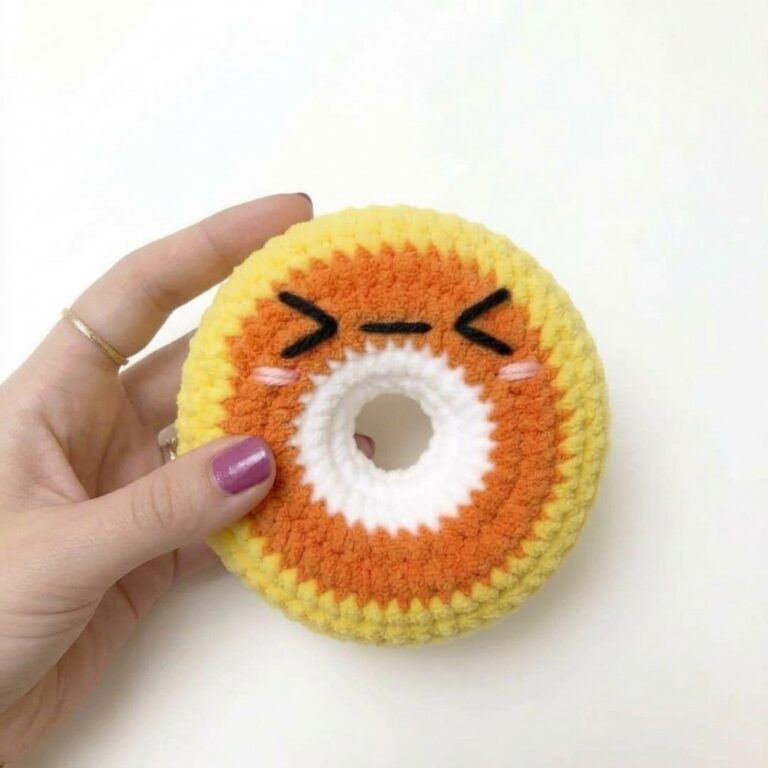
Pattern Tester: How to Crochet Orange, Yellow and White Donut Ring Plushie
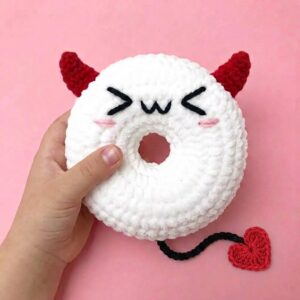
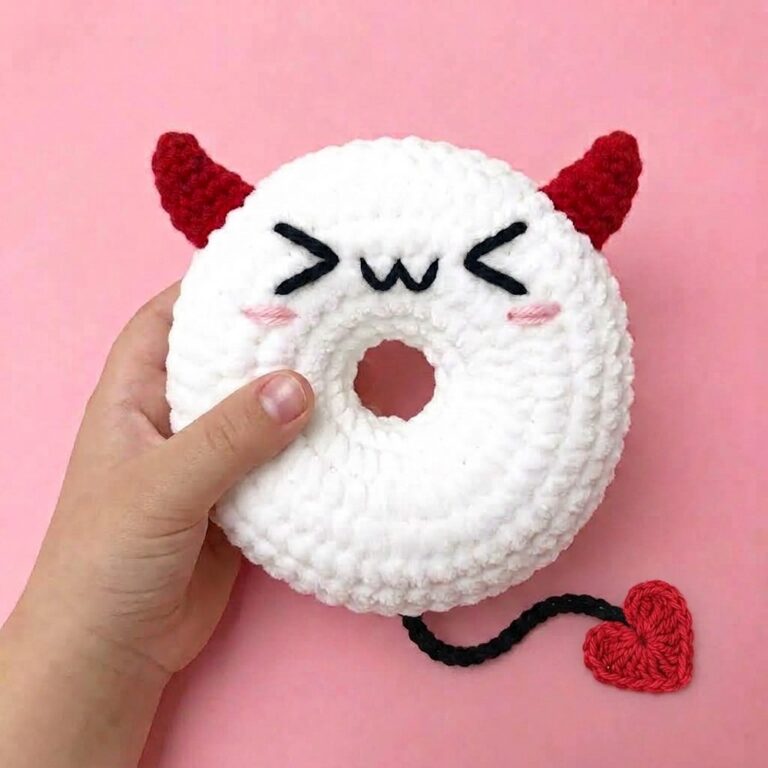
Pattern Tester: How to Crochet Red Horn Ghost Ring Donut Pluhsie for Gifting
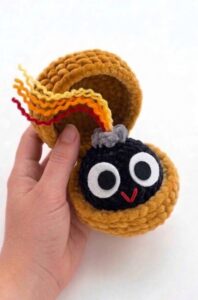
Tester Pattern: How to Crochet Birthday-Popper Dumpling Plushie for Gifting

Tester Pattern: How to Crochet Dumpling Buddy in A Steamer Costume Plushie

Tester Pattern: To Crochet A Snowball Christmas Dumpling in Basket Plush