Show support for Marifairyland!
Welcome to another part of “crocheting your favorite ANIMAL buddies wearing Christmas accessories” gift series! Today, learn how to crochet this no-sew, slouchy Santa hat miniature Koala buddy plushie that measures just 9cm (without the hand) with a FREE written pattern. This adorable plush koala is a quick, fun, and beginner-friendly amigurumi project.
It’s completely crocheted in one piece: the body, legs, arms, tail, and black nose are all crocheted seamlessly as you go, leaving only the ears to sew on at the end.
Made with super-soft velvet or chenille yarn, this cuddly pocket-sized koala plushie makes a keychain, bag charm, or cute gift for this Christmas; you can crochet it in under 30 minutes.
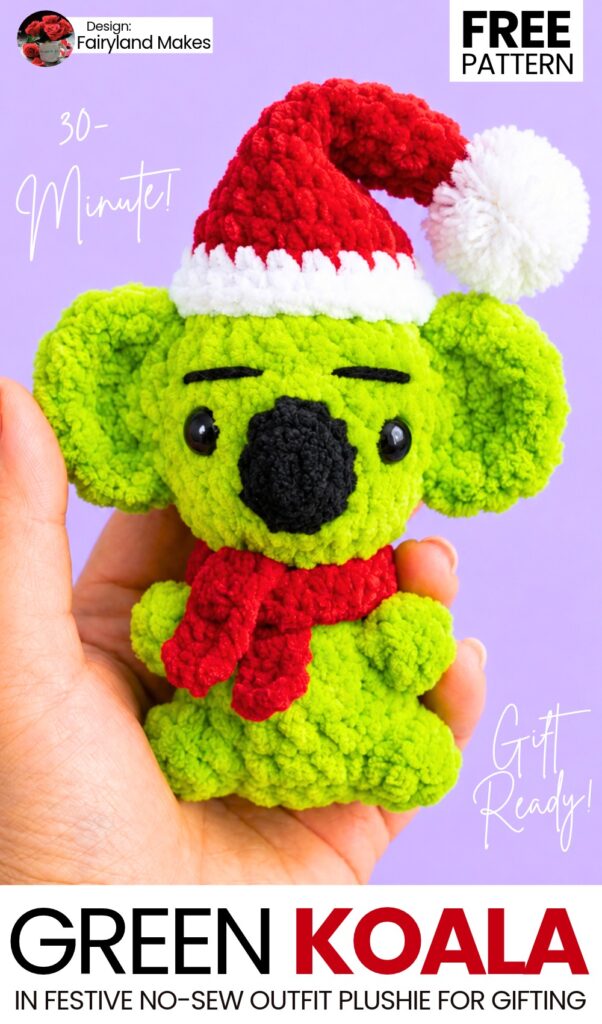
Pattern to Crochet the Plush Green Grinch Koala Plushie for Gifting
Height: Approximately 9 cm (~3.5 inches)
Materials & Tools
Plush / Chenille Yarn (Super Bulky / Category 5–6, approx. 100 g / 120 m; such as Himalaya Dolphin Baby or YarnArt Dolce):
Main Color (MC): Light baby blue or soft grey or grinch green (lime green) (small amount)
Contrast Color (CC): Black (small amount for the nose)
Crochet Hook: 4.5 mm (or 4.0 mm)
Eyes: 6 mm – 7 mm black half-beads / flatback eyes (or safety eyes)
Hot Glue Gun (or strong fabric glue for half-bead eyes)
Fiberfill: Polyester stuffing (holofiber)
Stitch Marker
Yarn Needle (blunt tapestry needle)
Scissors
Stuffing Tweezers (optional, helpful for small plush parts)
Keychain Attachment (optional)
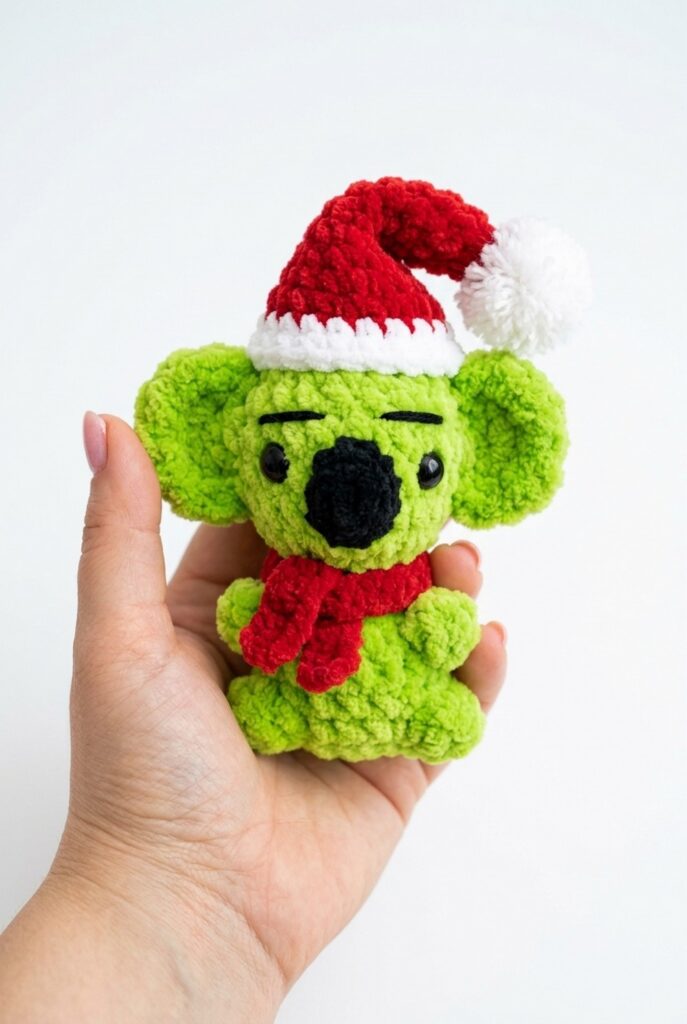
Materials for the Hat
Hat Main Body & Scarf: Category 5 (Bulky) Plush Yarn in Red
Hat Brim & Pom-Pom: White Yarn (Plush or Acrylic)
Crochet Hook: 3.5 mm
Other Supplies: Craft glue or hot glue, scissors, yarn needle, cardboard or pom-pom maker.
Abbreviations (US Crochet Terms)
MR: Magic Ring (or Ch 2 start)
ch: Chain
sc: Single crochet
inc: Increase (2 sc in the same stitch)
dec: Decrease (single crochet 2 stitches together)
hdc: Half double crochet
dc: Double crochet
dc3tog: Double crochet 3 stitches together (incomplete dc across 3 stitches, closed together)
sl st: Slip stitch
st(s): Stitch(es)
[ ]: Total stitch count at the end of the round
Video tutorial to Crochet the Koala Plushie
Special Stitches
Popcorn Stitch (Paws/Limbs):
Work 5 dc into the indicated stitch. Pull your hook out of the active loop, insert hook from front to back through the top of the 1st dc, catch the dropped loop, pull it through, and ch 1 to lock the popcorn. (The locking chain counts as part of the stitch on the following round).Bobble Stitch (Tail – 4-dc cluster):
Work 4 incomplete dc into the same stitch (leaving the last loop of each on hook—5 loops total on hook). Yarn over and pull through all 5 loops on hook.
Pattern Instructions
1. Ears (Make 2)
Ears are crocheted first so they are ready for assembly.
Using Main Color (MC):
Round 1: Ch 3. Starting in the 3rd chain from the hook, work 8 dc into that chain. Join with a sl st into the top of the first dc [8].
Round 2: Ch 1, 1 sc in the same base st. Work (1 sc, inc) repeat 4 times in total around. Sl st into the first st to join [12].
Fasten off, leaving a 15–20 cm (6–8 inch) tail for sewing. The ear will naturally cup slightly inward. Set both ears aside.
2. Body & Head (Worked in One Piece from Bottom to Top)
The Base & Hind Legs
Start with Main Color (MC):
Round 1: Ch 2. In the 2nd ch from the hook, work 6 sc [6].
Round 2: 6 inc (work 2 sc in each st around) [12].
Round 3: (1 sc, inc) repeat 6 times [18].
Round 4 (Legs & Tail):
5 sc
Leg 1: Popcorn stitch in next st (5 dc in 1 st, close through 1st dc, ch 1 to lock)
5 sc
Leg 2: Popcorn stitch in next st
5 sc
Tail: Bobble stitch in the last stitch (4 incomplete dc closed together)
[18 sts total]
Round 5: 18 sc around (work 1 sc into each sc, into the locking ch-1 above each popcorn leg, and into the top of the bobble tail) [18].
The Waist & Arms
Round 6 (Waist Shaping):
1 dec
14 sc
1 dec
[16 sts]
Round 7 (Arms):
5 sc
Arm 1: Popcorn stitch in next st (5 dc in 1 st, close, ch 1)
5 sc
Arm 2: Popcorn stitch in next st (5 dc in 1 st, close, ch 1)
4 sc
[16 sts]
Round 8 (Neck Decreases): 8 dec around [8].
Round 9 (Neck): 8 sc around [8].
The Head & Built-in Nose
Round 10 (Head Increases): 8 inc around [16].
Round 11: (3 sc, inc) repeat 4 times [20].
Round 12 (Nose Base):
With MC: 11 sc (on the 11th stitch, work the incomplete sc and pull through with Black (CC) to change color).
With CC:
3 hdc into the next stitch.
3 hdc into the following stitch (on the last hdc, pull through with MC to switch back to blue/grey).
With MC: 7 sc to end of round.
(Do not cut the black yarn; leave it resting inside the head for the next round).
[24 sts]
Round 13 (Nose Bulge):
With MC: 11 sc (finish the 11th sc with CC).
With CC:
Work a 3-dc cluster across the next 3 stitches (yarn over, insert in 1st st, pull up, pull through 2; yarn over, insert in 2nd st, pull up, pull through 2; yarn over, insert in 3rd st, pull up, pull through 2; 4 loops on hook, pull through all 4).
Work a second 3-dc cluster across the next 3 stitches in the same way.
Ch 1 with MC to lock and switch colors back.
With MC: 7 sc to end of round.
Cut the black yarn, tie the ends together on the inside, and tuck them into the body.
[20 sts]
Round 14: 20 sc around (crochet evenly over the stitches and the top locking loop of the nose) [20].
Round 15: 20 sc around [20].
Stuffing Checkpoint: Pause here to firmly stuff the body and the lower half of the head with fiberfill using tweezers or your fingers.
Closing the Head
Round 16: (3 sc, dec) repeat 4 times [16].
Round 17: (2 sc, dec) repeat 4 times [12].
Finish stuffing the head firmly, shaping the cheeks and back of the head.
Round 18: 6 dec around [6].
Fasten off, cutting yarn and leaving a 15 cm (6 inch) tail. Thread the tail onto a yarn needle, weave through the front loops of all 6 remaining stitches, pull firmly to close the top opening, tie a secure knot, and bury the yarn tail deep inside the head.
Abbreviations (US Terms)
mr = Magic Ring / Magic Circle
sc = Single Crochet
inc = Increase (2 sc in the same stitch)
ch = Chain
st(s) = Stitch(es)
[ ] = Total stitch count at the end of the round/row
Plush Santa Beanie
Round 1: Using Category 5 Red plush yarn and a 3.5 mm hook, make 6 sc into a magic ring [6]
Round 2: 6 sc [6]
Round 3: 8 sc (e.g., [2 sc, inc] × 2) [8]
Round 4: 8 sc [8]
Round 5: 10 sc (e.g., [3 sc, inc] × 2) [10]
Round 6: 10 sc [10]
Round 7: 10 sc [10]
Round 8: 10 sc [10]
Round 9: 12 sc (e.g., [4 sc, inc] × 2) [12]
Round 10: 14 sc (e.g., [5 sc, inc] × 2) [14]
Round 11: 16 sc (e.g., [6 sc, inc] × 2) [16]
Round 12: 18 sc (e.g., [7 sc, inc] × 2) [18]
Round 13: 20 sc (e.g., [8 sc, inc] × 2) [20]
Round 14: 22 sc (e.g., [9 sc, inc] × 2) [22]
Color Change: Switch to White Yarn on the final yarn-over of Round 14.
Round 15 (Round 22 in your count): 22 sc in White [22]
Round 16 (Round 23 in your count): 22 sc in White, adding 1 inc [23]
Round 17 (Round 24 in your count): 23 sc in White, adding 1 inc [24]
Fasten off and weave in the white yarn end.
2. 2-Inch Wrapped Pom-Pom Method & Attachment
How to Make the Wrapped Pom-Pom:
Wrap the Yarn: Cut a 2-inch wide piece of stiff cardboard (or use your index and middle fingers). Wrap your white yarn around the cardboard roughly 50–70 times until you have a thick bundle.
Secure the Center: Slide a separate 8-inch strand of yarn underneath the wrapped bundle. Tie a double knot around the middle of the bundle as tightly as possible.
Cut the Loops: Slide the bundle off the cardboard and cut all the loops open on both sides.
Trim: Fluff out the yarn to form a rough sphere, then trim the ends with scissors until you have a neat, dense 2-inch pom-pom ball.
Gluing & Attachment:
Clear a Base: Pick one side of the pom-pom and cut/trim away a small portion of the yarn strands close to the center knot to create a small flat base.
Glue: Place a dab of hot glue or fabric glue onto the flat area.
Attach: Press the pom-pom firmly onto the top tip (Round 1) of the red beanie and hold it in place until the glue sets.
3. Simple Plush Scarf
Worked in flat rows.
Foundation: Using Category 5 Red plush yarn and a 3.5 mm hook, ch 20.
Row 1: Starting in the 2nd chain from the hook, work 1 sc in each chain across [19 sc].
Fasten off and weave in the ends.
3. Assembling the Details
Attaching the Eyes
Position the 6–7 mm black eyes/half-beads between Rounds 13 and 14, spaced 1 stitch away from each side of the black nose.
Apply a small dab of hot glue (or craft glue) to the back of each half-bead and press firmly into place against the plush stitches.
Sewing the Ears
Place each ear on the side of the head, positioned about 2 stitches back from the eye.
Align each ear so that its base spans across 3 rounds (approximately Rounds 13 to 15), tilting slightly forward to frame the eye.
Using the yarn tail and a tapestry needle, sew through both edges of the ear base and the head stitches to anchor firmly.
Knot the yarn tail securely and pull it inside the head to conceal the end. Repeat for the second ear.
Finishing Touches
Gently pinch and adjust the paws and nose to enhance their rounded 3D shape.
If making a keychain, loop a cord or attach a split ring through the closed crown stitches at the top of the head.
Your adorable plush koala is complete!

See More:
Tester Call: How to Crochet Grinch Owl Dumpling in A Christmas Box Plushie
How to Crochet Grinch Mushy in Ruffle-Brim Santa Hat Miniature Amigurumi for Gifting
How to Crochet Mini Grinch Stingray in Santa Hat & Scarf Buddy Plushie for Gifting
Tester Call: How to Crochet Surprise Gift Amigurumi No-Sew Grinch-Eyed Ghost Buddy for Gifting
Tester Call: How to Crochet Plush Grinch Star Buddy & Ornament Gift for Christmas
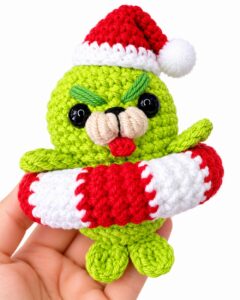
How to Crochet Grinch Seal in a Peppermint Swimming Tube Amigurumi Holiday Gift
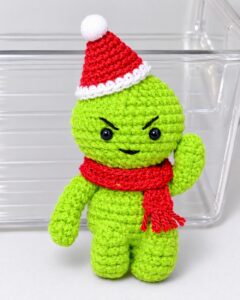
How to Crochet Amigurumi Grinch Smiski For Christmas Gifting
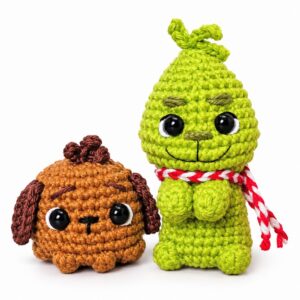
How to Crochet Peppermint Scarf & Cutest-Eyed Grinch Buddy Amigurumi Clip-Toy
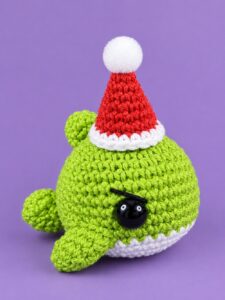
Tester Call: How to Crochet Amigurumi Miniature Grinch Whale Present Toy