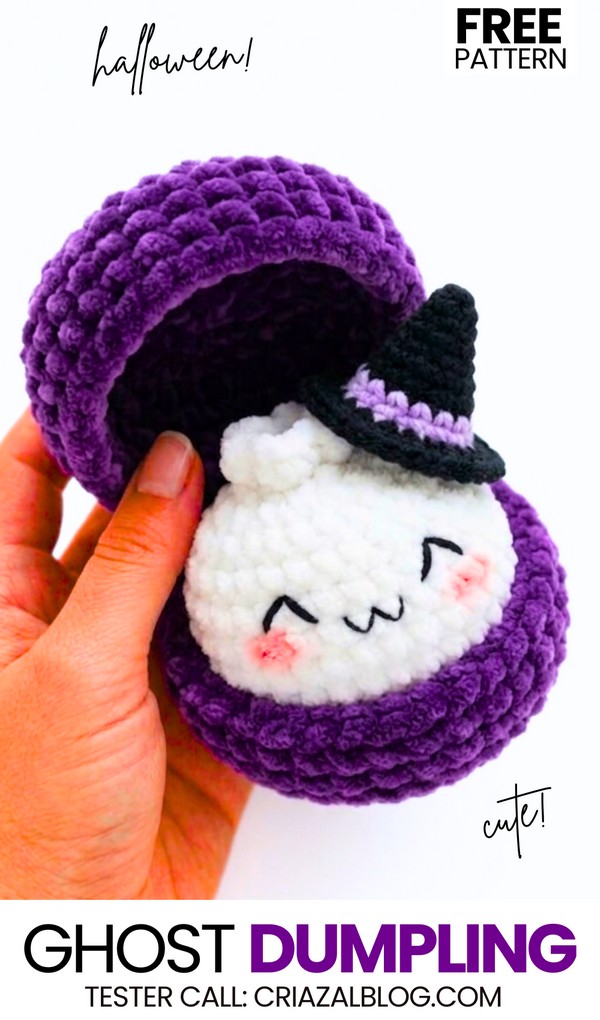
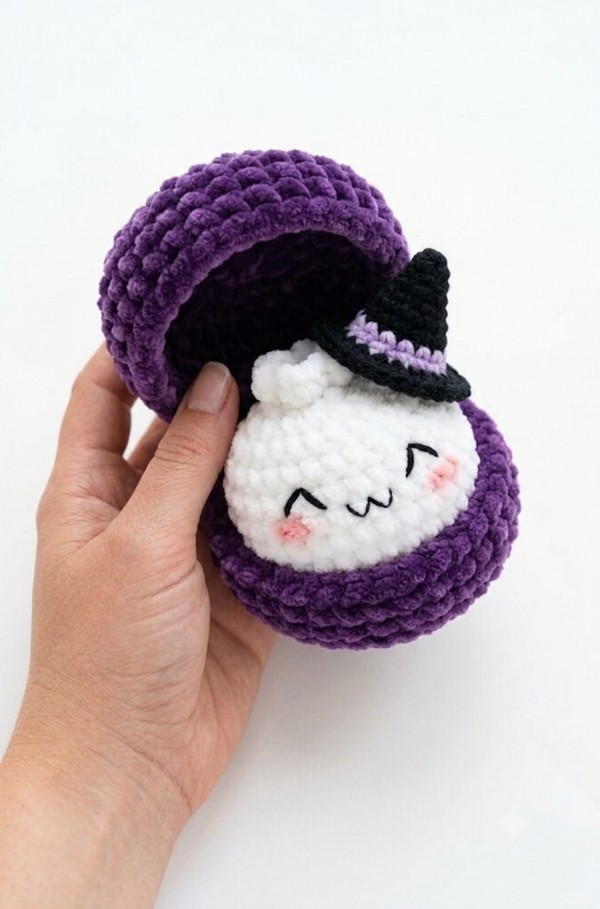
As I promised, here is the 5th Halloween pattern tester call! Today, I am continuing the Halloween dumpling series and sharing this free crochet ghost in a witch hat dumpling plushie variation pattern for absolute beginners. This time, I have used the purple yarn for the crochet dumpling steamer basket. The ghost is wearing an amigurumi witch hat with a purple band made of cotton yarn instead. The crochet ghost also has cute kawaii V eyes and a meow face that make it look simply adorable instead of spooky. Make this crochet ghost and witch hat set in less than 45 minutes.
Since this ghost crochet dumpling is part of the Halloween dumpling in a steamer series, soon I will extend this series to include the pumpkin, spooky squid, and zombie ghost plush, too.
Since we are crocheting the white plushie, I have also added the cheeks (you can also embroider them). You can easily crochet this spooky-cute Halloween dumpling as a last-minute plushie present for a little girl. The basket pattern only requires 16 rounds. Now, I want to emphasize again that the whole pattern is tested, including the hat!
[ez-toc]
Pattern to Crochet the Ghost Dumpling with Basket
The spooky toy has a box that closes and has a handle. It is seven centimeters big. The toy is very easy and fast to crochet. The box is also easy to make.
1. Mini Witch Hat Pattern
(Black & Light Purple / Lavender Yarn)
R1: 4 sc in MR (4)
R2: (1 sc, inc) × 2 (6)
R3: sc around (6)
R4: (1 sc, inc) × 3 (9)
R5: sc around (9)
R6: (2 sc, inc) × 3 (12)
R7: sc around (12)
R8: (3 sc, inc) × 3 (15)
R9: Change color to Light Purple / Lavender. sc around (15)
R10: Change color back to Black. Work in FLO: (4 sc, inc) × 3 (18)
R11: Work through both loops: (2 sc, inc) × 6 (24)
Finishing: Slip stitch to the next stitch. Fasten off, leaving a long tail for sewing onto the dumpling.
2. Dumpling Pattern
(White Plush / Chenille Yarn)
R1: 8 sc in MR (8)
R2: 8 inc (16)
R3: (1 sc, inc) repeat 8 times (24)
R4: (2 sc, inc) repeat 8 times (32)
R5–R8 (4 rounds): 32 sc (32)
R9: (2 sc, dec) repeat 8 times (24)
R10: (1 sc, dec) repeat 8 times (16)
Stuff the dumpling firmly with fiberfill before closing.
R11: 8 dec (8)
Top “Skirt” Ruffle
R12: Working in FLO only: (inc, 1 sc) repeat all the way around to the end. Fasten off with a sl st, cut yarn, and weave in the end inside the ruffle structure.
Closing the Bottom Hole
Thread white yarn onto a needle and weave through the unworked back loops of R11. Pull tightly to close the opening, tie off, and hide the thread end inside the body.
3. Face Details Embroidery
Using black and pink embroidery floss or thin yarn:
Eyes (
^ ^shape): Embroider two curved, happy arch eyes (^ ^) using black thread across R6–R7, leaving about 4 to 5 stitches of space between them.Mouth (
wshape): Embroider a curved “w” mouth centered between the eyes on R7–R8.Blush Cheeks: Embroider a short horizontal stitch (or apply a touch of soft pink blush) directly under each eye on R8.
4. Clamshell Box Pattern
(Purple Plush Yarn — Make 2)
Top Lid & Bottom Base (Make 2 Identical Pieces)
R1: 8 sc in MR (8)
R2: 8 inc (16)
R3: (1 sc, inc) repeat 8 times (24)
R4: (2 sc, inc) repeat 8 times (32)
R5: (7 sc, inc) repeat 4 times (36)
R6: 36 sc in BLO (36)
R7–R8 (2 rounds): 36 sc (36)
For the Top Lid: Fasten off and weave in the yarn end.
For the Bottom Base: Fasten off, leaving a long tail for connecting the hinge.
5. Assembly & Joining
Hat Attachment: Place the mini witch hat slightly tilted on top of the dumpling’s head (just beside or slightly over the top ruffle around R5–R7). Sew it securely into place using the long tail left from the hat.
Clamshell Hinge: Align the bottom base and top lid together with their open edges touching. Using the long tail from the bottom base (and a yarn needle or hook), connect the two halves across 5 to 6 stitches along the back rim using single crochets or mattress stitches.
See More:
Tester Call: How to Crochet Gingerbread Bao Bun Dumpling Plushie for Christmas
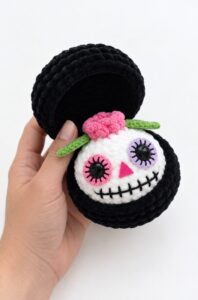
Pattern Tester: Flower on the Top Tribute Spooky Dumpling Plushie Pattern
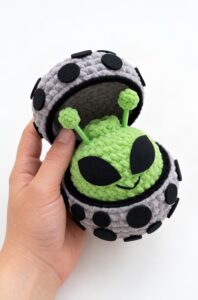
Pattern Tester: How to Crochet An Alien Dumpling in A Pod Box Plushie
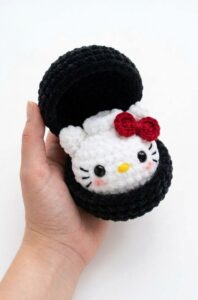
Tester Pattern: How to Crochet Hello Kitty Dumpling Plushie for Playing With
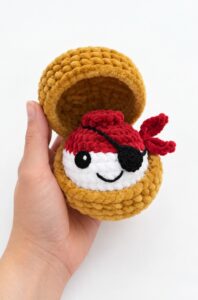
Tester Call: How to Crochet Mr. Pirate Dumpling Plushie in A Treasure Box
Tester Pattern: How to Crochet Birthday-Popper Dumpling Plushie for Gifting

Tester Pattern: How to Crochet Dumpling Buddy in A Steamer Costume Plushie

Tester Pattern: To Crochet A Snowball Christmas Dumpling in Basket Plush
Tester Call: Free Crochet Orange, Yellow & White Dumpling Plushie