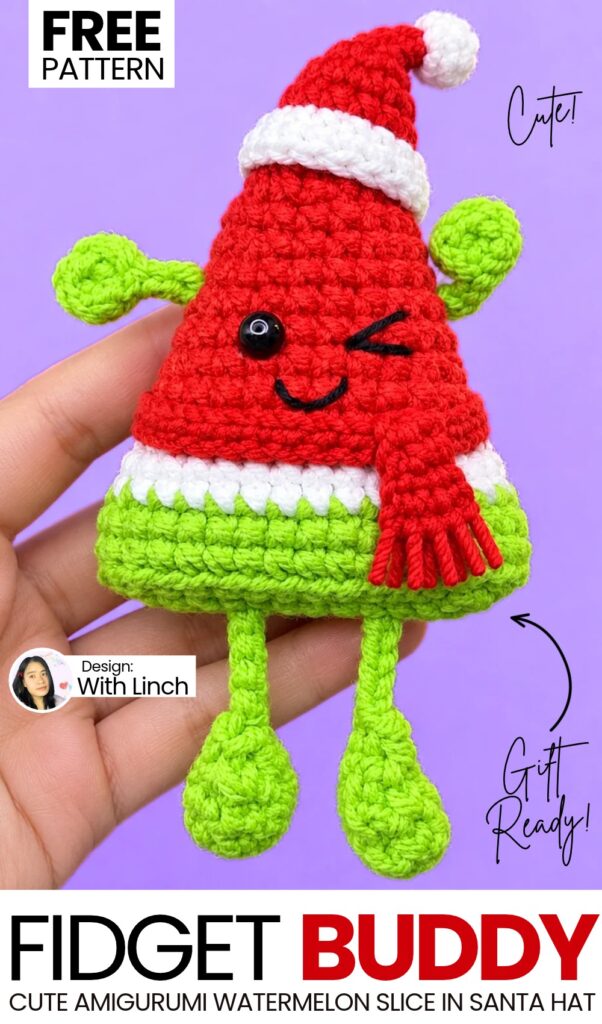
For today’s crochet Christmas gift fidget toys tutorial, I have chosen A UNIQUE theme! So, be sure to surprise the little ones this Christmas by crocheting this little fruit slice in a Santa hat and scarf amigurumi keychain, following a free pattern and a tutorial as well.
This is also part of the Leggy Buddies series, and I am super excited to share a free one for them here! Crocheting this amigurumi slice watermelon amigurumi is super quick and easy even for beginners.
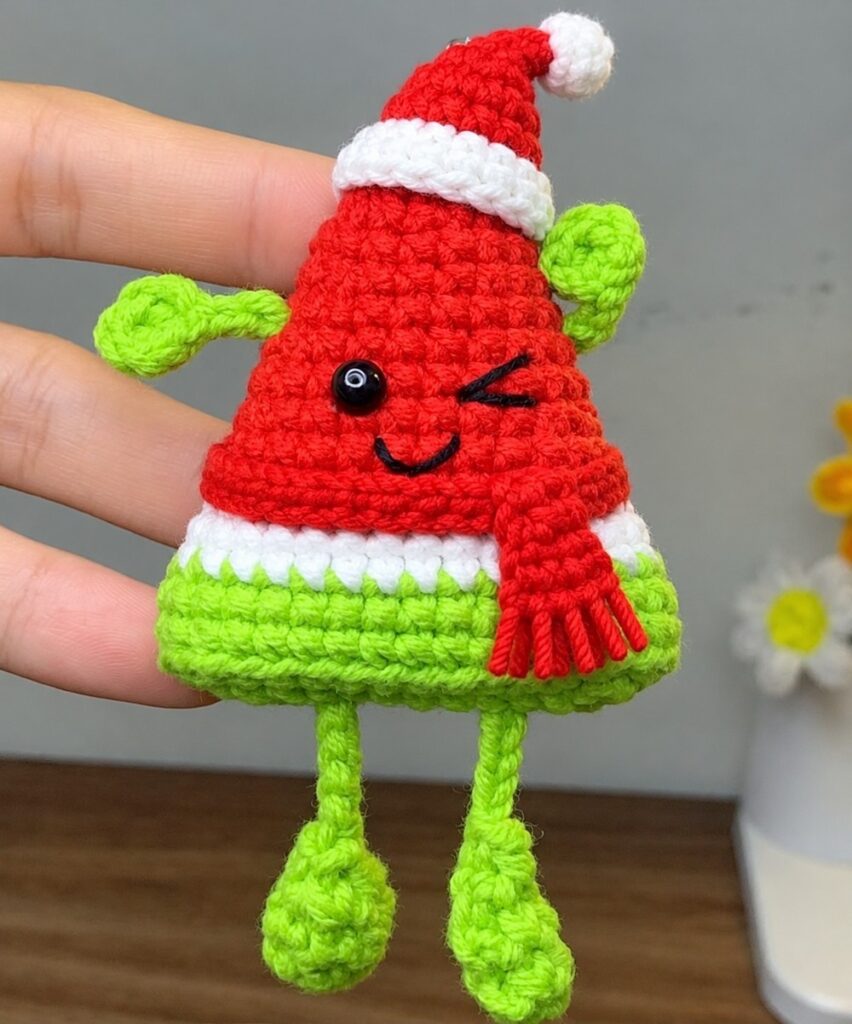
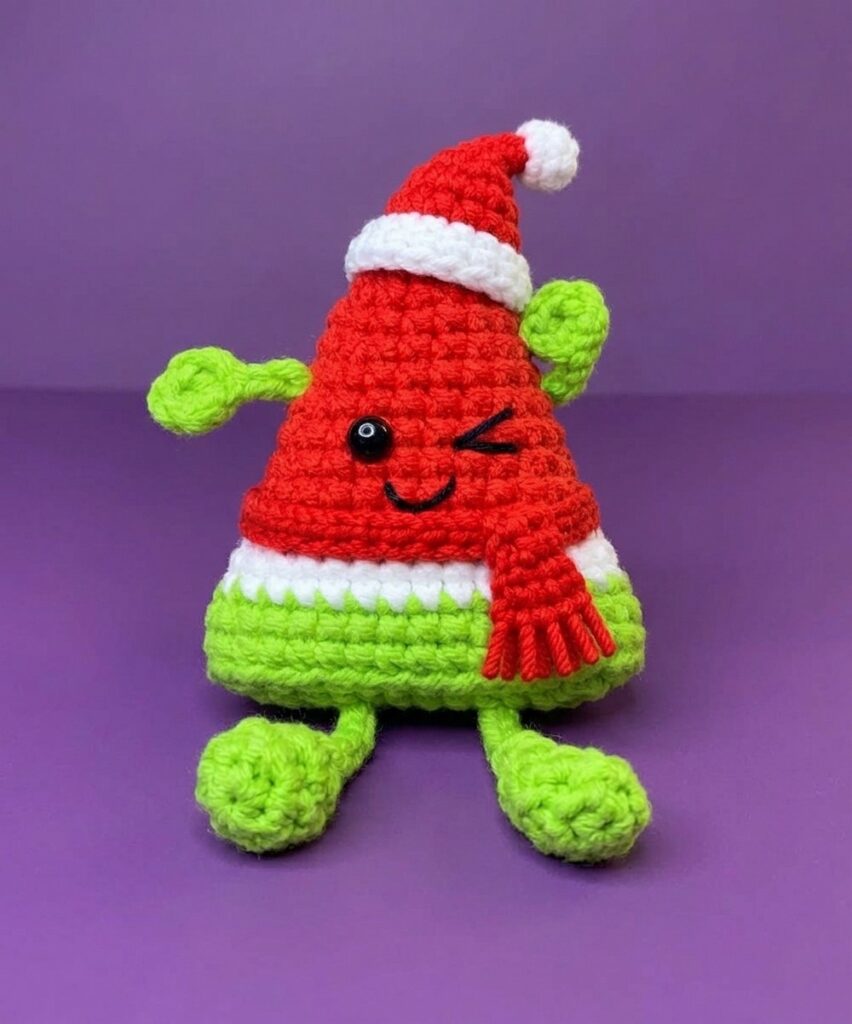
The crochet watermelon slice features dangling legs, cute little hands, and a sweet winking face. Finished with embroidered seeds and a keychain ring, it makes a fun accessory for bags, backpacks, or keys! Now, continue reading for learning more about this amigurumi crochet buddy project for Christmas!
Pattern to Crochet Amigurumi Fidget Toy Watermelon
Worked from the rind up to the tip, it gradually tapers using clean decreases to form a classic triangular slice. A clever technique pulls the leg chains right through the body to crochet the arms directly from the same yarn strands.
Materials & Tools
Yarn: Sport weight / 4-ply cotton yarn (approx. 2.0 mm thickness, e.g., Milk Cotton or Susan’s Family):
Lime Green (Rind, legs, and arms)
White (Inner rind)
Red (Flesh)
Crochet Hook: 2.5 mm
Embroidery Thread: Fine black cotton thread (approx. 1 mm) for the mouth, winking eye, and seeds
Eyes: One 4 mm or 5 mm black bead or flat-back safety eye
Notions & Accessories:
Polyester fiberfill stuffing
Tapestry / yarn needle
Stitch marker
Scissors
Hot glue gun & glue sticks
Metal keychain ring with jump ring / chain
Stitch Abbreviations (US Terms)
MR: Magic Ring
ch: Chain
sl st: Slip stitch
sc: Single crochet (the video uses yarn-under “X” single crochet, but standard yarn-over single crochet works just as well)
inc: Increase (2 sc in the same stitch)
dec: Decrease (single crochet 2 stitches together)
BLO: Back loop only
dc: Double crochet
st(s): Stitch(es)
[ ]: Stitch count at the end of the round
Video tutorial to Crochet the Watermelon Buddy Amigurumi
Step-by-Step Crochet Instructions
Part 1: Watermelon Body
The body starts at the bottom rind with green yarn, transitions through white, and finishes at the top point in red.
With Lime Green Yarn:
Foundation: ch 13.
Round 1:
Skip the 1st chain from the hook, work 11 sc along the chain.
In the last chain, work 3 sc in the same stitch (turning to work along the opposite side of the chain).
Along the opposite side of the chain, work 10 sc.
In the final chain (same space as the very first stitch), work 1 inc (2 sc).
- Join with a sl st into the first sc. [26]
Round 2:
ch 1, 1 inc in the first stitch.
Work 10 sc.
Work 3 inc (2 sc into each of the next 3 stitches at the curve).
Work 10 sc.
Work 2 inc (2 sc into each of the next 2 stitches at the other curve).
Join with a sl st into the first sc. [32]
Round 3:
ch 1, working in BLO (Back Loops Only): work 32 sc around.
Join with a sl st into the first sc. [32]
Round 4:
ch 1, work 32 sc through both loops around.
Color Change: On the 32nd stitch, complete the final yarn-over with White yarn. Cut green yarn.
Join with a sl st into the first stitch using white. [32]
With White Yarn:
Round 5:
ch 1, 1 sc, 1 dec, 10 sc, 1 dec, 2 sc, 1 dec, 10 sc, 1 dec, 1 sc.
Join with a sl st into the first sc. [28]
Round 6:
ch 1, work 28 sc around.
Color Change: On the 28th stitch, complete the final yarn-over with Red yarn. Cut white yarn.
Join with a sl st into the first stitch using red. [28]
With Red Yarn:
Round 7: ch 1, 1 sc, 1 dec, 8 sc, 1 dec, 2 sc, 1 dec, 8 sc, 1 dec, 1 sc, sl st to join. [24]
Round 8: ch 1, 24 sc around, sl st to join. [24]
Round 9: ch 1, 1 sc, 1 dec, 6 sc, 1 dec, 2 sc, 1 dec, 6 sc, 1 dec, 1 sc, sl st to join. [20]
Round 10: ch 1, 20 sc around, sl st to join. [20]
Round 11: ch 1, 1 sc, 1 dec, 4 sc, 1 dec, 2 sc, 1 dec, 4 sc, 1 dec, 1 sc, sl st to join. [16]
Round 12: ch 1, 16 sc around, sl st to join. [16]
Round 13: ch 1, 1 sc, 1 dec, 2 sc, 1 dec, 2 sc, 1 dec, 2 sc, 1 dec, 1 sc, sl st to join. [12]
Round 14: ch 1, 12 sc around, sl st to join. [12]
Stuffing:
Pause here to firmly stuff the watermelon with polyester fiberfill, pushing stuffing evenly into the bottom corners and tapering up toward the tip.
Round 15:
ch 1, 1 dec, 2 sc, 2 dec, 2 sc, 1 dec, sl st into the first st to join. [6]
Closing the Tip:
Fasten off, leaving an 8-inch yarn tail.
Thread the tail onto a tapestry needle, weave through the front loops of all 6 stitches, and pull tightly to close the opening.
Weave the remaining tail inside the body and trim.
Part 2: Legs & Feet (Make 2)
Worked in Lime Green yarn from the foot upward into a hanging chain.
Round 1: Make a MR, work 5 sc into the ring. Join with a sl st into the first st. [5]
Round 2: ch 1, 1 inc, 4 sc, sl st into first st. [6]
Round 3: ch 1, 6 sc around, sl st into first st. [6]
Round 4: ch 1, 3 dec around, sl st into first st. [3]
Leg: ch 20.
Do not fasten off normally: Pull up a long yarn loop (about 6–8 inches / 15–20 cm) and cut the yarn. Keep the loop intact.
Part 3: Attaching Legs & Crocheting Arms
Rather than crocheting separate arms, each leg’s long chain loop is pulled through the body to create the arm on the same side.
Thread the long loop from one leg onto a tapestry needle.
Insert the needle into the bottom green rind (about 4 stitches inward from the edge) and guide it diagonally through the body, coming out on the side of the red section (around Round 10–11 of the body).
Pull the loop through until the leg dangles at your preferred length below the rind.
Insert your crochet hook into the loop extending out of the watermelon’s side:
ch 2.
Work 2 dc into the base of the chain (where it emerges from the body).
ch 2, work 1 sl st back into the same base stitch to form a small rounded hand.
Fasten off, thread the tail onto a needle, weave it securely inside the body, and trim.
Repeat the exact process for the second leg and arm on the opposite side.
Part 4: Facial Details, Seeds & Assembly
Eyes:
Winking Eye (Right): Using thin black embroidery thread, embroider a sideways chevron > or small curved wink ^ on the front red section around Round 9–10.
Open Eye (Left): Glue a 4–5 mm black bead or flat-back safety eye opposite the winking eye using hot glue.
Mouth:
Using black thread, stitch a small, cheerful smile u centered between and slightly below the eyes.
Watermelon Seeds:
On the back of the watermelon, stitch 5 to 7 small vertical/diagonal seed dashes randomly across the red flesh.
Arm Styling:
Dab a small dot of hot glue behind one of the arms to secure it pointing upward in a playful “waving” pose. Leave the other arm pointing naturally outward.
Keychain Attachment:
Open the jump ring of your keychain and secure it through the top red tip of the watermelon slice.
Your Amigurumi Watermelon Slice Keychain is now complete and ready to show off!
Miniature Crochet Hat Pattern
Materials & Tools
Yarn: DK weight cotton yarn (Color A for the small part/accent, Red for the main hat body)
Hook: 2.0 mm crochet hook
Other: Stitch marker, yarn needle, small amount of stuffing
Part 1: Small Attachment Part (Color A)
Work in continuous rounds unless otherwise specified. Use a stitch marker to keep track of your first stitch.
Round 1: 6 single crochet (sc) in a magic ring (6 sts)
Round 2: [Inc, sc in next st] repeat around (9 sts)
Round 3: Sc in each st around (9 sts)
Round 4: [InvDec, sc in next st] repeat around (6 sts)
Stuff the small part firmly now, fasten off, and leave a tail for attaching later.
Part 2: Hat Body (Red Yarn)
Start from the top crown and work down. Work in continuous rounds.
Round 1: 4 sc in a magic ring (4 sts)
Round 2: (Inc, sc in next st) twice — (increase 1 st total) (5 sts)
Round 3: Inc, sc in next 4 sts (6 sts)
Round 4: (Inc, sc in next st) 3 times (7 sts)
Round 5: Inc, sc in next 6 sts (8 sts)
Round 6: (Inc, sc in next 3 sts) twice (10 sts)
Round 7: (Inc, sc in next 4 sts) twice (12 sts)
Round 8: (Inc, sc in next 5 sts) twice (14 sts)
Round 9: In FLO (Front Loops Only): (Inc, sc in next 6 sts) twice (16 sts)
Round 10: (Inc, sc in next 7 sts) twice (18 sts)
Round 11: Sc in each st around (18 sts)
Round 12: (Inc, sc in next 8 sts) twice (20 sts)
Fasten off and weave in the ends, or leave a tail if you need to sew it onto a project.
Finishing & Assembly
Take the stuffed small part you made in Part 1.
Securely attach it to the top or side of the red hat using the yarn tail and your yarn needle.

See More:
How to Crochet the Watermelon Bat No-Sew Plushie Pattern
How to Crochet An Orange, Watermelon & Strawberry Fruit Bat Plushie
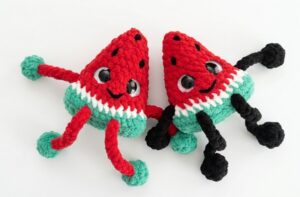
Featuring: How to Crochet A Watermelon Slice Buddy Fidget Toy Plush
Crochet My Candy Pop Coaster Pattern for Summer (Sun & Watermelon Version)
How to Make Watermelon Macramé Bracelet from Easy Square Knot Bracelet

How to Crochet Smiling Small Christmas Tree Cutie with a Yellow Bow on the Top
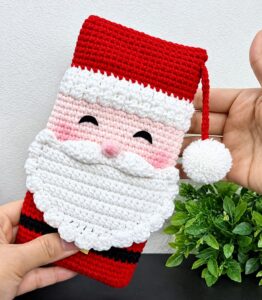
How to Crochet Christmas Gift Smiling Santa Mobile Phone Pouch and Gift Bag
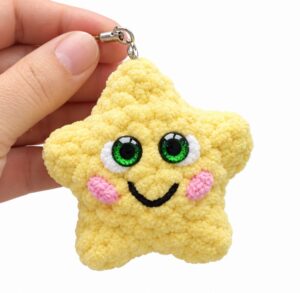
How to Crocet Holdiday Mr. Smiling Star Plushie for Christmas Gifting
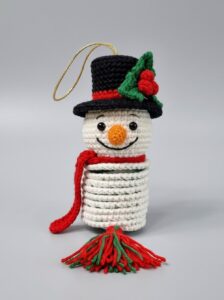
[PDF Pattern] How to Crochet Smiling Snowman Wind Spinner for Christmas