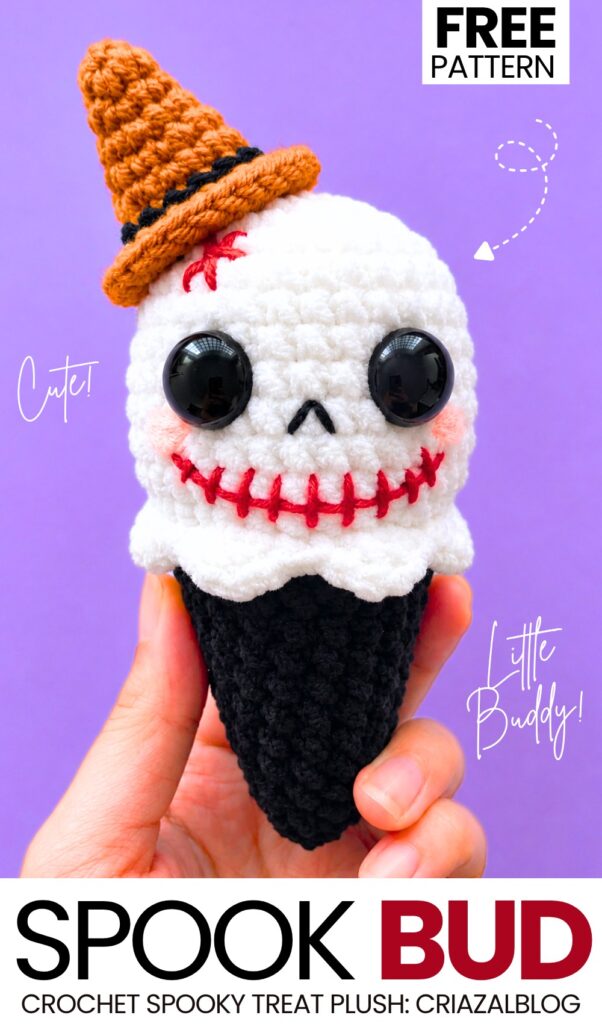
I am starting a brand-new “crochet GIFT food plushie” series – the “Halloween ice cream treat plushie” series! First, let’s learn how to crochet this UNIQUE, REALLY spooky plush ice cream cone wearing a witch hat with a FREE written pattern for absolute beginners.
Using black yarn for the cone, orange for the witch hat, and red for the spooky smile, this is the CUTEST crochet plushie in our spooky plushies series.
And luckily, it is a low-sew pattern that anybody can crochet in 30 minutes. So, using skinny plush crochet, this is a last-minute Halloween treat for sure with the pattern below.
[ez-toc]
Pattern to Crochet the REALLY Spooky Treat Cone
Skill Level: Beginner – Level 4
Materials List
Plush/Bulky Chenille Yarn:
White (for the skull scoop)
Black (for the cone)
DK Cotton Yarn:
Orange, Black, or Purple (for the mini witch hat)
Red (for the stitched mouth and scar)
Black (for the embroidered nose)
Eyes & Details:
14 mm–16 mm black safety eyes
Pink yarn, felt, or blush for the cheek details
Polyester fiberfill stuffing
Hooks & Tools:
5.0 mm crochet hook (for bulky yarn)
2.5 mm crochet hook (for DK cotton hat yarn)
Tapestry needle / Yarn needle
Stitch markers & Scissors
Pattern Abbreviations (US Terms)
MR: Magic Ring
sc: Single Crochet
hdc: Half Double Crochet
inc: Increase (2 sc in same st)
dec: Decrease (sc 2 together)
sl st: Slip Stitch
FLO: Front Loops Only
BLO: Back Loops Only
st(s): Stitch(es)
1. Skull Scoop (White Plush Yarn)
Worked in continuous rounds.
Rnd 1: 6 sc in a MR [6]
Rnd 2: Inc in each st around [12]
Rnd 3: [1 sc, inc] × 6 [18]
Rnd 4: [2 sc, inc] × 6 [24]
Rnd 5: [3 sc, inc] × 6 [30]
Rnds 6–10: Sc in each st around [30 for 5 rounds]
Rnd 11: [3 sc, dec] × 6 [24]
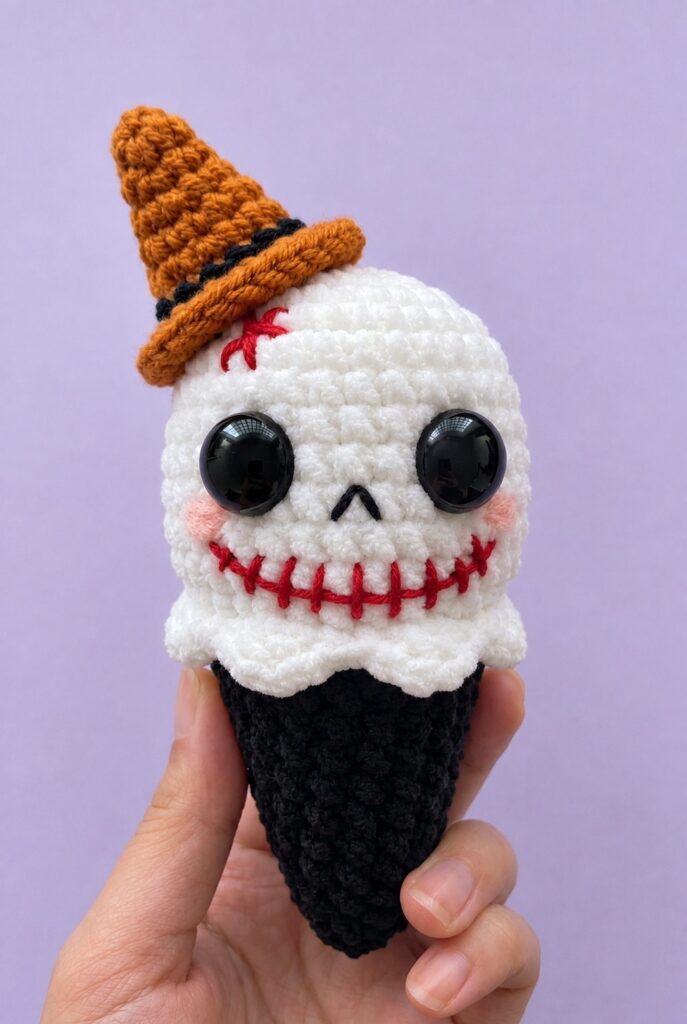
Rnd 12 (Ruffle Rim): Work in FLO for this round. [sl st in next st, skip 1 st, 4 hdc in next st, skip 1 st] repeat around to create the ruffled ice cream bottom [source: 2]. Fasten off white yarn.
2. Facial Embroidery & Details
Before starting the cone, place the safety eyes and add facial details
Safety Eyes: Insert the large black safety eyes between Rnds 7 and 8, spaced about 4–5 stitches apart
Nose: Using black DK yarn or embroidery floss, embroider an inverted “V” shape directly between the eyes
Stitched Mouth: Using red DK yarn, stitch a long horizontal curved line from cheek to cheek. Add 7–9 vertical hash lines across the mouth line to create a spooky “stitched” skull look.
Forehead Scar: Using red DK yarn, embroider a small red “X” scar on the upper forehead.
Cheeks: Apply a small dab of pink cosmetics blush or stitch small pink horizontal lines beneath each eye.
Stuff the head firmly with fiberfill.
3. Cone (Black Plush Yarn)
Attach black yarn to the first unworked Back Loop (BLO) of Rnd 11 behind the white ruffle.
Rnd 13: Working in BLO of Rnd 11, sc in each st around [24]
Rnd 14: [2 sc, dec] × 6 [18]
Rnds 15–16: Sc in each st around [18 for 2 rounds]
Rnd 17: [1 sc, dec] × 6 [12]
Rnds 18–19: Sc in each st around [12 for 2 rounds]
Stuff the top of the cone firmly, continuing to add fiberfill as you decrease.
Rnd 20: Dec × 6 [6]
Rnd 21: Sc in each st around [6]
Finish: Fasten off, leaving a tail. Thread the tail through the front loops of the remaining 6 stitches, pull tight to close the pointed tip, and weave in the end.
4. Witch Hat
Use DK cotton yarn and a 2.5 mm hook.
Round 1 (Orange or Black): Magic ring, 4 SC, sl st to join [4]
Round 2: Ch 1, (1 SC, Inc) × 2, sl st [6]
Round 3: Ch 1, (2 SC, Inc) × 2, sl st [8]
Round 4: Ch 1, (3 SC, Inc) × 2, sl st [10]
Round 5: Ch 1, (4 SC, Inc) × 2, sl st [12]
Round 6: Ch 1, (5 SC, Inc) × 2, sl st [14]
Round 7: Ch 1, 14 SC around, sl st [14]
Round 8 (Switch to Black / Orange): Ch 1, Inc with HDC in every stitch (2 HDC in each st), sl st around the rim [28]
Fasten Off: Cut yarn, leaving a tail for sewing onto the scoop. Attach a small green bell to the rim using a jump ring if desired.
5. Final Assembly
Lightly stuff the mini witch hat with fiberfill to help maintain its conical shape.
Position the hat at a jaunty angle on the top side of the skull scoop.
Using the yarn tail and a tapestry needle, whipstitch the hat securely to the top of the head. Weave in all remaining ends inside the plushie.
See More:
How to Crochet Candy Corn Mr. Enternainer Scoop & Cone Plushie for Gifting
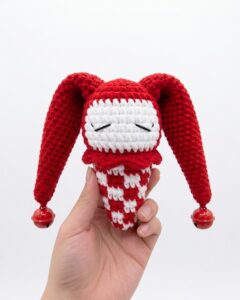
Tester Call: How to Crochet Mr. Enternainer Funny Character Cone Plushie for Gifting
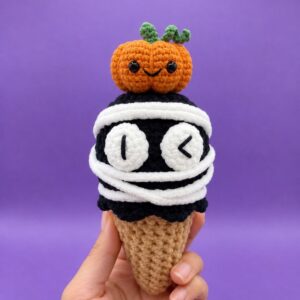
Pattern Tester: How to Crochet Funny Mummy Scoop & Cone in Orange Hat Plushie
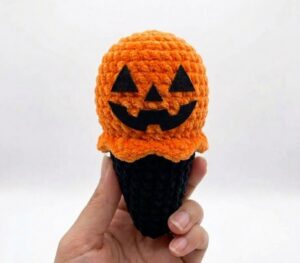
Tester Call: How to Crochet Spooky Face Ice Witch Cone Plushie
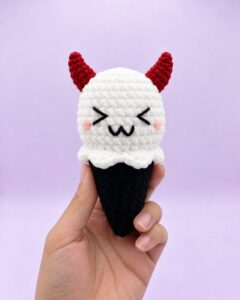
Pattern Tester: To Crochet Red-Horned Meow Ghost Treat Cone Plushie for Gifting
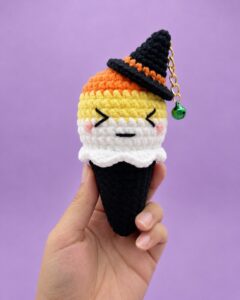
Tester Call: Crochet Orange, Yellow & White Treat Cone Plushie for Gifting
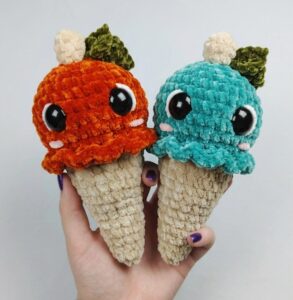
How to Crochet CUTE Pumpkin Ice Cream Cone Plushie for Fall & Halloween
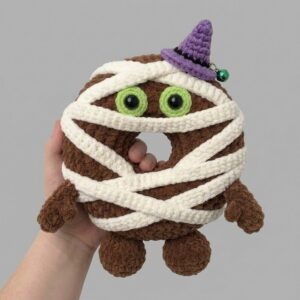
Tester Call: How to Crochet A Food Ring Mummy Buddy Plushie for Kids
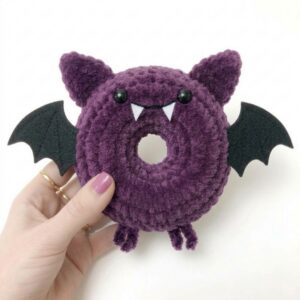
Pattern Tester: How to Crochet A Spooky-Cute Bat Food Ring Plush for Gifting