Author: Talha
I am a crochet designer, macramé maker and a crafter who also loves doing MATH.
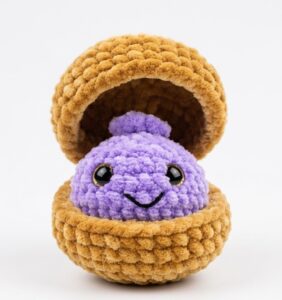
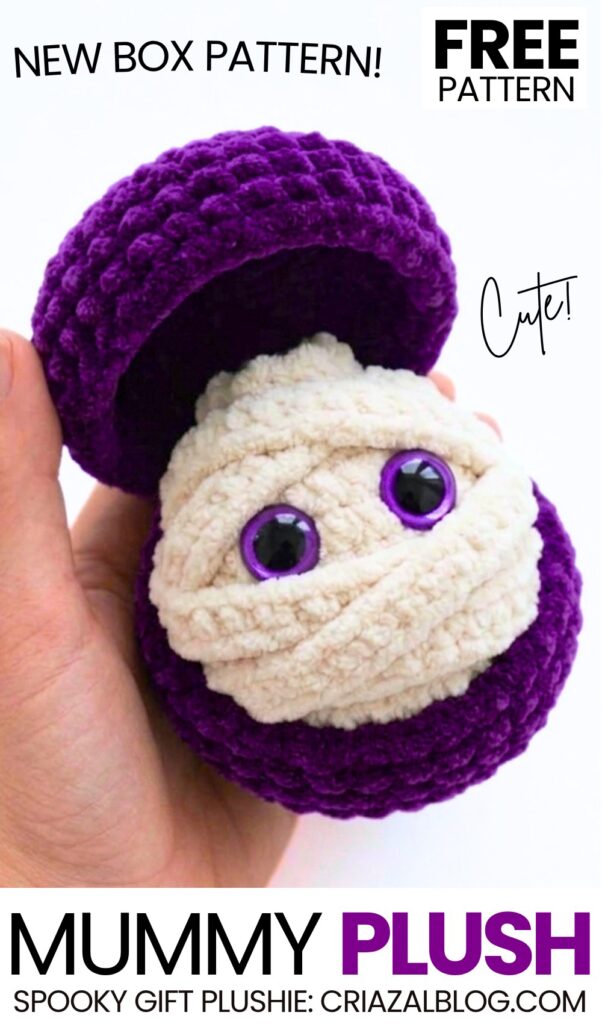
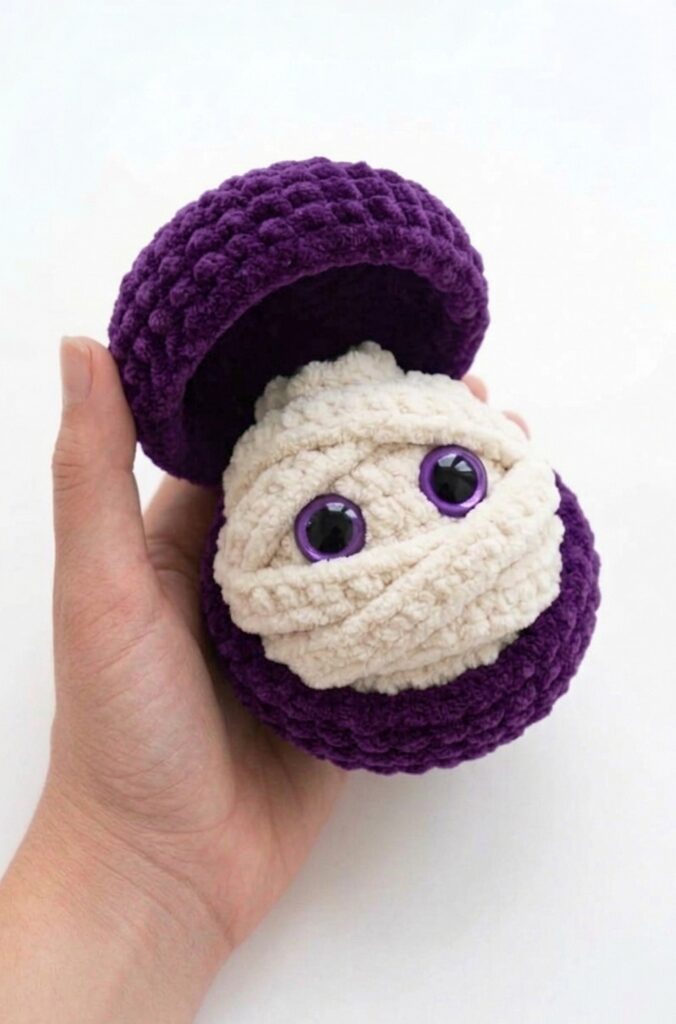
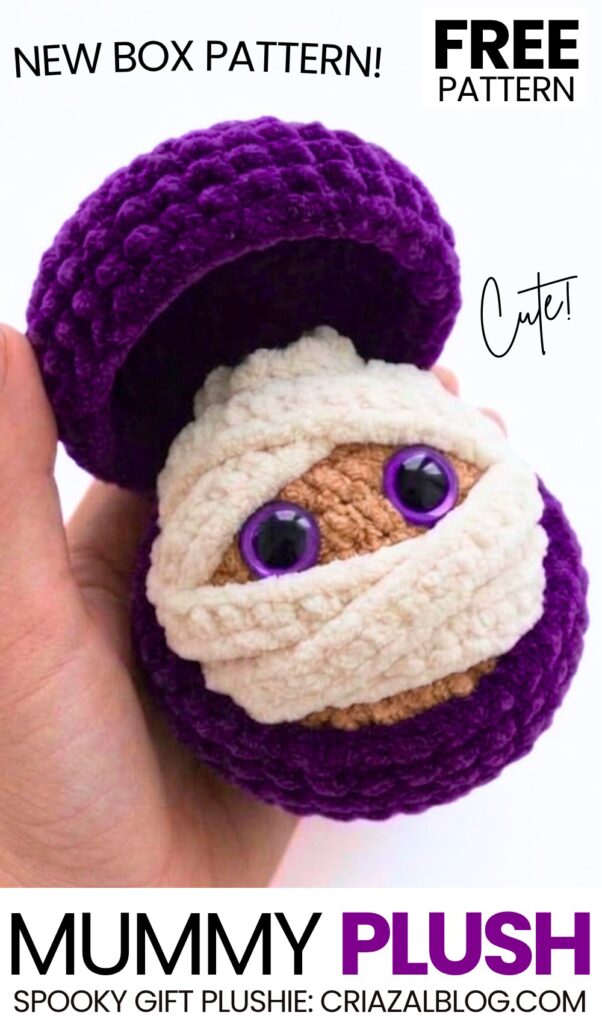
Welcome to another part of the crochet “surprise by hiding a crochet Halloween character in a box plushie” series. Today, you will learn how to crochet this UNIQUE mummy in a purple food-box surprise plushie with a FREE pattern for absolute beginners. You can crochet either of the two mummy head plushie variants, including the one with the brown dumpling and one with the same color as the mummy wrappings (cream).
I have also modified the crochet plush basket with a lid pattern to make it accommodate this crochet mummy head, too, just like the others in the series.
This time, we will be using the two-color purple and the black safety eyes between the wrappings. This makes the crochet dumpling look super bright and elegant. Now, continue reading to learn more about this crochet Halloween plush mummy in a box.
Similar Project(s)
Pattern to Crochet the Mummy Gift Plush for Halloween
Skill Level: Beginner
Materials List
Plush Yarn (100g / 120m): Cream / Off-White (for dumpling base and mummy wraps)
Plush Yarn (100g / 120m): Dark Purple (for box)
Semi-Cotton Yarn (like YarnArt Jeans): Cream or off-white for closing the top hole
Crochet Hook Size: 4.0 mm
Plastic Safety Eyes: 12 mm (Purple)
Toy Stuffing
Yarn Needle
Scissors
Abbreviations List
MR = Magic Ring
sc = single crochet
hdc = half double crochet
inc = increase (2 single crochets in one stitch)
dec = decrease (crochet 2 stitches together)
sl st = slip stitch
ch = chain
BLO = back loops only
FLO = front loops only
R = Round
Dumpling Base Pattern (Cream Yarn)
R1: 8 sc in MR (8)
R2: 8 inc (16)
R3: (1 sc, inc) repeat 8 times (24)
R4: (2 sc, inc) repeat 8 times (32)
R5–R8 (4 rounds): 32 sc (32)
R9: (2 sc, dec) repeat 8 times (24)
Insert purple safety eyes between R7 and R8, leaving 6 stitches between them.
R10: (1 sc, dec) repeat 8 times (16)
Stuff the dumpling with toy stuffing until soft and shaped.
R11: 8 dec (8)
Top Ruffle:
R12: Working in FLO only, (inc, 1 sc) repeat all the way around until the end of the round. Cut yarn and finish with a sl st.
Closing the Top Hole: Take a piece of semi-cotton yarn on a yarn needle. Weave it through the remaining unworked back loops of R11. Pull tightly to close, tie a knot, and hide the threads inside.
Mummy Strip Pattern (Cream Yarn)
Row 1: Chain 150 to 200.
Row 2: Starting in the 2nd chain from the hook, hdc in each stitch across.
Fasten off, leaving a long yarn tail for sewing.
Basket / Box Pattern (Make 2 in Purple Yarn)
R1: 8 sc in MR (8)
R2: 8 inc (16)
R3: (1 sc, inc) repeat 8 times (24)
R4: (2 sc, inc) repeat 8 times (32)
R5: (7 sc, inc) repeat 4 times (36)
R6: (8 sc, inc) repeat 4 times (40)
- R7: 42 sc in BLO (42)
R8–R9 (2 rounds): 42 sc (42)
First Part (Top Lid): Cut yarn and weave in end.
Second Part (Bottom Base): Do not cut yarn.
Assembly & Finishing
1. Wrapping the Mummy Body
Take the crocheted strip and place one end at the back or bottom of the dumpling.
Wrap the strip criss-cross around the body, working around the face so that the wraps pass just above and below the purple safety eyes.
Cover the lower face area completely (no mouth embroidery needed).
Use the long yarn tail and a yarn needle to stitch the strip down at a few anchor points on the body so it stays securely in place. Weave in and hide the tail inside the body.
2. Box Hinge Connection
Align the bottom base and top lid together.
Connect them by crocheting 5–6 sc stitches through the back loop of the lid and front loop of the base to create a hinge. Fasten off and hide the yarn end.
3. Optional Box Handle
Join purple yarn to one side of the box.
Chain your desired length to form the handle.
Join the chain to the opposite side of the box with a sl st.
Ch 1, turn, and sc back down each chain stitch.
Sl st into the starting side to secure. Cut yarn and hide all remaining ends inside the box.
Share on Social Media!
See More:
Tester Pattern: How to Crochet Birthday-Popper Dumpling Plushie for Gifting

Tester Pattern: How to Crochet Dumpling Buddy in A Steamer Costume Plushie

Tester Pattern: To Crochet A Snowball Christmas Dumpling in Basket Plush
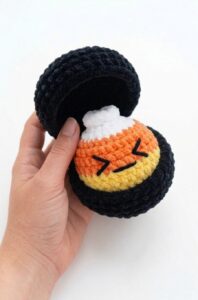
Tester Call: Free Crochet Orange, Yellow & White Dumpling Plushie
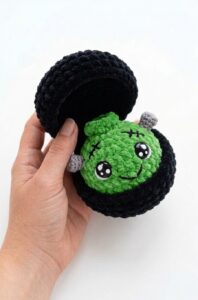
Tester Call: Free Crochet Kawaii-Eyes Bolt Zombie Dumpling Plushie
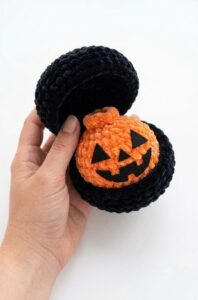
Tester Call: How to Crochet A Pumpkin Dumpling Plush for Halloween
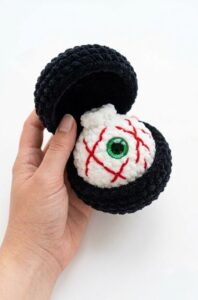
Free Crochet Eyeball Dumpling in a Steamer Plushie for Halloween
Tester Call: Crochet Spooky Ghost Dumpling Plushie Pattern
How to Crochet Spooky Dumpling with Red Horns Plushie Variation