

Author: Talha
I am a crochet designer, macramé maker and a crafter who also loves doing MATH.
This is part 5 of the “crochet no-sew iconic characters plushie” series! Today, you will learn how to crochet this Chibi and no-sew Tony Chopper little dear plushie using the same “no-sew buddy plushie” with a step-by-step tutorial + a written pattern as well. You will like this quick and easy crochet character plushie as a Christmas buddy and gift for 3 reasons: the eyes are especially cute with the eye white and eyebrow embroidery around the eyes; it is made no-sew with the bobble stitch and color changes, and lastly, it looks even cuter than the animated character.
This Christmas, put this last-minute crochet Tony Chopper plushie as a desk buddy. You will especially love how well the iconic hat is recreated with the same X embroidery spot. Use this crochet Tony Chopper buddy, dear, as a Christmas ornament, table decoration, or just a crochet for winter.
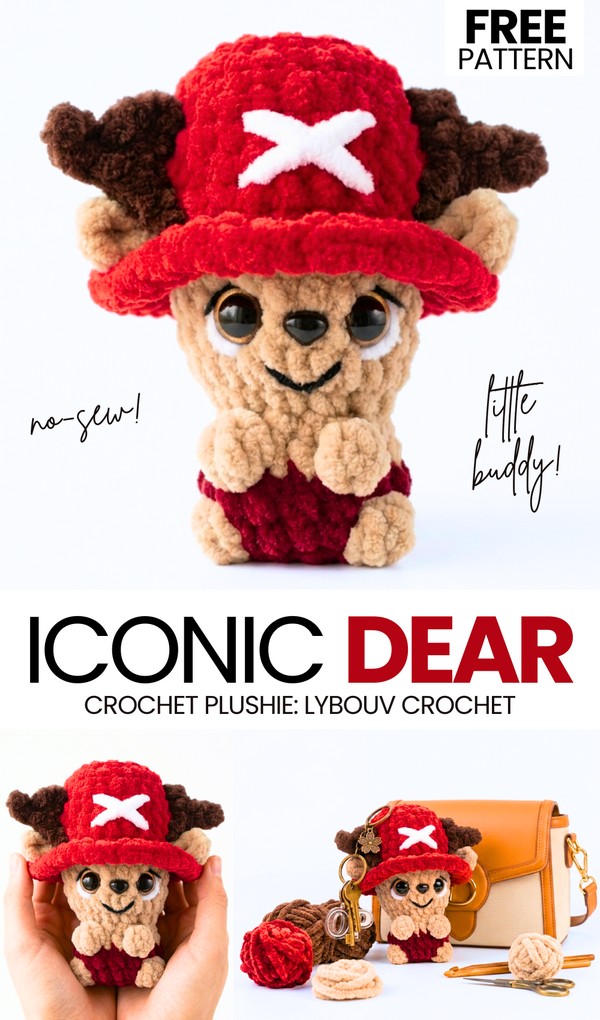
With the super bulky yarn, you will end up with an 11cm Tony Chopper plushie. This means the pattern is practically quick and works up fast from the bottom up. Note that I have already shared more than 3 patterns to crochet the character plushies, including Pikachu, Smurf, and even Minions. So, be sure to crochet these afterwards, this Halloween as cosplay plushies, too.
Similar Project(s)
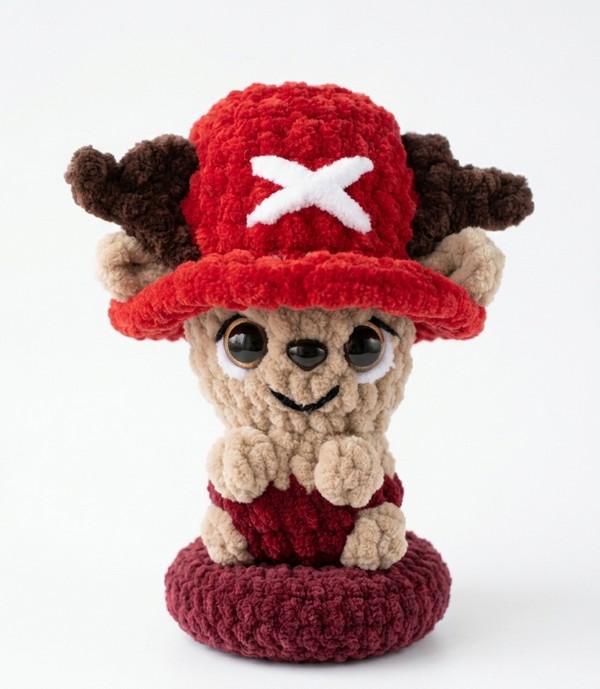
Pattern to Crochet Little Tony Chopper Deer Plushie Tutorial
Skill Level: Beginner (Level 4)
This project is a small amigurumi of Tony Chopper from One Piece. You will crochet this toy starting from the bottom of his shorts all the way to the top of his hat. It is a quick and fun process.
The legs and arms are crocheted right into the body. The hat is not a separate piece; it is worked directly into the head. After the body is stuffed and closed, you will add a brim to the hat and crochet the ears and antlers directly onto the sides of the head.

Materials
Plush Yarn (Super Bulky / Category 6): Maroon/Dark Red (for shorts), Light Brown (for skin), Pink or Red (for the hat), and Brown (for antlers).
Crochet Hook: 4.0 mm.
Safety Eyes: 12 mm.
Safety Nose: 7×9 mm oval nose (or you can embroider it).
Stuffing: Fiberfill.
Embroidery Thread/Yarn: Thin black thread for the mouth, eyelashes, and eyebrows. White plush yarn for eye details and the cross on the hat.
Tools: Yarn needle and scissors.
Abbreviations
MR = Magic Ring
ch = chain
sc = single crochet
hdc = half double crochet
dc = double crochet
inc = increase (2 sc in one stitch)
dec = decrease (sc 2 together)
sl st = slip stitch
dc3tog = double crochet 3 together in the same stitch (cluster of 3 dc)
BLO = Back loops only
FLO = Front loops only
st(s) = stitch(es)
R = round
Are you a Beginner? Learn Crocheting Easily!
You can learn to crochet better with this Tony Chopper plushie tutorial as a beginner:
See More:
Crochet the Mini Wobbly Eye No-Sew Bear Cutie Plushie
How to Crochet Blue No-Sew Hedghog Superhero Plushie for Kids
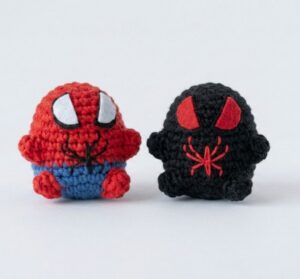
How to Crochet No-Sew Red & Blue Superhero Amigurumi for Kids
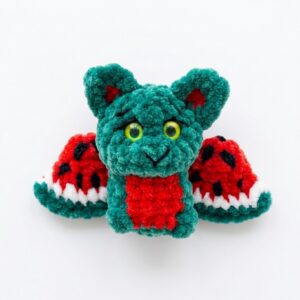
How to Crochet the Watermelon Bat No-Sew Plushie Pattern
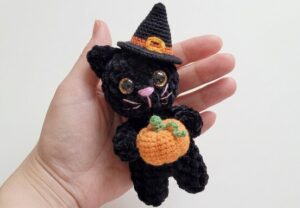
How to Crochet A Cosplay No-Sew Cat Plushie Holding A Pumpkin
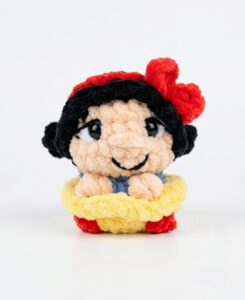
How to Crochet A No-Sew Princess Snow White Plushie for Cosplay
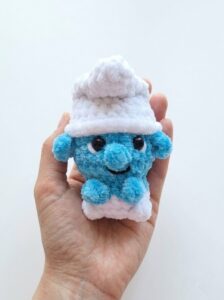
How to Crochet A Miniature No-Sew Smurf Plushie Tutorial
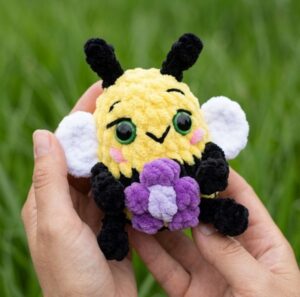
How to Crochet A Kawaii Bee No-Sew Plushie for Kids
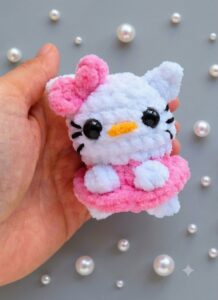
How to Crochet No-Sew Little Hello Kitty Plushie Gift For Girls
![[No-Sew] How to Crochet Baby Ghost in LOVE Plushie Pattern for Halloween](https://criazalblog.com/wp-content/uploads/2026/07/how-to-crochet-the-ghosts-in-love-plushies-2-242x300.jpg)


