Author: Talha
I am a crochet designer, macramé maker and a crafter who also loves doing MATH.

Contributor: Gulnara of Gul’s Cozy Crochet
She is an incredible amigurumi designer based in US! I love her crochet seal project & else.
Show support for Gulnara!
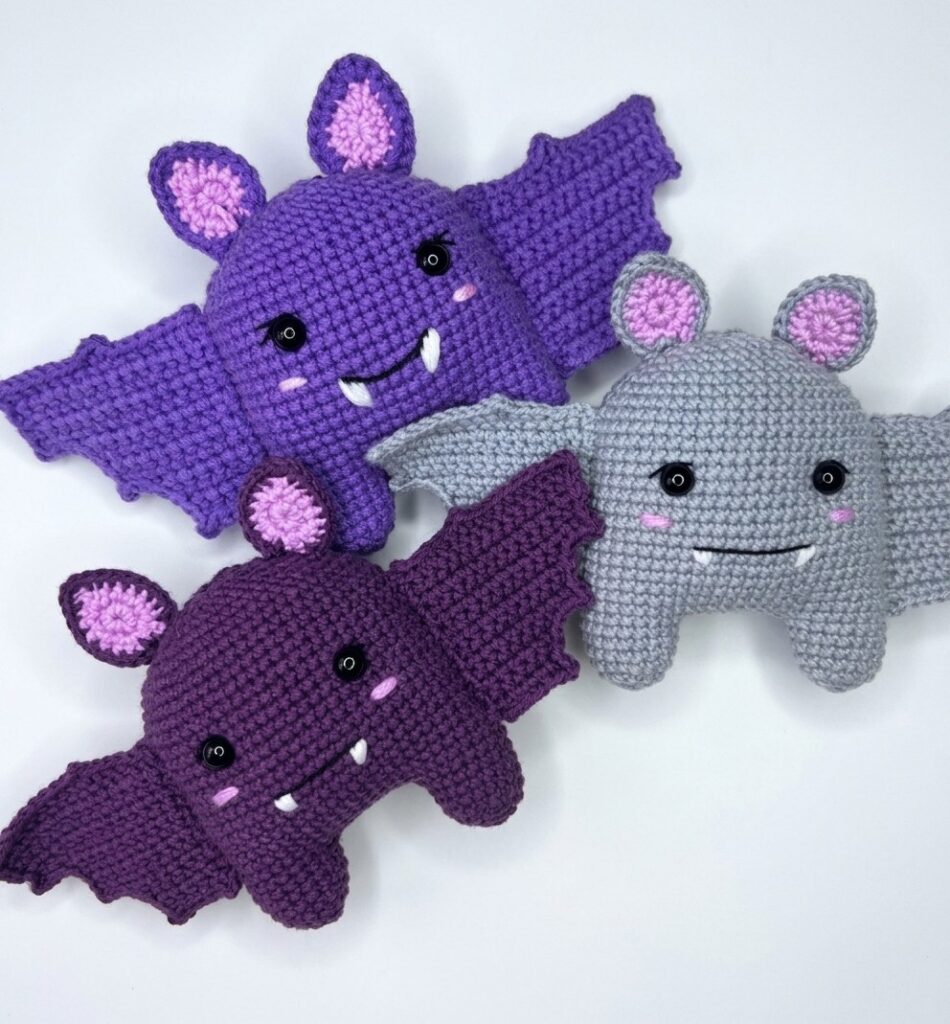
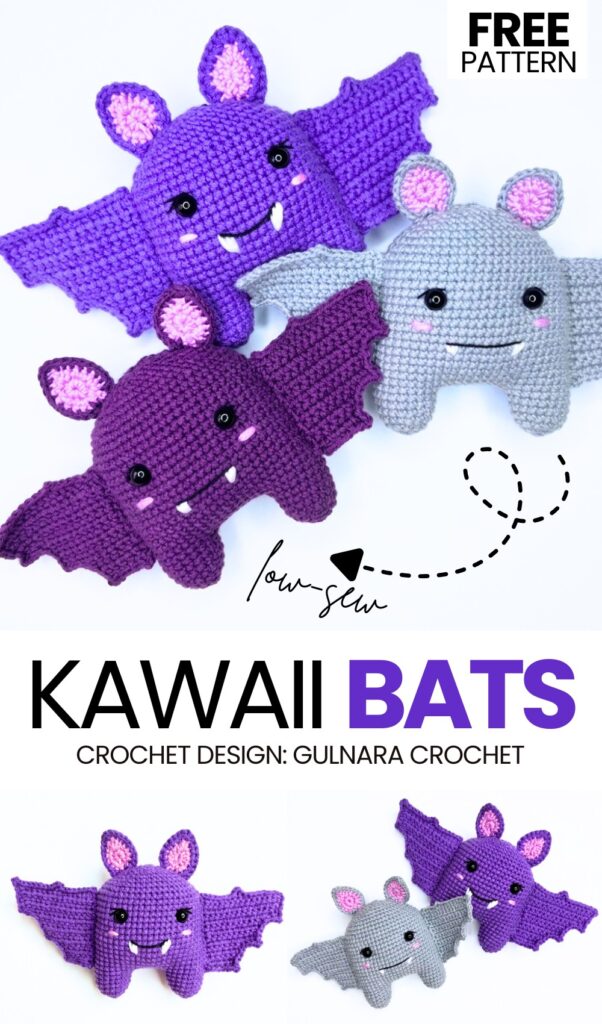
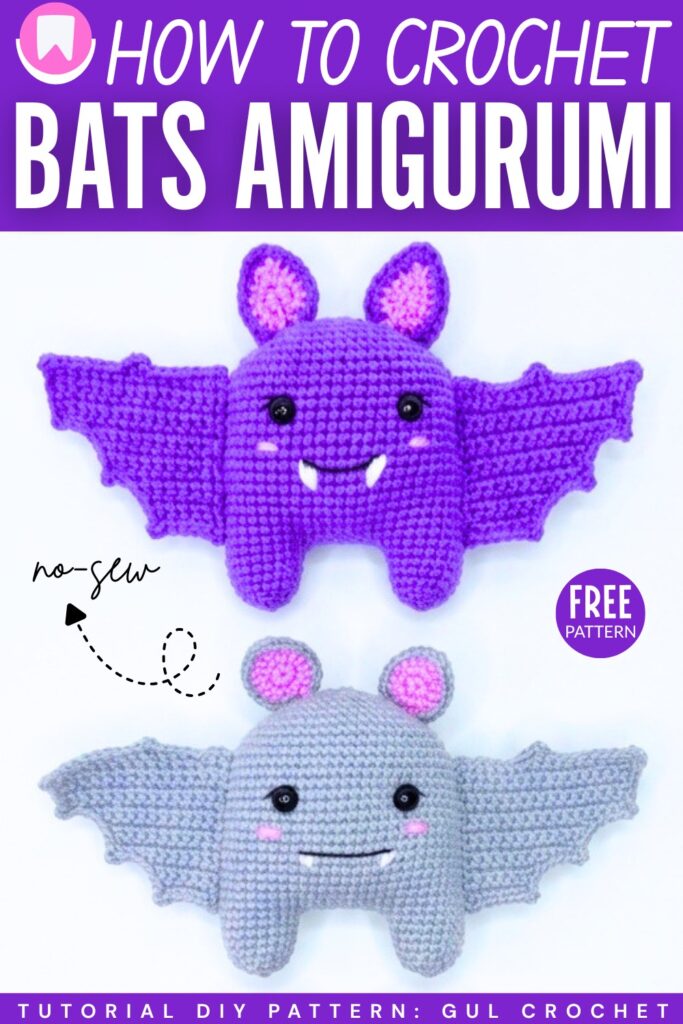
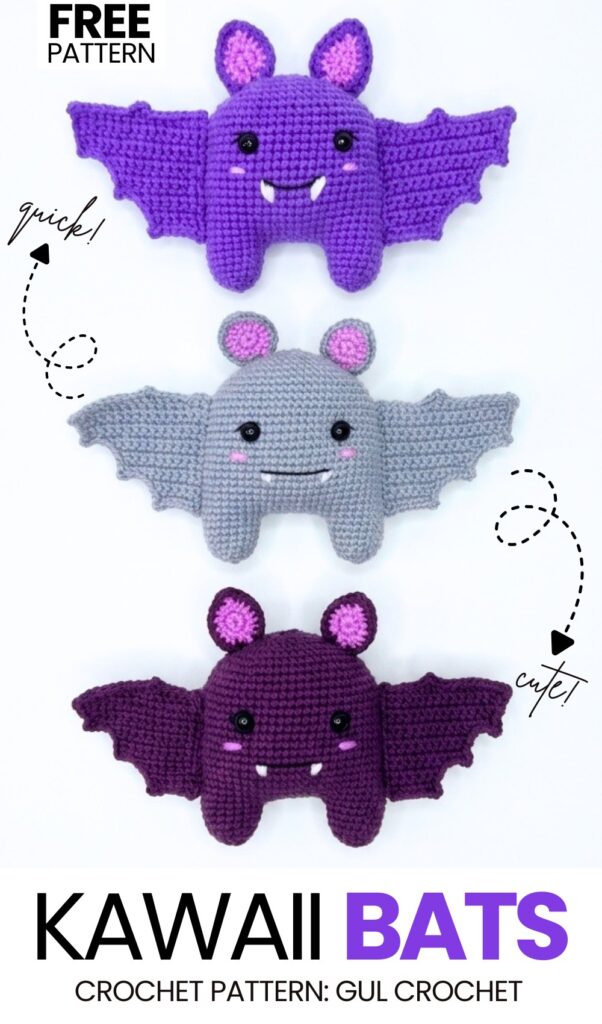
As I always mention, “Halloween crochet amigurumi need not be spooky!” So, continuing the “Simply Cute Crochet Halloween Amigurumi” series, today you will learn how to crochet this KAWAII baby bat amigurumi buddy with a step-by-step tutorial + a written pattern as well. You can make this UNIQUE crochet bat amigurumi in grey and berry purple or black (it will look simply adorable, anyway). The idea is to crochet an A-shaped no-sew amigurumi with LOVELY applique wings and separate ears.
Since we are crocheting a medium-sized Chibi amigurumi bat, this bat amigurumi will look even more huggable if you crochet it as a plush bat. I have shared many tutorials and patterns to crochet a life-like plush bat and amigurumi, but these character bat amigurumi, in my opinion, are the cutest.
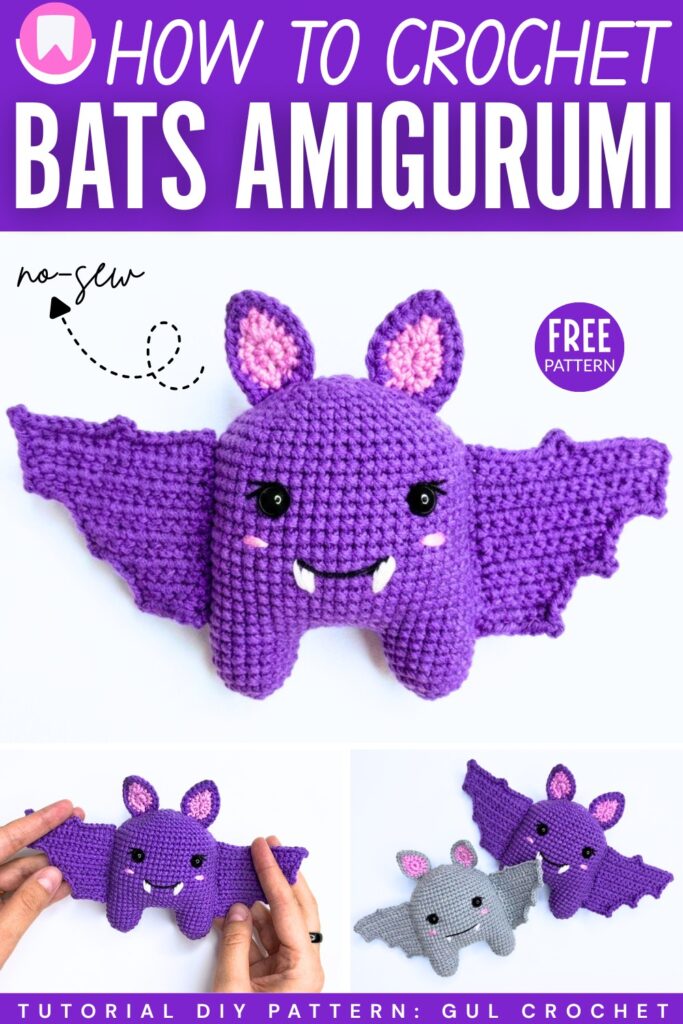
We are also going to embroider the white area above the eyes of this amigurumi Chibi bat to make it look even more adorable. The white fangs below the smiling face look cuter rather than spooky. And the best part is the blush on the cheeks. Even with the cotton yarn, you will end up with the cutest crochet bat amigurumi ever, so be sure to crochet one!
Similar Project(s)
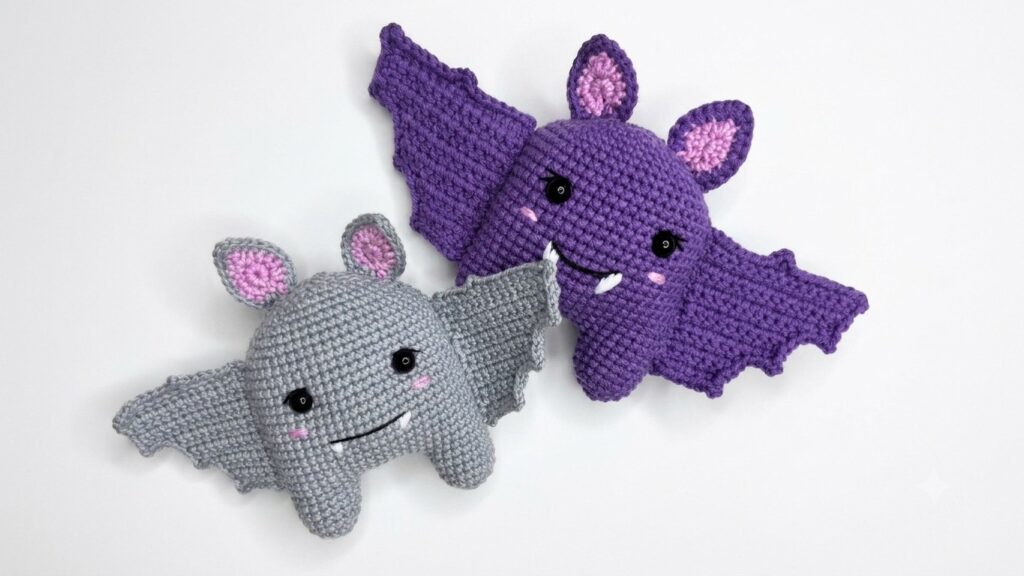
Pattern for Crocheting A Kawaii Flying Bat Amigurumi
This project is a purple bat toy. You use yarn and a hook to make it. First, you make two legs. Then, you make the body. You add eyes and fill it with soft stuffing. You make two ears and two wings. Then you sew them on. Last, you sew on the face. It is a cute bat for a spooky day.
Materials
Yarn: Purple and Pink (Main color: Purple)
A little bit of yarn: White, Black, and Pink (for face details)
Hook: 1.75 mm
Eyes: 2 plastic doll eyes
Tools: Scissors, sewing needle
Stuffing: Fiberfill
Abbreviations
mr: magic ring
st/sts: stitch/stitches
sl st: slip stitch
ch: chain
sc: single crochet
dc: double crochet
hdc: half double crochet
inc: increase (2 sc in one st)
dec: decrease (2 st together)
Are you a Beginner? Learn Crocheting Easily!
You can learn to crochet better with this crochet big bat doll tutorial as a beginner:
Pattern Instructions
Legs (Make 2)
Row 1: 6 sc in mr [6]
Row 2: 6 inc [12]
Row 3: (1 sc, 1 inc) * 6 [18]
Row 4-6: 18 sc [3 rows]
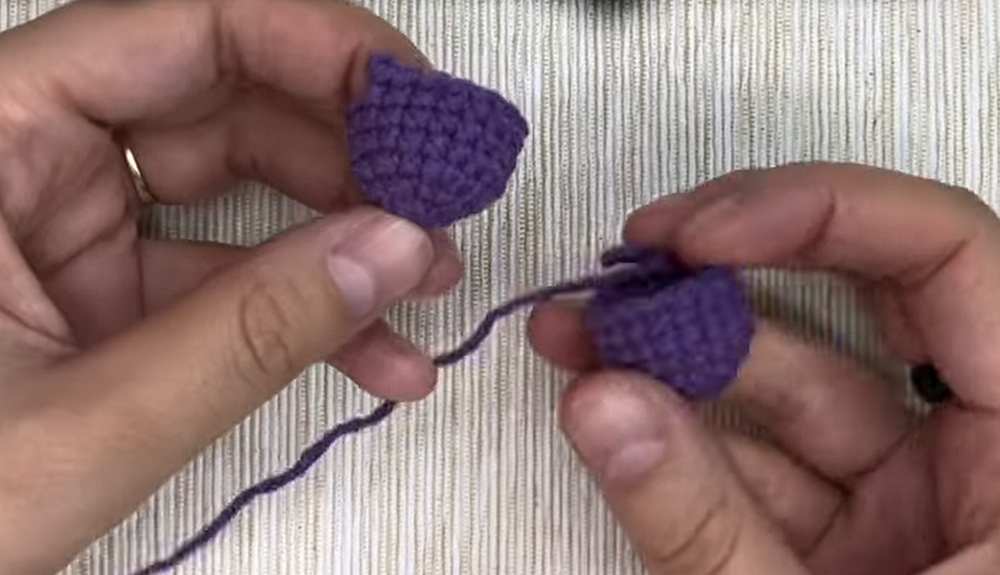
Cut yarn for the first leg. For the second leg, do not cut the yarn; continue to the body.
Body
From the second leg, chain 7.
Row 7: Join to the first leg and work 18 sc around it, 7 sc along one side of the chain, 18 sc around the second leg, and 7 sc along the other side of the chain [50]
Row 8-23: 50 sc [16 rows]
Fill the legs with fiberfill.
Insert Eyes: Place between Row 19 and Row 20, leaving 12 stitches between them.
Row 24: 9 sc, 1 dec, 23 sc, 1 dec, 14 sc [48]
Row 25: 4 sc, 1 dec, (2 sc, 1 dec) * 2, 14 sc, 1 dec, (2 sc, 1 dec) * 2, 10 sc [42]
Row 26: 3 sc, 1 dec, (2 sc, 1 dec) * 2, 11 sc, 1 dec, (2 sc, 1 dec) * 2, 8 sc [36]
Row 27: 1 sc, 1 dec, (2 sc, 1 dec) * 2, 8 sc, 1 dec, (2 sc, 1 dec) * 2, 7 sc [30]
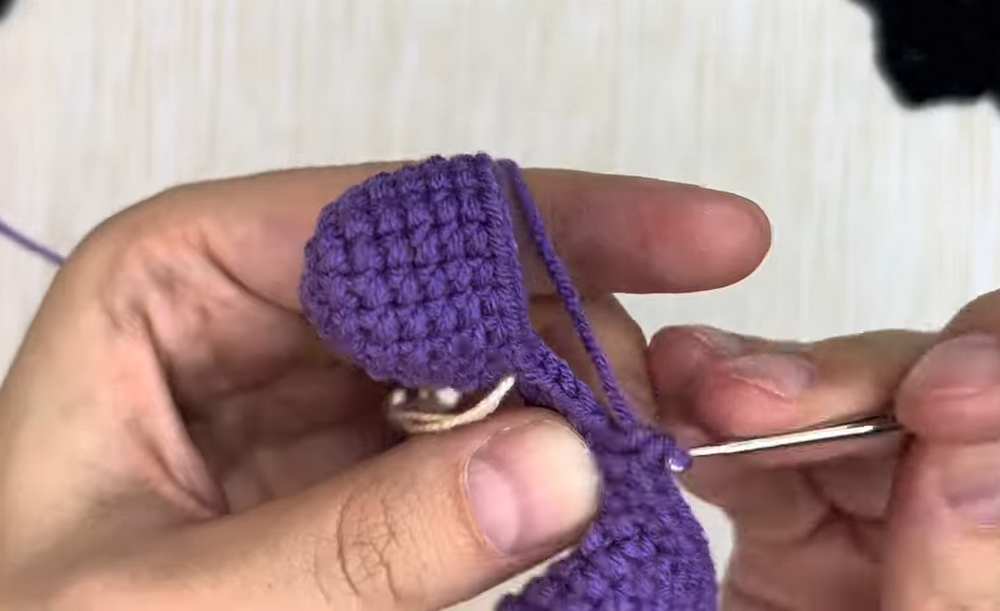
Fill the body with fiberfill.
Row 28: (3 sc, 1 dec) * 6 [24]
Row 29: (2 sc, 1 dec) * 6 [18]
Row 30: (1 sc, 1 dec) * 6 [12]
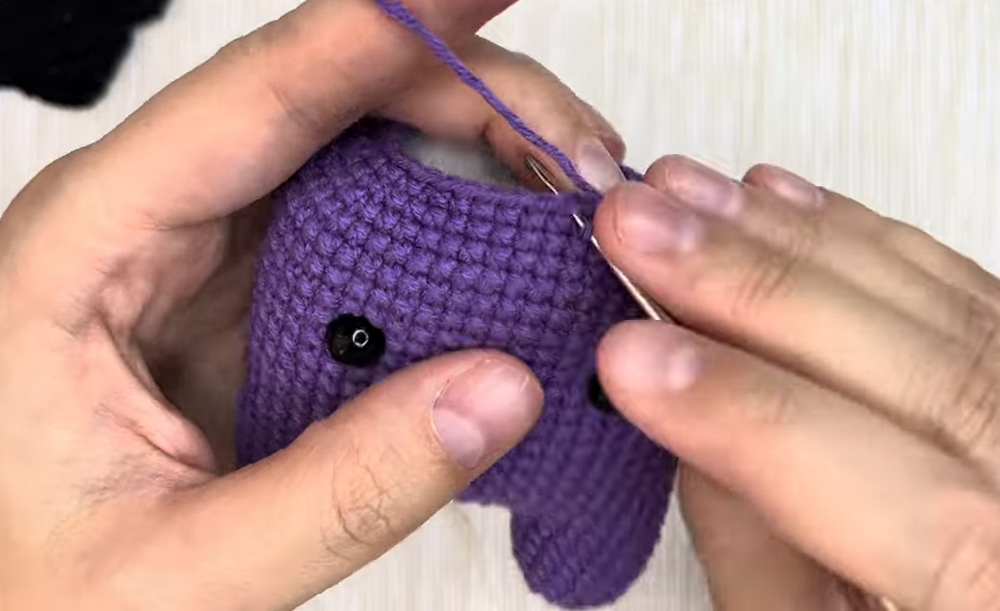
Row 31: 6 dec [6]
Cut yarn and sew the hole closed.
Ears (Make 2)
Pink Detail:
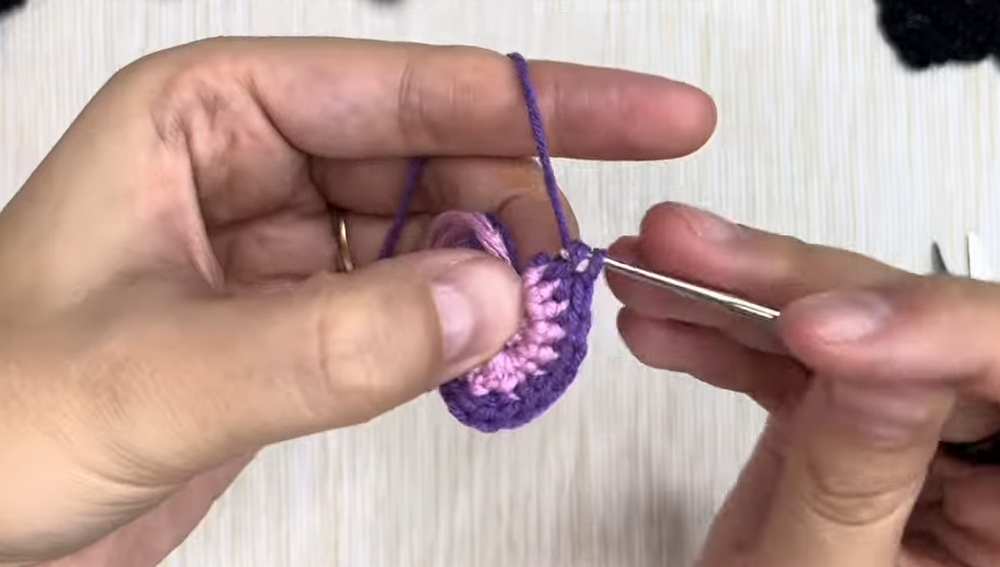
Row 1: 9 sc in mr [9]. Ch 1, turn.
Row 2: In the 2nd loop after the hook: 1 inc, 3 sc, (1 sc, 1 hdc, 1 dc, 1 hdc, 1 sc) into one loop, 3 sc, 1 inc [15].
Cut yarn.
Purple Detail: Make the same as the pink detail but do not cut the yarn.
Joining:
Place pink part on top of purple part. Ch 1.
Crochet through loops of both parts: 7 sc, (3 sc into one loop), 7 sc [17].
Leave a long tail for sewing.
Wings (Make 2)
Base: Ch 17.
Row 1: In 3rd loop after hook, 15 sc. Ch 1, turn.
Row 2: In 2nd loop after hook, 15 sc. Ch 1, turn.
Row 3: In 3rd loop after hook, 14 sc. Ch 1, turn.
Row 4: In 2nd loop after hook, 14 sc. Ch 1, turn.
Row 5: In 3rd loop after hook, 13 sc. Ch 1, turn.
Row 6: In 2nd loop after hook, 11 sc. Ch 1, turn.
Row 7: In 3rd loop after hook, 10 sc. Ch 1, turn.
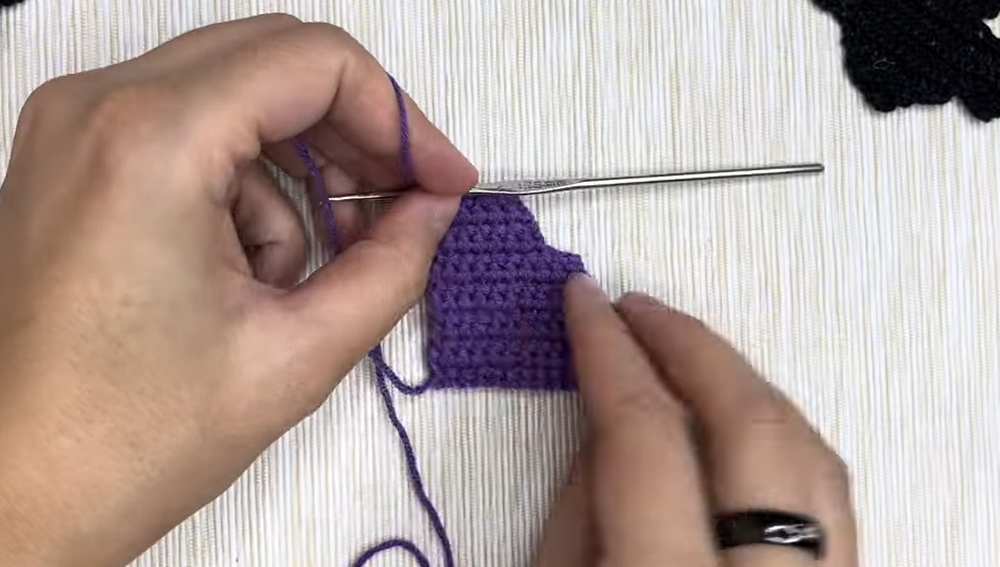
Row 8: In 2nd loop after hook, 10 sc. Ch 1, turn.
Row 9: In 3rd loop after hook, 9 sc. Ch 1, turn.
Row 10: In 2nd loop after hook, 7 sc. Ch 1, turn.
Row 11: In 3rd loop after hook, 6 sc. Ch 1, turn.
Row 12: In 2nd loop after hook, 6 sc. Ch 1, turn.
Row 13: In 3rd loop after hook, 5 sc.
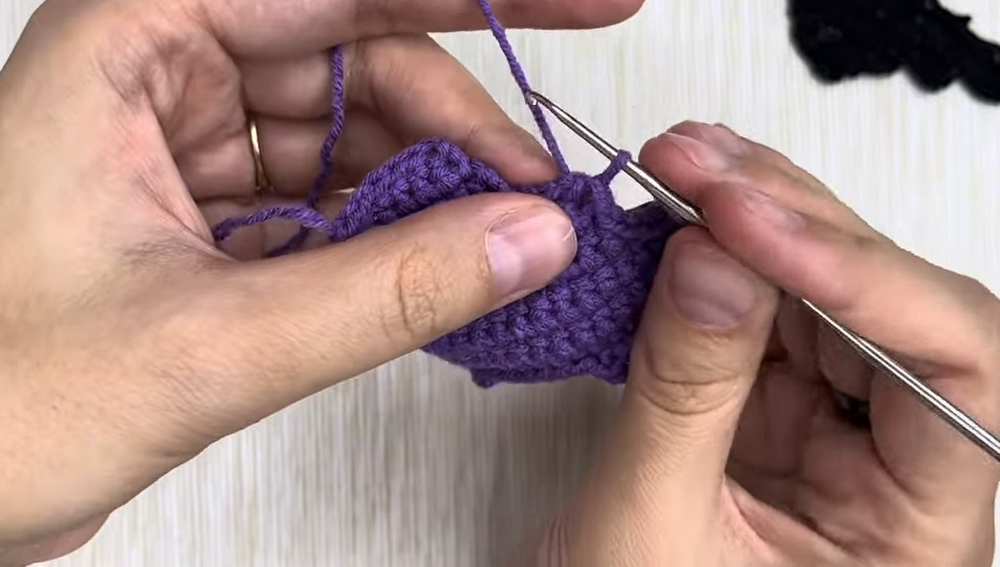
Edge Finishing: Do not cut yarn. Tie the edges by working along the jagged side:
5 sl st, (1 sl st, ch 2, 1 sl st) in corner, 5 sl st, 3 sl st, (1 sl st, ch 2, 1 sl st) in corner, 7 sl st, (1 sc, ch 2, 1 sc) in corner, 7 sl st, (1 sl st, ch 2, 1 sl st) in corner, 5 sl st, (1 sl st, ch 2, 1 sl st) in corner, 5 sl st.
Leave a long tail for sewing.
Assembly & Face
Ears: Sew the ears to the top of the body.
Wings: Sew the wings to the sides of the body.
Lashes: Use black yarn to embroider two small lines next to each eye.
Mouth: Use black yarn to embroider a wide “W” shape for the smile.
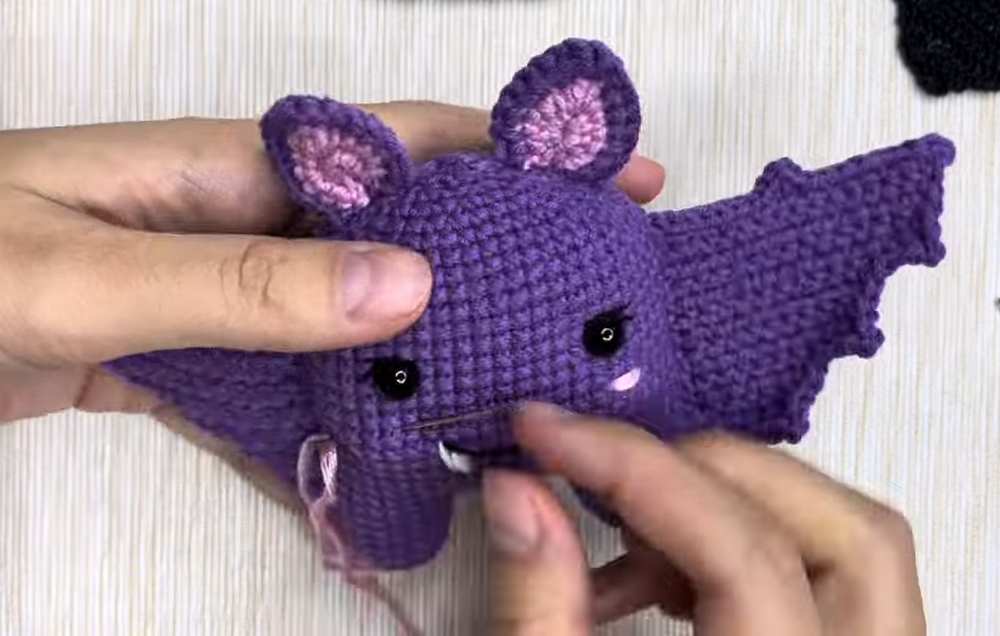
Fangs: Use white yarn to embroider two small downward triangles on the mouth.
Cheeks: Use pink yarn to embroider small horizontal lines under each eye.
Share on Social Media!
See More:
Tester Pattern: To Crochet A Plush Spooky Bat Bao Bun Plushie
Tester Pattern: To Crochet A Red Soot Bat Amigurumi Plushie Pattern
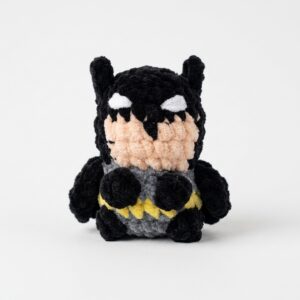
How to Crochet Low-Sew Mr. Bat Superhero Plushie for Kids
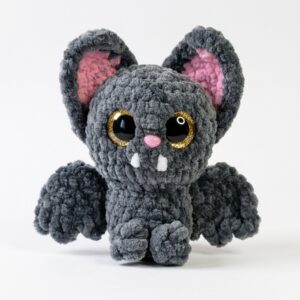
How to Crochet Glitter-Eyed Kawaiiest Bat Softie for Halloween
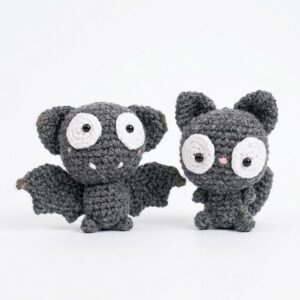
Featuring: Crochet Black Kitty Amigurumi But it is A Bat for Halloween (2-in-1 Tutorial)
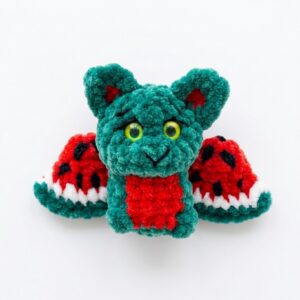
How to Crochet the Watermelon Bat No-Sew Plushie Pattern
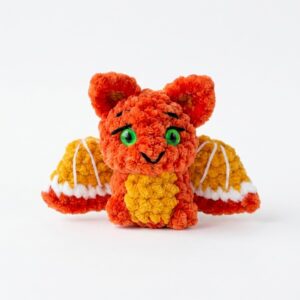
How to Crochet An Orange, Watermelon & Strawberry Fruit Bat Plushie
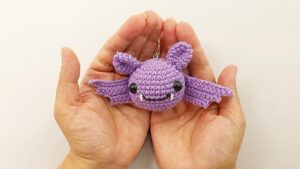
How to Crochet An Absolutely CUTE Crochet Bat Amigurumi Bag Charm
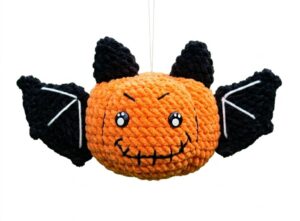
How to Crochet Kawaii-Eyed Pumpkin with Bat Features Plushie