Author: Talha
I am a crochet designer, macramé maker and a crafter who also loves doing MATH.
Contributor: Rina of Art of Crochet
She is a designer of trendy crochet and has been our contributor since mid 2026 via mycraftybasket.
Show support for Rina!
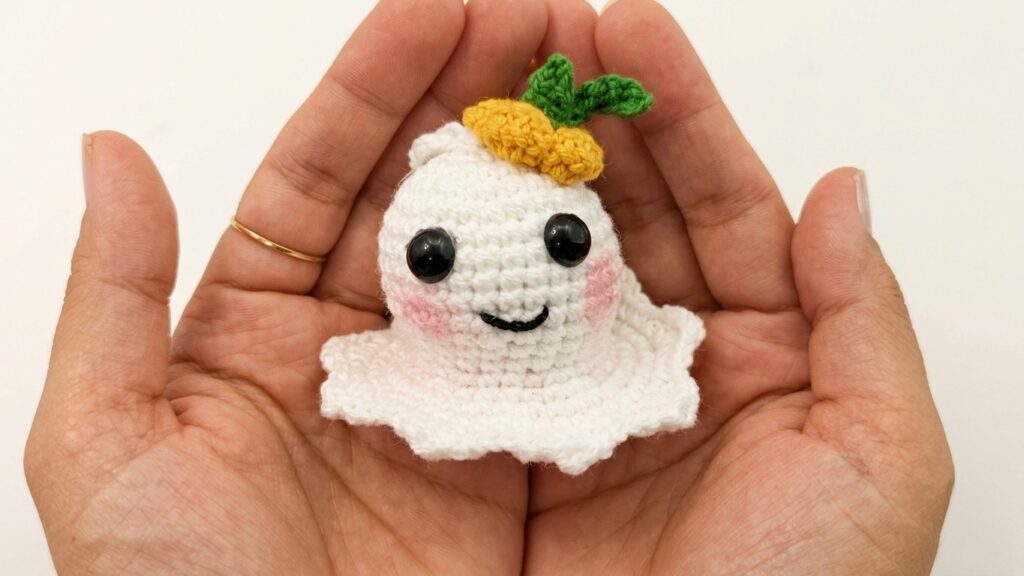
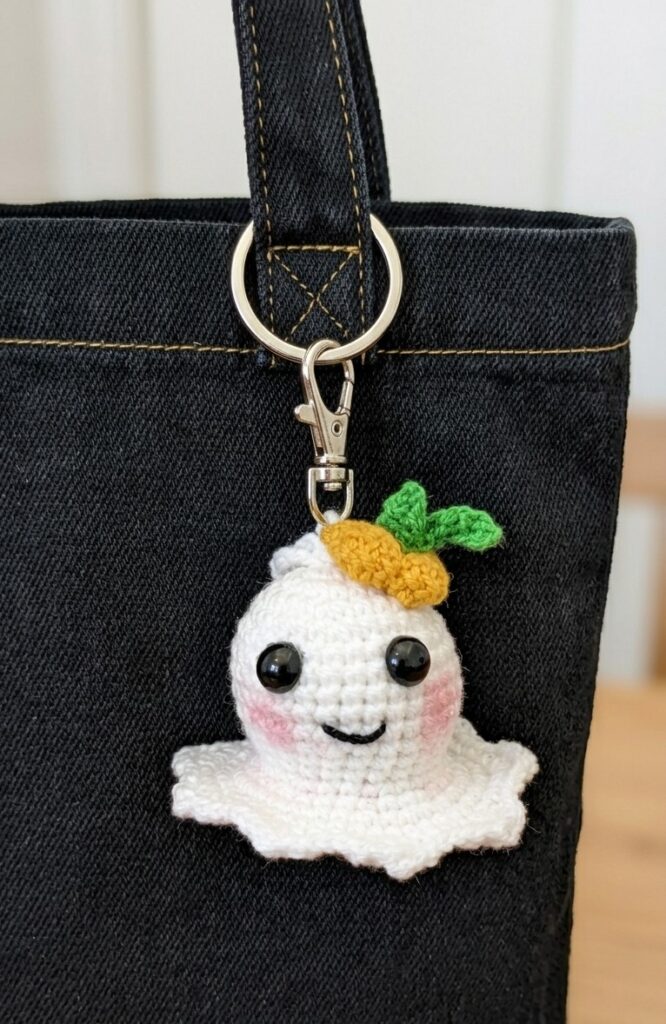
Here is another oh-so-cute pumpkin hat baby ghost plushie design with a FREE pattern and tutorial, too. This time, we are crocheting a KAWAII, big-eyed, smiling, and blushing baby ghost with a UNIQUE pumpkin hat pattern, posed tilted on its head. This is a completely NEW & UNIQUE pattern, so we shall end up with a Chibi ghost (longer skirt pattern and shorter body). Crochet this baby ghost as a bag charm for Halloween, a fall LOVE present for a dear one, or just because.
I have already completed the 3-pattern series on the “pumpkin lid ghost plushies” series. This crochet pumpkin ghost will LOOK the cutest with the amigurumi yarn, so crochet your ghost as a keychain.
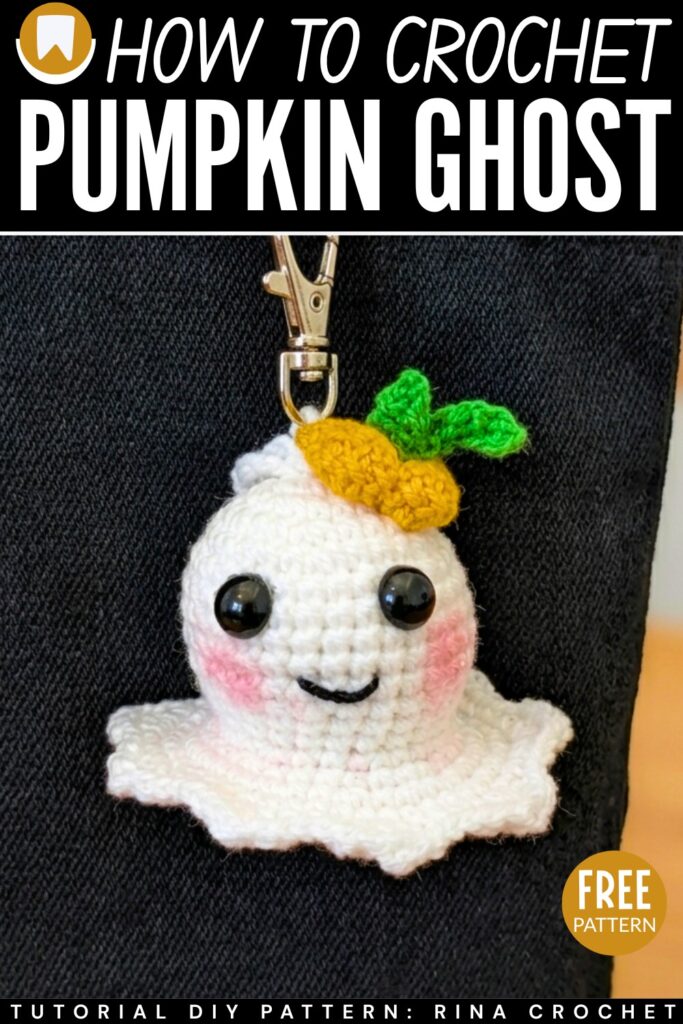
I have already shared many UNIQUE pumpkin hat tutorials for your crochet Halloween ghosts, such as the beanie pumpkin, lid pumpkin, and whole pumpkin, too. So, be sure to crochet this NEW pumpkin hat ghost following the tutorial and check the other variations, too. I am recommending this design 100% because both the written and the video tutorials are available.
Similar Project(s)
Pattern to Crochet A Pumpkin Lid Boo Ghost Decoration
Skill Level: Beginner – Level 3
This project is for making a small ghost toy. You use white, yellow, and green yarn. You use a hook to make stitches in circles. You put soft stuffing inside the ghost. It has a tiny pumpkin on its head. You add black eyes and a black mouth. You put a metal ring on top so you can use it for your keys.
Materials
Yarn: White, Yellow (or Orange), and Green (Light weight/Cotton preferred).
Crochet Hook: size matching your yarn (typically 2.0mm or 2.5mm).
Eyes: 4mm black safety eyes or beads.
Stuffing: Polyester fiberfill.
Tools: Yarn needle, scissors, glue, black embroidery thread, keychain ring.
Abbreviations
ch: chain
sc: single crochet
inc: increase (2 sc in the same stitch)
dec: decrease (2 sc together)
sl st: slip stitch
hdc: half double crochet
dc: double crochet
tr: treble crochet
blo: back loop only
MR: Magic Ring
[ ] * n: repeat the instructions inside brackets ‘n’ times
Are you a Beginner? Learn Crocheting Easily!
You can learn to crochet this UNIQUE pumpkin ghost as a beginner by following this tutorial, too:
Pattern Instructions
1. Ghost Body (White Yarn)
R1: MR, ch 1, 6 sc, sl st to join (6)
R2: ch 1, 6 inc, sl st (12)
R3: ch 1, [1 sc, 1 inc] * 6, sl st (18)
R4: ch 1, [2 sc, 1 inc] * 6, sl st (24)
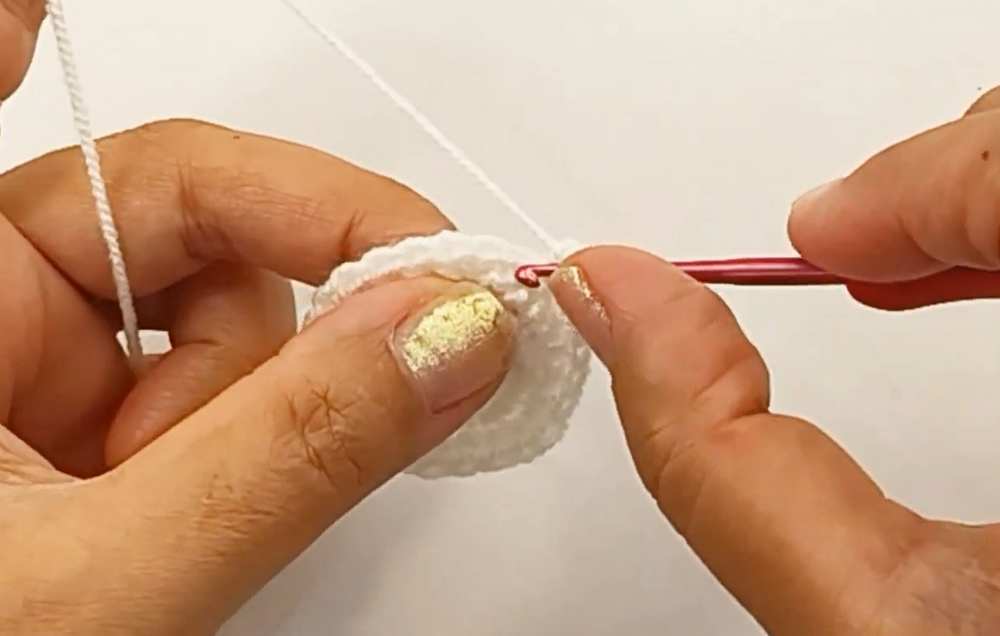
R5: ch 1, [3 sc, 1 inc] * 6, sl st (30)
R6–9: ch 1, 30 sc, sl st (30) — 4 rounds total
R10: ch 1, [3 sc, 1 dec] * 6, sl st (24)
R11–12: ch 1, 24 sc, sl st (24) — 2 rounds total
R13: ch 1, [3 sc, 1 inc] * 6, sl st (30)
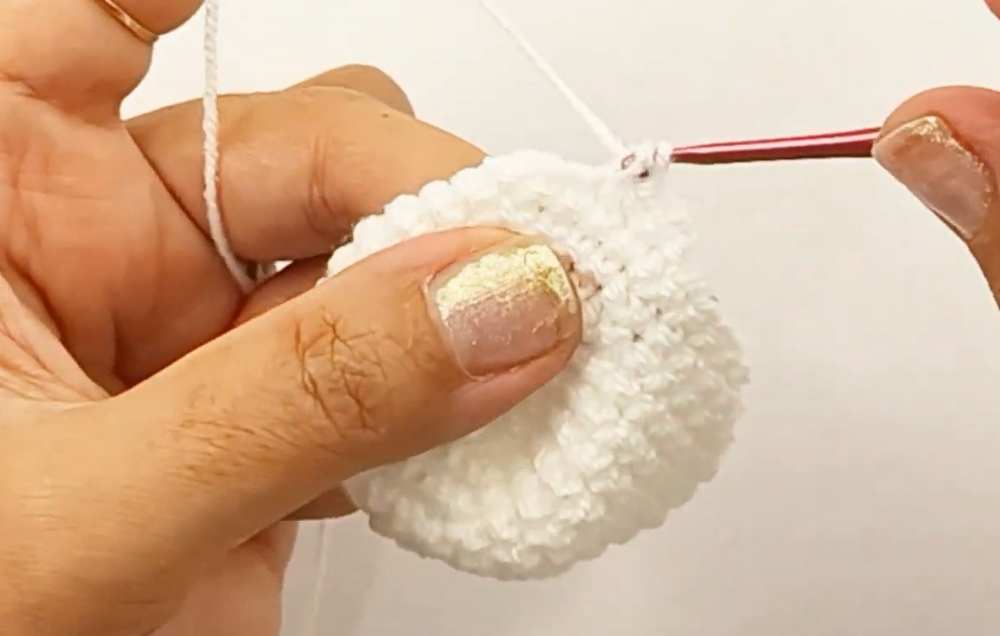
R14: ch 1, 30 sc, sl st (30)
R15: ch 1, [1 sc, 1 inc] * 15, sl st (45)
R16: ch 1, 45 sc, sl st (45)
R17 (Ruffled Edge): ch 1, [2 sc, 1 hdc, (1 dc, 1 tr, 1 dc in the same stitch), 1 hdc] repeat 9 times around, sl st (This creates the wavy bottom).
Fasten off.
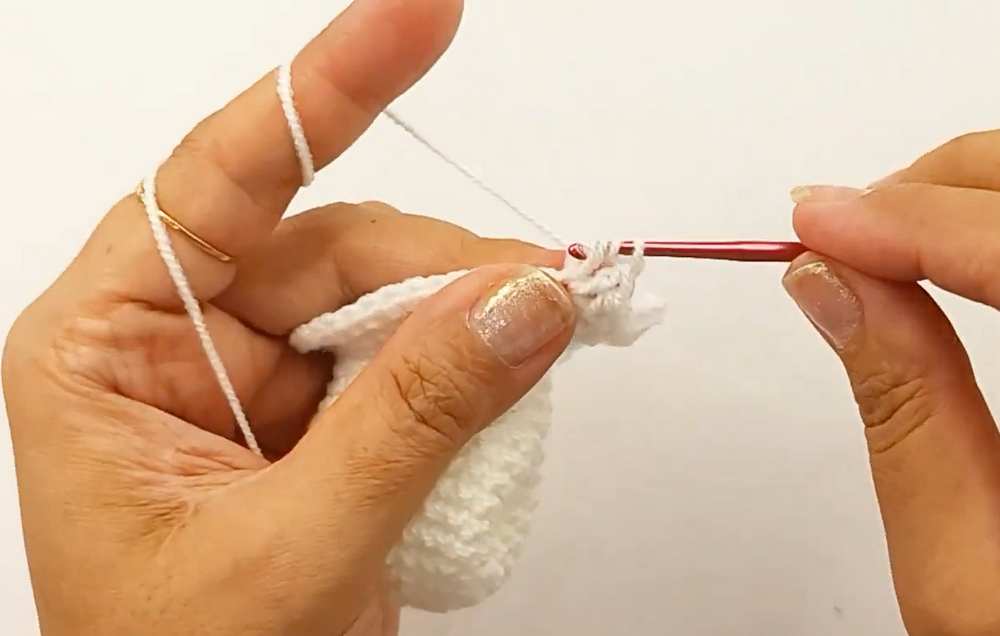
2. Base / Bottom Cover (White Yarn)
R1: MR, ch 1, 6 sc, sl st (6)
R2: ch 1, 6 inc, sl st (12)
R3: ch 1, [1 sc, 1 inc] * 6, sl st (18)
R4: ch 1, [2 sc, 1 inc] * 6, sl st (24)
R5: ch 1, [3 sc, 1 inc] * 6, sl st (30)
Fasten off, leave a long tail for sewing.
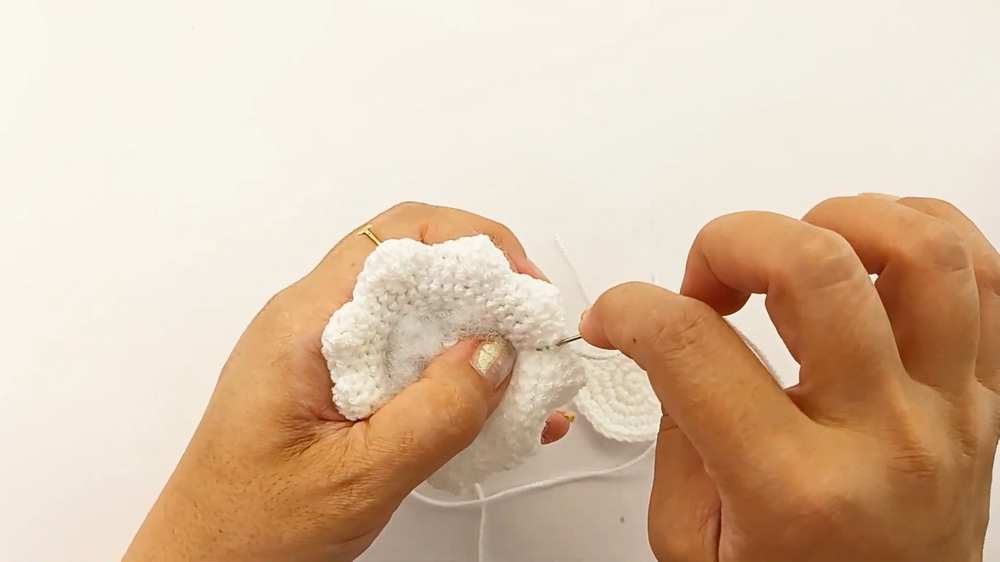
3. Mini Pumpkin (Yellow Yarn)
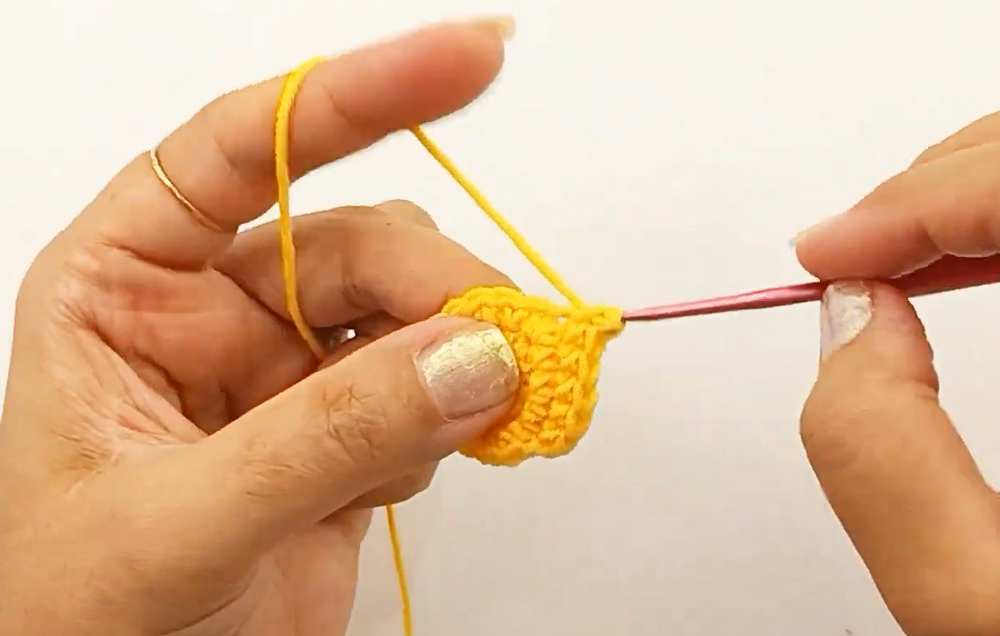
R1: MR, ch 1, 6 sc, sl st (6)
R2: ch 1, 6 inc, sl st (12)
R3: ch 1, [1 sc, 1 inc] * 6, sl st (18)
R4: ch 1, 18 sc, sl st (18)
R5: ch 1, [1 sc, 1 dec] * 6, sl st (12)
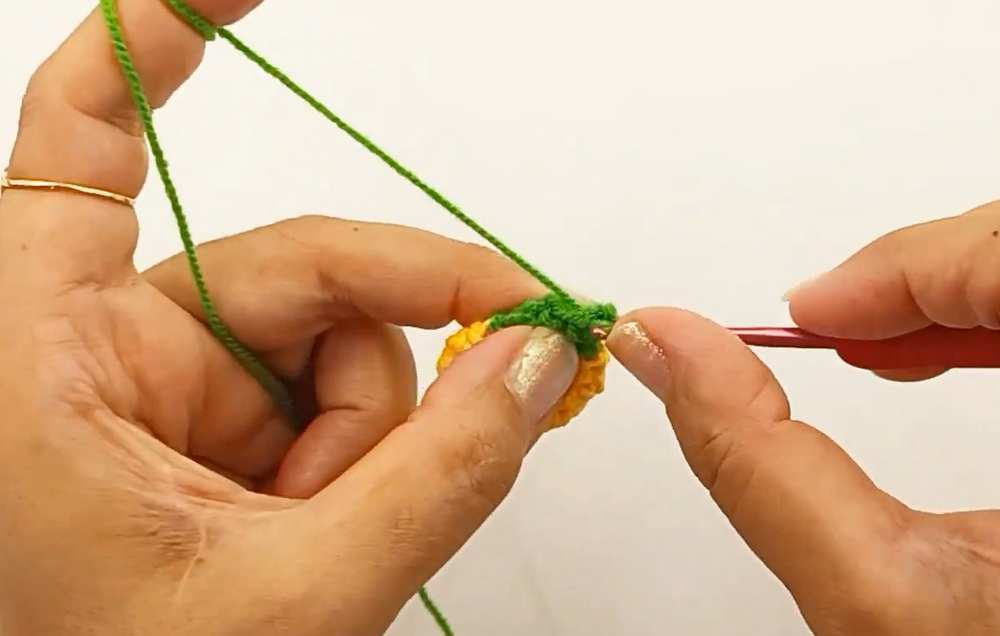
Change to Green Yarn
R6: BLO [1 sc, 1 dec] * 4, 1 sc, sl st (8)
R7: 4 dec (4)
R8: 4 sc (4) (This forms the stem).
Fasten off.
4. Leaf (Green Yarn)
ch 7, starting from the second chain from the hook, perform 6 sl st back down the chain.
Fasten off.
Assembly
Eyes: Glue the 4mm eyes between R6 and R8 of the ghost body, about 4 stitches apart.
Mouth: Using black thread, sew a small smile between R9 and R10.
Stuffing: Fill the ghost body with fiberfill.
Closing: Place the Base over the bottom of the ghost. Use the yarn needle and the long tail to sew the Base to the inside stitches of R14 of the ghost.
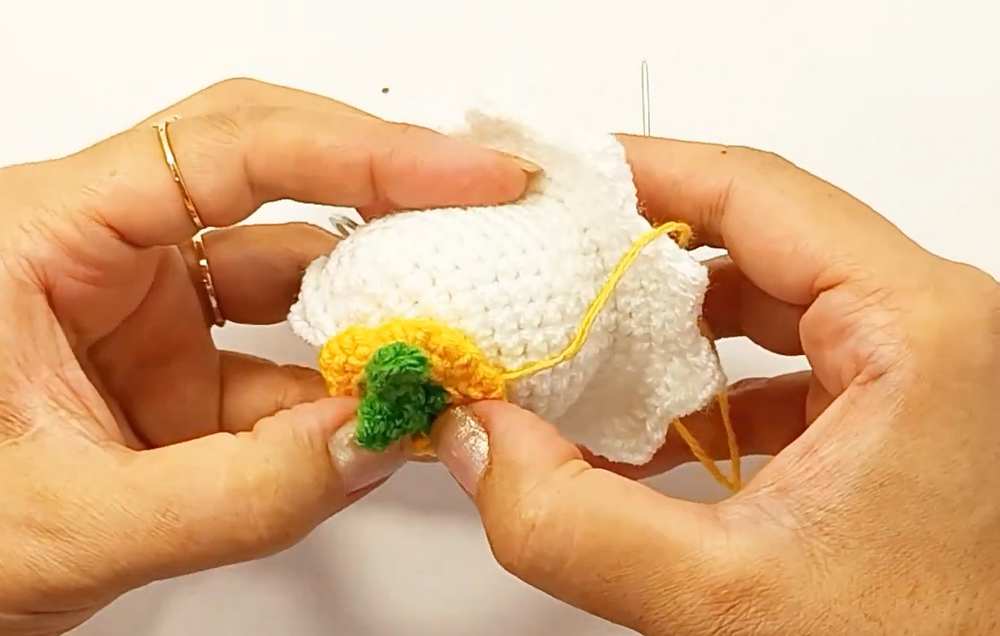
Pumpkin: Sew the leaf to the side of the pumpkin stem. Sew the pumpkin to the top of the ghost’s head.
Keychain: Attach the keychain ring to the top center of the ghost (use ch 10 if you want to create a yarn loop for the ring).
Optional: Use a little pink make-up or a pink marker to add blush to the cheeks.
See More:
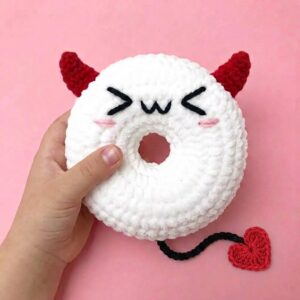
Pattern Tester: How to Crochet Red Horn Ghost Ring Donut Pluhsie for Gifting
Tester Pattern: How to Crochet Mask Ghost Spooky Food Ball in Box Plush
Free Crochet Flying Ghost Wind Spinner Plushie for Kids
Featuring: Crochet SPOOKY-CUTE Black & White Ghost Plushie for Halloween
Tester Pattern: How to Crochet Miniature UNIQUE Ghost with Ears and a Carrot Plush
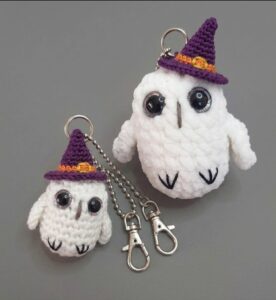
Tester Pattern: Crochet 10-Minute Pair of Ghost Owl Pals Plushies for Halloween
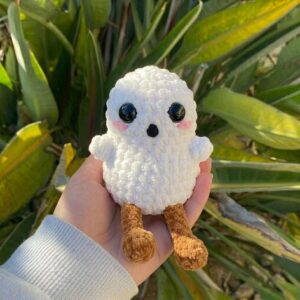
Tester Call: How to Crochet Jellycat Potato Ghost Plushie for Halloween
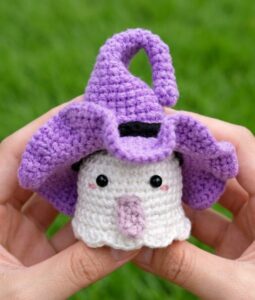
How to Crochet Funny Standing Ghost in the Most Detailed Witch Hat Amigurumi