Author: Talha
I am a crochet designer, macramé maker and a crafter who also loves doing MATH.

Contributor: Creator of Pinky Promise
She is a plushie designer based in Hungary who became our contributor in mid 2025.
Show support for the Pinky!
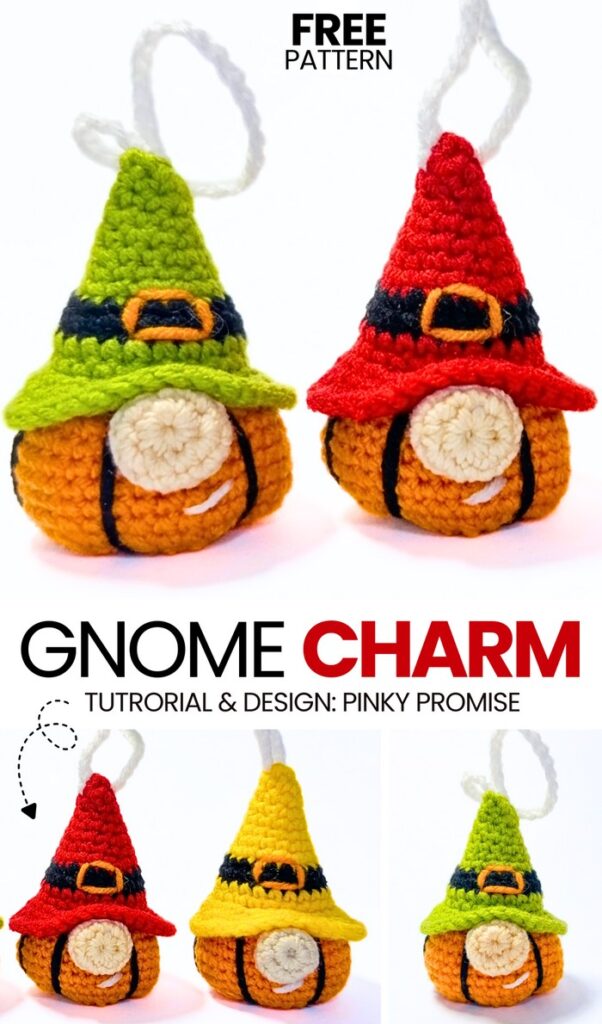
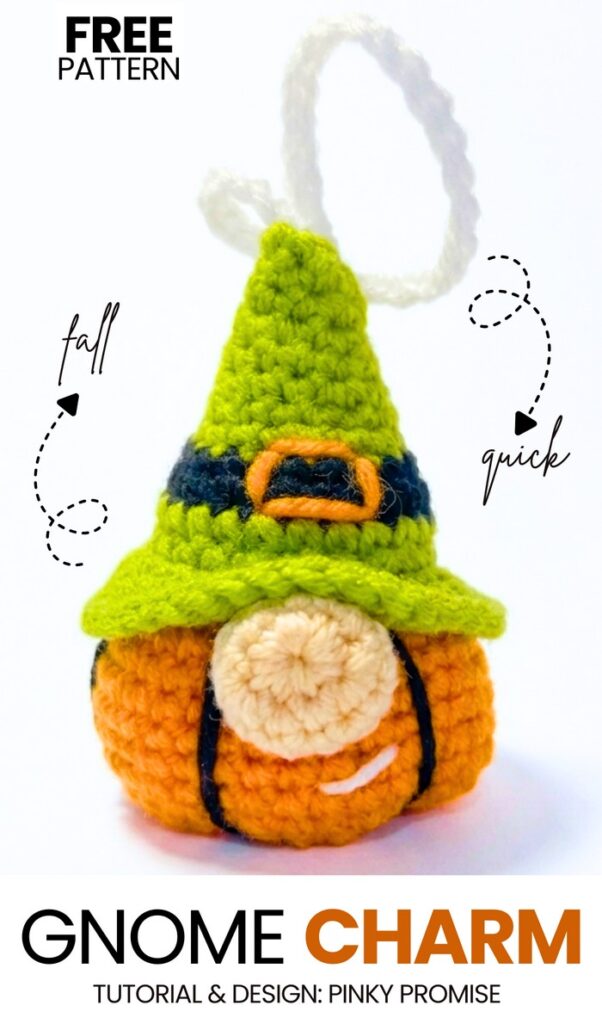
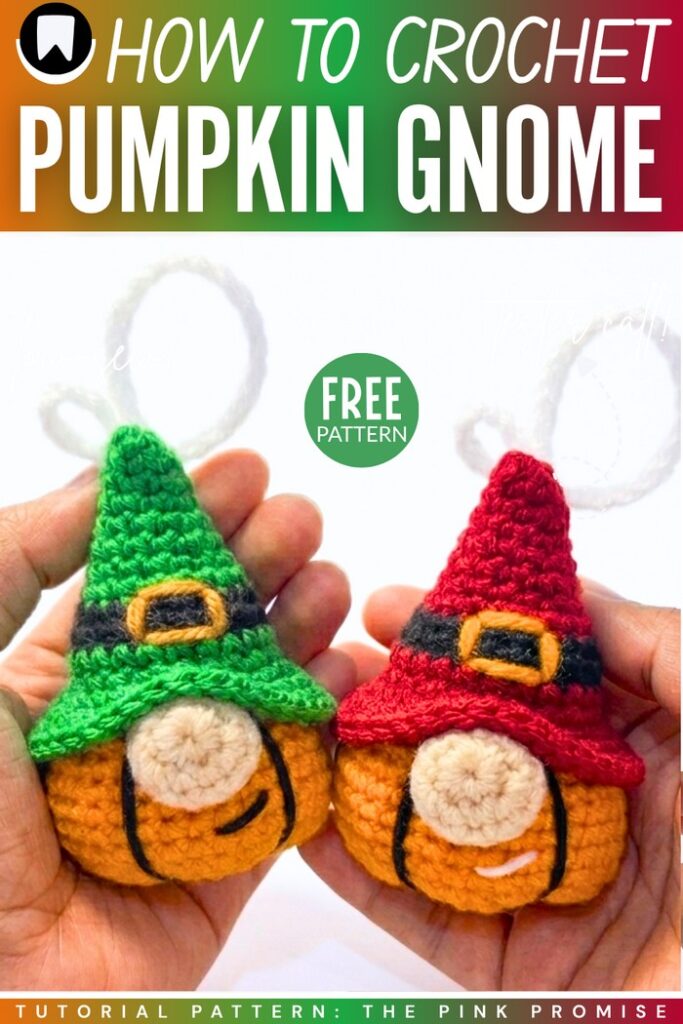
With this pattern + tutorial, learn how to crochet these 3 KAWAII pumpkin gnome amigurumi keychains for your Halloween trick-or-treating bag. These are the miniature crochet gnomes designed to be quicker and easier, compared to the MORE DETAILED big pumpkin gnomes. The design is simple: a crochet pumpkin body, long witch hat with belly belt, stuffed nose, and smile.
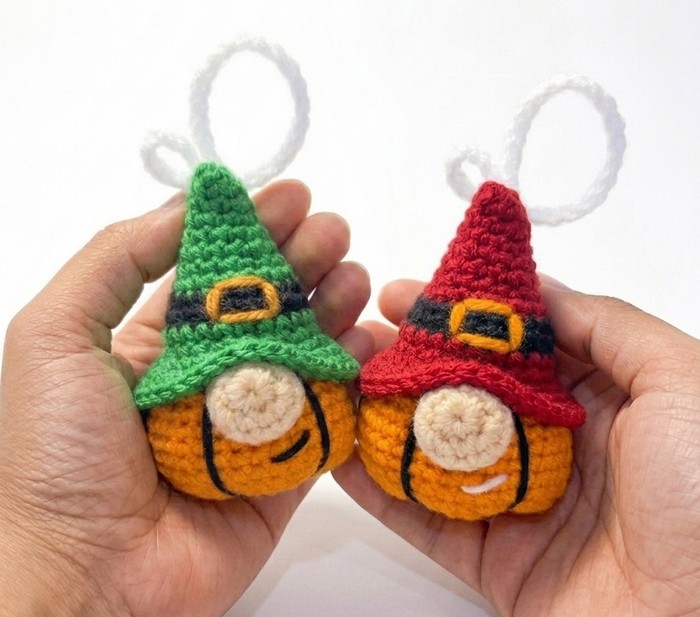
Crochet all three color variations of these pumpkin gnomes, whether using plush or amigurumi yarn, following the same pattern to decorate your treat table. My favorite one is the orange pumpkin with yellow hat variation. You can also crochet the hat in green or red.
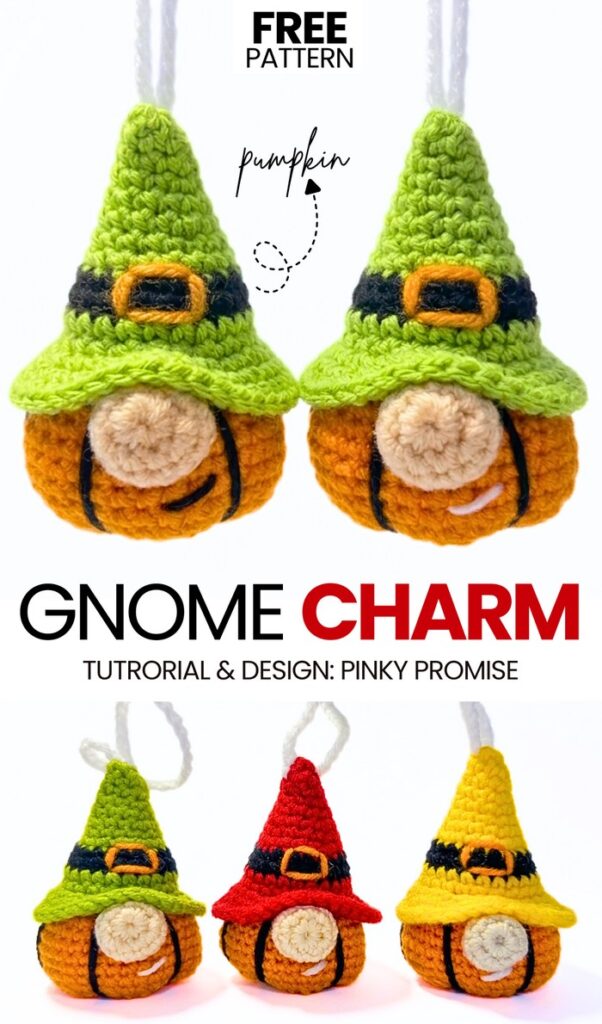
These pumpkin gnomes will also make irresistible Christmas and New Year decorations. But this autumn, be sure to crochet one of these autumn gnomes. Luckily, this crochet pattern is also no-sew, and you can crochet one in within 45 minutes. Be sure to crochet a trio this fall, following this pattern. Now, continue reading to learn more about this project and how to crochet one in detail!
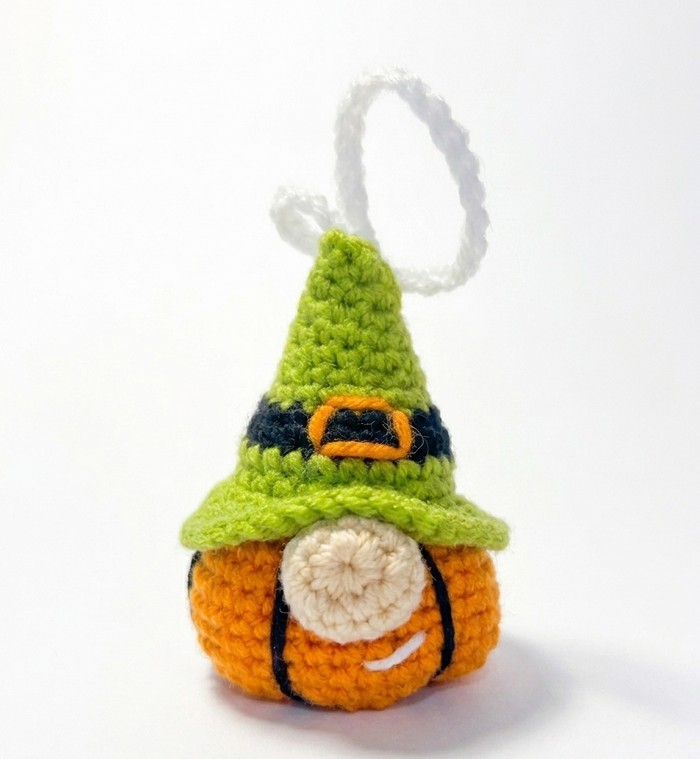
Similar Project(s)
Crochet Pumpkin Gnome Pattern
The pattern below is written using US terms. Follow along to crochet your own gnome in any variation:
Materials Needed
- Yarn: Acrylic or cotton yarn
- Orange – Body
- Green, Yellow, or Red – Hat
- Black – Belt
- Beige – Nose
- White – Mustache and Hanging Loop
- Hook: 2.5 mm crochet hook
- Other: Fiberfill stuffing, stitch marker, tapestry needle
Abbreviations (US Terms)
- MR – Magic Ring
- sc – Single Crochet
- inc – Increase (2 sc in one stitch)
- dec – Decrease (sc 2 together)
- BLO – Back Loop Only
- FLO – Front Loop Only
- ch – Chain
- FO – Fasten Off
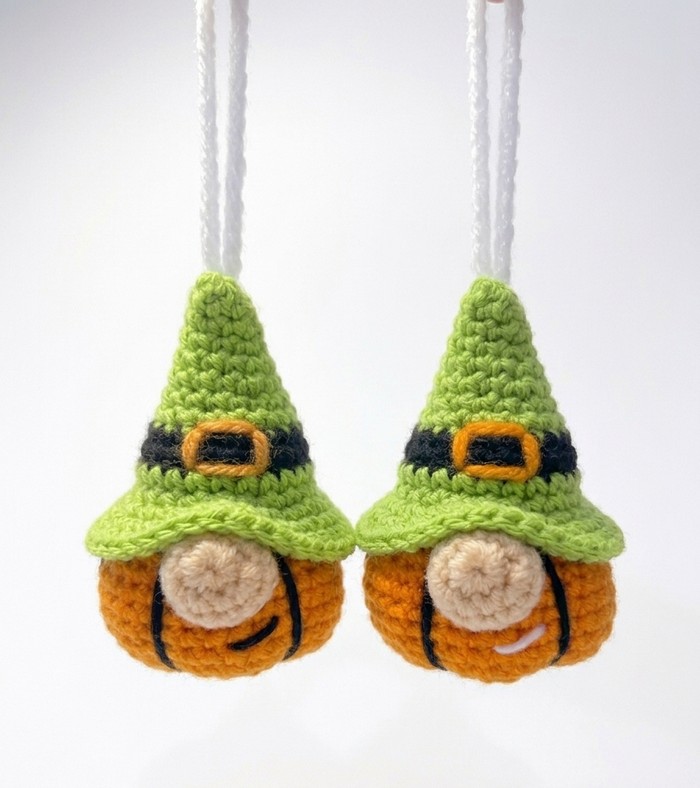
1. Gnome Hat
Use the main hat color (e.g., Green).
- R1: 6 sc in MR (6)
- R2: (2 sc, inc) × 2 (8)
- R3: sc all around (8)
- R4: (1 sc, inc) × 4 (12)
- R5: sc all around (12)
- R6: (2 sc, inc) × 4 (16)
- R7: sc all around (16)
- R8: (3 sc, inc) × 4 (20)
Are you a Beginner?
Tutorials are great when you are confused about any part! Learn how to crochet these pumpkin gnomes with the following tutorials:
Change to Black yarn for the belt.
- R9: sc all around (20)
- R10: (4 sc, inc) × 4 (24)
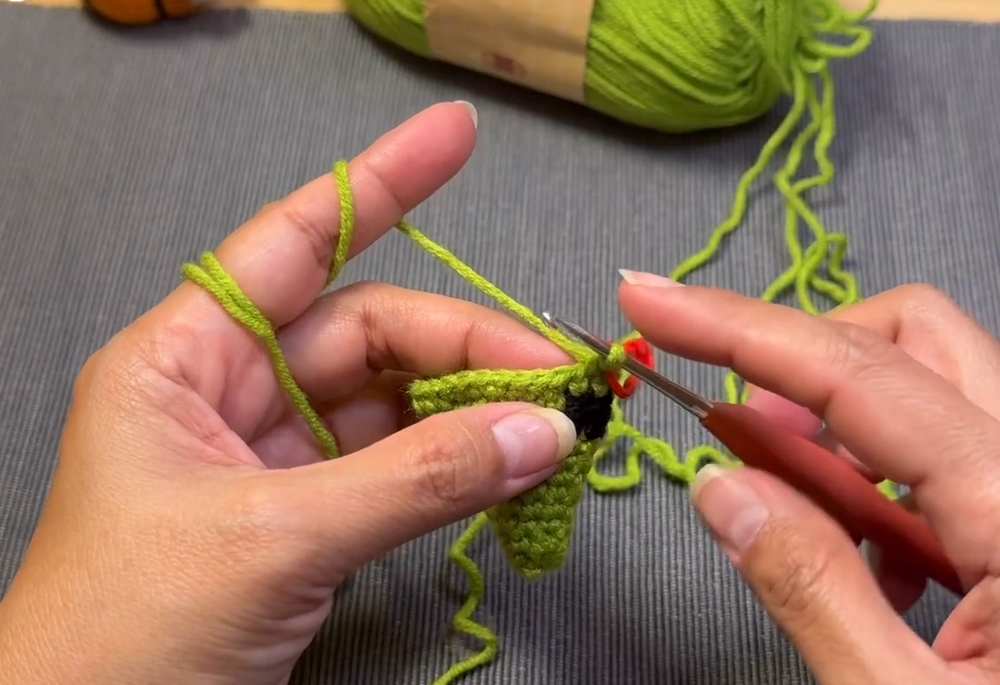
Change back to Green yarn.
- R11–R12: sc all around (24)
- R13: FLO (2 sc, inc) × 8 (32)
- R14: (3 sc, inc) × 8 (40)
- R15: sc all around (40)
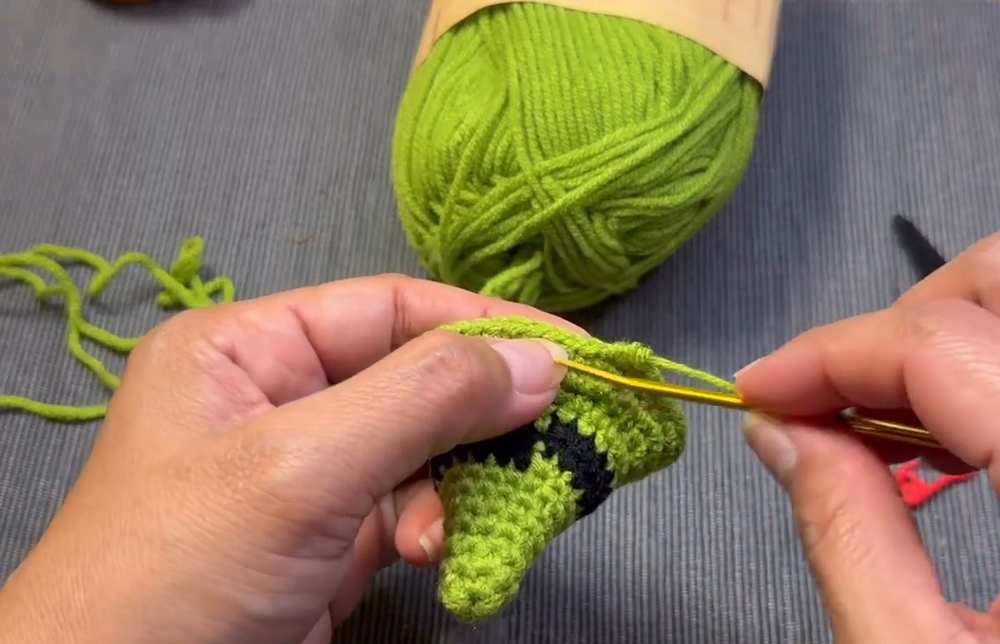
Finish: Cut the yarn and finish off invisibly.
2. Pumpkin Body
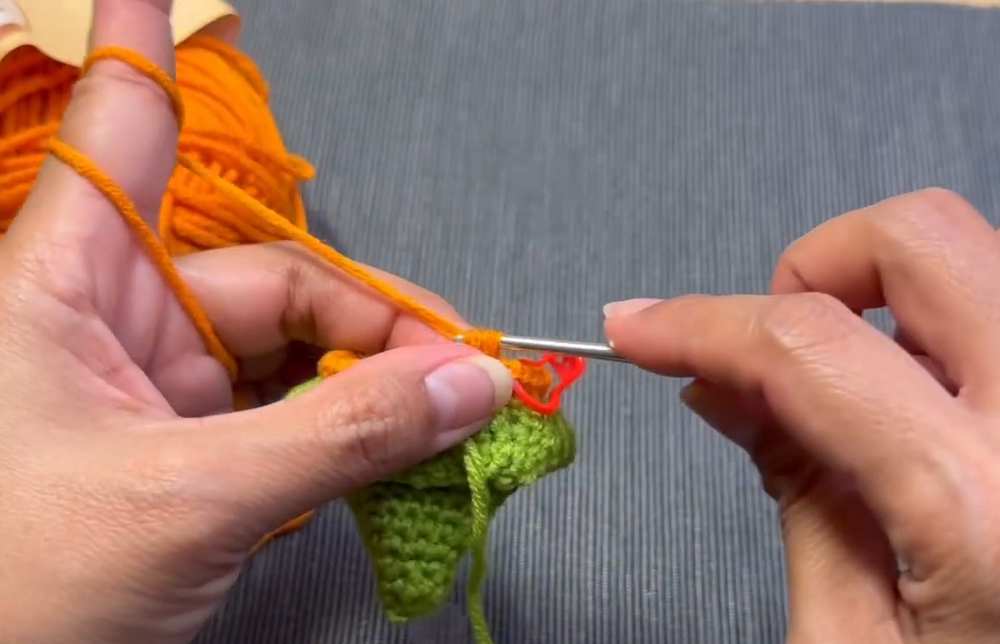
Attach Orange yarn to the remaining back loops of Round 13 of the hat.
- R13: BLO sc all around (24)
- R14: (3 sc, inc) × 6 (30)
- R15: (4 sc, inc) × 6 (36)
- R16–R20: sc all around (36) – 5 rounds total
- R21: (4 sc, dec) × 6 (30)
- R22: (3 sc, dec) × 6 (24)
- R23: (2 sc, dec) × 6 (18)
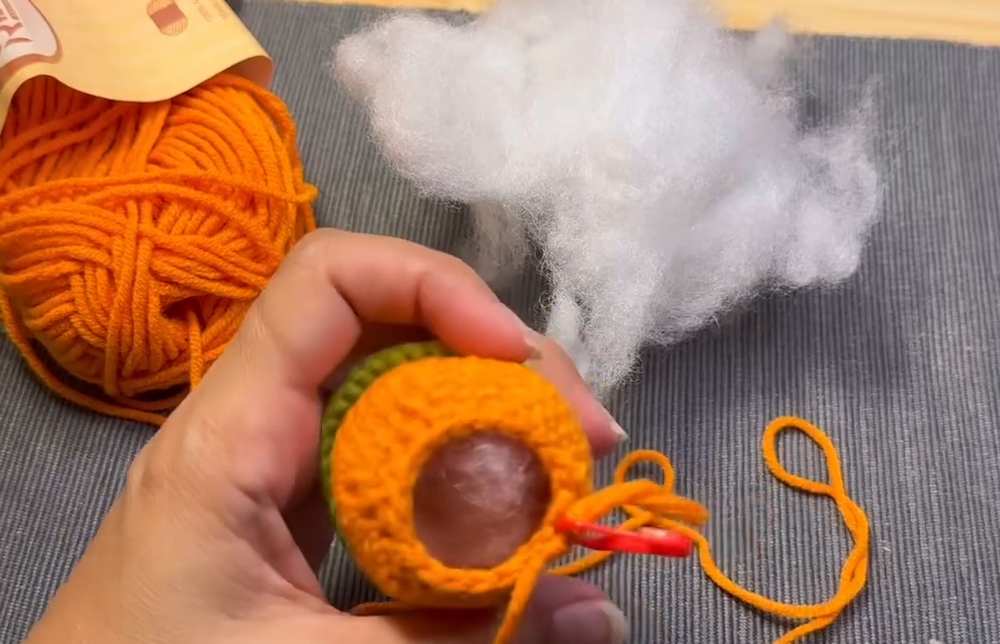
Stuff the body and the pointed part of the hat firmly with fiberfill.
- R24: (1 sc, dec) × 6 (12)
- R25: dec × 6 (6)
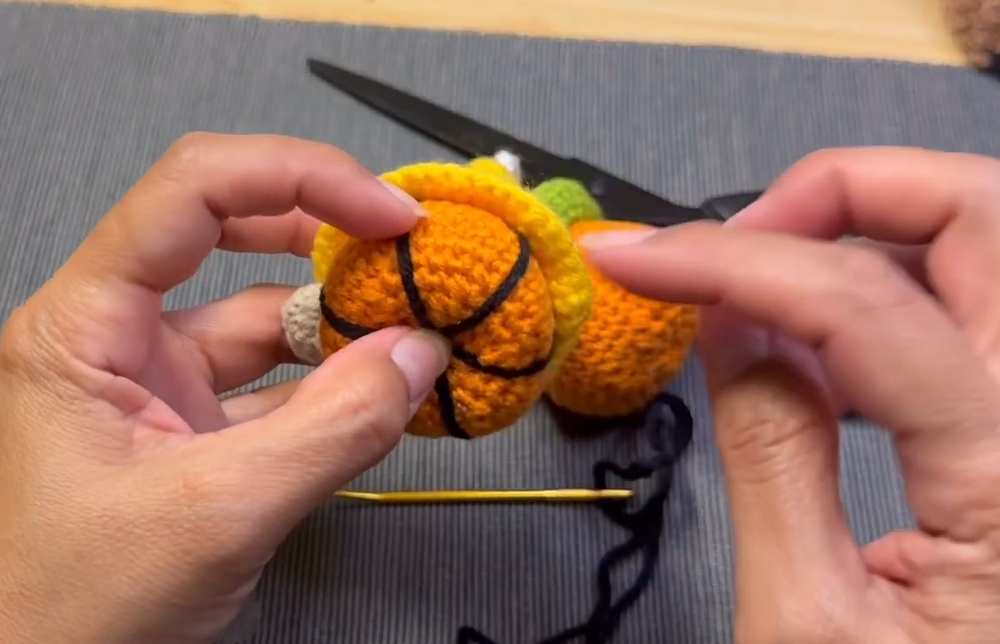
Finish: Cut yarn, close the hole, and weave in ends.
3. Gnome Nose
Use Beige yarn.
- R1: 8 sc in MR (8)
- R2: (1 sc, 2 inc, 1 sc) × 2 (12)
- R3: sc all around (12)
- R4: dec × 6 (6)
Leave a tail for sewing. Sew the nose to the center of the body, tucked just under the brim of the hat.
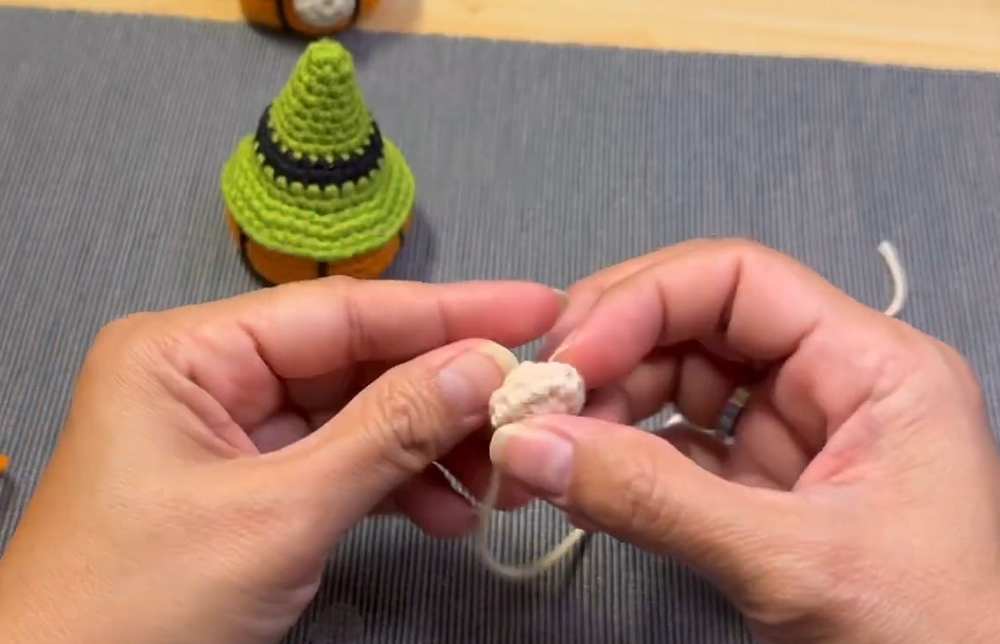
4. Finishing Details
Pumpkin Shaping
- Use Black yarn and a tapestry needle.
- Thread the needle through the bottom center of the body and up under the hat brim.
- Repeat this process 6 times around the body, spacing each section about 3 stitches apart.
- Pull tightly to create the pumpkin segments.
- Tie off securely at the bottom.
Hat Buckle
Use Orange yarn to embroider a small square buckle in the center of the black belt.
Mustache
Use White yarn to embroider a few short strands on each side of the nose.
Hanging Loop
- Chain 30 with White yarn.
- Fold the chain in half.
- Sew both ends securely to the tip of the hat.
Share on Social Media!
See More:
How to Crochet Amigurumi Big Nose Slouchy Hat Gnome Amigurumi

How to Granny Square with Pumpkin Applique in the Middle

Tester Pattern: To Crochet Pumpkin Hello Kitty Plushie with Big Paws Buddy

Featuring: How to Crochet Tiered Unusual Texture Pumpkin Decoration (3 Sizes)

Tester Pattern: To Crochet A Grizzly Bear Presenting You A Pumpkin Plushie

Tester Pattern: To Crochet A Witch Cat Plush Gifting You A Pumpkin Softie
Tester Pattern: Free Crochet Pumpkin-Holding Witch Bunny Plushie Pattern
Tester Pattern: How to Crochet Spooky Cow with Pumpkin Bag Plushie
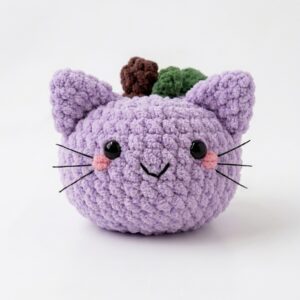
Tester Pattern: How to Crochet Smiling Pumpkin Kitty Cat Plushie