Support the Crochet Designer!
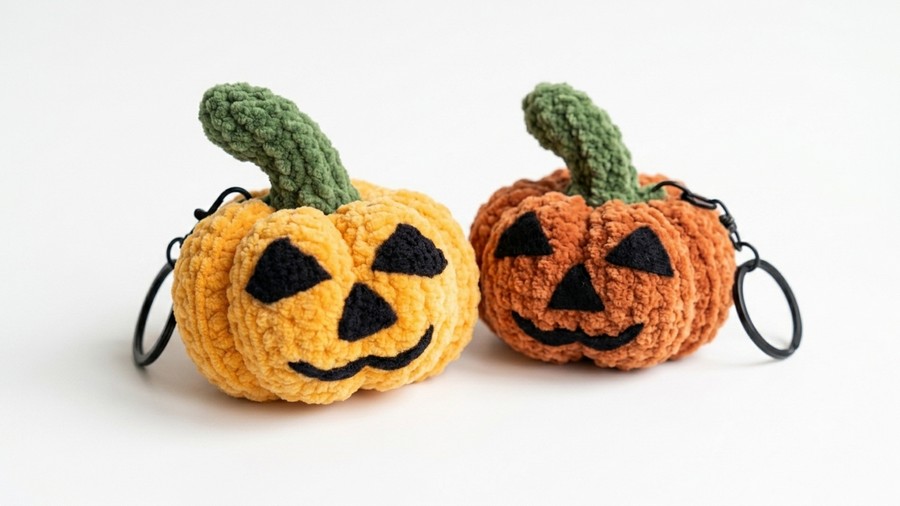
Today, let’s crochet this cutest Halloween jack-o’-lantern pumpkin plushie with a FREE written pattern & a tutorial, as well. It is also the MOST well-designed and still the easiest jack pumpkin plushie with its triangle nose and eyes & the ribbed fall pumpkin construction! Kids can bring this pumpkin plush out to celebrate the tradition of trick-or-treating.
Luckily, it is all crocheted from a ribbed rectangle just like the ribbed fall pumpkin amigurumi. The method, however, uses sc + hdc to make the rectangle. So, the shape of the pumpkin plush will look a lot more life-like.
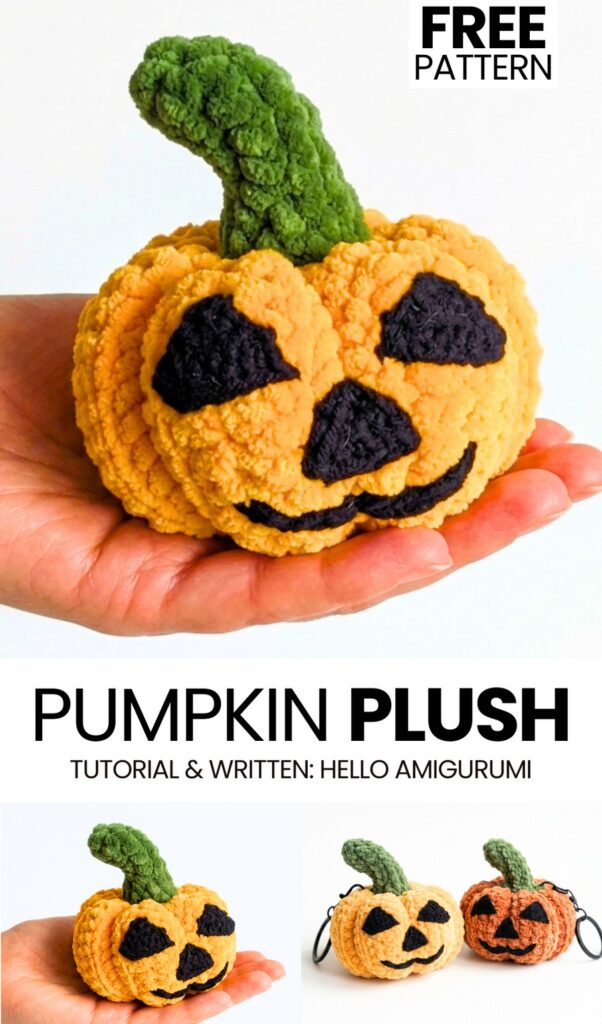
And to add the CUTE character that makes it the best Halloween present, we have that embroidered smile and the basic triangle eyes and nose that will be crocheted from the standard cotton yarn instead. With super-bulky yarn, you will end up with a soft, plush pumpkin in 40 minutes.
How to Crochet No-Sew Fox Plushie for Autumn Gifting
Below is the step-by-step pattern to crochet this DIY Halloween pumpkin plush using cotton and plush yarn. Note that round is used for both the row and crochet circle rounds. The pattern is written in US terms and worked in both rounds and rows.
Materials
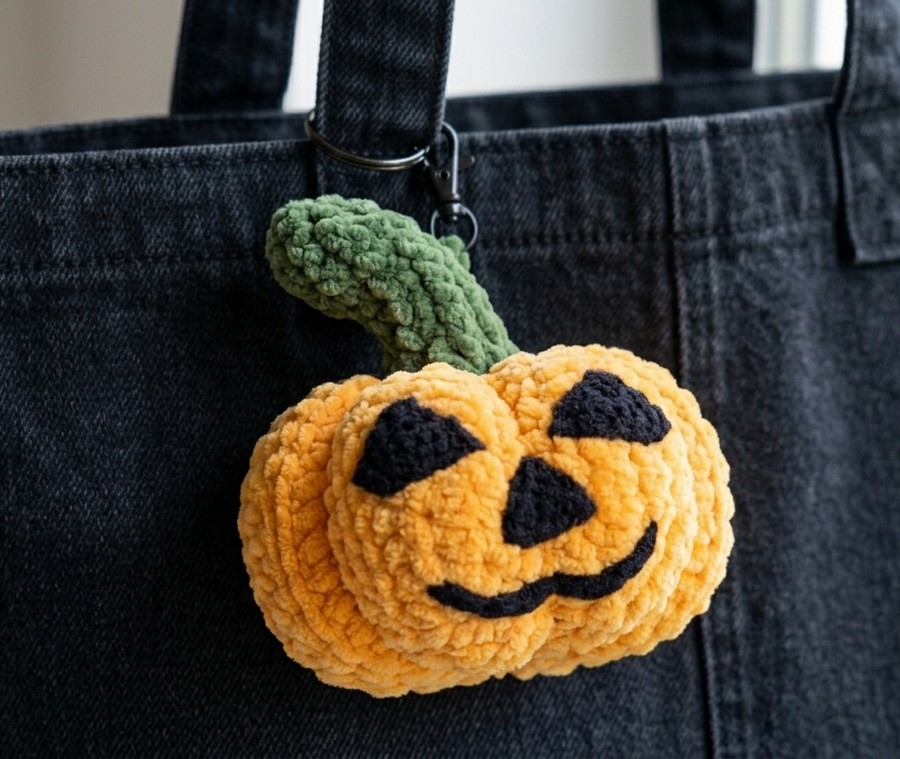
- Super bulky orange yarn – for the pumpkin body
- Green yarn – for the stem
- Thin black cotton yarn – for the triangle eyes and mouth
- Fiberfill stuffing – to stuff the pumpkin and lightly stuff the stem
- Crochet hook – 5mm
- Yarn needle (tapestry needle)
- Stitch marker – to mark the beginning of the stem rounds
Abbreviations
- MR = Magic ring
- ch = Chain
- sc = Single crochet
- hdc = Half double crochet
- inc = Increase (work 2 single crochets in the same stitch)
- BLO = Back loop only
- sl st = Slip stitch
- st(s) = Stitch(es)
- rnd = Round
- rep = Repeat
- FO = Fasten off
Round 1
Make a slip knot. Ch 16. Beginning in the second ch from the hook, work 1 sc in each ch across. Turn. (15 sc)
Round 2
Ch 2. Work 1 hdc in the BLO of each st across. Turn. (15 hdc)
Round 3
Ch 2. Work 1 hdc in the BLO of each st across. Turn. (15 hdc)
Round 4
Ch 1. Work 1 sc in the BLO of the first 14 sts. Work the last sc through both loops of the final st. Turn. (15 sc)
Round 5
Ch 1. Work 1 sc in the BLO of the first 14 sts. Work the last sc through both loops of the final st. Turn. (15 sc)
Note:
Repeat
Repeat Rounds 2–5 five more times.
After completing the final repeat, work Rounds 2–3 only. Do not work the final two sc rounds.
You should now have a long ribbed rectangle. Anyway, here is the complete pattern for the remaining rounds!
Round 6
Ch 2. Work 1 hdc in the BLO of each st across. Turn. (15 hdc)
Round 7
Ch 2. Work 1 hdc in the BLO of each st across. Turn. (15 hdc)
Round 8
Ch 1. Work 1 sc in the BLO of the first 14 sts. Work the last sc through both loops of the final st. Turn. (15 sc)
Round 9
Ch 1. Work 1 sc in the BLO of the first 14 sts. Work the last sc through both loops of the final st. Turn. (15 sc)
Round 10
Ch 2. Work 1 hdc in the BLO of each st across. Turn. (15 hdc)
Round 11
Ch 2. Work 1 hdc in the BLO of each st across. Turn. (15 hdc)
Round 12
Ch 1. Work 1 sc in the BLO of the first 14 sts. Work the last sc through both loops of the final st. Turn. (15 sc)
Round 13
Ch 1. Work 1 sc in the BLO of the first 14 sts. Work the last sc through both loops of the final st. Turn. (15 sc)
Round 14
Ch 2. Work 1 hdc in the BLO of each st across. Turn. (15 hdc)
Round 15
Ch 2. Work 1 hdc in the BLO of each st across. Turn. (15 hdc)
Round 16
Ch 1. Work 1 sc in the BLO of the first 14 sts. Work the last sc through both loops of the final st. Turn. (15 sc)
Round 17
Ch 1. Work 1 sc in the BLO of the first 14 sts. Work the last sc through both loops of the final st. Turn. (15 sc)
Round 18
Ch 2. Work 1 hdc in the BLO of each st across. Turn. (15 hdc)
Round 19
Ch 2. Work 1 hdc in the BLO of each st across. Turn. (15 hdc)
Round 20
Ch 1. Work 1 sc in the BLO of the first 14 sts. Work the last sc through both loops of the final st. Turn. (15 sc)
Round 21
Ch 1. Work 1 sc in the BLO of the first 14 sts. Work the last sc through both loops of the final st. Turn. (15 sc)
Round 22
Ch 2. Work 1 hdc in the BLO of each st across. Turn. (15 hdc)
Round 23
Ch 2. Work 1 hdc in the BLO of each st across. Turn. (15 hdc)
Round 24
Ch 1. Work 1 sc in the BLO of each st across. Do not work the last stitch through both loops. Turn. (15 sc)
Round 25
Fold the piece in half, matching the short edges. Working through both layers, join the edges with 15 sl st across. Fasten off, leaving a long tail for sewing.
Finishing
Using the yarn tail, weave a running stitch around one opening. Pull tightly to close the bottom and secure.
Stuff the pumpkin firmly with fiberfill.
Thread a new length of yarn onto a yarn needle. Starting at the bottom center, insert the needle through the center of the pumpkin and bring it out through the top center. Pull snug to create the first indentation.
Continue passing the needle from the top to the bottom, bringing it up between the hdc ridges each time. Pull firmly after each pass to create evenly spaced sections. Repeat until you have 6 segments around the pumpkin.
Stem
Using green yarn:
Round 1
Work 6 sc into a magic ring. (6)
Rounds 2–6
Work 1 sc in each stitch around. (6 sts for 5 rounds)
Place a stitch marker in the first stitch of each round to mark the beginning of the round.
Weave in the beginning yarn tail through the inside of the stem to secure the magic ring.
Round 7
(Inc, 1 sc) × 3. (9)
Round 8
(2 sc, inc) × 3. (12)
Join with a sl st. Fasten off, leaving a long tail for sewing.
Lightly stuff the stem with fiberfill.
Center the stem on the top of the pumpkin and sew it securely in place.
Triangle Eyes (Make 2)
Using thin black yarn:
Row 1
Make a slip knot. Ch 2. Work 2 sc into the second ch from the hook. Turn. (2)
Row 2
Ch 1. Inc in each stitch across. Turn. (4)
Row 3
Ch 1. Inc in the first st, 2 sc, inc in the last st. Turn. (6)
Row 4
Ch 1. Inc in the first st, 4 sc, inc in the last st. (8)
Fasten off, leaving a long tail for sewing.
Make a second eye the same way.
Mouth
Using thin black yarn:
Row 1
Make a slip knot. Ch 2. Work 2 sc into the second ch from the hook. Turn. (2)
Row 2
Ch 1. Inc in each stitch across. Turn. (4)
Row 3
Ch 1. Inc in the first st, 2 sc, inc in the last st. (6)
Fasten off, leaving a long tail for sewing.
Assembly
Pin the eyes evenly onto the front of the pumpkin and sew them securely in place.
Position the mouth below the eyes and sew it to the pumpkin.
Weave in all remaining yarn ends.
Your jack-o’-lantern pumpkin is now complete!
See More:
How to Crochet Jack SKELLINGTON Keychain Craft for Halloween
How to Crochet Mini Jack-o-Lantern Pumpkin Candy Holder for Halloween

Crochet CUTEST Guest-Welcoming BOO Ghost with Bow, Hat and Pumpkin Accessories

Tester Call: How to Crochet A Candy Corn, Pumpkin & Kawii Buddy Potted Plant Plushie

Featuring: How to Crochet the Smallest Pumpkin Fall Turtle Plushie with Orange & Parrot

Pattern Tester: How to Crochet Pumpkin Ridges Face Donut Ring Plushie for Fall

How to Crochet An Amigurumi Long-Legged Kawaii Pumpkin in Shoes Buddy

How to Granny Square with Pumpkin Applique in the Middle

Tester Pattern: To Crochet Pumpkin Hello Kitty Plushie with Big Paws Buddy