Author: Talha
I am a crochet designer, macramé maker and a crafter who also loves doing MATH.
Contributor: Iryna of Crochet Toys
Based in Ukraine, she is a crochet amigurumi designer and has been our contributor via mycraftybasket in mid 2026.
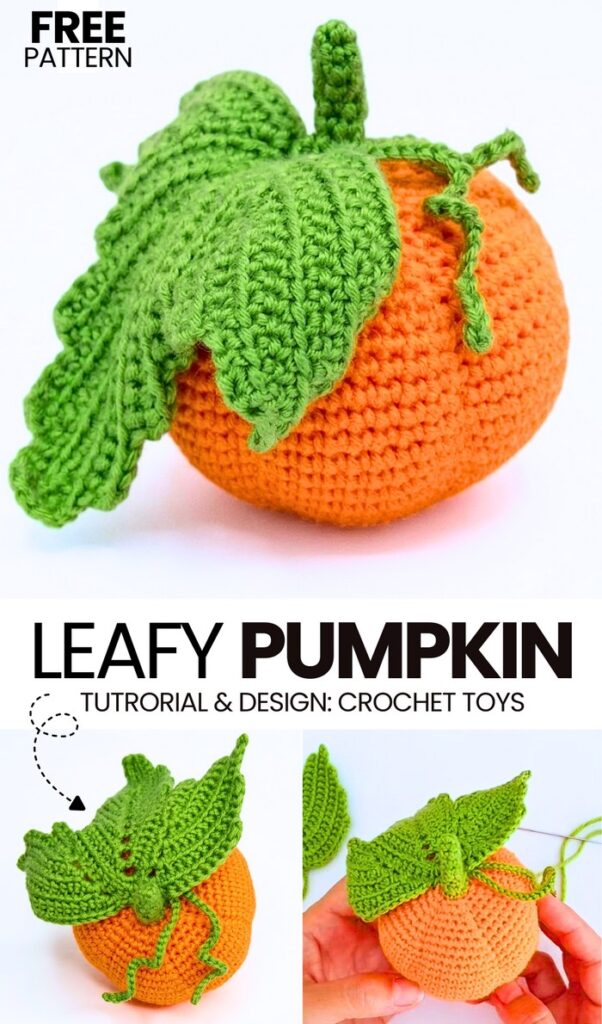
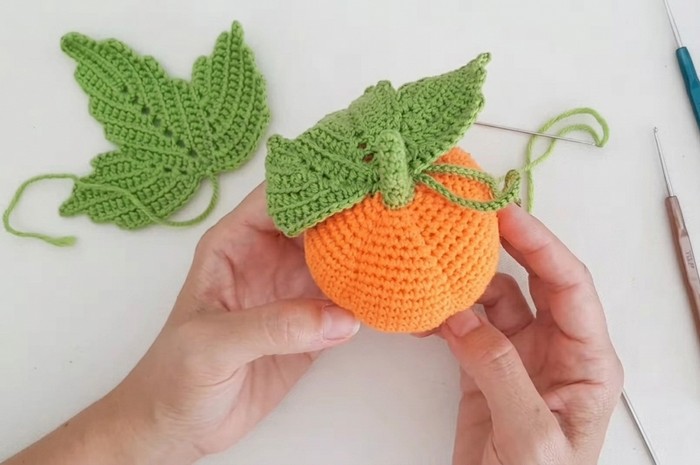
This year, decorate for autumn with this crochet ELEGANT pumpkin amigurumi with a realistic pumpkin leaf pattern as well. We shall crochet a ribbed pumpkin leaf along with a no-sew stalk and a stem, too. The tutorial is divided into two parts, but I have provided the written pattern for crocheting the full pumpkin amigurumi decoration in this guide.
You can also crochet this pumpkin for Halloween. We shall crochet the pumpkin by working in rounds, unlike the ribbed fall pumpkin, and make the ridges by threading.
Crocheting this pumpkin amigurumi will be easier for beginners (even the leaf), as you only need basic crochet stitches. Even the leaf does not need complicated crochet. You can also crochet it with a mouth and eyes. Now, continue reading for the full pumpkin and leaf pattern for novices.
How to Crochet a Pumpkin with a Leaf
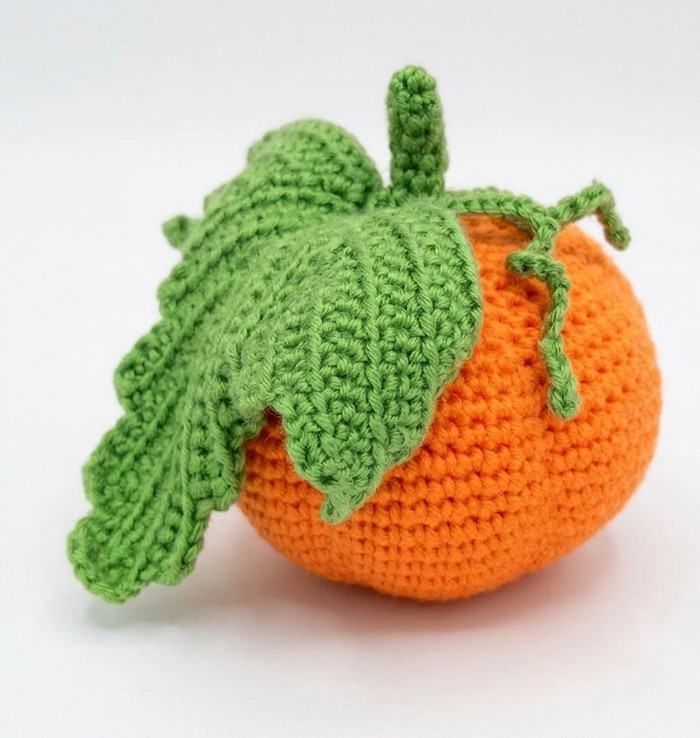
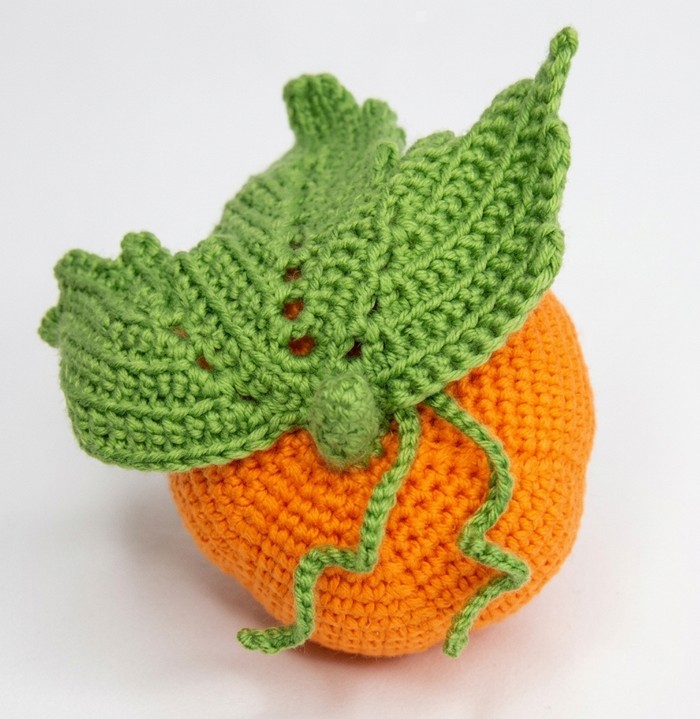
Let’s crochet a realistic crochet pumpkin complete with deep textured ridges, a naturally curving stem, curly vines, and a detailed ribbed leaf.
It is a fantastic autumn or Halloween decor piece that looks incredibly authentic. Because the pumpkin is built using simple increases and decreases, you can easily scale it up or down just by changing your yarn thickness and hook size!
Materials Needed
- Yarn: Medium-weight yarn in Orange (for the pumpkin body) and Green (for the stem, leaf, and vines).
- Crochet Hook: 2.0 mm (or an appropriate size for your chosen yarn to keep the stitches tight so stuffing doesn’t show).
- Stuffing: Fiberfill (holofiber).
- Tools: Stitch marker, scissors, and a large tapestry needle.
- Extra Yarn Strands: 6 long, separate strands of orange yarn (used later to sculpt the pumpkin’s bumps).
Abbreviations
- MR: Magic Ring
- ch: Chain
- sc: Single crochet
- dc: Double crochet (a taller stitch)
- sl st: Slip stitch
- inc: Increase (crochet 2 single crochets into the same stitch)
- dec: Decrease (crochet 2 stitches together)
- BLO: Back loop only (insert hook only in the loop furthest from you)
- FLO: Front loop only (insert hook only in the loop closest to you)
- st(s): Stitch(es)
- ( … ) x 6: Repeat the instructions inside the parentheses 6 times.
Part 1: The Pumpkin Body
Using orange yarn, work in a continuous spiral. Place your stitch marker in the first stitch of each round so you don’t lose your place.
- Round 1: 6 sc into a MR. Join with a sl st. (6 sts)
- Round 2: inc in every st around. (12 sts)
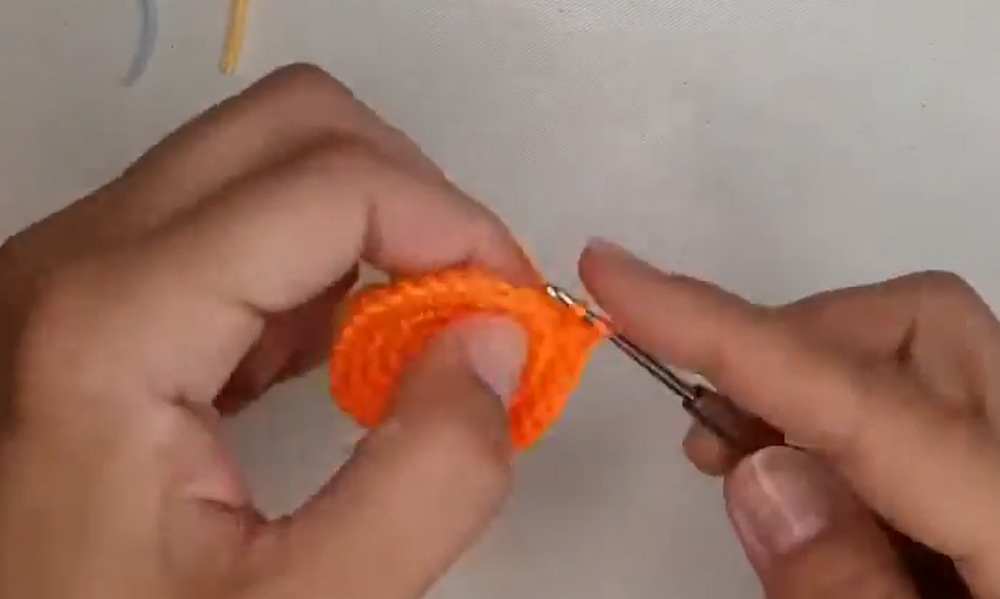
- Round 3: (1 sc, inc) x 6. (18 sts)
- Round 4: (2 sc, inc) x 6. (24 sts)
- Round 5: (3 sc, inc) x 6. (30 sts)
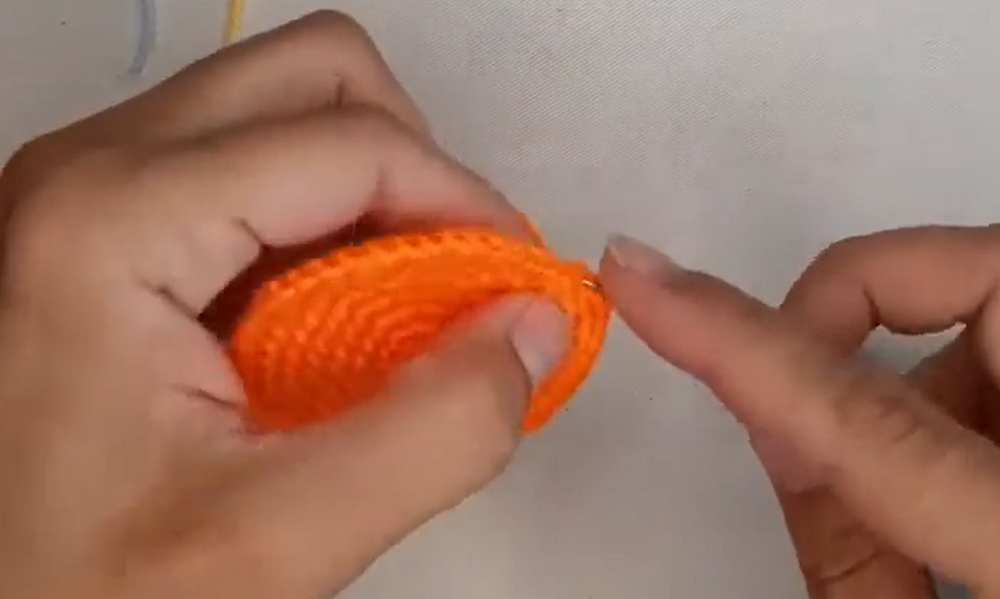
- Round 6: (4 sc, inc) x 6. (36 sts)
- Round 7: (5 sc, inc) x 6. (42 sts)
Are you a Beginner?
If you can’t follow the written pattern, continue with the tutorial or the pattern below!
- Round 8: (6 sc, inc) x 6. (48 sts)
- Round 9: (7 sc, inc) x 6. (54 sts)
- Round 10: (8 sc, inc) x 6. (60 sts)
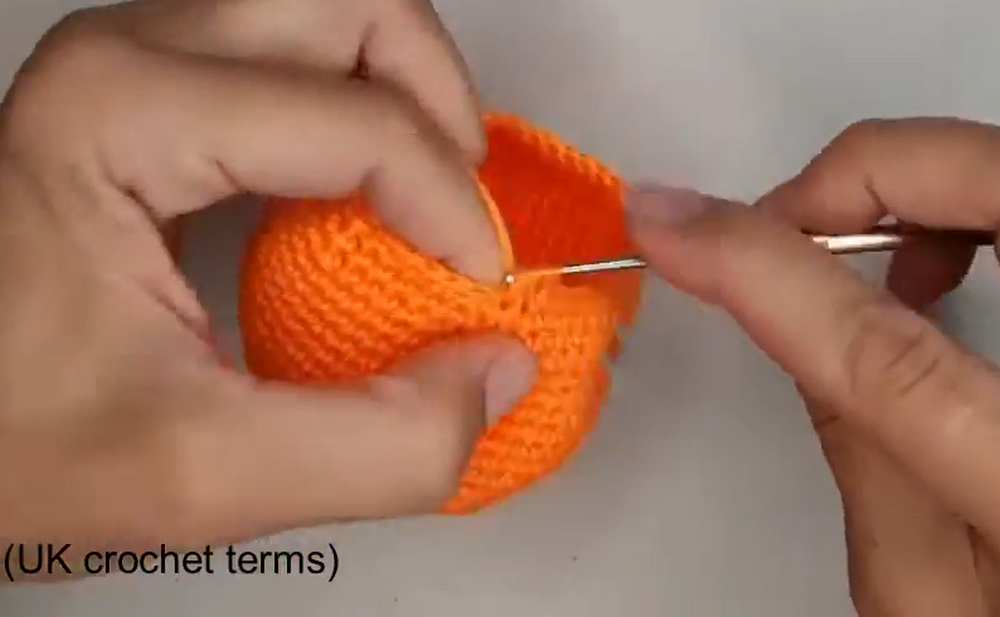
- Rounds 11–19: sc in each st around. (60 sts for 9 consecutive rows)
- Round 20: (dec, 8 sc) x 6. (54 sts)
- Round 21: (dec, 7 sc) x 6. (48 sts)
- Round 22: (dec, 6 sc) x 6. (42 sts)
- Round 23: (dec, 5 sc) x 6. (36 sts)
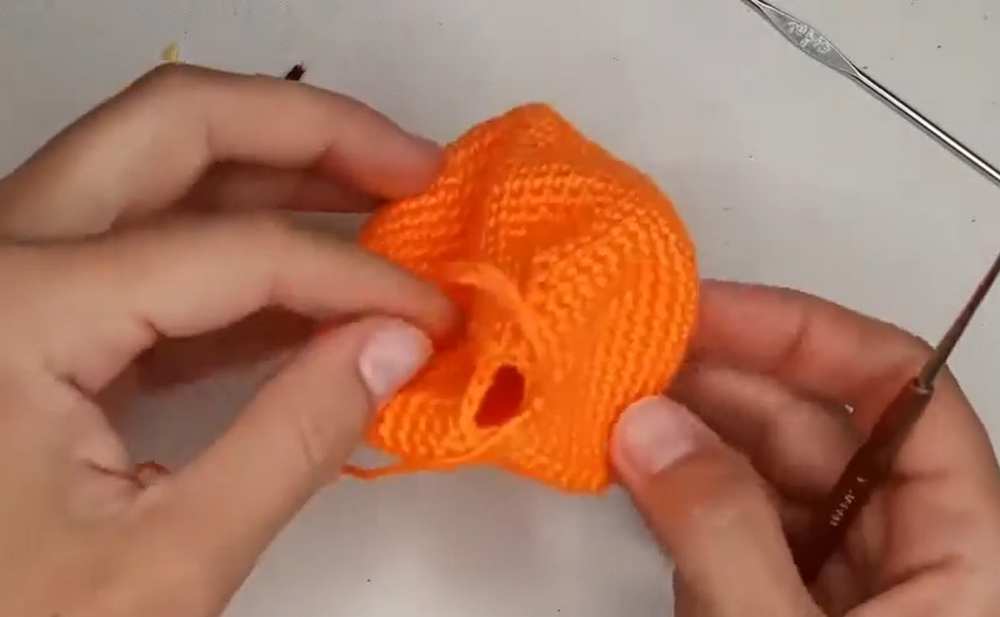
- Round 24: (dec, 4 sc) x 6. (30 sts)
- Round 25: (dec, 3 sc) x 6. (24 sts)
- Round 26: (dec, 2 sc) x 6. (18 sts)
- Round 27: (dec, 1 sc) x 6. (12 sts)
Pause here. Do not cut your orange working yarn yet.
Part 2: Prepping for Ridges & Stuffing
- Gather your 6 extra strands of orange yarn. Line them up and tie a large, thick knot at one end joining them all.
- Push your crochet hook through the very bottom center of the pumpkin (the Magic Ring) from the outside in. Grab the unknotted ends of your 6 strands and pull them inside the pumpkin. The large knot will act as an anchor on the inside bottom.
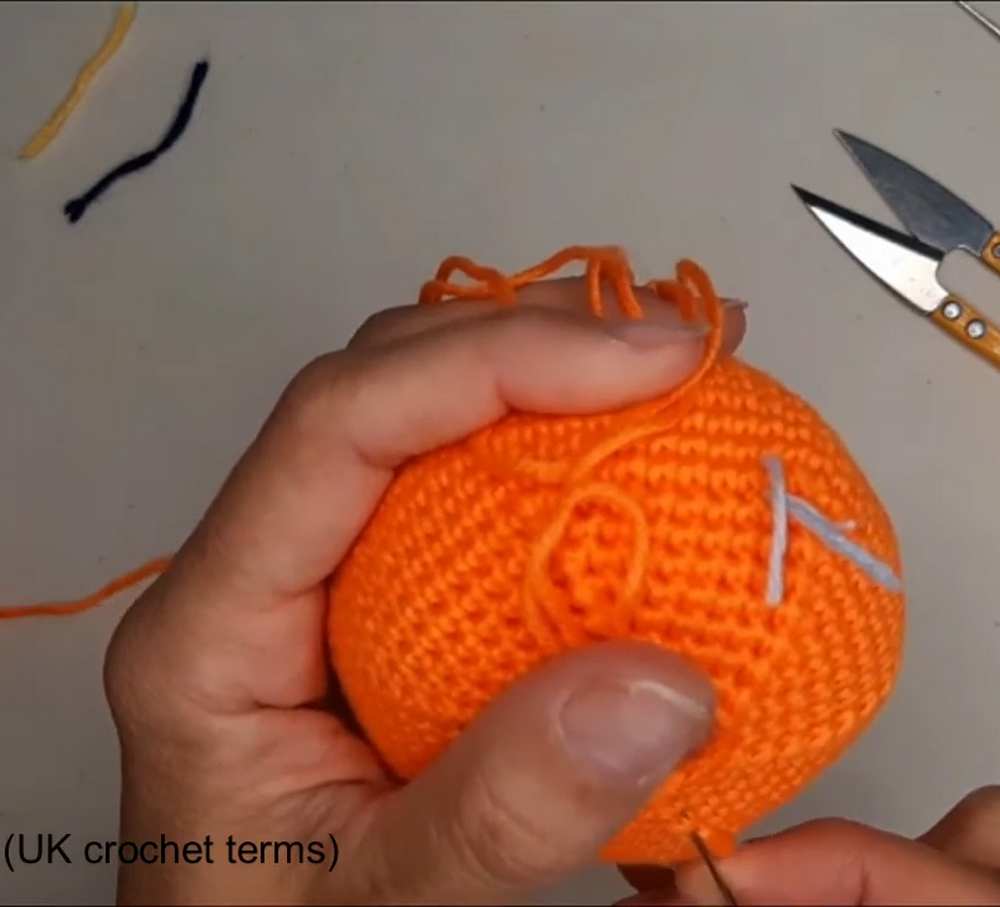
- Drape the 6 loose strands evenly up the outside walls of the pumpkin. Tuck the loose tails into the top opening just to keep them out of your way while you stuff.
- Stuff the inside of the pumpkin firmly with your fiberfill.
Part 3: The Curving Stem
Switch your working yarn to green.
- Round 28: Work 12 sc around the top opening. (12 sts)
- Round 29: 6 dec. (6 sts)
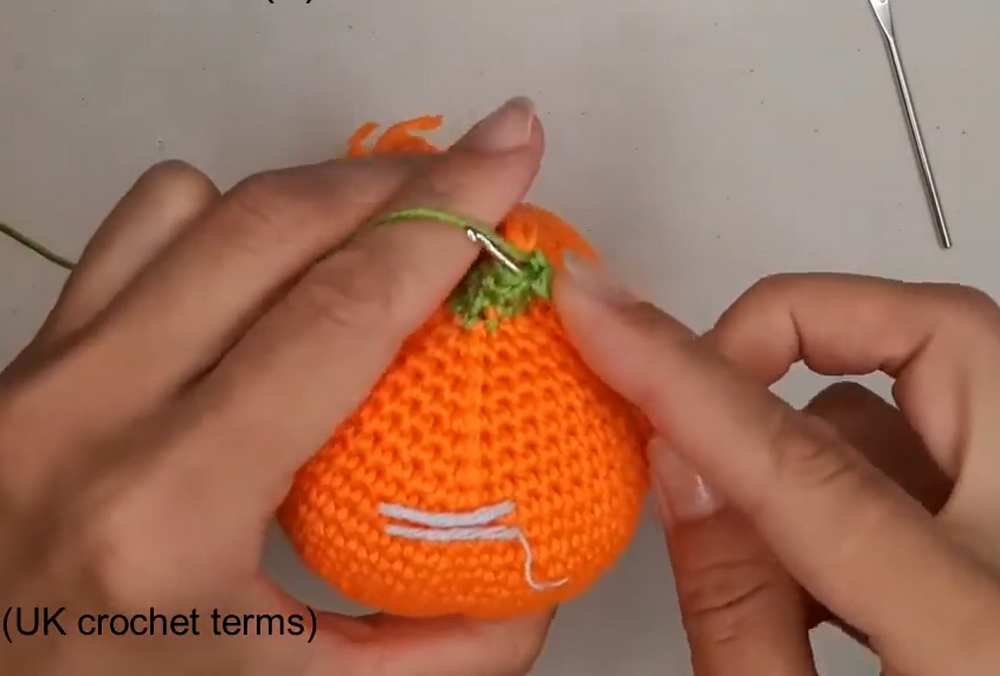
- Round 30: sc in each st around. (6 sts)
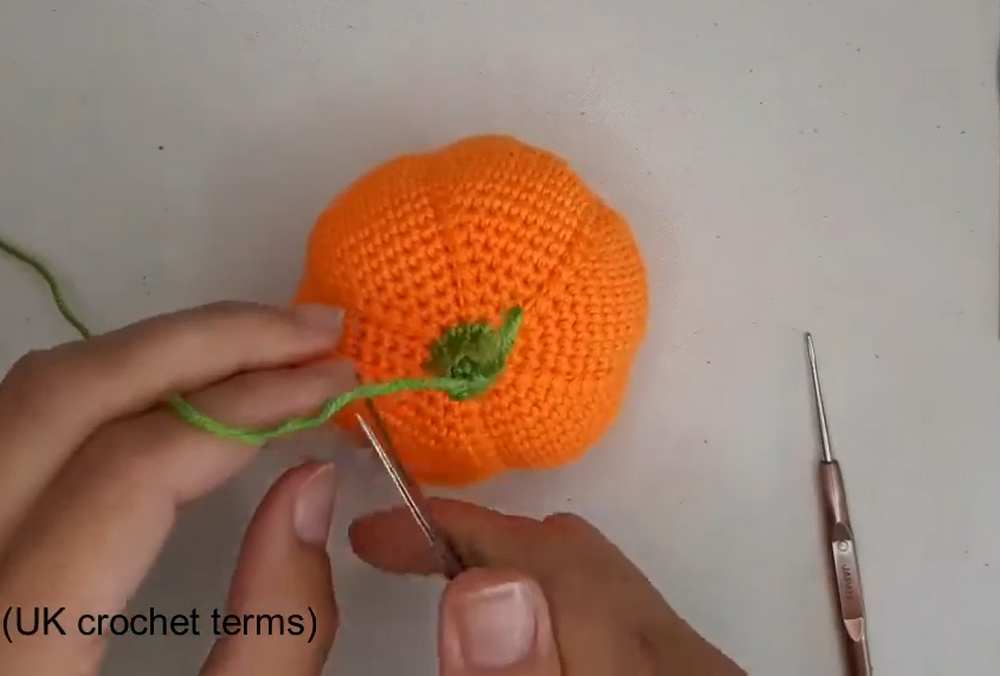
- Round 31: 3 sc, then 3 dc. (6 sts) (Mixing short and tall stitches here forces the stem to tilt naturally).
- Rounds 32–34: sc in each st around. (6 sts over 3 rows)
Fasten off, leaving a short tail. Thread the tail onto your tapestry needle, weave it through the front loops of the final 6 stitches, pull tight to close the hole, and hide the tail inside the stem.
Part 4: The Curly Vines
- With green yarn, leave a long tail for sewing, and chain 27.
- Fasten off and trim. Weave the final tail end back into the chain to hide it.
- The chain will naturally curl on its own, but you can gently twist it around your finger to tighten the spiral into a bouncy curl.
- Make a second vine identical to the first.
Part 5: The Ribbed Leaf
This leaf is worked flat in rows. You will crochet up one side, create a point at the top, and crochet down the other side. By using only the Back Loops or Front Loops, you create beautiful natural leaf veins.
Foundation:
- With green yarn, ch 12.
- Starting in the 3rd ch from the hook, work 10 sc down the chain.
- ch 4. Rotate your work to crochet up the opposite side of the foundation chain.
- Work 10 sc up the other side. ch 1, turn.
Building the Leaf (General Steps):
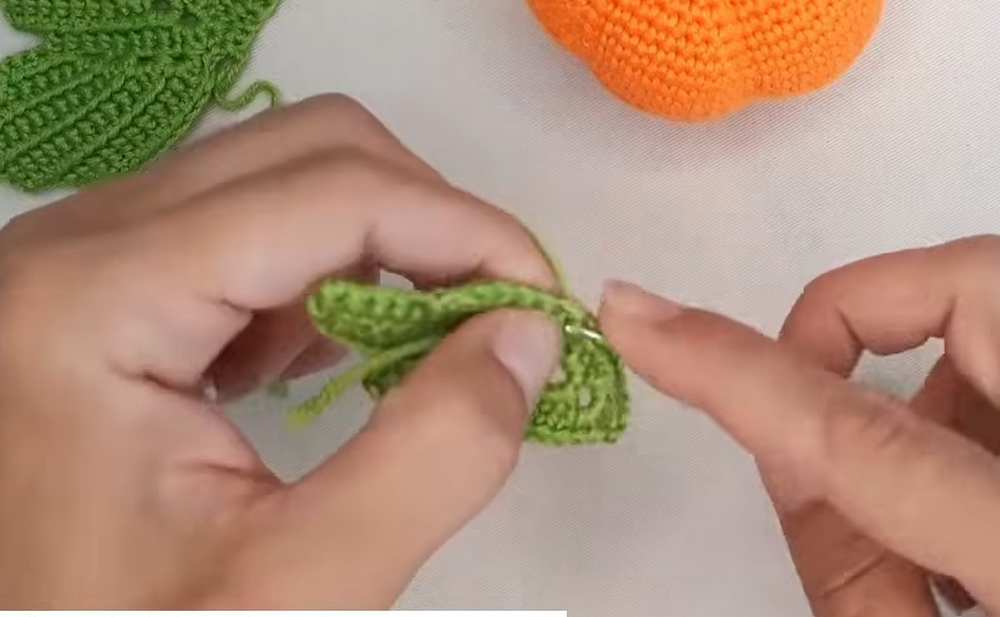
- The Veins: Every time you start a new row, skip the stitch closest to your hook. Work your sc stitches into the Back Loop Only (BLO) on one pass, and the Front Loop Only (FLO) on the return pass. This keeps the textured “veins” popping out on the correct side of the leaf.
- The Center Point: Every time you reach the
ch-4gap at the very top tip of the leaf, work2 sc, ch 4, 2 scdirectly into that gap. This builds the leaf taller. - The Jagged Edges: As you work your way down the sides of the leaf, do not crochet all the way to the end. Leave the last 1 or 2 stitches totally empty. Simply ch 1, turn your work, and crochet back up toward the top tip. This creates the jagged, uneven edges of a real pumpkin leaf.
- Continue working back and forth (leaving the bottom edges jagged and adding to the top point) until the leaf is wide and ribbed to your liking. Fasten off with a slip stitch at the base, leaving a long green tail for sewing.
Part 6: Easy Assembly
Step 1: Shape the Pumpkin Ridges
- Grab the 6 loose orange strings resting at the top of your pumpkin base (right below the green stem).
- Take two strings that are directly across from each other and pull them down tightly. The strings will squeeze the outside of the pumpkin, creating deep, classic pumpkin bumps.
- Once the bumps look nice and plump, tie the strings together in tight knots across the top so they don’t slip. Cut off the extra string and use your hook or needle to poke the knots deep inside the pumpkin body to hide them.
Step 2: Attach the Curly Vines
- Take your two bouncy, curly vines.
- Tie them directly around the base of the green stem, exactly where the orange pumpkin meets the green yarn. This perfectly hides the color change transition!
Step 3: Sew on the Leaf
- Thread the long green yarn tail left on your leaf onto your sewing needle.
- Place the bottom of the leaf right over the knots where you just tied the curly vines.
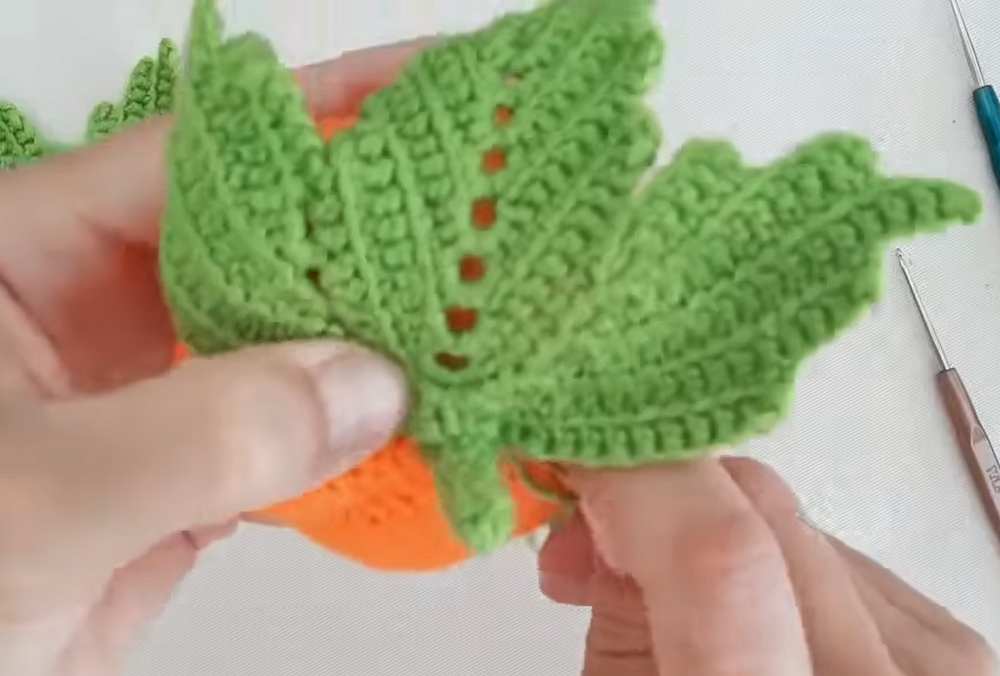
- Sew a few simple stitches through the base of the leaf and into the top of the pumpkin body to lock it down.
- Once it feels sturdy, tie a tiny knot, push the needle deep straight through the pumpkin, and snip the yarn to hide the tail inside.
See More:

How to Granny Square with Pumpkin Applique in the Middle

Tester Pattern: To Crochet Pumpkin Hello Kitty Plushie with Big Paws Buddy

Featuring: How to Crochet Tiered Unusual Texture Pumpkin Decoration (3 Sizes)

Tester Pattern: To Crochet A Grizzly Bear Presenting You A Pumpkin Plushie

Tester Pattern: To Crochet A Witch Cat Plush Gifting You A Pumpkin Softie
Tester Pattern: Free Crochet Pumpkin-Holding Witch Bunny Plushie Pattern
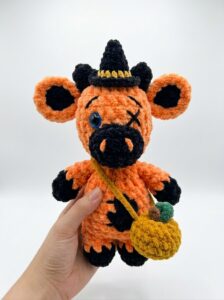
Tester Pattern: How to Crochet Spooky Cow with Pumpkin Bag Plushie
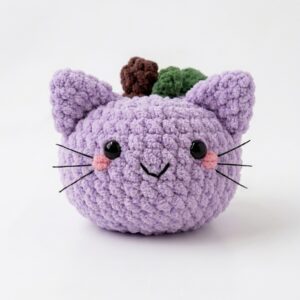
Tester Pattern: How to Crochet Smiling Pumpkin Kitty Cat Plushie
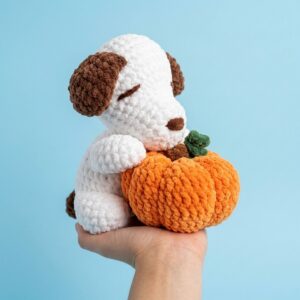
Featuring: How to Crochet Pumpkin Lover Puppy Plushie for Fall Decorations