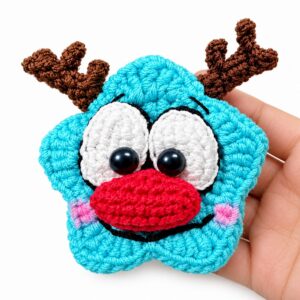
I have just completed our crochet buddy star plushies series! But if you are looking for a more traditional yet UNIQUE crochet star ornament this winter, follow today’s crochet 2-in-1 snowflake and star amigurumi ornament tutorial! This is a crochet ragdoll star that you can crochet in red, white, or green with the same embroidery snowflake and shiny diamond beads. Can be crocheted in under 30 minutes following this step-by-step tutorial and a FREE written pattern as well. Named the crochet luxury star amigurumi, this is the MOST elegant crochet star you can make for this year’s holidays.
You would love hanging this crochet star on a holiday tree, tucked into wreaths, or displayed around your home. Each star is made from two soft, double-stranded panels joined together, lightly stuffed, and finished as a 3D star ornament.
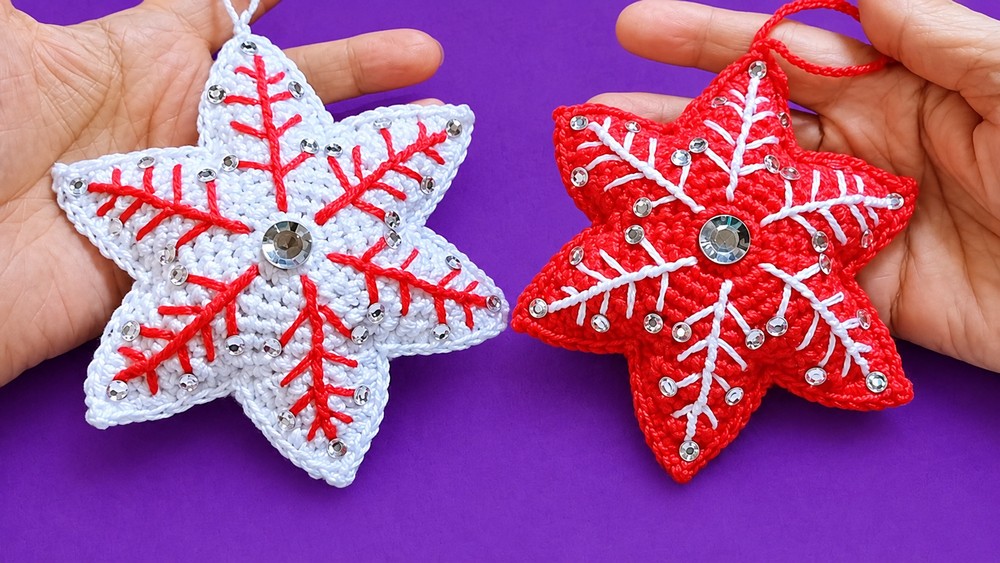
Whether you make them in classic white with red details or red with white accents, these crochet ornaments are simple to make, fun to customize, and make thoughtful gifts for the holiday season. You can crochet this snowflake + star amigurumi whether you are a beginner or an expert. Now, continue reading for learning more about this crochet shiny star project!
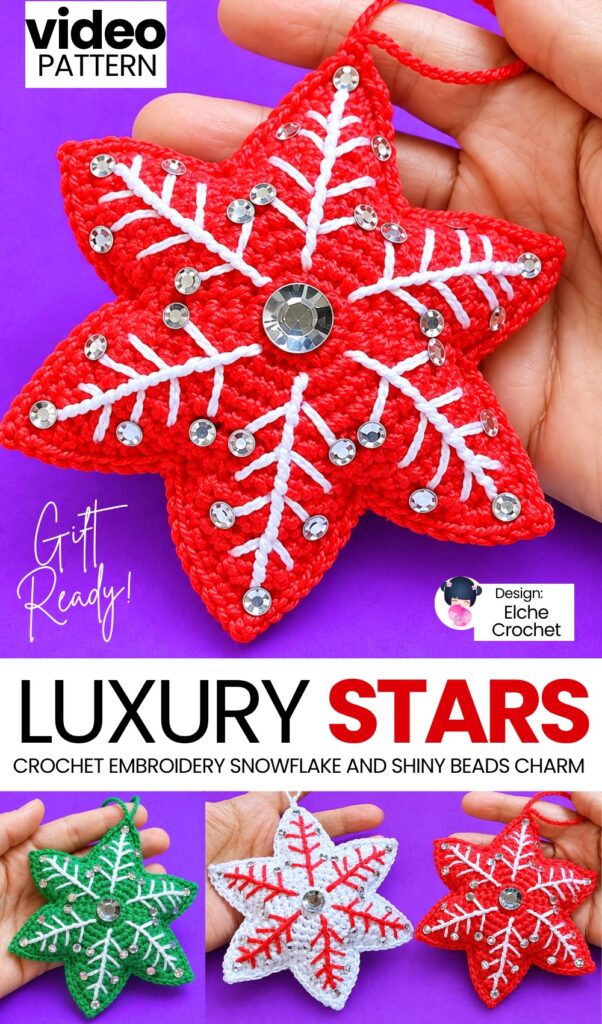
Pattern to Crochet the ELEGANT Shiny Star for Gifting This Year
Materials Needed
Yarn: Number 5 cotton yarn in two contrasting colors (for example, white and red; you will hold two strands together for crocheting the star body and embroidering, and use one strand for the hanging loop).
Crochet Hooks: 2.55 mm hook (for the star) and 1.75 mm hook (for the hanging loop).
Stuffing: Polyester fiberfill stuffing.
Embellishments: 30 small flat-back crystal beads (rhinestones) and 1 large crystal bead (1 cm in diameter).
Tools: Yarn needle (long enough to pass through the stuffed star), stitch pins, scissors, and a hot glue gun (optional, for securing crystals if needed).
Abbreviations and Notes (US Crochet Terms)
ch: chain
sc: single crochet
sl st: slip stitch
inc: increase (work 2 sc into the same stitch)
st(s): stitch(es)
picot: ch 1, insert hook through the front and side loops of the single crochet just made, yarn over and pull through all loops on the hook (like a slip stitch).
Working in a spiral: For the center circle, do not join rounds with a slip stitch. Continue working directly into the next stitch.
Double strand: Hold two strands of number 5 cotton yarn together as one for both star panels and the embroidery.
Are you a Beginner? Learn Crocheting Easily!
You can learn to crochet better with this crochet star decoration tutorial. Or continue to the written pattern below!
Step-by-Step Crochet Pattern
Part 1: Star Panels (Make 2)
Using two strands of yarn held together and the 2.55 mm hook:
Round 1: Make a magic ring, ch 1 (does not count as a stitch), and work 6 sc into the ring. Pull the tail tight to close the center hole. (6 sts)
Round 2: Inc in each stitch around. (12 sts)
Round 3: [1 sc in the next st, inc in the next st] repeat 6 times around. (18 sts)
Round 4: [1 sc in the next 2 sts, inc in the next st] repeat 6 times around. (24 sts)
Round 5: [1 sc in the next 3 sts, inc in the next st] repeat 6 times around. (30 sts)
Round 6: [1 sc in the next 4 sts, inc in the next st] repeat 6 times around. (36 sts)
Round 7: [1 sc in the next 5 sts, inc in the next st] repeat 6 times around. (42 sts)
Finish the circle by working 1 sl st into the next stitch. Cut the yarn, pull the tail through, and make a neat invisible finish by threading the tail through the next stitch and back down into the stitch it came from. Weave in the end on the wrong side.
Each point is worked back and forth in rows along 8 stitches of the circle. When turning at the end of every row, do not chain 1, and always skip the very first stitch to create a natural decrease.
First Point:
Row 1: Attach two strands of yarn at the stitch of the last increase from Round 7. Work 1 sc in that same stitch, then 1 sc in each of the next 7 stitches around the circle. (8 sc)
Row 2: Turn. Without chaining, skip the first stitch and work 1 sc in each of the remaining 7 stitches across. (7 sc)
Row 3: Turn. Without chaining, skip the first stitch and work 1 sc in each of the remaining 6 stitches across. (6 sc)
Row 4: Turn. Without chaining, skip the first stitch and work 1 sc in each of the remaining 5 stitches across. (5 sc)
Row 5: Turn. Without chaining, skip the first stitch and work 1 sc in each of the remaining 4 stitches across. (4 sc)
Row 6: Turn. Without chaining, skip the first stitch and work 1 sc in each of the remaining 3 stitches across. (3 sc)
Row 7: Turn. Without chaining, skip the first stitch and work 1 sc in each of the remaining 2 stitches across. (2 sc)
Row 8: Turn. Without chaining, skip the first stitch and work 1 sc in the final stitch. (1 sc)
Fasten off and cut the yarn. Thread the tail onto a yarn needle and weave it straight down through the side edge of the point to hide it securely without pulling the tip out of shape.
Remaining 5 Points:
For each new point, attach two strands of yarn in the exact same stitch where Row 1 of the previous point ended, and work 1 sc in that shared stitch plus 1 sc in each of the next 7 stitches (8 sc total).
Repeat Rows 2 through 8 just as you did for the first point, fastening off and hiding the yarn tail down the side of each point.
Note that the 6th point will end in the very first stitch where Point 1 began, completing all 6 points evenly around the 42 stitches.
Repeat all of Part 1 to create a second identical star panel.
Part 2: Joining and Stuffing
Place the two star panels together with the wrong sides facing inward and the right sides facing out. Align all 6 points and use stitch pins at the tips to hold the panels steady.
Using two strands of matching yarn and the 2.55 mm hook, join the yarn through both layers in one of the valleys (dips) between two points and work 1 sc.
Crochet around the perimeter of the star through both layers at once, repeating this sequence for each point:
Up the side: Work 6 sc evenly up the side of the point (1 sc into the edge of each row).
At the tip: Into the very top stitch of the point, work 1 sc, then work 1 sc topped with a ch 1 picot, and then work 1 more sc into the same tip stitch (3 sc total in the tip, with the picot in the middle).
Down the side: Work 6 sc evenly down the opposite side of the point.
In the valley: Work 1 sl st into the valley stitch between points.
Stuffing: When you have crocheted around 4 and a half points (leaving about 1 and a half points open), begin stuffing the star with polyester fiberfill. Push the stuffing firmly into the furthest points first using your fingers (or blunt tweezers/scissors carefully) so every tip holds its shape. Fill the center gently so the star is plump without stretching the stitches too wide.
Continue crocheting around the remaining points, adding stuffing to the last two points and center as you close them up.
End with 1 sl st in the first valley stitch, fasten off, cut the yarn, and use a yarn needle to weave the remaining tail deep inside the body of the star.
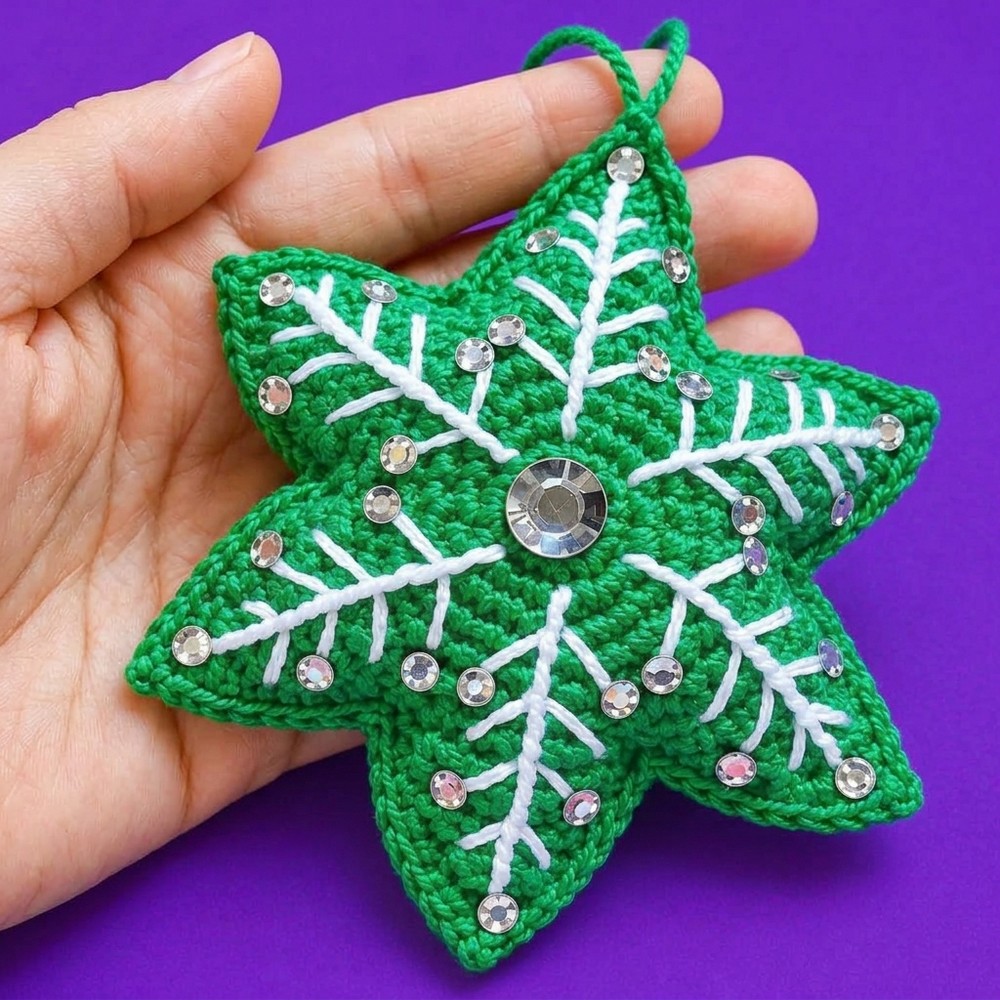
Part 3: Embroidering the Snowflake Design
Cut a very long piece of contrasting yarn (two strands held together) and fold it or thread it double onto a long yarn needle, leaving the looped fold at the bottom end uncut so you can anchor the yarn without a knot.
Create the 6 Main Spokes:
Insert the needle about 2 rounds out from the very center of the star, aligned with the first point, catch a tiny stitch, and pass the needle through the uncut yarn loop to lock it in place.
Bring the long double strand straight up to the stitch just below the 3 tip stitches of the first point. Insert the needle there and guide it underneath the crochet fabric back down to the center area, emerging 2 rounds from the center and aligned with the next point.
Repeat this step until you have 6 straight lines radiating from the center out toward each of the 6 points.
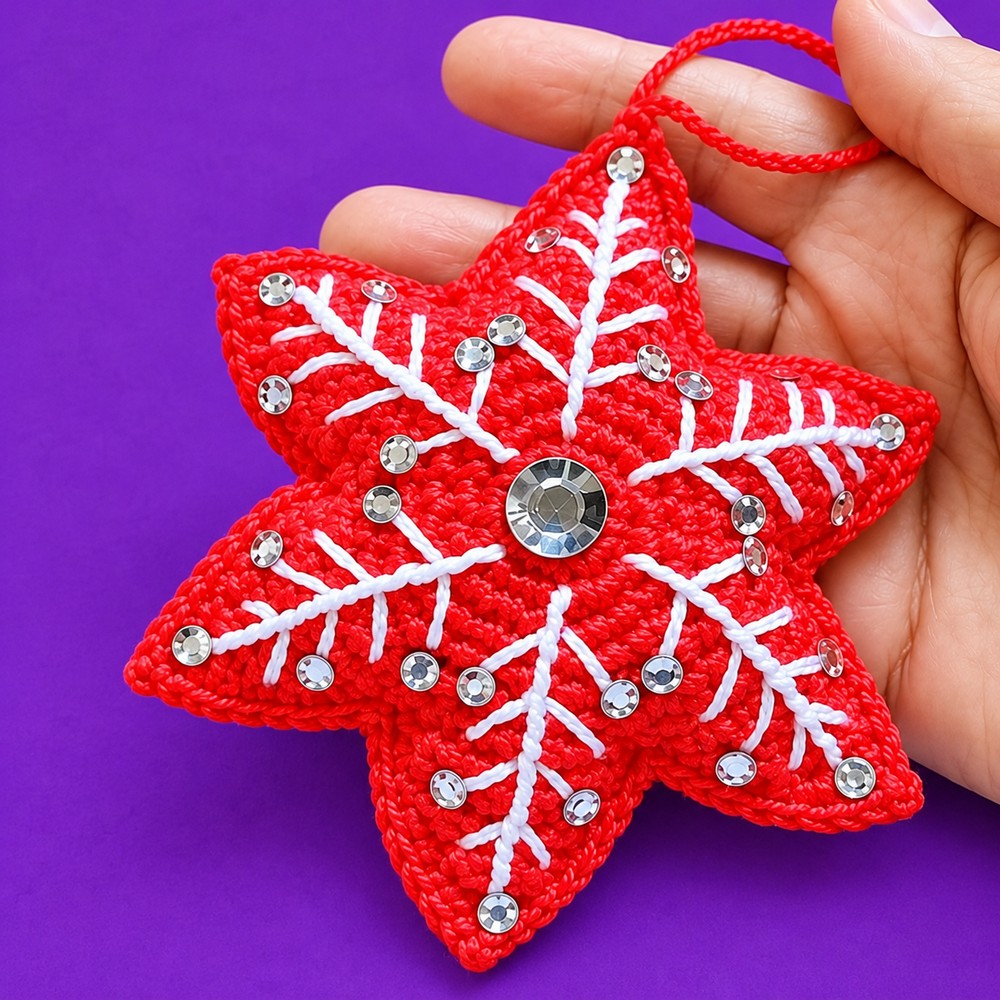
Reinforce Spokes and Add Branches:
Bring the needle out at the top of a spoke (just under the tip stitches). Wrap the yarn around the long spoke strand and catch a tiny pinch of the background fabric underneath to anchor it smoothly as you work back down toward the center.
About 2 rounds down from the top of the spoke, make the first small V-branch: insert the needle diagonally outward 1 to 2 rounds up toward the side edge of the point (just shy of the border), bring it out symmetrically on the opposite side of the spoke at the same angle, and anchor back into the center spoke.
Move another 2 rounds down the spoke, wrap and anchor the spoke strand, and stitch a second symmetrical pair of diagonal branches angling outward by about 2 stitches toward the edges.
Move 2 more rounds down the spoke and stitch a third symmetrical pair of diagonal branches in the same way, stopping about 2 rounds away from the center circle so there is room for the center crystal.
Guide the needle underneath the fabric to the next point and repeat this wrapping and branching pattern on all 6 spokes. Once finished, weave the end securely inside the star and trim cleanly.
Part 4: Hanging Loop and Crystal Embellishments
Hanging Loop:
Using one single strand of matching yarn and the 1.75 mm hook, insert the hook into the picot stitch at the top of one star point.
Pull up a loop and tightly chain 40 stitches (or adjust to your preferred hanging length).
Cut the yarn, pull the tail through the last chain, and use the hook to draw the end back through the picot stitch. Tie the starting and ending tails together in a secure knot, then weave both tails into the tip of the star point.
Crystal Embellishments:
Press or glue the 1 large 1 cm crystal directly into the middle of the center circle.
Attach 5 small crystals onto each of the 6 points (30 small crystals total):
Place 1 crystal right above the tip of the embroidered spoke.
Place 2 crystals flanking the sides of the upper/middle branches.
Place 2 crystals flanking the sides near the lower branches/valleys.
If your crystals are self-adhesive, press them firmly into place; add a tiny drop of hot glue underneath if extra hold is needed.
Your luxury crochet Christmas star is now complete and ready to hang!

See More:
How to Crochet Yellow Star & Beads Wind Spinner with 2-Color Spiral for New Year Decoration

Tester Call: Crochet Star Ornament Plushie Tangeled in Colorful Pom Pom Christmas Lighting
Tester Call: How to Crochet Mr. Cookie Star with Bow & Cherry Plushie for Gifting
Tester Call: How to Crochet Snowman in Black Hat Star Ornament Plushie for Christmas Gifting
How to Crochet Knotted Bow & Star on the Top Pastel Rainbow Tiered Christmas Tree

Tester Call: How to Crochet Glitter-Eyed Reindeer Star Buddy Ornament for Gifting
Tester Call: How to Crochet Plush Grinch Star Buddy & Ornament Gift for Christmas
Tester Call: How to Crochet A Plush Mr. Baymax Star Ornament and Charm for Gifting
How to Crochet Power-Up Star Hanging for Christmas & New Year Decorations