

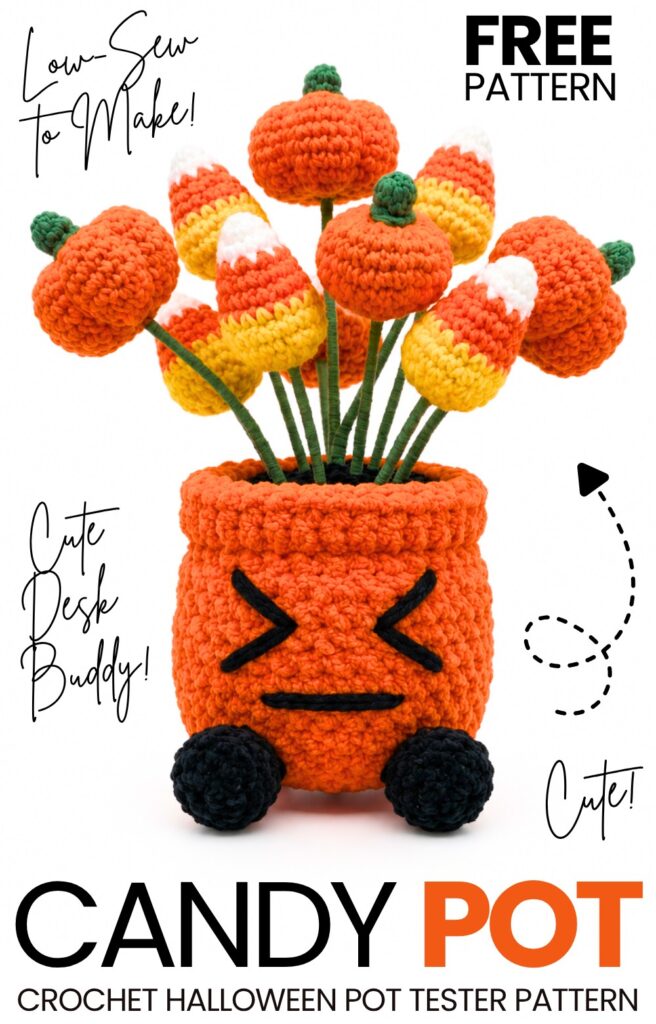
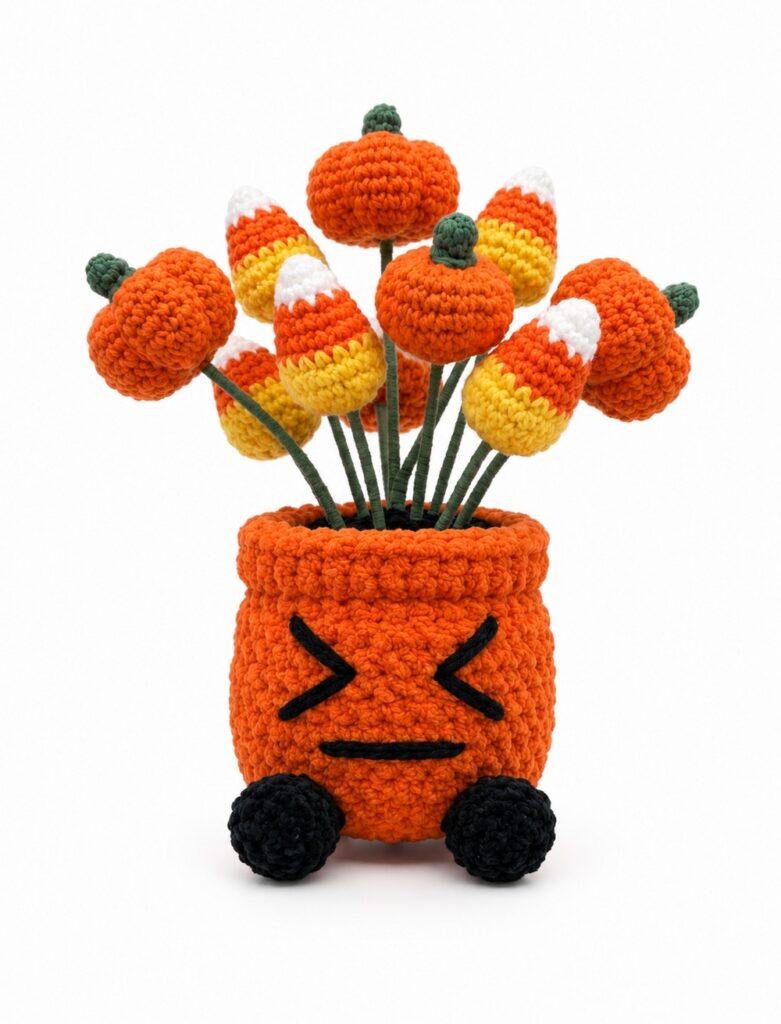
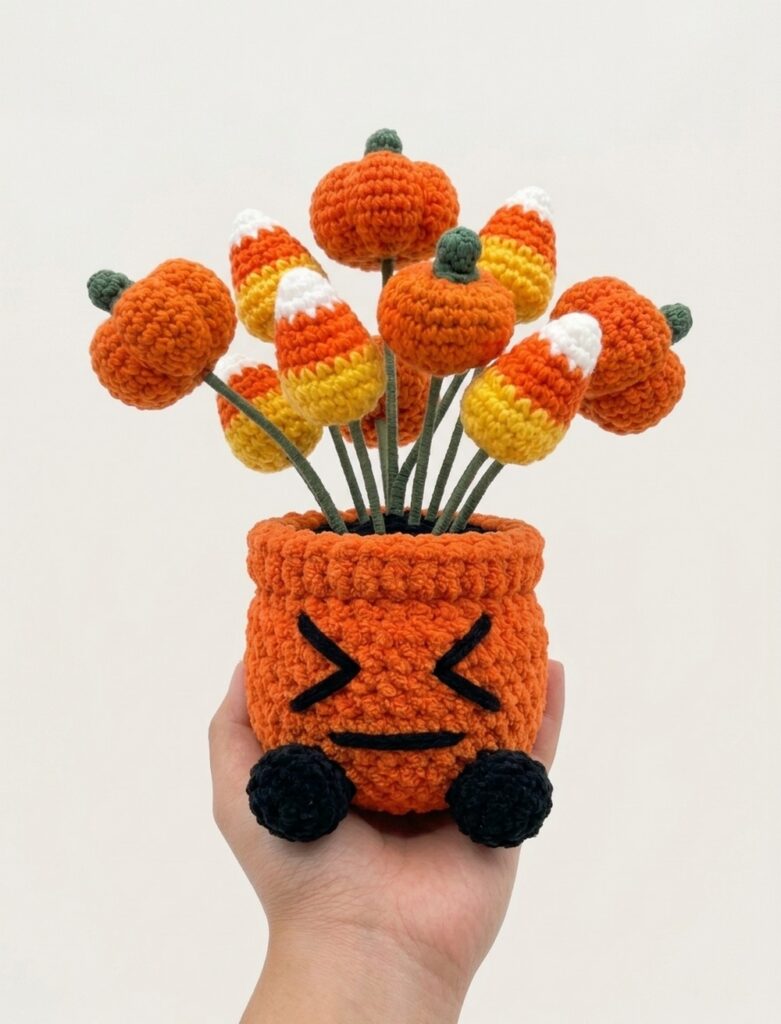
This is the part of the crochet “spooky-cute potted plant plushies” series. Today, learn how to crochet this kawaii-eyed plush pumpkin and candy corn potted plant plushie with a FREE written pattern for absolute beginners. Make it your next table mate by following the absolute easy crochet pot buddy pattern.
I have also provided patterns for both the pumpkin and the candy corns using DK cotton yarn or sport yarn.
We will be using the craft wire along with the thread to make the stems for the Halloween candies. You can easily complete this crochet Halloween candy plant pot project in under 2 hours. Now, continue reading to learn more about this UNIQUE crochet plush pumpkin with the kawaii eyes.
Pattern to Crochet the Candy Potted Plant Plushie with Kawaii Eyes
Skill Level: Beginner – Level 4
Materials List
Yarn (DK or Sport Cotton): Orange, Yellow, White, Dark Brown (soil), Black (legs/embroidery), and Green (stems).
Crochet Hook: 2.5mm or 3.0mm (adjust based on yarn to ensure tight stitches).
Stuffing: Polyester fiberfill.
Hardware: Craft wire (18-20 gauge) and safety eyes (optional, for candy corn).
Tools: Tapestry needle, scissors, craft glue.
Abbreviations (US Terms)
MR: Magic Ring
sc: Single Crochet
inc: Increase (2 sc in the same stitch)
dec: Invisible Decrease (sc 2 together)
BLO / FLO: Back Loops Only / Front Loops Only
sl st: Slip Stitch
st(s): Stitch(es)
FO: Fasten Off
Phase 1 & 2: Soil and Plant Pot
Phase 1: Soil / Dirt (Brown Yarn)
Round 1: 6 sc in a MR. (6 sts)
Round 2: [inc] in each st around. (12 sts)
Round 3: [sc 1, inc] × 6. (18 sts)
Round 4: [sc 2, inc] × 6. (24 sts)
Round 5: [sc 3, inc] × 6. (30 sts)
Fasten off brown yarn and color-change to orange/terracotta.
Phase 2: Plant Pot (Orange Yarn)
Round 6 (BLO): Working in the Back Loops Only, sc in each st around. (30 sts)
Rounds 7–11: sc in each st around (5 rounds total). (30 sts)
Round 12: [sc 3, dec] × 6. (24 sts)
Round 13 (BLO): Working in the Back Loops Only, sc in each st around. (24 sts)
Round 14: [sc 2, dec] × 6. (18 sts)
Phase 3: Stuffing & Base
Firmly stuff the interior of the pot. Ensure the bottom stays flat while keeping the sides shaped evenly.
Round 15: [sc 1, dec] × 6. (12 sts)
Add final stuffing for a sturdy structure.
Round 16: [dec] × 6. (6 sts)
Closing: Cut yarn leaving a tail, weave through the front loops of the remaining 6 stitches, pull tight to close, and weave in the end.
Phase 4: Pot Rim / Lip
Turn the pot upside down to access the unworked front loops left behind from Round 6.
Attach orange yarn to the front loop of Round 6.
Rim Round (FLO): [sc in FLO] in each loop around. (30 sts)
Finish: sl st into the first st, FO, and weave in tails inside the pot.
Phase 5: Pot Face Embroidery (>< Guide)
Using black yarn or embroidery floss and a tapestry needle, stitch the face directly onto the orange pot between the upper rim and the base.
Squinting Eyes (><): Make two diagonal stitches that meet at a point pointing inward, then reverse the angle, creating a
>shape for the left eye and a<shape for the right eye.Mouth: Center a simple, straight horizontal stitch directly beneath the eyes. Tie off securely inside the pot.
Phase 6: Legs (Make 4)
Use Black yarn. Note: The stitch math has been standardized for a perfect geometric closure.
Round 1: 6 sc in a MR. (6 sts)
Round 2: [inc] in each st around. (12 sts)
Round 3: [sc 1, inc] × 6. (18 sts)
Round 4: sc in each st around. (18 sts)
Round 5: [sc 1, dec] × 6. (12 sts)
Finish: FO, leaving a long tail for sewing. Lightly stuff each leg and sew them securely to the bottom rim (Round 13) of the orange pot to allow it to stand evenly.
Phase 7: Candy Corn (Make 4-5)
Start with White yarn.
Round 1: 6 sc in a MR. (6 sts)
Round 2: [sc 1, inc] × 3. (9 sts)
Round 3: [sc 2, inc] × 3. (12 sts)
Round 4: sc in each st around. (12 sts)
Change to Orange yarn.
Round 5: [sc 3, inc] × 3. (15 sts)
Round 6: [sc 4, inc] × 3. (18 sts)
Round 7: sc in each st around. (18 sts)
Change to Yellow yarn.
Round 8: [sc 5, inc] × 3. (21 sts)
Round 9: [sc 6, inc] × 3. (24 sts)
Round 10: sc in each st around. (24 sts)
(Optional: Attach safety eyes between R6 and R7, 4 sts apart).
Round 11: [sc 1, dec] × 8. (16 sts)
Stuff firmly.
Round 12: [dec] × 8. (8 sts)
Finish: FO, pull the yarn through the remaining front loops to close the hole securely.
Phase 8: Sphere Pumpkins (Make 4-5)
Use Orange yarn.
8-Round Small Pumpkin:
Round 1: 6 sc in a MR. (6 sts)
Round 2: [inc] × 6. (12 sts)
Round 3: [sc 1, inc] × 6. (18 sts)
Round 4: [sc 2, inc] × 6. (24 sts)
Rounds 5–6: sc in each st around. (24 sts)
Round 7: [sc 2, dec] × 6. (18 sts)
Round 8: [sc 1, dec] × 6. (12 sts)
Finish & Shape: FO leaving a 24-inch tail. Stuff firmly. Thread the long tail onto a tapestry needle, push it through the center hole out to the bottom, and wrap it tightly around the exterior of the sphere to create ridges. Repeat 5-6 times, spacing evenly. Fasten off.
10-Round Large Pumpkin:
Round 1: 6 sc in a MR. (6 sts)
Round 2: [inc] × 6. (12 sts)
Round 3: [sc 1, inc] × 6. (18 sts)
Round 4: [sc 2, inc] × 6. (24 sts)
Round 5: [sc 3, inc] × 6. (30 sts)
Rounds 6–7: sc in each st around. (30 sts)
Round 8: [sc 3, dec] × 6. (24 sts)
Round 9: [sc 2, dec] × 6. (18 sts)
Round 10: [sc 1, dec] × 6. (12 sts)
Finish & Shape: FO, stuff firmly, and wrap the long tail around the exterior to create the pumpkin ridges just as done with the smaller pumpkin.
Pumpkin Stems (Green Yarn):
Round 1: 5 sc in a MR. (5 sts)
Rounds 2-3: sc in each st around. (5 sts)
Finish: FO leaving a tail. Sew to the top center of each shaped pumpkin.
Phase 9: Craft Wire Guide & Assembly
Prepare the Stems: Cut 8 to 10 pieces of craft wire at varying lengths (between 4 and 7 inches) to stagger the height of the plush plants.
Wrap the Stems: Add a tiny drop of craft glue to one end of a wire. Tightly wind green yarn around the entire length of the wire so no metal shows. Secure the bottom with another drop of glue.
Attach to Plants: Gently push the top of each wrapped wire stem into the bottom center of the finished candy corns and pumpkins. You can add a dab of hot glue inside the hole beforehand for extra security.
Planting: Push the bottom ends of the green stems through the brown “soil” section of the pot, embedding them deeply into the fiberfill so they stand independently and splay outward.
See More:
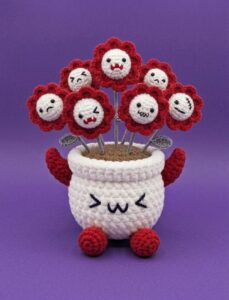
Tester Call: How to Crochet A Spooky Flowers Red Horns Potted Buddy Plushie for Halloween

Tester Pattern: How to Crochet A Spooky Face Potted Heart Buddy Plushie

Crochet CUTEST Guest-Welcoming BOO Ghost with Bow, Hat and Pumpkin Accessories

Featuring: How to Crochet the Smallest Pumpkin Fall Turtle Plushie with Orange & Parrot

Pattern Tester: How to Crochet Pumpkin Ridges Face Donut Ring Plushie for Fall

How to Crochet An Amigurumi Long-Legged Kawaii Pumpkin in Shoes Buddy

How to Granny Square with Pumpkin Applique in the Middle

Tester Pattern: To Crochet Pumpkin Hello Kitty Plushie with Big Paws Buddy

Featuring: How to Crochet Tiered Unusual Texture Pumpkin Decoration (3 Sizes)



