Author: Talha
I am a crochet designer, macramé maker and a crafter who also loves doing MATH.

Contributor: Elche of Otakulandia Crochet
She is a GREAT crochet designer based in Spain who became our contributor via mycraftybasket!
Show support for Otakulandia!
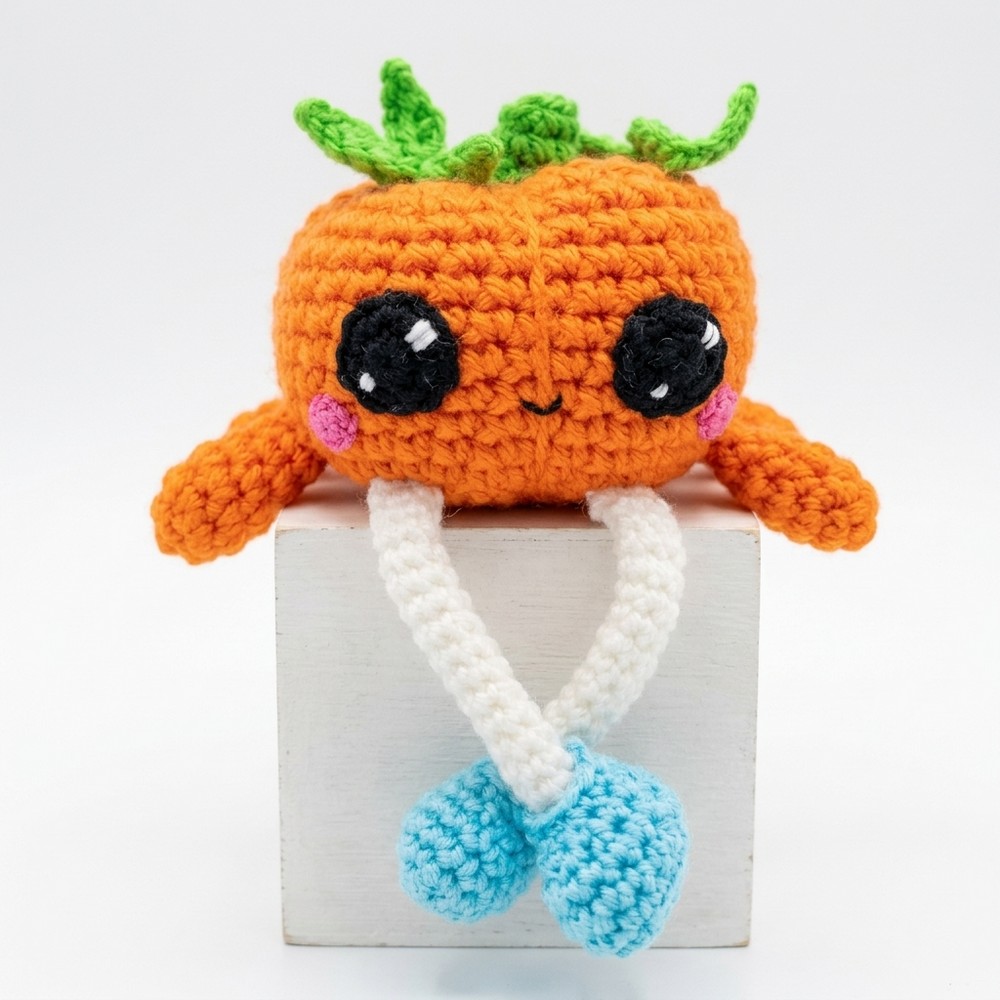
I am finally back with another pattern from the crochet “fall funny buddies” amigurumi series. Today, learn how to crochet this UNIQUE sitting, kawaii-eyed, smiling Mr. pumpkin amigurumi that you can learn to crochet with both a video tutorial and a written pattern. This is a long-legged and -armed mini pumpkin amigurumi, also wearing shoes that make it look funny. The kawaii eyes are also crocheted instead! Makes a gift for both Halloween and Thanksgiving for kids.
Our little crochet buddies also have blush on their cheeks and natural-looking pumpkin vines. Note that we will be learning a new and unique pattern to crochet the pumpkin features, not the classic ones.
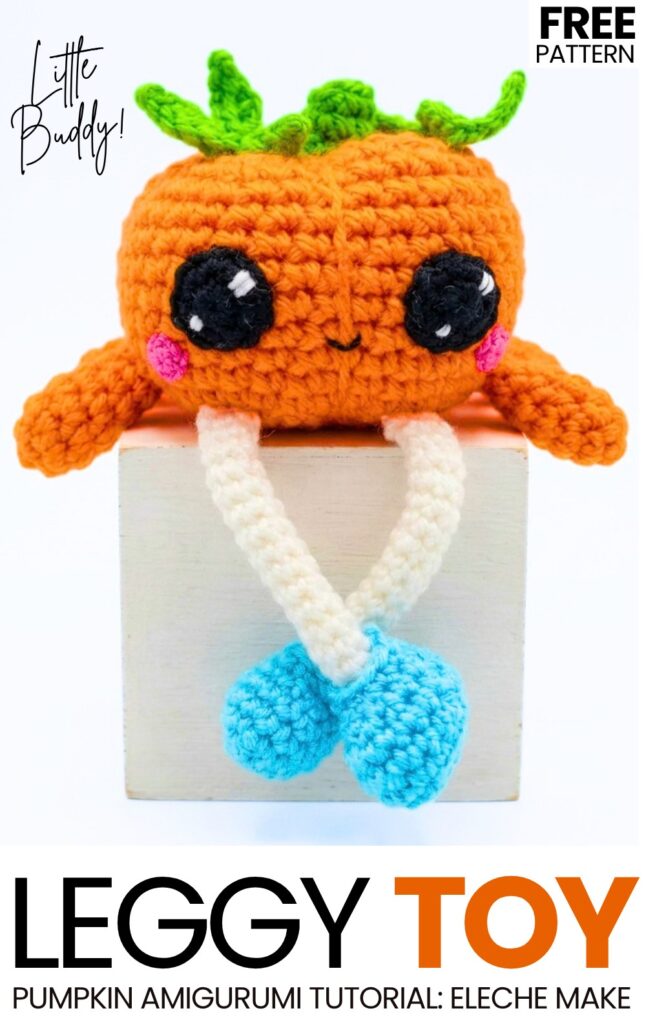
We shared a similar crochet pumpkin tutorial the other time, but it was a tug-and-pull plushie. Now, learn to crochet these unique leggy pumpkin amigurumi. Now, you can continue reading to learn more about this crochet pumpkin amigurumi project for beginners, as well as the pattern.
Similar Project(s)
Pattern to Crochet the Plush Pumpkin Leggy Amigurumi for Kids
This project is a crochet toy. The tutorial shows how to make a pumpkin. First, you will make a round body. Next, you will make a stem. Then, you will make a leaf and vines. You will make arms and legs. You will sew the parts together.
Materials
Yellow yarn (for the body, arms, and legs)
Coppery brown yarn (for the stem)
Green yarn (for the leaf and vines)
Crochet hook (size 2.55 mm)
Crochet hook (size 3.0 mm)
Stuffing
Yarn needle
Scissors
Stitch marker
Stitch Abbreviations
ch: chain
sc: single crochet
hdc: half double crochet
inc: increase (work 2 single crochets in the same stitch)
dec: decrease
inv-dec: invisible decrease
sl st: slip stitch
MR: magic ring / magic circle
st / sts: stitch / stitches
FO: fasten off
rnd / rds: round / rounds
Are you a Beginner? Learn Crocheting Easily!
You can learn to crochet better with this amigurumi pumpkin kawaii-eyed buddy using the following video tutorial, or continue with the pattern:
Detailed Pattern
The Body Use the yellow yarn and a 2.55 mm hook.
Round 1: Make an MR. Work 6 sc into the circle. (6 sts)
Round 2: Work 2 sc in each st around. (12 sts)
Round 3: Work 1 sc in the next st, then 2 sc in the next st. Repeat this around. (18 sts)
Round 4: Work 1 sc in the next 2 sts, then 2 sc in the next st. Repeat this around. (24 sts)
Round 5: Work 1 sc in the next 3 sts, then 2 sc in the next st. Repeat this around. (30 sts)
Round 6: Work 1 sc in the next 4 sts, then 2 sc in the next st. Repeat this around. (36 sts)
Rounds 7-15: Work 1 sc in each st around for 9 rds. (36 sts)
Round 16: Work 1 sc in the next 4 sts, then make 1 inv-dec. Repeat this around. (30 sts)
Round 17: Work 1 sc in the next 3 sts, then make 1 inv-dec. Repeat this around. (24 sts)
Round 18: Work 1 sc in the next 2 sts, then make 1 inv-dec. Repeat this around. (18 sts)
Stop and push stuffing into the body now.
Round 19: Work 1 sc in the next st, then make 1 inv-dec. Repeat this around. (12 sts)
Round 20: Work 1 sc in the next 3 sts, then make 1 inv-dec. Repeat this 3 times. (9 sts)
The Stem Change to the coppery brown yarn.
Rounds 21-23: Work 1 sc in each st around for 3 rds. (9 sts)
Round 24: Make 1 dec, work 2 sc, make 1 dec, work 3 sc. (7 sts)
Finish: FO. Weave the yarn through the front loops to close.
Shaping the Pumpkin: Cut a long strand of yellow yarn. Thread it on a yarn needle. Push the needle from the bottom center of the pumpkin up to the base of the stem. Pull the yarn down the outside of the pumpkin to the bottom. Pull tight to make a curved section. Repeat this to make 5 equal sections around the pumpkin. Tie a knot and hide the yarn inside.
The Leaf Use the green yarn and a 2.55 mm hook.
Part 1: Ch 4. Starting in the second ch from the hook, work 1 sl st. In the next ch, work 1 hdc. In the last ch, work 1 hdc and 1 sl st in the same space.
Part 2: Ch 5. Starting in the second ch from the hook, work 1 sl st. In the next 2 chs, work 1 hdc in each. In the last ch, work 1 hdc and 1 sl st in the same space.
Part 3: Ch 4. Starting in the second ch from the hook, work 1 sl st. In the next ch, work 1 hdc. In the last ch, work 1 hdc and 1 sl st in the same space.
Base: Work 2 sl st along the bottom straight edge of the leaf.
Finish: FO and leave a tail for sewing.
The Vines Use the green yarn and a 2.55 mm hook.
Row 1: Ch 30 tightly.
Finish: FO. Cut the yarn close to the knots at the ends. Twist the chain so it curls like a vine. Sew the vines and the leaf next to the stem.
The Arms (Make 2) Use the yellow yarn and a 3.0 mm hook.
Round 1: Make an MR. Work 6 sc into the circle. (6 sts)
Round 2: Work increases evenly around until you have 10 sts. (10 sts)
Rounds 3-4: Work 1 sc in each st around for 2 rds. (10 sts)
Round 5: Make 1 dec, then work 8 sc. (9 sts)
Round 6: Make 1 dec, then work 7 sc. (8 sts)
Finish: FO and leave a tail. Pinch the top flat and sew it closed. Do not stuff.
The Legs (Make 2) Use the yellow yarn and a 2.55 mm hook.
Round 1: Make an MR. Work 6 sc into the circle. (6 sts)
Rounds 2-17: Work 1 sc in each st around for 16 rds. (6 sts)
Finish: FO and leave a tail for sewing. Do not stuff.
See More:

How to Granny Square with Pumpkin Applique in the Middle

Tester Pattern: To Crochet Pumpkin Hello Kitty Plushie with Big Paws Buddy

Featuring: How to Crochet Tiered Unusual Texture Pumpkin Decoration (3 Sizes)

Tester Pattern: To Crochet A Grizzly Bear Presenting You A Pumpkin Plushie

Tester Pattern: To Crochet A Witch Cat Plush Gifting You A Pumpkin Softie
Tester Pattern: Free Crochet Pumpkin-Holding Witch Bunny Plushie Pattern
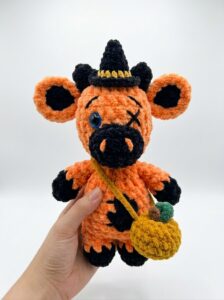
Tester Pattern: How to Crochet Spooky Cow with Pumpkin Bag Plushie
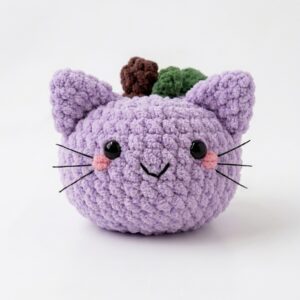
Tester Pattern: How to Crochet Smiling Pumpkin Kitty Cat Plushie
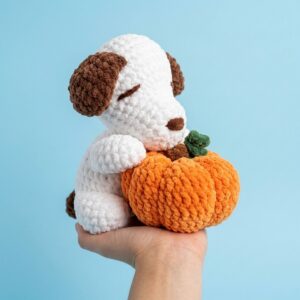
Featuring: How to Crochet Pumpkin Lover Puppy Plushie for Fall Decorations