Author: Talha
I am a crochet designer, macramé maker and a crafter who also loves doing MATH.
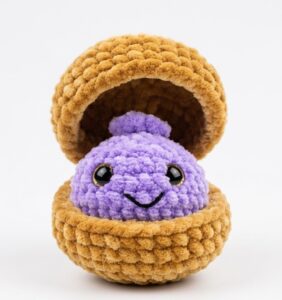
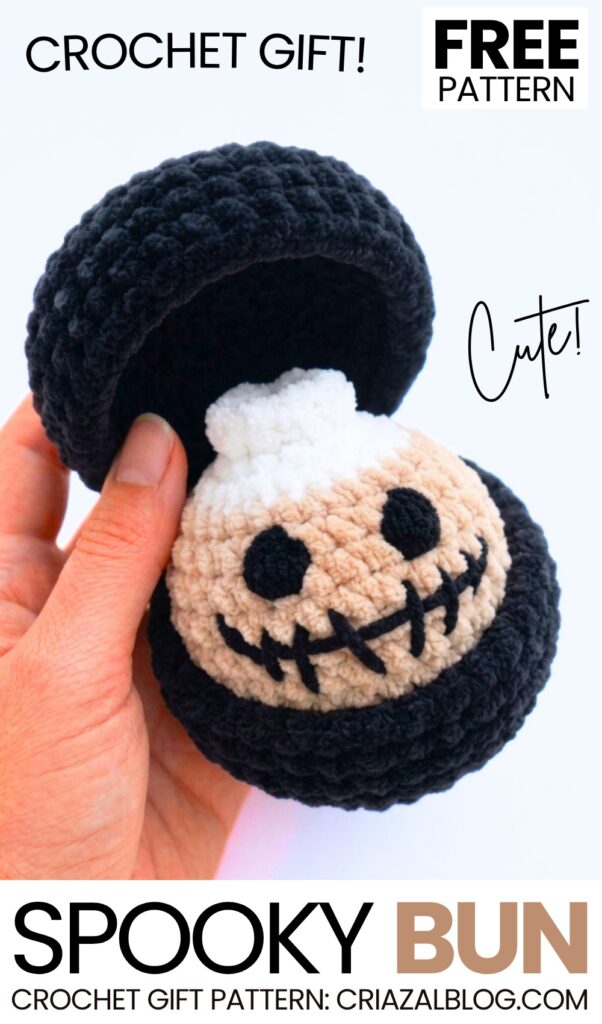
Are you looking for a REALLY spooky crochet plush dumpling gift to surprise someone? Learn how to crochet this beige voodoo spooky crochet bao bun plushie following a FREE written pattern for absolute beginners. This is also a spooky crochet gift pattern that you can learn to crochet with no extra pattern needed.
It has felt round eyes in black and REALLY spooky embroidery stitched-mouth face that makes it a PERFECT Halloween decoration and gift. Again, the black steamer box will be crocheted.
I will provide the detailed crochet guide for making the embroidery mouth, too. You can also make your crochet voodoo doll dumpling plush using the purple instead of the brown. Next, you will learn to crochet the plush funny orange zombie round food. Anyway, continue reading for learning more about this crochet plush dumpling!
Similar Project(s)
Pattern to Crochet the Spooky Bun Plushie
Skill Level: Beginner
Materials List:
Plush yarn (100g / 120m):
Beige / Tan (for the dumpling body)
White (for the top ruffle / knot)
Black (for the basket box)
Semi-cotton yarn (like YarnArt Jeans): Black (for embroidering the voodoo face details)
Crochet hook size: 4.0 mm
Toy stuffing
Yarn needle for sewing/weaving in ends
Scissors
Abbreviations List:
MR = Magic Ring
sc = single crochet
inc = increase (2 single crochets in one stitch)
dec = decrease (crochet 2 stitches together)
sl st = slip stitch
ch = chain
BLO = back loops only
FLO = front loops only
R = Round
Voodoo Dumpling Pattern
Start with Beige/Tan plush yarn.
R1: 8 sc in MR (8)
R2: 8 inc (16)
R3: (1 sc, inc) repeat 8 times (24)
R4: (2 sc, inc) repeat 8 times (32)
R5 to R8 (4 rounds): 32 sc (32)
Change yarn color to White plush yarn.
R9: (2 sc, dec) repeat 8 times (24)
R10: (1 sc, dec) repeat 8 times (16)
Stuff the dumpling firmly with toy stuffing.
R11: 8 dec (8)
Creating the top “skirt” ruffle:
R12: Working in FLO only, (inc, 1 sc) repeat all the way around until the end of the round. Fasten off with a sl st and cut the yarn.
Closing the hole: Take a piece of white semi-cotton or plush yarn on a needle. Weave it through the remaining unworked back loops of R11. Pull tightly to close the opening, tie a knot, and hide the yarn tail inside the toy.
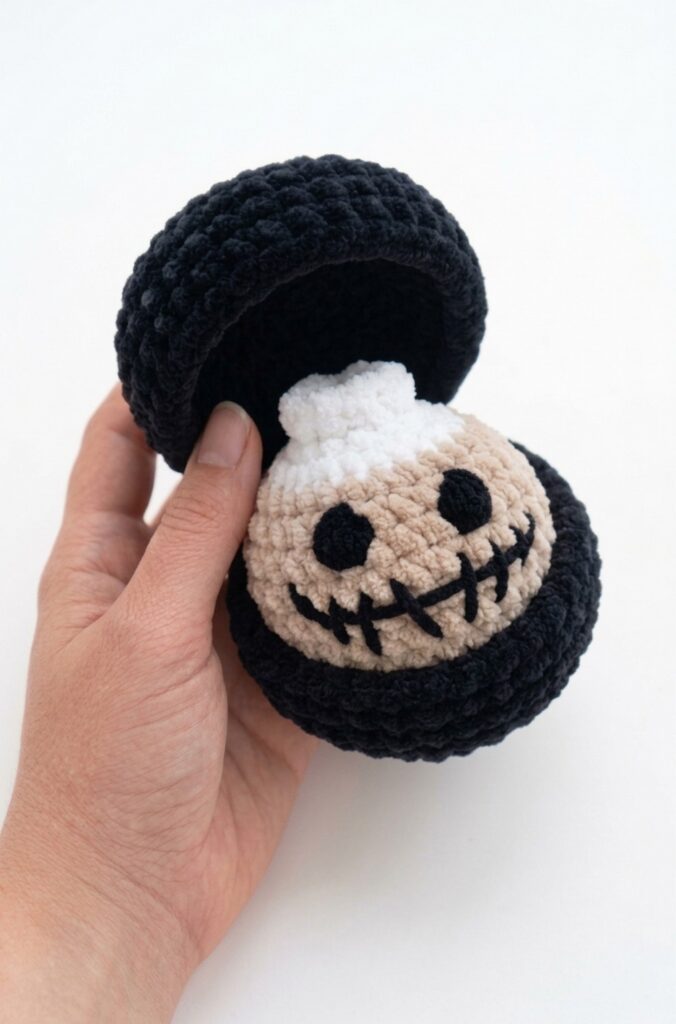
Detailed Voodoo Face Embroidery
Using black semi-cotton yarn and a yarn needle:
1. Embroidered Circle Eyes
Thread a needle with black semi-cotton yarn (double-stranded if you want extra thickness).
Locate R6 to R7 on the beige portion of the face.
Embroider two filled-in black circles (approx. 2 stitches wide by 2 rounds tall) spaced about 5 stitches apart. Stitch repeatedly in a vertical loop pattern until the circle is solid and bold.
2. Detailed Voodoo Stitched Mouth
The Main Mouth Line:
Insert your needle through the side/back of the head and bring it out on R5 roughly 1–2 stitches to the outer left of the left eye.
Insert the needle back in on R5 roughly 1–2 stitches to the outer right of the right eye, bringing it down slightly at the center to create a long, wide, subtle smile line spanning across 10–12 stitches.
Make 1–2 tiny anchor stitches along the center bottom of this line to keep the curve locked in place.
The Vertical Voodoo Stitches:
Work back across the smile line from left to right to create the “stitched shut” look.
Embroider short vertical or slightly angled hash marks across the main smile line.
Make 7 to 9 evenly spaced vertical stitches across the full length of the mouth, extending about half a round above and below the main line.
Finishing: Bring the remaining thread back out near your entry point, knot the ends securely together, and pull the knot inside the body to hide it.
Black Basket / Box Pattern (Make 2 parts)
Use Black plush yarn.
R1: 8 sc in MR (8)
R2: 8 inc (16)
R3: (1 sc, inc) repeat 8 times (24)
R4: (2 sc, inc) repeat 8 times (32)
R5: (7 sc, inc) repeat 4 times (36)
R6: 36 sc in BLO (36)
R7 to R8 (2 rounds): 36 sc (36)
For Part 1 (Top Lid): Fasten off, cut yarn, and weave in the end.
For Part 2 (Bottom Base): Do not cut yarn.
Connecting the Box and Handle
Hinge Connection: Align the bottom base and the top lid with right sides facing out. Connect them by crocheting single crochet stitches through the back loop of the lid and the front loop of the base for 5–6 stitches to create a secure hinge. Finish off and hide the yarn.
Handle:
Join black yarn to one side of the box along the rim near the hinge line.
Chain your desired handle length (approx. 15–20 chains).
Join the chain with a sl st to the opposite side of the box rim.
Chain 1, turn, and work 1 sc back down each chain stitch.
Slip stitch into the starting side to secure. Cut yarn, tie off, and hide all ends inside the box structure.
See More:
Tester Pattern: How to Crochet Birthday-Popper Dumpling Plushie for Gifting

Tester Pattern: How to Crochet Dumpling Buddy in A Steamer Costume Plushie

Tester Pattern: To Crochet A Snowball Christmas Dumpling in Basket Plush
Tester Call: Free Crochet Orange, Yellow & White Dumpling Plushie
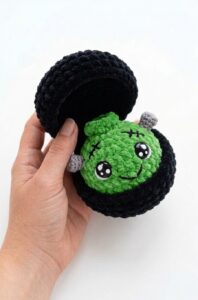
Tester Call: Free Crochet Kawaii-Eyes Bolt Zombie Dumpling Plushie
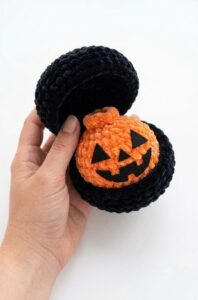
Tester Call: How to Crochet A Pumpkin Dumpling Plush for Halloween
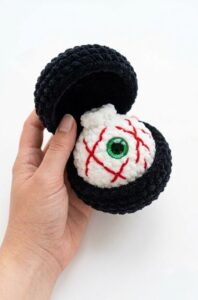
Free Crochet Eyeball Dumpling in a Steamer Plushie for Halloween
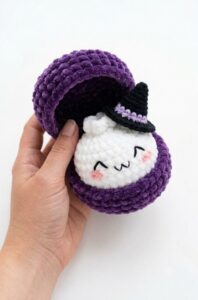
Tester Call: Crochet Spooky Ghost Dumpling Plushie Pattern
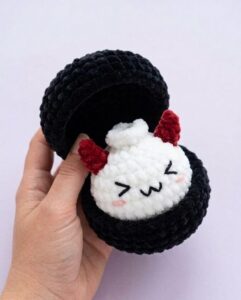
How to Crochet Spooky Dumpling with Red Horns Plushie Variation