Author: Talha
I am a crochet designer, macramé maker and a crafter who also loves doing MATH.
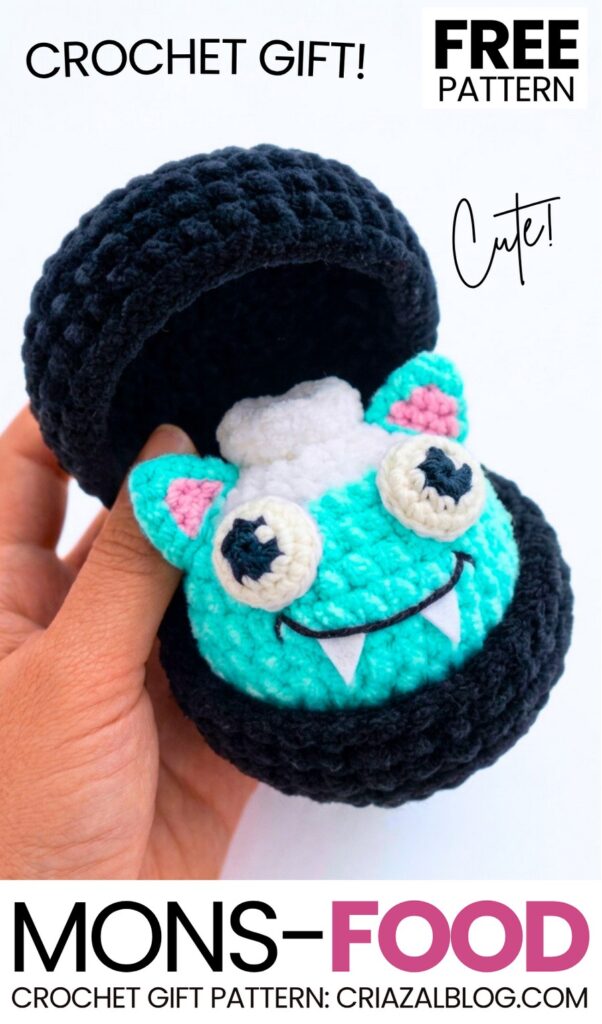
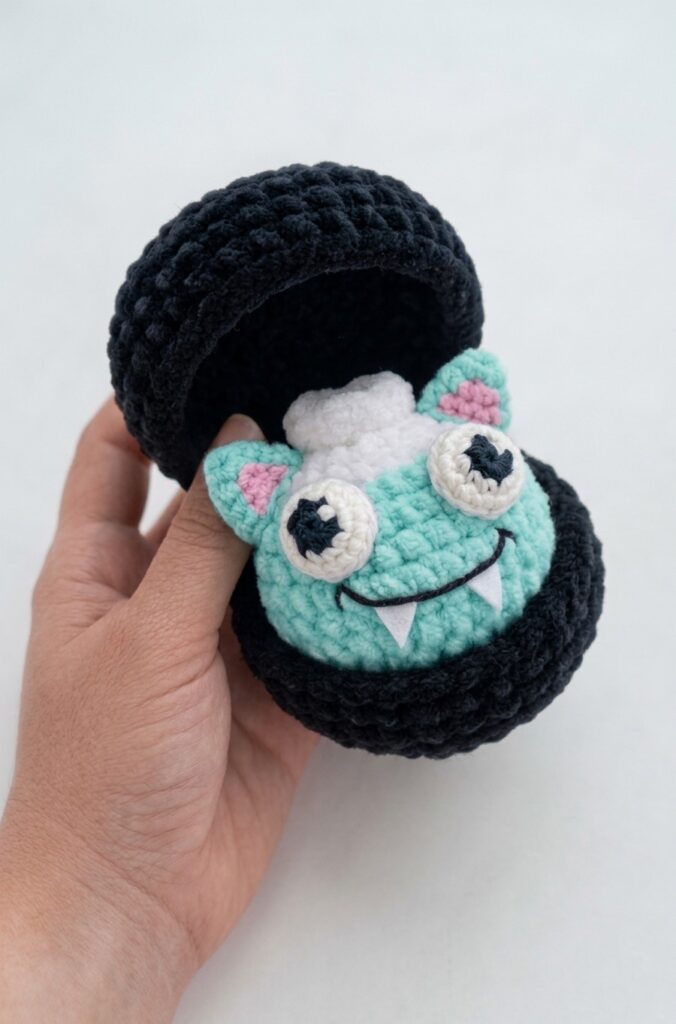
This is going to be the last tester call from the “spooky bao bun plush” series of this week. And this is my very own, the most creative and fun crochet dumpling variation of this trend. Introducing the crochet aqua monster bao bun plush that has quirky, crochet stuffed bulging eyes, felt triangle teeth smile, and crochet ears with pink colorwork, too.
Crochet this monster plush dumpling as a gift for a little one in less than 45 minutes. We will be using both the DK and the cotton yarns to crochet this UNIQUE plush monster food pattern.
You can also crochet yours using cotton yarn of different thicknesses. So, let’s enter the community fav and continue our crochet spooky dumplings plushie series. I will provide you with a full FREE pattern to crochet this amigurumi plush dumpling.
Similar Project(s)
Pattern to Crochet A Plush Monster Aqua Dumpling Plush
Materials
Super Bulky Plush Yarn (Size 6): Aqua/Mint Green (replaces Light Purple), White, and Black.
DK/Sport Cotton Yarn: Aqua/Mint Green, Light Pink (for inner ears), and Off-White/White (for 3D eye bases).
Hooks: 4.0 mm hook (for plush yarn), 2.5 mm–3.0 mm hook (for DK cotton yarn).
Notions: White craft felt (for fangs), Black craft felt (for optional wings), black embroidery floss, white embroidery floss/thread (for eye sparkles), fabric glue, fiberfill, tapestry needle, stitch marker, thin semi-cotton cinching thread.
Part 1: Aqua & White Dumpling Body Using Aqua Plush Yarn & 4.0 mm Hook
R1: 8 sc into MR. Pull tight. (8 sts)
R2: [Inc] in each st around. (16 sts)
R3: [1 sc, inc] 8 times. (24 sts)
R4: [2 sc, inc] 8 times. (32 sts)
R5–R8: 1 sc in each st around. (32 sts) Change to White Plush Yarn on the last yarn-over of R8.
Using White Plush Yarn
R9: [2 sc, dec] 8 times. (24 sts)
R10: [1 sc, dec] 8 times. (16 sts) Stuff moderately with fiberfill.
R11: [Dec] 8 times. (8 sts)
R12 (Ruffle Top): In FLO, [1 inc, 1 sc] around. (12 sts)
Finishing: Fasten off. Thread thin cinching yarn through the remaining BLO loops of R11, pull tight to flatten the inner top, tie off, and weave in ends.
Part 2: Colorwork Bat Ears (Make 2) Using 2.5mm–3.0mm Hook with Aqua (A) and Light Pink (P) DK Cotton Yarn
R1: With Aqua, 4 sc in MR. (4 sts)
R2: 1 sc (A), 1 inc (P), 1 sc (P), 1 inc (A). (6 sts)
R3: 1 sc (A), 1 sc (P), 1 inc (P), 1 sc (P), 1 inc (A), 1 sc (A). (8 sts)
R4: 1 sc (A), 2 sc (P), 1 inc (P), 2 sc (P), 1 inc (A). (10 sts)
R5: Switch entirely to Aqua: Sl st in each st around. (12 sts)
Finishing: FO, leaving a long Aqua tail. Sew both ears to the top of the head near the R8–R9 color transition line, facing forward.
Part 3: 3D Crochet Eyes (Make 2) Using Off-White DK Cotton Yarn & 2.5mm Hook
R1: 6 sc in MR. (6 sts)
R2: [Inc] in each st around. (12 sts)
R3: [1 sc, inc] 6 times. (18 sts)
Finishing: Fasten off, leaving a long tail for sewing.
Pupil Embroidery: Using black embroidery floss and a tapestry needle, stitch a solid crescent/circle in the center of each white disc. Add 1–2 tiny French knots or straight stitches with white floss near the top edge of the black pupil to create a shine mark.
Part 4: Facial Assembly & Fangs
Eye Placement: Position the completed 3D eyes side-by-side onto R5–R8 of the Aqua body (about 1 stitch apart) and sew securely into place using the white yarn tails.
Smile: Using black embroidery floss, stitch a wide, upward-curved smile line centered directly beneath both eyes across R6–R7.
Fangs: Cut two tiny, narrow triangles from white craft felt. Attach them pointing downward directly underneath the black smile line using fabric glue or white thread.
Part 5: Black Basket Container
Base (Black Plush Yarn & 4.0 mm Hook)
R1: 6 sc in MR. (6 sts)
R2: [Inc] 6 times. (12 sts)
R3: [1 sc, inc] 6 times. (18 sts)
R4: [2 sc, inc] 6 times. (24 sts)
R5: [3 sc, inc] 6 times. (36 sts)
R6: In BLO, 1 sc in each st around. (36 sts)
R7–R8: 1 sc in each st around. (36 sts)
Finishing: FO and weave in tail.
Lid (Black Plush Yarn & 4.0 mm Hook)
R1–R5: Repeat R1–R5 of the Base. (36 sts)
R6: In BLO, 1 sc in each st around. (36 sts)
R7–R8: 1 sc in each st around. (36 sts)
Do not cut yarn after R8.
Hinge Assembly
Place the Lid directly over the Base with right sides facing out.
Insert hook through corresponding stitches on both Lid and Base simultaneously.
Work 1 sc across 6 stitches through both layers to create the back hinge.
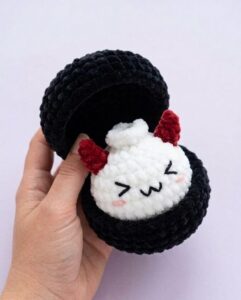
Fasten off and weave in all loose ends. Place your completed plush inside its basket!
See More:
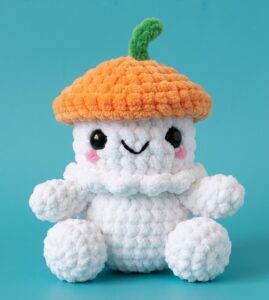
Tester Call: How to Crochet Ghost Monster in a Pumpkin Hat Plushie Pattern
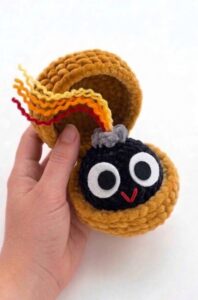
Tester Pattern: How to Crochet Birthday-Popper Dumpling Plushie for Gifting

Tester Pattern: How to Crochet Dumpling Buddy in A Steamer Costume Plushie

Tester Pattern: To Crochet A Snowball Christmas Dumpling in Basket Plush
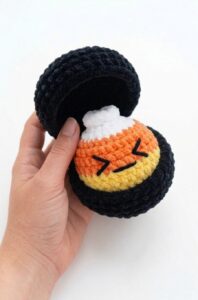
Tester Call: Free Crochet Orange, Yellow & White Dumpling Plushie
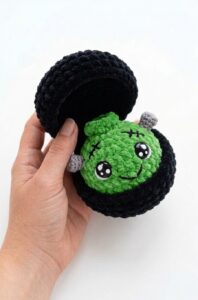
Tester Call: Free Crochet Kawaii-Eyes Bolt Zombie Dumpling Plushie
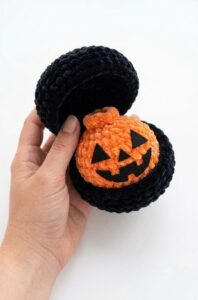
Tester Call: How to Crochet A Pumpkin Dumpling Plush for Halloween
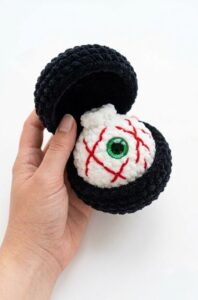
Free Crochet Eyeball Dumpling in a Steamer Plushie for Halloween
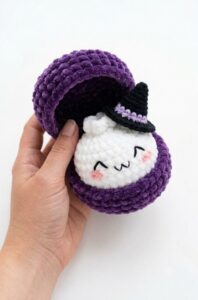
Tester Call: Crochet Spooky Ghost Dumpling Plushie Pattern