

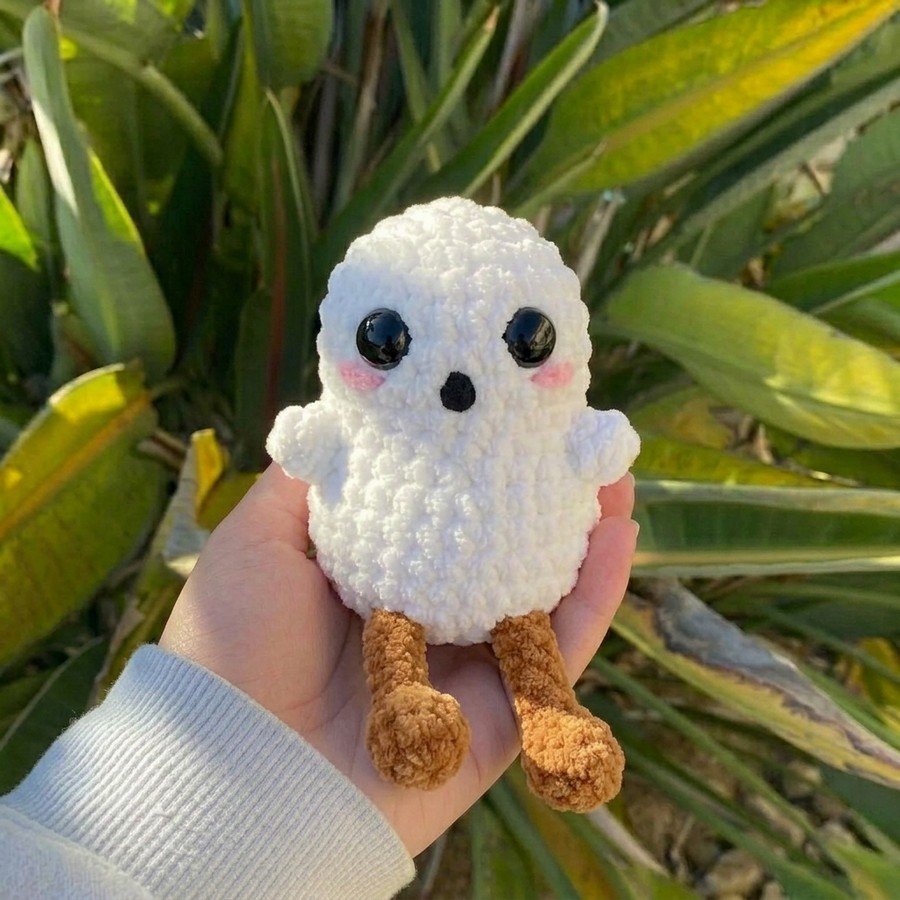
This is the 3rd and the last “Halloween plushies pattern tester call” of this week. Today, test this a bit funny and absolutely cute crochet leggy potato ghost plushie design with a FREE pattern. Unlike the baby ghost plushie, this is designed as a sitting amusing plushie with the Jellycat plushie Legs and a cute BOO ghost felt mouth. Eyes are also bigger than usual, and we won’t crochet the ruffled boo ghost skirt. Crochet this plushie as a Halloween love present and a sitting buddy for your Halloween dining table.
You can also make your crochet BOO plushie hold a small crochet jack-o-lantern treat basket and welcome the guests this way. It looks so cute with the embroidered blush below the eyes.
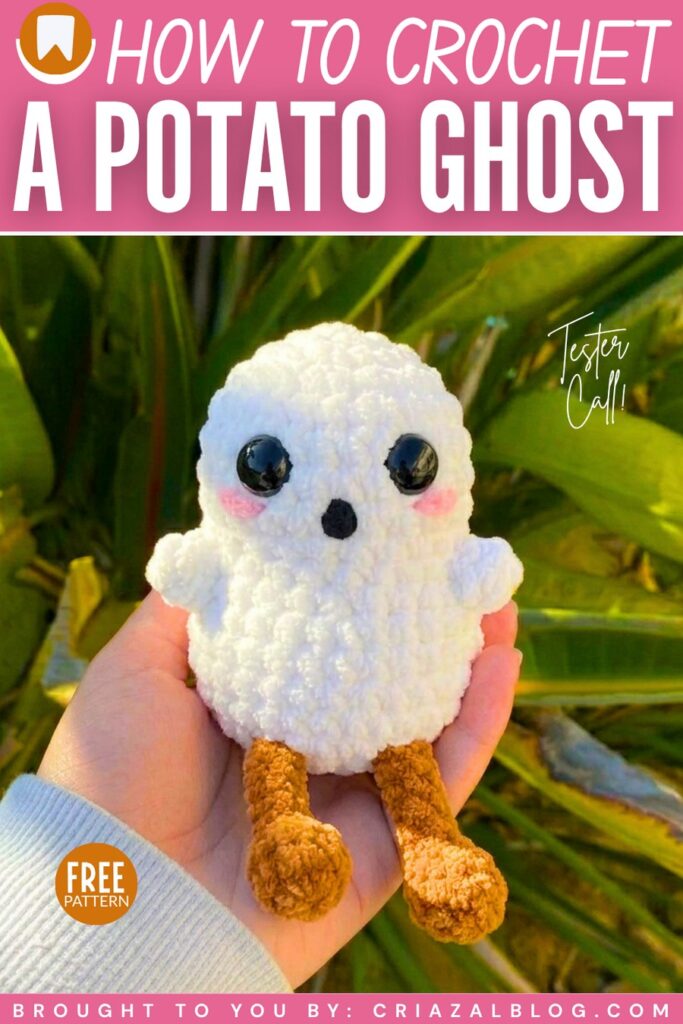
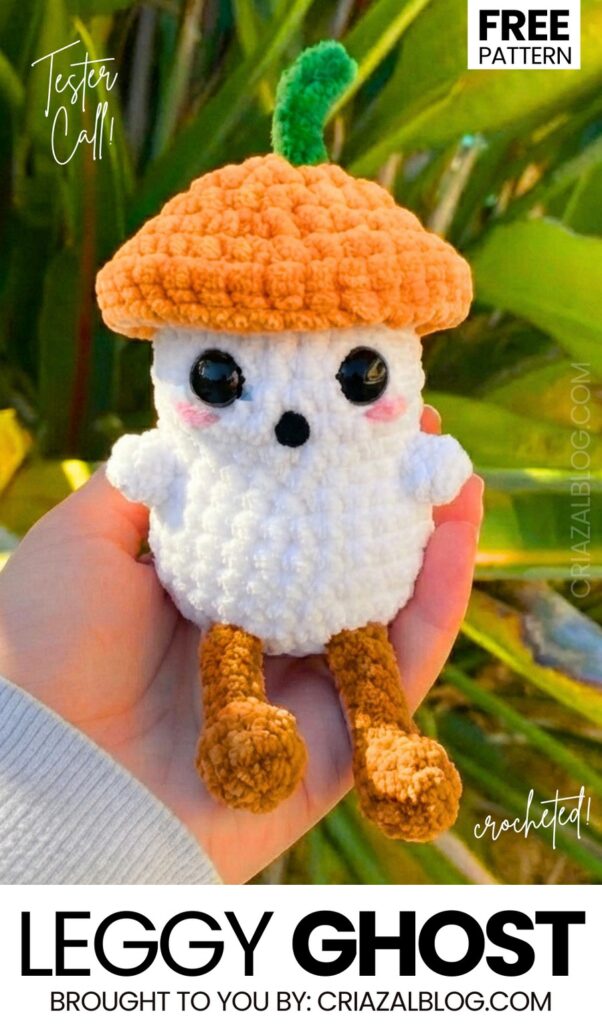
You can also crochet your plush ghost using the pumpkin lid hat that you learned how to crochet in this standing ghost plushie tester pattern. Our crochet ghost plush looks so funny and cute in the potato shape but in white color. It is an irresistible anti-stress crochet plushie I highly recommend crocheting today. Now, continue reading to learn more about this crochet plush project!
[ez-toc]
Pattern to Crochet the Potato Ghost Plushie
Here is the complete pattern to crochet the buddy ghost plushie for Halloween:
Materials Needed
Yarn: Super bulky (Size 6) chenille/velvet yarn in White (for the body and arms) and Brown/Caramel (for the legs).
Thread: A tiny scrap of black yarn or embroidery thread for the mouth.
Crochet Hook: 4.5 mm or 5.0 mm (use a hook slightly smaller than your yarn recommends to keep stitches tight).
Safety Eyes: Two black safety eyes (approx. 12mm or 14mm).
Stuffing: Polyfill stuffing.
Tools: Yarn needle, stitch markers, and scissors.
Details: Pink makeup blush and a small brush (or a scrap of pink yarn for the cheeks).
Abbreviations (US Terms)
ch: Chain
MR: Magic Ring
sc: Single crochet
inc: Increase (2 sc in the same stitch)
dec: Decrease (invisible decrease recommended: sc 2 together using front loops only)
st(s): Stitch(es)
R: Round / Row
[ … ]: Repeat instructions within brackets the specified number of times
( … ): Total number of stitches at the end of the round
The Pattern
1. Ghost Body
Use White yarn. Work in continuous rounds. This follows your exact 20-round stitch count map to create the cinched waist and chubby bottom.
R1: 6 sc in MR (6)
R2: 6 inc (12)
R3: [sc in next st, inc] 6 times (18)
R4: [2 sc, inc] 6 times (24)
R5: [3 sc, inc] 6 times (30)
R6 – R8: sc in each st around for 3 rounds (30)
R9: [3 sc, dec] 6 times (24) — This creates the neck/waist cinch.
R10: [3 sc, inc] 6 times (30)
R11: [4 sc, inc] 6 times (36)
R12: [5 sc, inc] 6 times (42) — This establishes the chubby lower body.
R13 – R14: sc in each st around for 2 rounds (42)
Eye Placement: Insert the safety eyes between R8 and R9, spacing them about 4 to 5 stitches apart, just above the cinched waist.
R15: [5 sc, dec] 6 times (36)
R16: [4 sc, dec] 6 times (30)
R17: [3 sc, dec] 6 times (24) — Begin stuffing the head and upper body firmly.
R18: [2 sc, dec] 6 times (18)
R19: [sc, dec] 6 times (12) — Finish stuffing the bottom firmly.
R20: 6 dec (6)
Finish: Fasten off, leaving a tail. Thread the tail through the front loops of the remaining 6 stitches, pull tight to close the hole, and weave in the end.
2. Jellycat Legs with Oval Base (Make 2)
Use Brown/Caramel yarn. Stuff only the bottom “foot” firmly; leave the skinny leg unstuffed so it dangles.
Foundation: ch 3
R1: Starting in the 2nd ch from the hook, 1 sc. Place 3 sc in the last ch. Rotate your work to crochet along the opposite side of the foundation chain. Place 1 inc in the last ch (this is the same ch you put your first sc in). (6)
R2: [sc in next st, inc] 3 times (9)
R3: sc in each st around (9)
R4: [sc in next st, dec] 3 times (6) — Stuff the bulbous foot portion now.
R5 – R11: sc in each st around for 9 rounds (6)
Finish: Fasten off, leaving a long tail. Pinch the top of the leg flat and sew it closed.
Alternative to the Legs:
- R1: 5 sc in MR.
- R2: [sc, inc] * 5 (10)
- R3-4: sc across.
- R5: [sc, dec] * 5 (5)
- R5-11: sc across.
- Finish: Fasten off, leaving a long tail. Pinch the top of the leg flat and sew it closed.
3. Arms (Make 2)
Use White yarn. These do not need to be stuffed.
R1: 5 sc in MR (5)
R2 – R3: sc in each st around for 2 rounds (5)
Finish: Fasten off, leaving a long tail for sewing. Pinch flat.
Assembly & Detailing
Attach the Legs: Using your yarn needle, sew the flattened tops of the brown legs to the bottom base of the ghost body (around R19/R20). Attach them side-by-side facing forward so they dangle over the edge when sitting.
Attach the Arms: Sew the flattened tops of the tiny white arms to the sides of the body right around R10 or R11 (just below the waist cinch).
Embroider the Mouth: Using your black thread, embroider a tiny vertical line or small “O” centered between the eyes, one round lower.
- Add the Blush: Lightly dab pink blush beneath and slightly to the outside of each eye for that sweet, bashful expression.
Please tell me how your crochet pattern worked!
Share on Social Media!
See More:

Crochet CUTEST Guest-Welcoming BOO Ghost with Bow, Hat and Pumpkin Accessories

Featuring: How to Crochet A Plush Blushing Flying Mr. Soul Ghost Plushie for Halloween
How to Crochet REALLY BOO No-Sew Pocket and Palm Buddy Ghost Gurumi
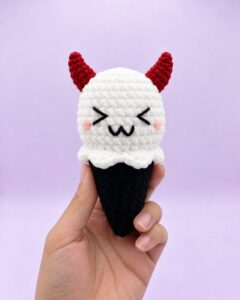
Pattern Tester: To Crochet Red-Horned Meow Ghost Treat Cone Plushie for Gifting
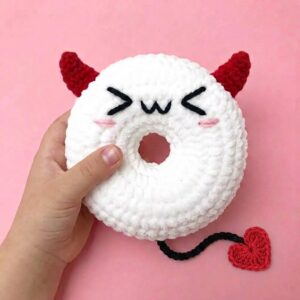
Pattern Tester: How to Crochet Red Horn Ghost Ring Donut Pluhsie for Gifting
Tester Pattern: How to Crochet Mask Ghost Spooky Food Ball in Box Plush
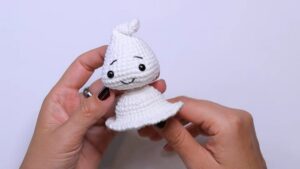
Free Crochet Flying Ghost Wind Spinner Plushie for Kids
Featuring: Crochet SPOOKY-CUTE Black & White Ghost Plushie for Halloween
Tester Pattern: How to Crochet Miniature UNIQUE Ghost with Ears and a Carrot Plush



