Author: Talha
I am a crochet designer, macramé maker and a crafter who also loves doing MATH.

Contributor: Lyubov of Love Knitting
She is a Ukrainian crochet plushie designer and our most favorite crocheter. She became our contributor on mid 2026 through mycraftybasket.
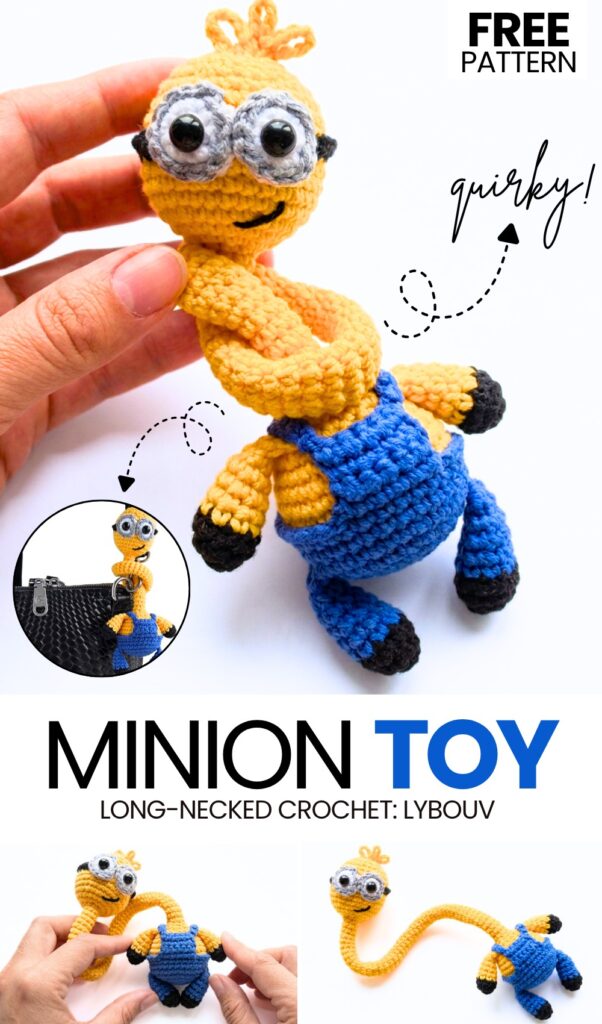
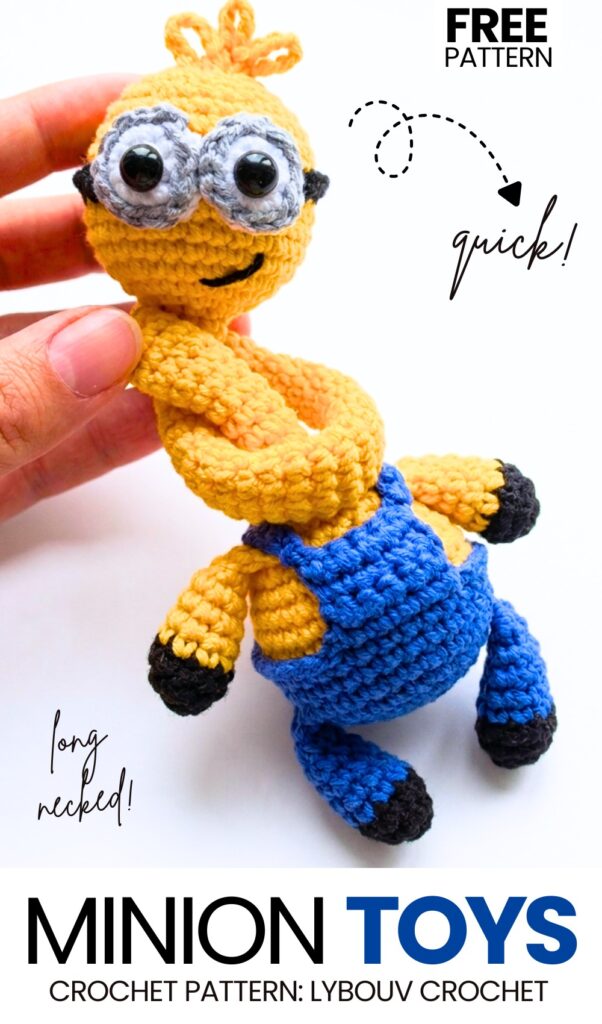
Be ready for another “crochet FUNNY & trendy amigurumi” pattern! Today, you will learn how to crochet this UNIQUE long-necked Minion amigurumi bag charm with a step-by-step tutorial + a free written pattern as well. This crochet amigurumi idea is inspired by the viral Sid the Sloth long-necked amigurumi. The idea is to crochet a Minion amigurumi with a 19cm tieable neck (quirky? Yes!) that you can wrap around your tote bag’s handle to carry it as an anti-stress buddy. This looks so funny when tied around the bag.
This unique way to crochet a bag charm has been appreciated by tons of crocheters worldwide, and each crocheter is designing their own character as a long-necked amigurumi bag charm. This crochet Minion bag charm, including the neck, will measure 29cm.
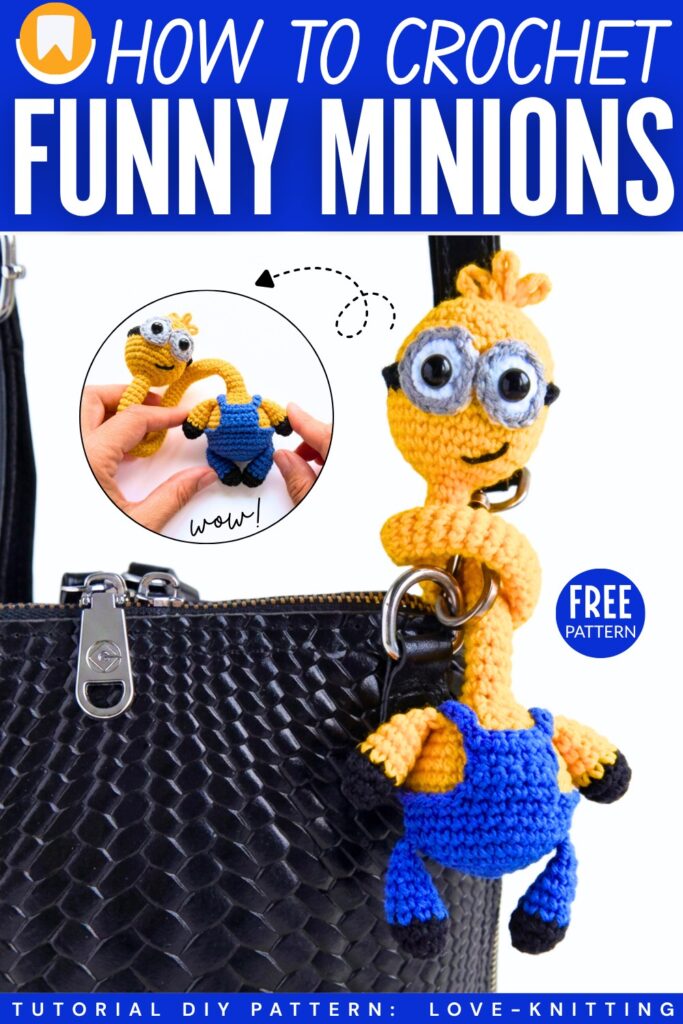
You will end up with an amigurumi Minion with a sphere head, the same iconic goggles, the hair, and a new, low-sew chubby body. So, be sure to crochet this long-necked Minion amigurumi as a present for a person who has an exhausting routine. If you are looking for a crochet plush Minion, you can crochet our previous Minion in a swim ring amigurumi. Now, continue reading to learn more about this fun crochet Minion plush project.
Similar Project(s)
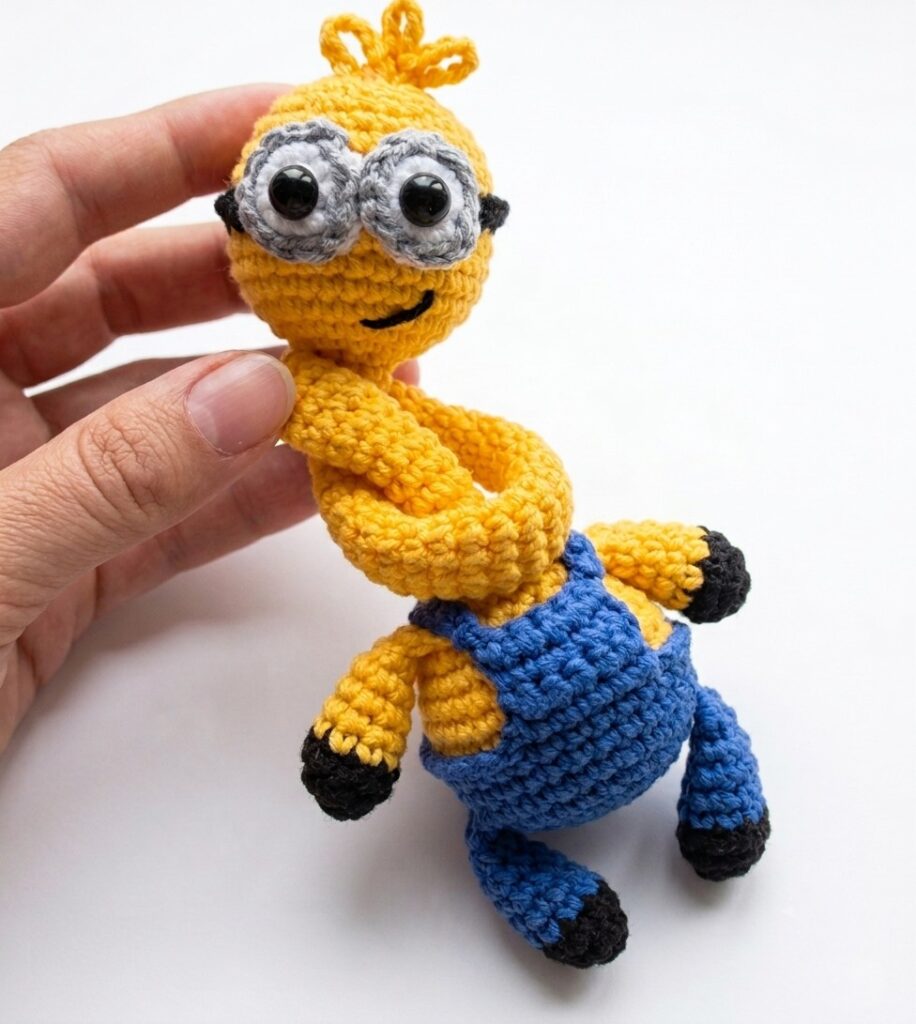
Pattern to Crochet the Long-Necked Minion Amigurumi
Skill Level: Intermediate
Materials List
Semi-cotton yarn (YarnArt Jeans, 50g / 160m).
Main yarn colors: Yellow and Blue.
Extra yarn colors: Black, White, and Grey.
Crochet hook size: 2 mm (main hook for the body).
Crochet hook size: 3 mm (for edging so it does not pull tight).
Toy stuffing.
Black plastic half-bead eyes (8 mm).
Needle for sewing.
Scissors.
Stitch marker.
Abbreviations List
MR = Magic Ring
sc = single crochet
inc = increase (2 single crochets in one stitch)
dec = decrease (crochet 2 stitches together)
sl st = slip stitch
ch = chain
BLO = back loops only
FLO = front loops only
R = Round or Row
st = stitch
Are you a Beginner? Learn Crocheting Easily!
You can learn to crochet better with this crochet long-necked amigurumi Minion tutorial as a beginner:
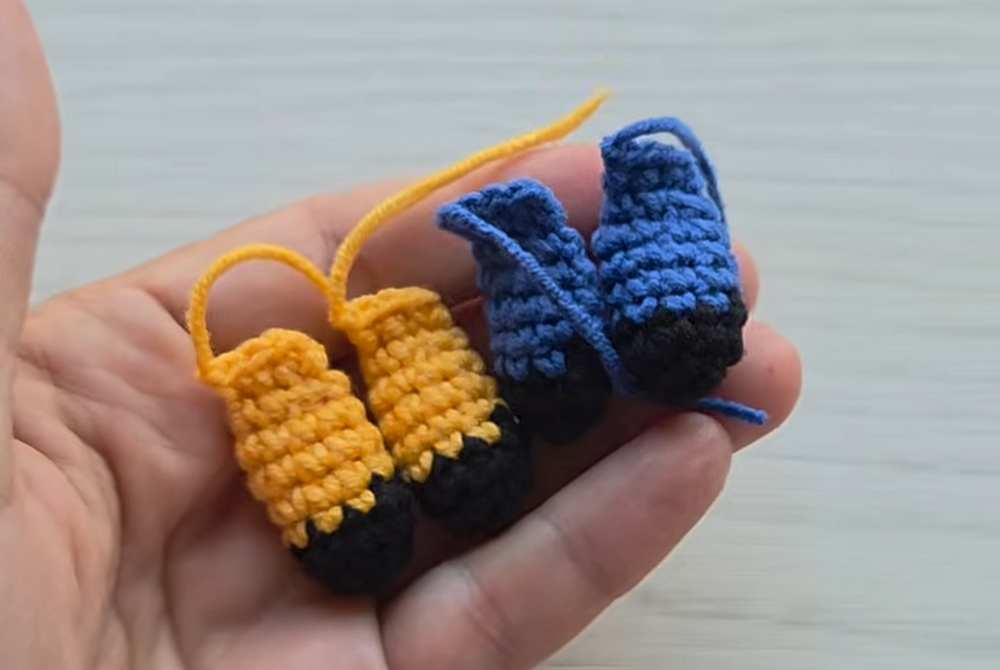
Arms (Make 2):
- Start with Black yarn.
- R1: 6 sc in MR (6).
- R2: (1 sc, inc) repeat 3 times (9).
- R3: 9 sc (9).
- Change to Yellow yarn in the last stitch of R3. Cut the black yarn and tie knots.
- R4 to R7 (4 rounds): 9 sc (9).
- Put a little bit of stuffing in the bottom part of the arm.
- R8: (1 sc, dec) repeat 3 times (6).
- Fold the top flat and close by crocheting 3 sc through both sides. Cut a short tail.
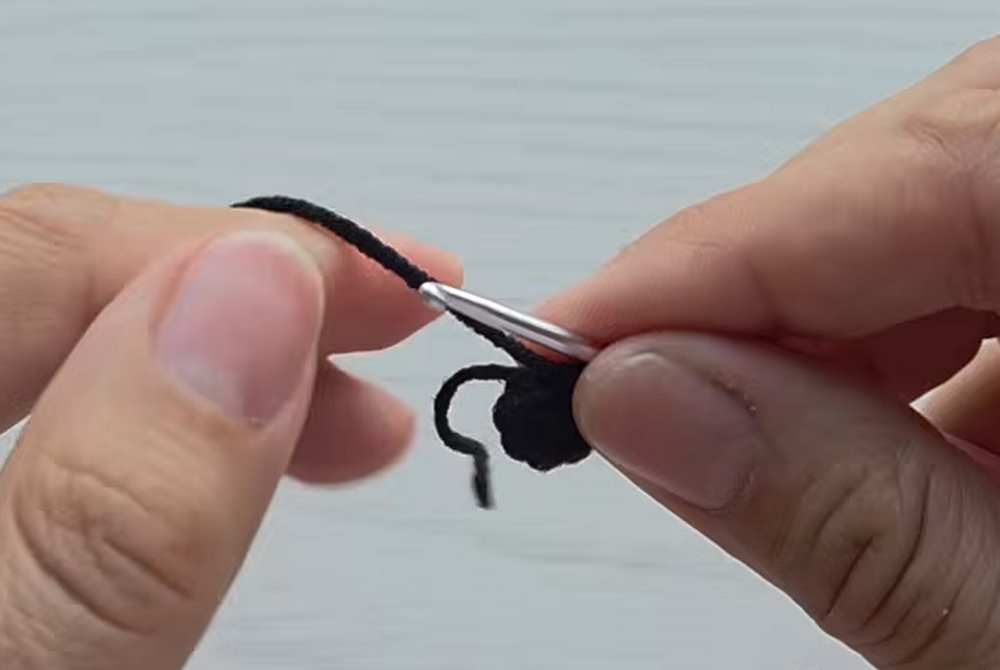
Legs (Make 2):
- Start with Black yarn.
- R1: 6 sc in MR (6).
- R2: (1 sc, inc) repeat 3 times (9).
- R3: 9 sc (9).
- Change to Blue yarn in the last stitch of R3. Cut the black yarn and tie knots.
- R4 to R7 (4 rounds): 9 sc (9).
- Put a little bit of stuffing in the bottom part of the leg.
- R8: (1 sc, dec) repeat 3 times (6).
- Fold the top flat and close by crocheting 3 sc through both sides. Cut a short tail.
Body and Long Neck:
- Start with Blue yarn from the bottom up.
- R1: 6 sc in MR (6).
- R2: 6 inc (12).
- R3: (1 sc, inc) repeat 6 times (18).
- R4: (2 sc, inc) repeat 6 times (24).
- R5: (3 sc, inc) repeat 6 times (30).
- R6 (Joining legs): 6 sc, crochet 3 sc through both the body and the first leg, 12 sc, crochet 3 sc through both the body and the second leg, 6 sc (30).
- R7 to R8 (2 rounds): 30 sc (30).
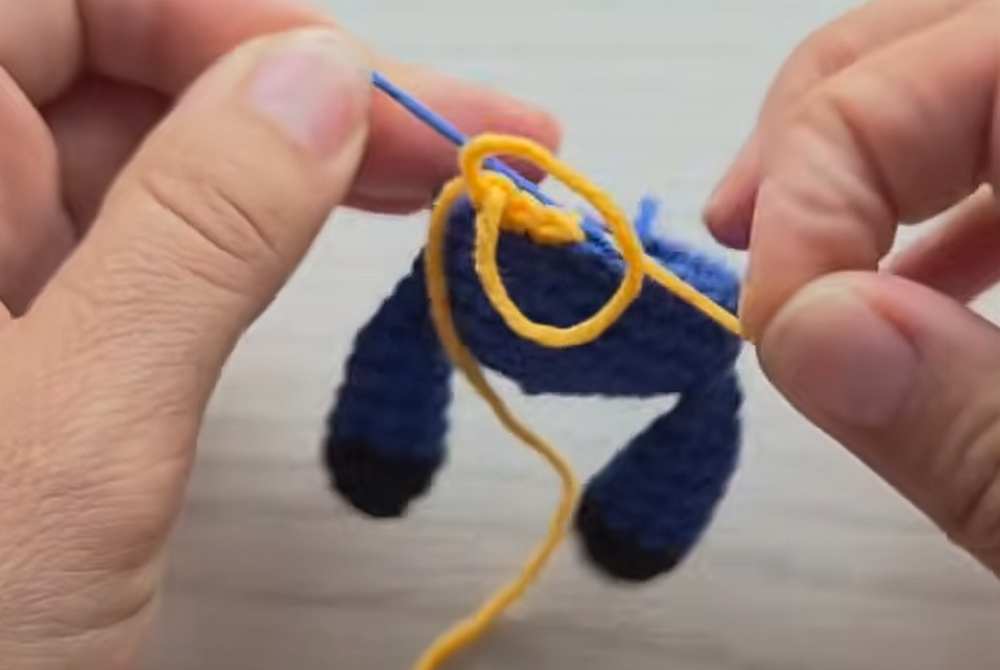
Change to Yellow yarn in the last stitch of R8.
- R9: 30 sc in BLO (30). Cut the blue yarn and tie knots.
- R10 to R11 (2 rounds): 30 sc (30).
- R12: (3 sc, dec) repeat 6 times (24).
- R13: (2 sc, dec) repeat 6 times (18).
- R14 (Joining arms): 4 sc, crochet 3 sc through both the body and the first arm, 6 sc, crochet 3 sc through both the body and the second arm, 2 sc (18).
- Stuff the body with stuffing.
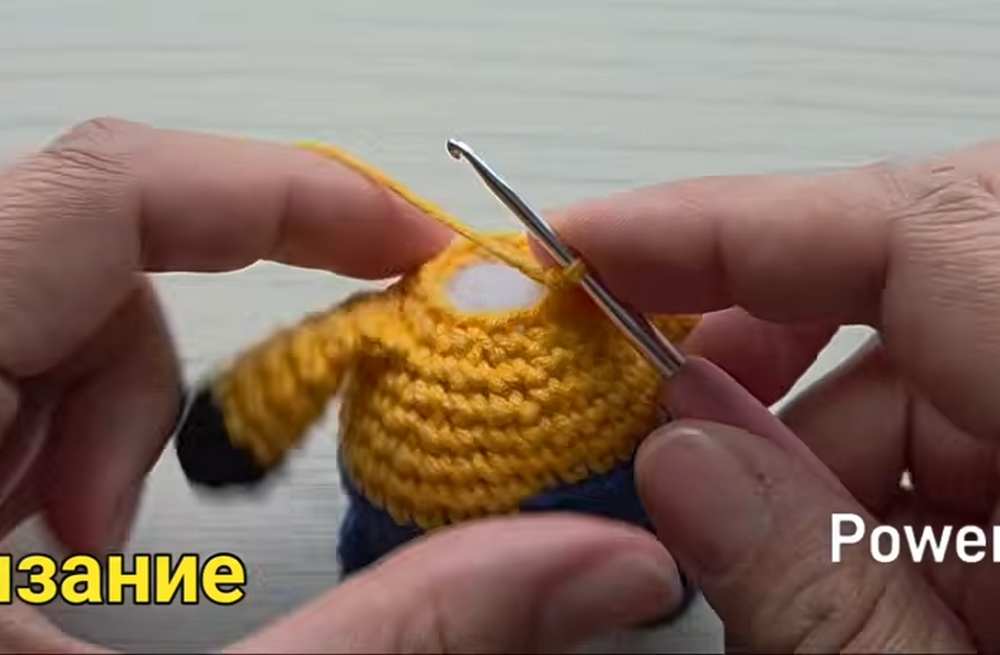
- R15: (1 sc, dec) repeat 6 times (12).
- Add more stuffing to fill the body completely.
- R16: (1 sc, dec) repeat 4 times (8).
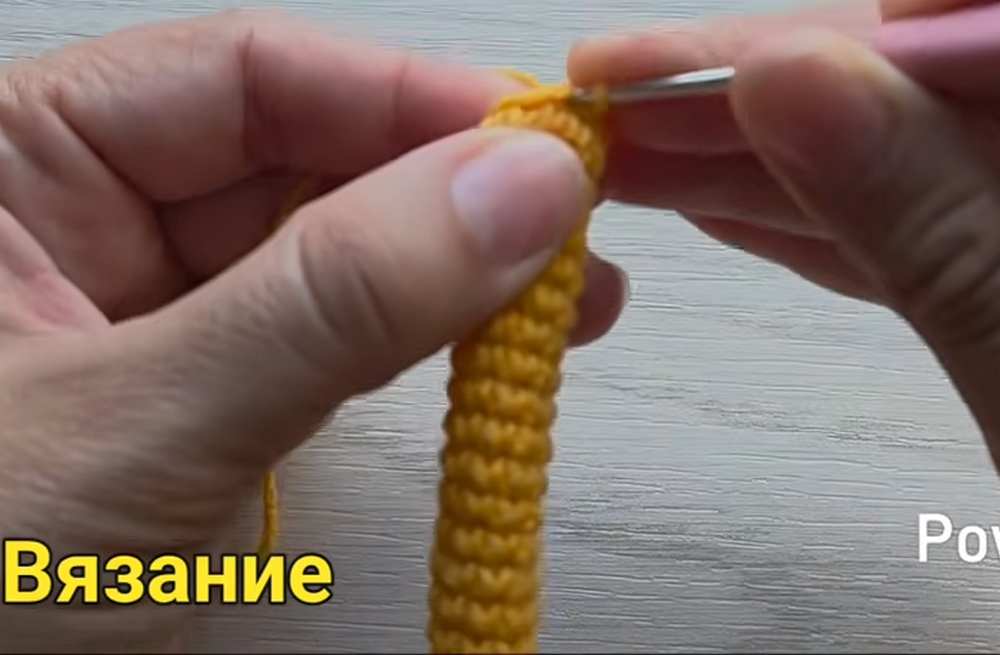
- R17 to R63 (47 rounds for the long neck): 8 sc (8).
- Do not put stuffing in the neck. Leave it empty.
Head:
- Continue from the neck with Yellow yarn.
- R64: 8 inc (16).
- R65: (1 sc, inc) repeat 8 times (24).
- R66: (3 sc, inc) repeat 6 times (30).
- R67 to R70 (4 rounds): 30 sc (30).
- Change to Black yarn in the last stitch of R70.
- R71: 30 sc (30).
- Change to Yellow yarn in the last stitch of R71.
- R72: 30 sc in BLO (30). Tie knots with the cut yarn tails.
- R73 to R74 (2 rounds): 30 sc (30).
- R75: (3 sc, dec) repeat 6 times (24).
- R76: (2 sc, dec) repeat 6 times (18).
- Stuff the head with stuffing.
- R77: (1 sc, dec) repeat 6 times (12).
- R78: 6 dec (6).
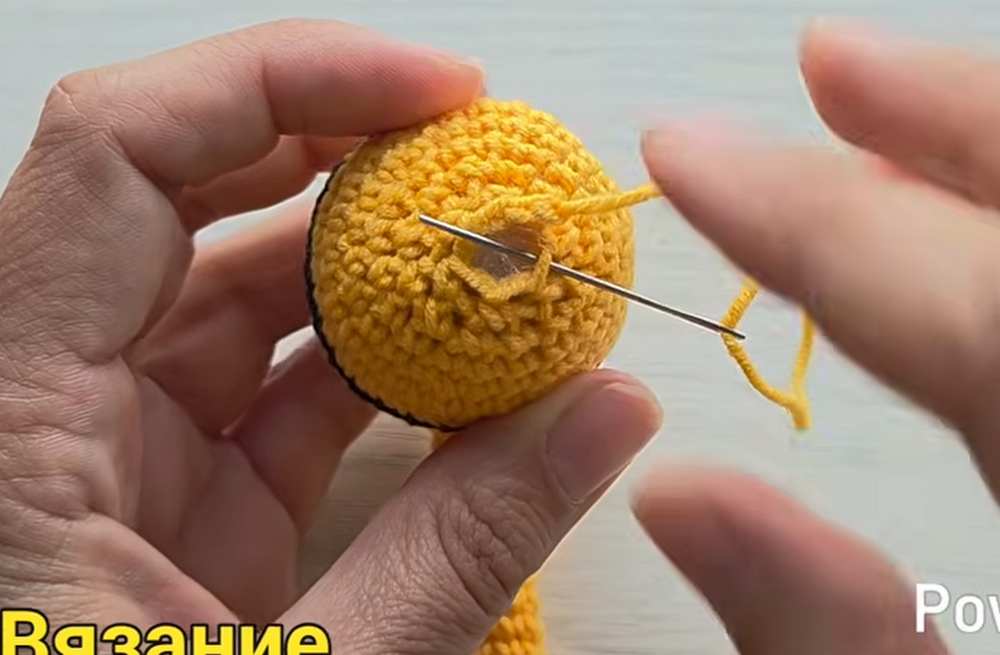
- Cut the yarn, hide the hole by weaving the needle through the front loops, pull tight, and hide the tail inside.
Black Head Edging:
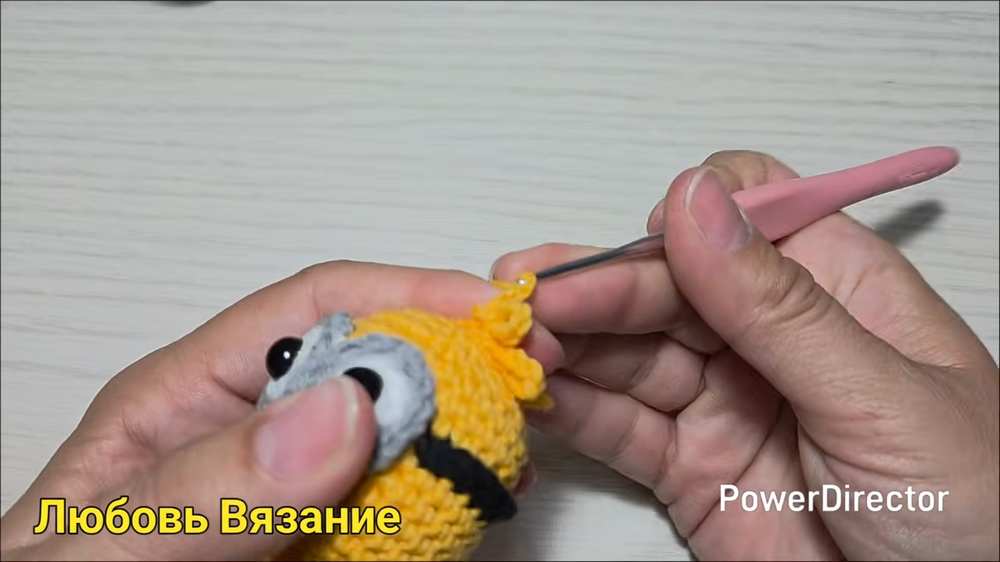
- Take Black yarn and a 3 mm hook (or crochet loosely).
- Join the yarn to the front loops left at R71 (where you crocheted R72 in BLO).
- Crochet slip stitches all the way around the head on the front loops. Hide ends inside.
Eyes (Make 2):
- Start with White yarn.
- R1: 6 sc in MR (6).
- R2: 6 inc (12).
- Slip stitch and cut the yarn, leaving a long tail for sewing.
- Take Grey yarn and a 3 mm hook.
- Surface slip stitch all the way around the edge of the white circle. Hide grey ends.
- Glue the 8 mm black eyes to the center of the white circles.
- Sew the eyes to the head on the black stripe using the white yarn tail.
Overalls Front Bib:
- Find the center front of the body on the front loops left from R8.
- Skip stitches to find the middle 6 stitches.
- Join Blue yarn.
- Row 1: 6 sc, ch 1, turn (6).
- Row 2: 6 sc, ch 1, turn (6).
- Row 3: 6 sc, ch 1, turn (6).
- Row 4: 6 sc (6).
- Cut the yarn and hide the ends.
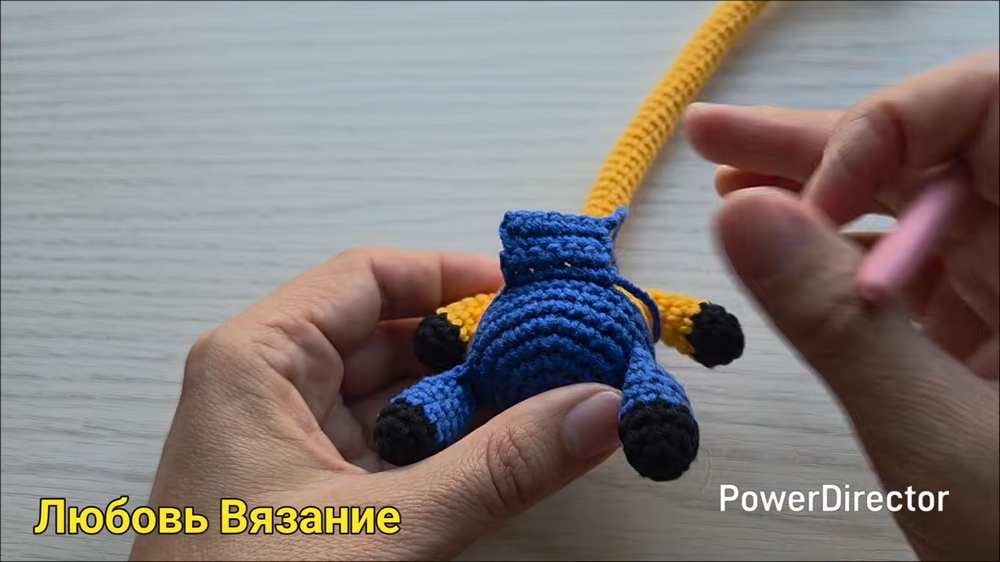
Overalls Edging and Straps:
- Join Blue yarn to the front loops on the back of the body.
- Use a 3 mm hook (or crochet loosely).
- Crochet 8 surface slip stitches along the front loops.
- Chain 13 for the first strap.
- Slip stitch to the top corner of the front bib.
- Crochet sc back down the chain 13 strap.
- Surface slip stitch across the remaining front loops around the body to reach the other side of the bib.
- Chain 13 for the second strap.
- Slip stitch to the other top corner of the front bib.
- Crochet sc back down the chain 13 strap.
- Finish with slip stitches to the starting point. Cut yarn and hide ends.
Smile:
- Take Black yarn.
- Embroider a side smile on the face below the eyes.
- Tie knots and hide the ends inside the head.
Hair (Forelock):
- Join Black yarn to the top center of the head.
- Chain 7, then slip stitch into the same starting stitch.
- Chain 7, then slip stitch into the same starting stitch.
- Chain 7, then slip stitch into the same starting stitch.
- Cut the yarn, tie knots, and hide the tail inside the head.
Share on Social Media!
See More:
How to Crochet Summer Minions Plushie (No-Sew, Mini & Quick)
How to Crochet Snowflake Buddy Amigurumi with Holy Leaf
How to Crochet the Craziest FUNNY Christmas Tree Buddy Amigurumi Ornament
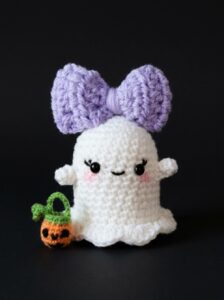
How to Crochet Big Hair Bow Trick-or-Treat Ghosts Amigurumi with Treat Basktets
How to Crochet Amigurumi Big Nose Slouchy Hat Gnome Amigurumi
![[PDF Pattern] Crochet Amigurumi Snowman in Winter Hat Gift Basket Pattern](https://criazalblog.com/wp-content/uploads/2026/09/crochet-snowman-basket-225x300.jpg)
[PDF Pattern] Crochet Amigurumi Snowman in Winter Hat Gift Basket Pattern
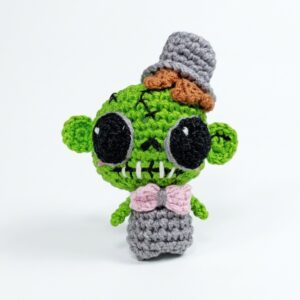
How to Crochet Green Bolt Zombie Man Amigurumi Doll Pattern
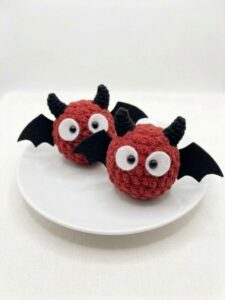
Tester Pattern: To Crochet A Red Soot Bat Amigurumi Plushie Pattern
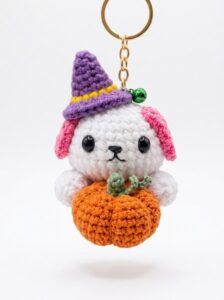
Tester Pattern: How to Crochet the Puppy Holding an Orange Fruit Amigurumi