Show support for Lyubov!
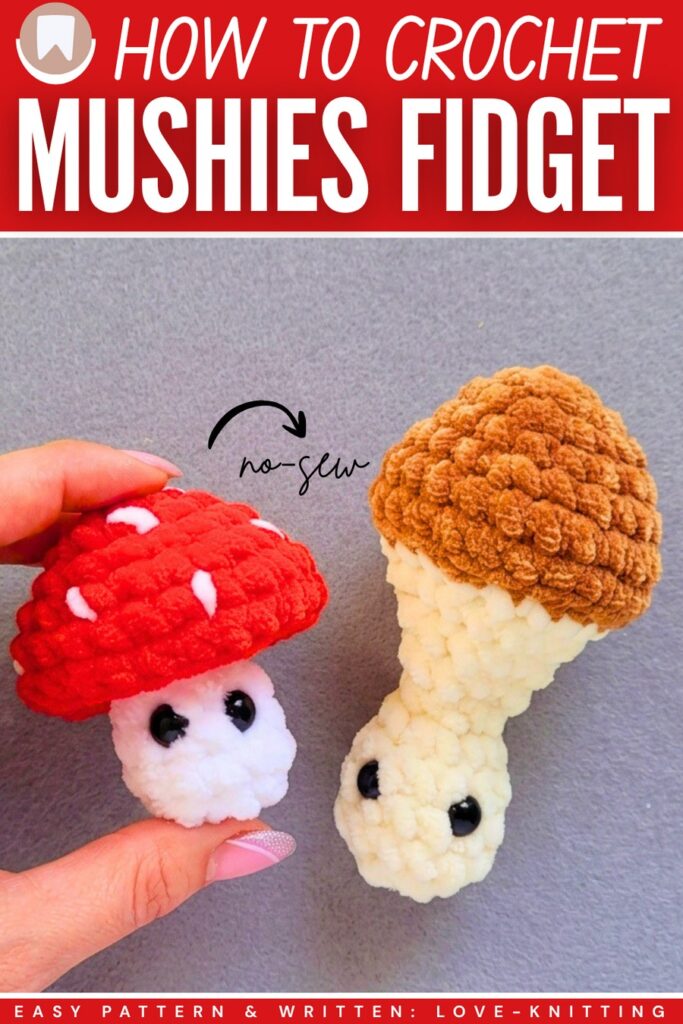
Today, we are crocheting this 2-in-1 no-sew miniature mushroom plush that is actually an irresistible fidget toy. Learn how to crochet this quick, easy, and KAWAII mushroom with a free written pattern + a tutorial as well. The idea is to crochet a mushroom with an anti-stress mechanism! That is, when you lift its toadstool cap, the mushroom will open softly, then abruptly. This is a much more satisfying mushroom bag charm.
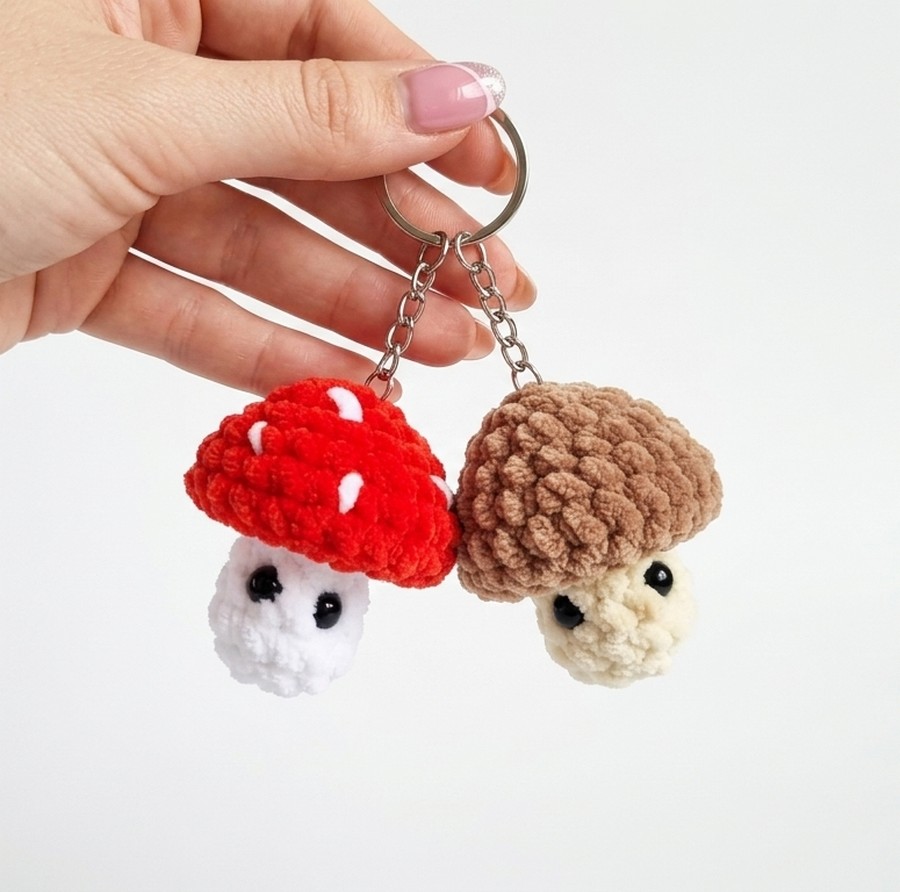
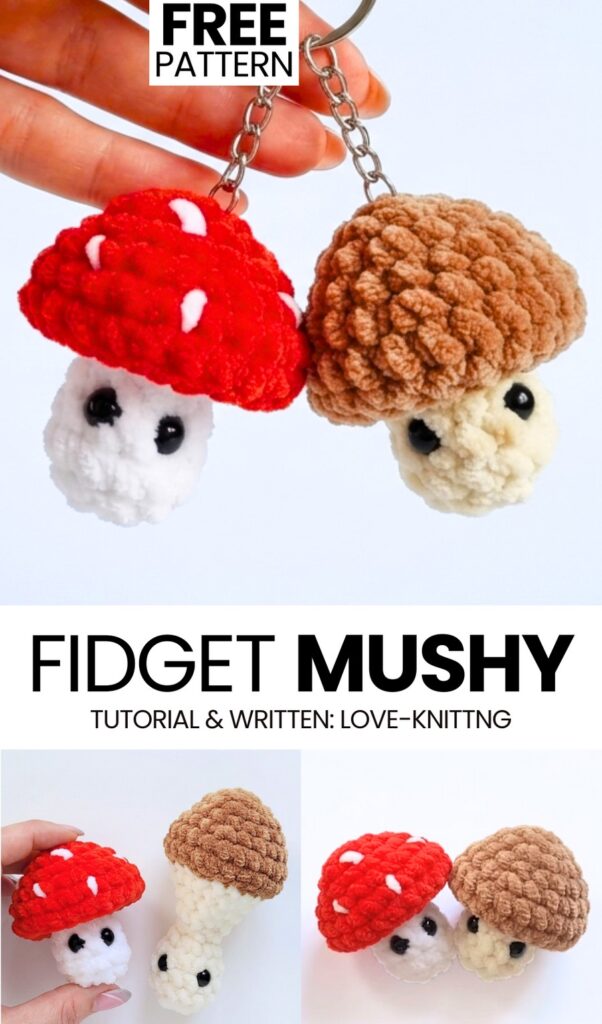
You can crochet both the wild mushroom and the red toadstool versions and show them to your friends. This little mushroom is an irresistible autumn & Christmas present. They are as small as the now-sew baby mushroom plushies.
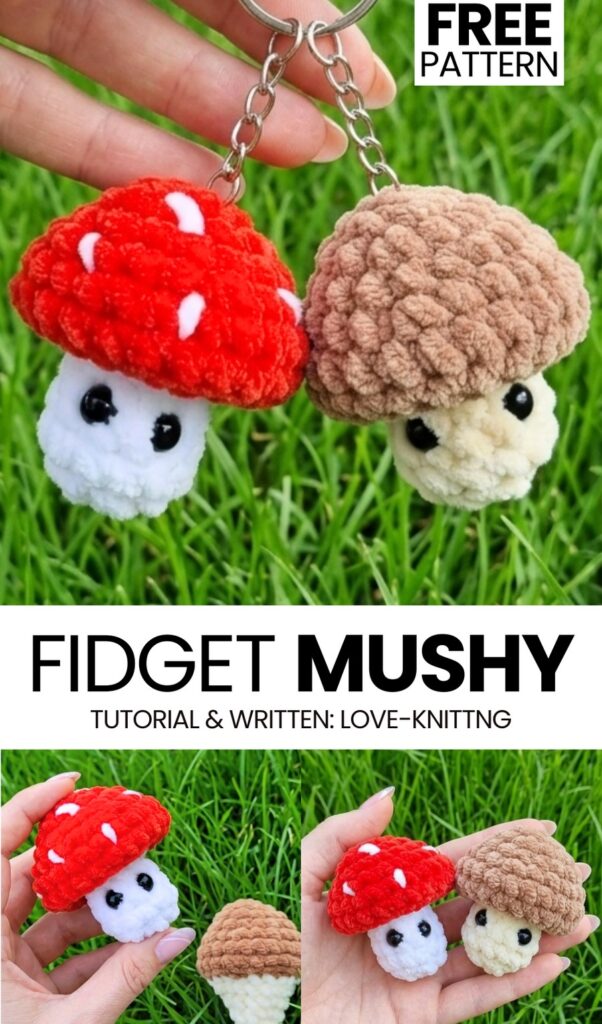
You only need a small amount of yarn to crochet this mushroom plush, so at least crochet a pair of these mushrooms. The finished mushroom is gonna measure about 7cm and that’s a perfect size to put in a small present bag and to sell at the fall craft fairs. When it opens, it will measure up to 11 cm, and that’s so fun to do. Anyway, if you are looking for the pattern to crochet this miniature mushroom, continue reading below.
[ez-toc]
Pattern for Crochet Miniature Fidget Mushroom
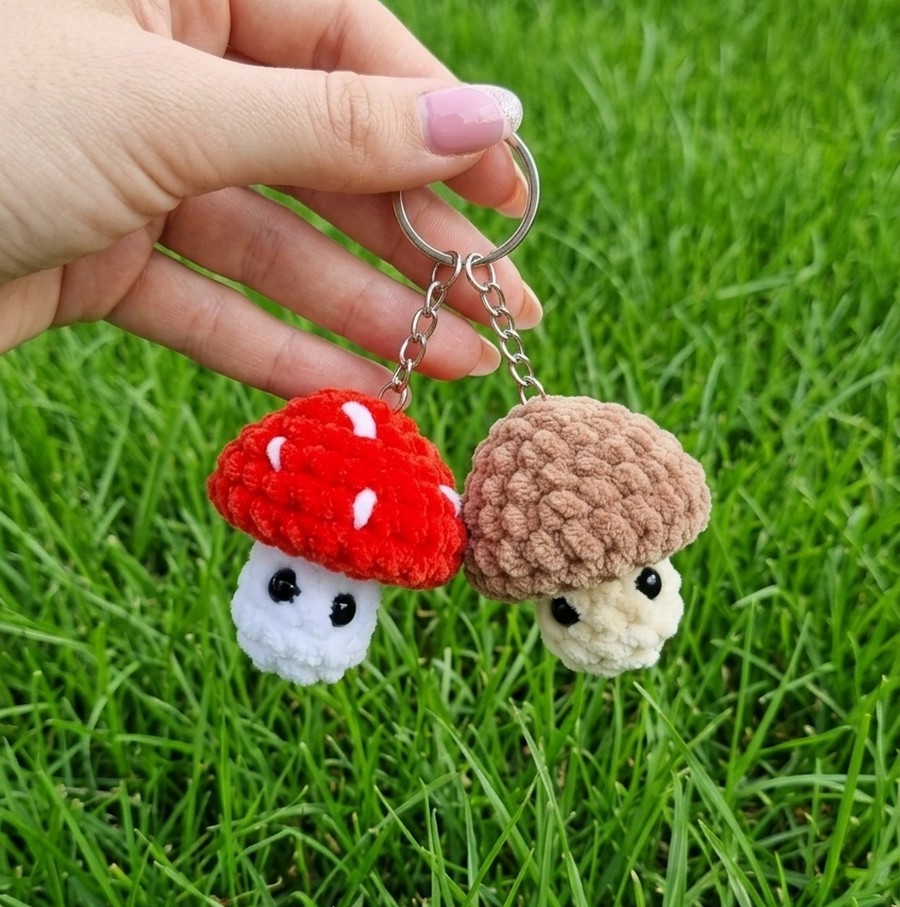
Let’s crochet a small, plush amigurumi mushroom that doubles as an interactive anti-stress toy. The completed mushroom measures between 7 cm and 11 cm depending on its position, featuring a clever design where the red cap can be popped up and down over the stem for a satisfying experience.
The creator demonstrates the entire process using plush yarn, a 4mm crochet hook, stuffing, and 9mm safety eyes. The tutorial walks you through everything from crocheting the cap and embroidering classic white toadstool spots to shaping the white stem, making it a quick, fun, and beginner-friendly crochet plush.
Materials Needed
Yarn: Plush/velvet yarn (100g / 120m) in Red and White
Crochet Hook: 4.0 mm
Safety Eyes: 9 mm
Other Supplies: Fiberfill stuffing, yarn needle, scissors, and a stitch marker.
Abbreviations
MR: Magic Ring
sc: Single crochet
inc: Increase (2 single crochets in the same stitch)
dec: Decrease (crochet 2 stitches together)
BLO: Back loops only
Rnd: Round
st(s): Stitch(es)
Are you a Beginner? Learn Crocheting Easily!
You can learn to crochet better with this mushroom tutorial as a beginner:
Share on Social Media!
See More:
Tester Pattern: How to Crochet Amigurumi Spooky Red & Black Mushroom Plushie
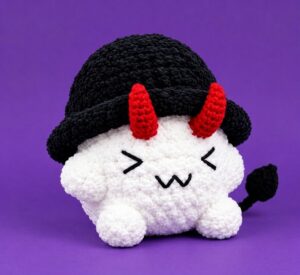
Tester Pattern: How to Crochet A No-Sew Mr. Red Horns Mushroom Plushie
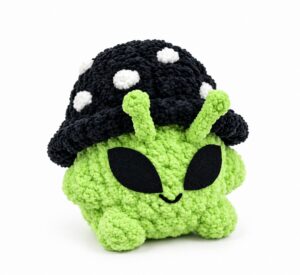
Tester Call: How to Crochet Green Alien Mushroom Plushie Buddy for Gifting
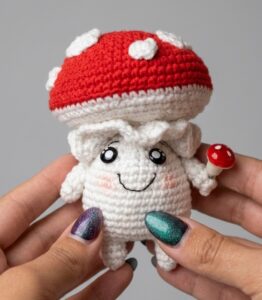
How to Crochet A Plastic Kawaii-Eyed Mushroom with Legs and Arms Plushie
Free Crochet Mushroom Plushies Pattern Series
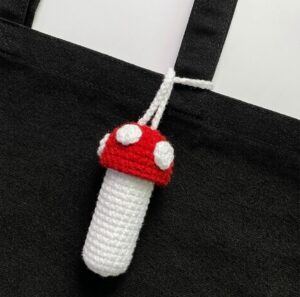
How to Crochet Mushroom Chapstick Holder & Charm for Fall
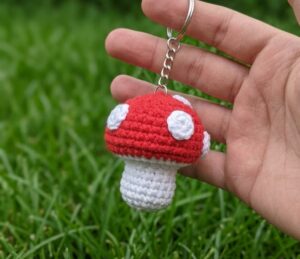
How to Crochet A Mushroom & Maple Leaf Keychain for Fall
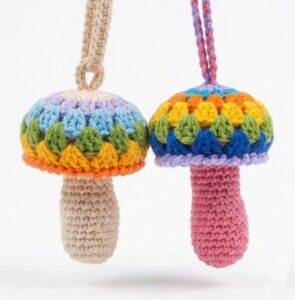
Let’s Crochet the Only Colorful 2-in-1 Mushroom for this Fall
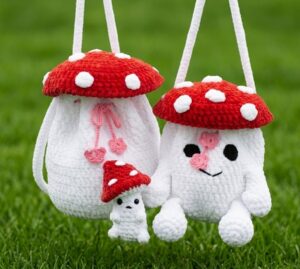
How to Crochet Back-to-School Mushroom Buddy Shoulder Bag for Kids & Adults