When it comes to crocheting table buddies, the crochet potted character is my favorite! But for this year’s spooky plushies series, I could not design any ideas until now. I have finally provided a satisfying range of plushie patterns across all other plushie series. So, today, learn how to crochet this UNIQUE crochet spooky pumpkin face potted buddy with a large crochet heart plushie on teh top as a gift. Keep in mind that I will be using the pot base across more of the upcoming crochet table buddy plant plushies, so be sure you learn and keep in mind today’s crochet pattern.
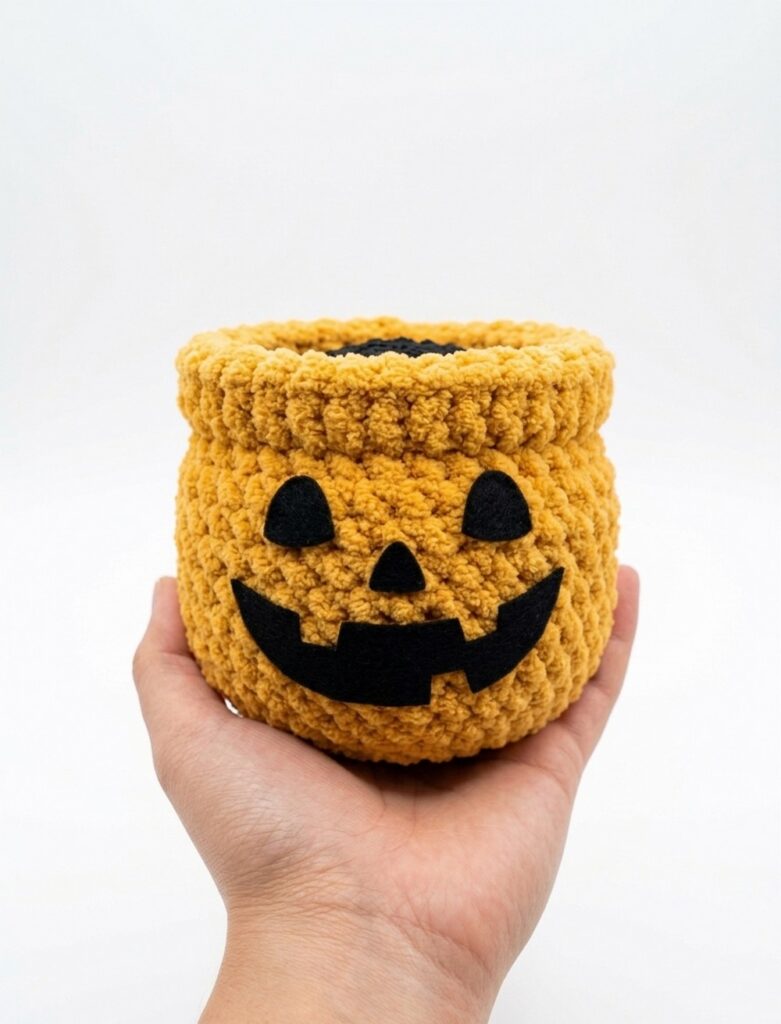
This will be the start of my new “potted spooky decorations” series. I will also provide a FREE felt-cutting template for the spooky jack-o’-lantern face.
(So stay thankful and keep following my tester calls!) The crochet heart also features wound embroidery, which makes it look extra spooky. I like the heart red, but you can also choose the traditional Halloween colors such as purple and green. Now, continue reading for learning more about this crochet plush potted pumpkin project for absolute beginners.
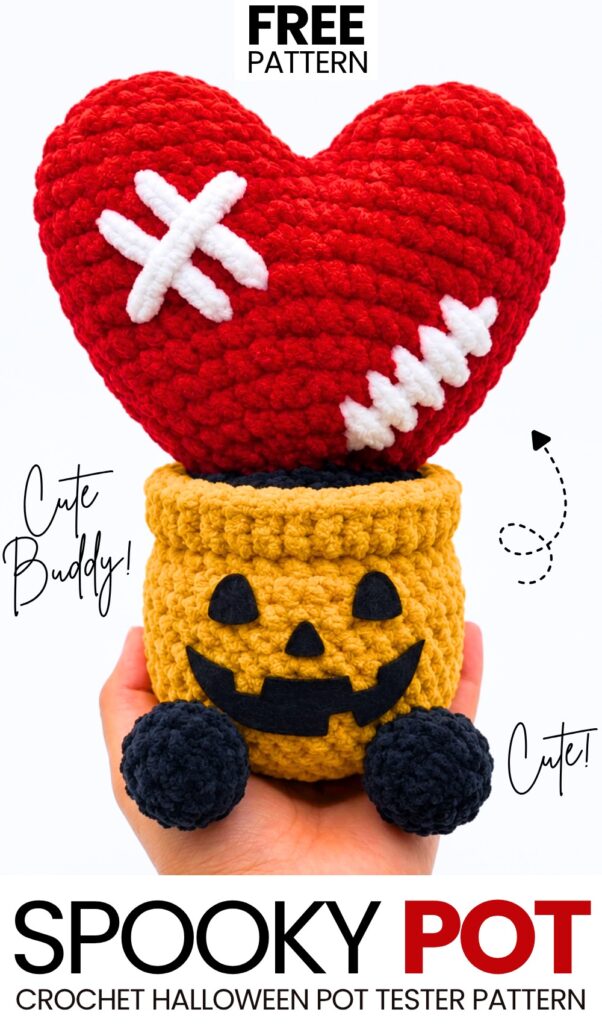
Pattern to Crochet the Plush Heart & Pot Spooky Face
Skill Level: Beginner – Level 4
Pattern Details
Skill Level: Easy / Beginner-friendly
Finished Size: Approx. 5.7″ wide × 6.1″ tall (14.5 cm × 15.5 cm) when using super bulky yarn and a 4.5 mm hook.
Working Method: Worked in continuous spiral rounds (do not join at the end of rounds unless specified). Use a stitch marker to keep track of the first stitch of each round.
Materials Needed
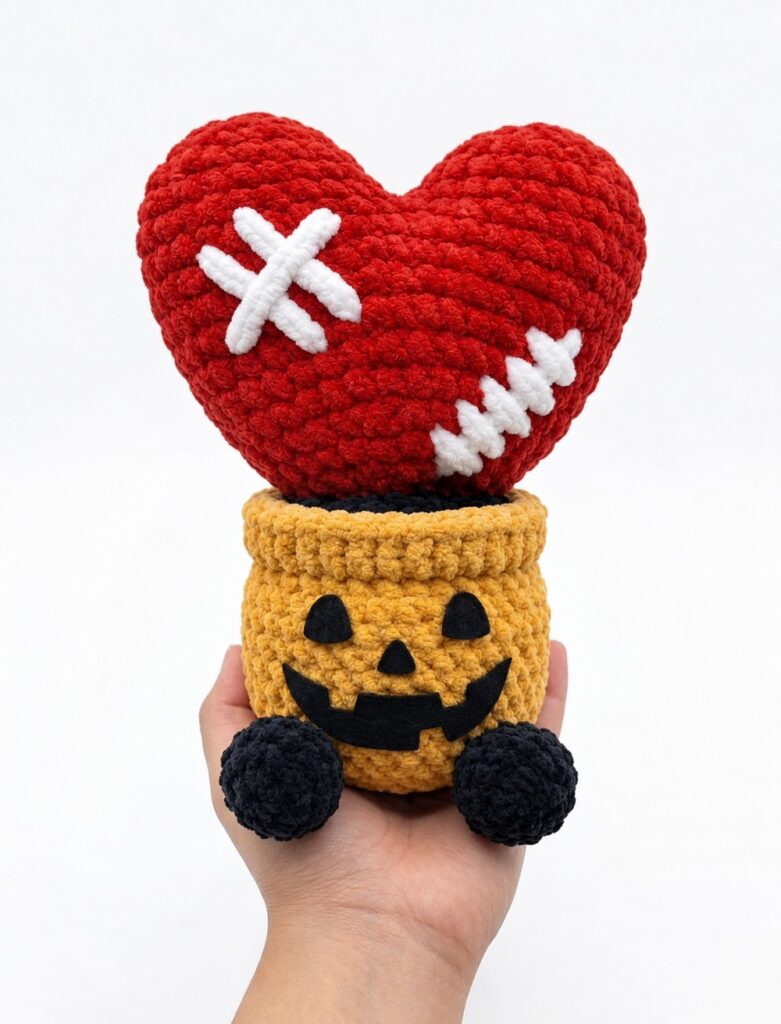
Yarn: Super bulky yarn (such as velvet, chenille, or blanket yarn) in red (heart), black or dark brown (soil), mustard yellow or orange (pot), and white (stitches).
Hook Size: 4.5 mm crochet hook
Stuffing: Polyester fiberfill
Tools: Tapestry needle, stitch marker, scissors
Face Details: Black felt (to be traced with the template you provide) and fabric glue (or a needle and thread) for attaching.
Abbreviations (US Terminology)
MR: Magic Ring
St(s): Stitch(es)
sc: Single crochet
inc: Increase (2 sc in the same stitch)
dec: Decrease (invisible decrease recommended; sc 2 together)
BLO: Back Loops Only
FLO: Front Loops Only
sl st: Slip Stitch
FO: Fasten off
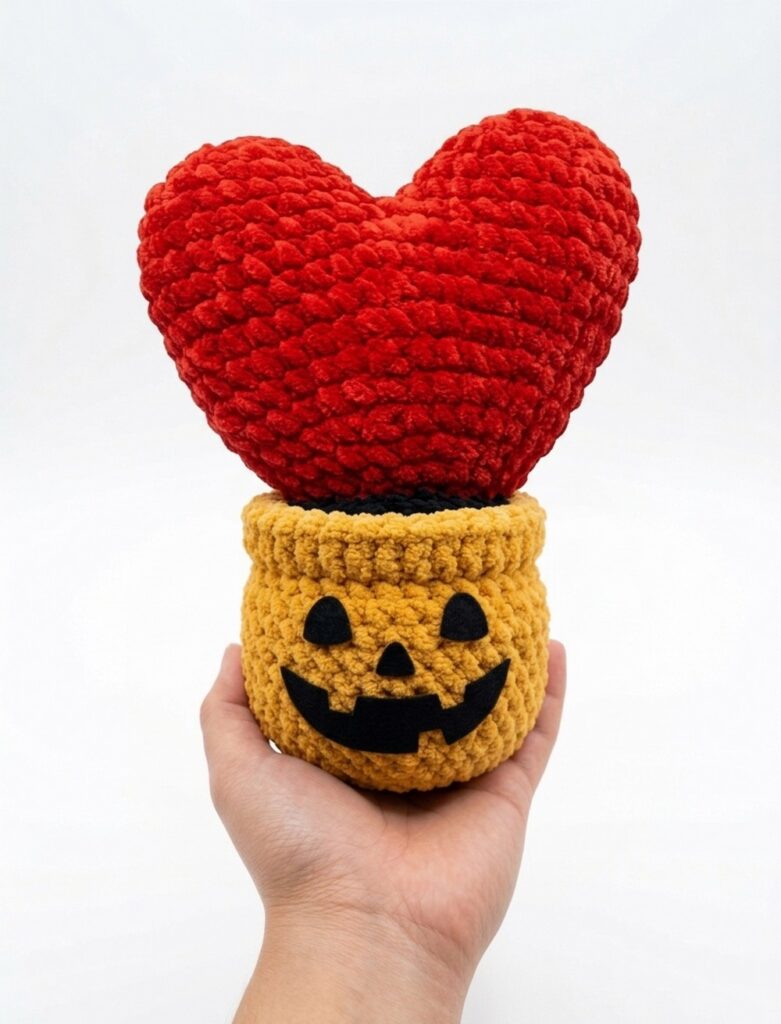
Part 1: The Spooky Heart
Start with your red yarn.
Upper Lobes (Make 2)
Round 1: 6 sc in a MR (6 sts)
Round 2: Inc in each st around (12 sts)
Round 3: [1 sc, inc] × 6 (18 sts)
Round 4: Sc in each st around (18 sts)
Round 5: [2 sc, inc] × 6 (24 sts)
Round 6: Sc in each st around (24 sts)
Note: Fasten off (FO) the first lobe. Do not fasten off the second lobe—you will continue directly into joining them together.
Joining the Pieces & Shaping the Body
Round 7: Join the second lobe to the first lobe with a sc (this counts as the 1st stitch of the round). Sc in the remaining 23 sts of the first lobe, then sc in all 24 sts of the second lobe (48 sts total).
Rounds 8–9 (2 rounds): Sc in each st around (48 sts)
Round 10: [6 sc, dec] × 6 (42 sts)
Round 11: Sc in each st around (42 sts)
Round 12: [5 sc, dec] × 6 (36 sts)
Round 13: Sc in each st around (36 sts)
Round 14: [4 sc, dec] × 6 (30 sts)
Tip: Start stuffing the top lobes firmly with fiberfill now.
FO: Stop crocheting here for the heart. Fasten off, leaving a very long yarn tail (approx. 18-20 inches) for assembling the heart to the soil later. Ensure the heart is firmly stuffed.
Part 2: Soil & Jack-o’-Lantern Pot
Starting from the base (forming the soil). Since we are attaching a custom heart, start with a Magic Ring instead of a stem insert.
Phase 1: Soil / Dirt (Black or Dark Brown Yarn)
Round 1: Work 6 sc in a MR. (6 sts)
Round 2: [inc] in each st around. (12 sts)
Round 3: [sc 1, inc] × 6. (18 sts)
Round 4: [sc 2, inc] × 6. (24 sts)
Round 5: [sc 3, inc] × 6. (30 sts)
Fasten off brown yarn or color-change to your pot color.
Phase 2: Plant Pot (Mustard Yellow / Orange Yarn)
Round 6 (BLO): Working in the Back Loops Only, sc in each st around. (30 sts)
Rounds 7–11: sc in each st around (5 rounds total). (30 sts)
Round 12: [sc 3, dec] × 6. (24 sts)
Round 13 (BLO): Working in the Back Loops Only, sc in each st around. (24 sts)
Round 14: [sc 2, dec] × 6. (18 sts)
Phase 3: Stuffing the Pot
Fiberfill Stuffing: Firmly stuff the interior of the pot. Ensure the bottom stays flat while keeping the sides shaped evenly.
Round 15: [sc 1, dec] × 6. (12 sts)
Add any final bits of stuffing needed to achieve a sturdy structure.
Round 16: [dec] × 6. (6 sts)
Closing: Cut yarn leaving a tail, weave through the front loops of the remaining 6 stitches with a yarn needle, pull tight to close, and weave in the end.
Phase 4: Pot Rim / Lip
Turn the pot upside down (or position it to work into the unworked front loops left behind from Round 6).
Attach pot-colored yarn to the front loop of Round 6.
Rim Round (FLO): [sc in FLO] in each loop around. (30 sts)
Finish: Slip stitch into the first st, fasten off, and weave in all yarn tails inside the pot body.
Part 3: Assembly & Detailing
1. Embroidering the Heart Stitches
Thread your tapestry needle with super bulky white yarn.
On the left lobe of the heart, embroider a large “X” shape spanning roughly 3-4 rounds in height.
On the right side of the heart body, embroider a jagged, zigzag scar pattern.
Tie off and hide the white yarn tails inside the open bottom of the stuffed heart.
2. Closing the Center Gap
If a small gap or hole exists between the two top lobes where they joined, use the starting yarn tail from your first lobe to sew it closed neatly from the inside.
3. Attaching the Heart to the Pot
Notice that the open bottom of your heart (Round 14) has exactly 30 stitches. The outer edge of your soil (Round 5) also has exactly 30 stitches.
Position the heart centered over the dark soil section of the pot.
Using the long red yarn tail you left on the heart, sew the heart directly onto the soil, matching the stitches round for round. Add any final pinches of stuffing just before closing the seam completely to ensure the base of the heart is sturdy and does not flop.
4. The Jack-o’-Lantern Face
Using the template you provided, trace the jack-o’-lantern face (two triangle eyes, a small triangle nose, and a toothy grin) onto your black felt.
Carefully cut out the felt pieces.
Using fabric glue or a needle and thread, secure the felt pieces to the front of the pot, just below the rim, to bring your spooky companion.
See More:
Tester Call: How to Crochet A Spooky Flowers Red Horns Potted Buddy Plushie for Halloween

Tester Call: How to Crochet A Candy Corn, Pumpkin & Kawii Buddy Potted Plant Plushie

Featuring: How to Crochet A Plush Blushing Flying Mr. Soul Ghost Plushie for Halloween

How to Crochet Bunny Bat White Foldable Wings Amigurumi with Bow for Halloween
Tester Call: How to Crochet A Red & Black Spooky Turtle Plushie for Halloween
Tester Call: How to Crochet REALLY Spooky Witch Halloween Treat Plushie
Featuring: How to Crochet the Skeleton Wind Spinner With Stripes of Halloween Colors
Tester Pattern: How to Crochet A Cape-Wearing Red Buddy Plushie for Halloween