
This is the 5th tutorial for crocheting a Christmas character buddy treat basket for absolute beginners. Today’s star of the show is the Mr. Cracker buddy amigurumi. Introducing the crochet amigurumi Mr. Nut Cracker buddy, holding a small Christmas treat basket that you can learn to crochet with a step-by-step tutorial and an upcoming ad-free PDF pattern as well.
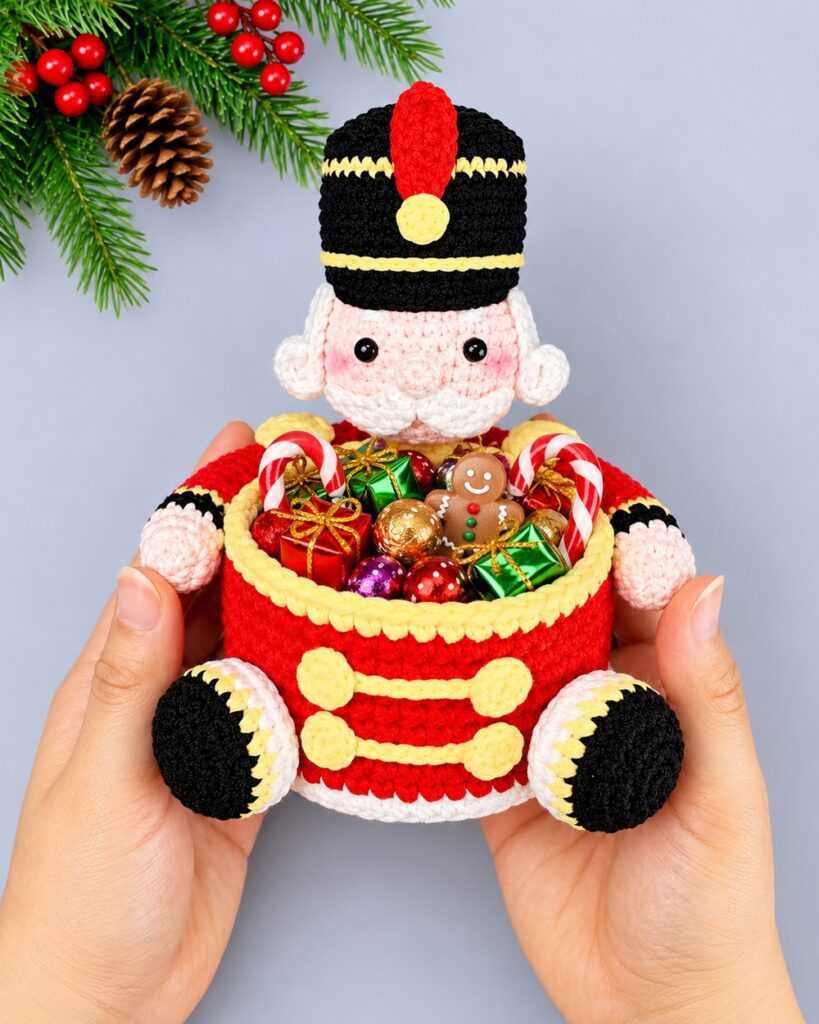
Be it the small stuffed amigurumi toys for little ones or chocolates or the beans, this small crochet Christmas basket and 2-in-1 decoration can hold everything.
And you can also use yours as a Christmas guest-welcome decoration gift. The pattern is quick and can be followed in under 45 minutes. I would also recommend that you crochet your Christmas buddy basket using the push yarn. Now, continue reading to learn more about this COOL little Mr. nutcracker project!
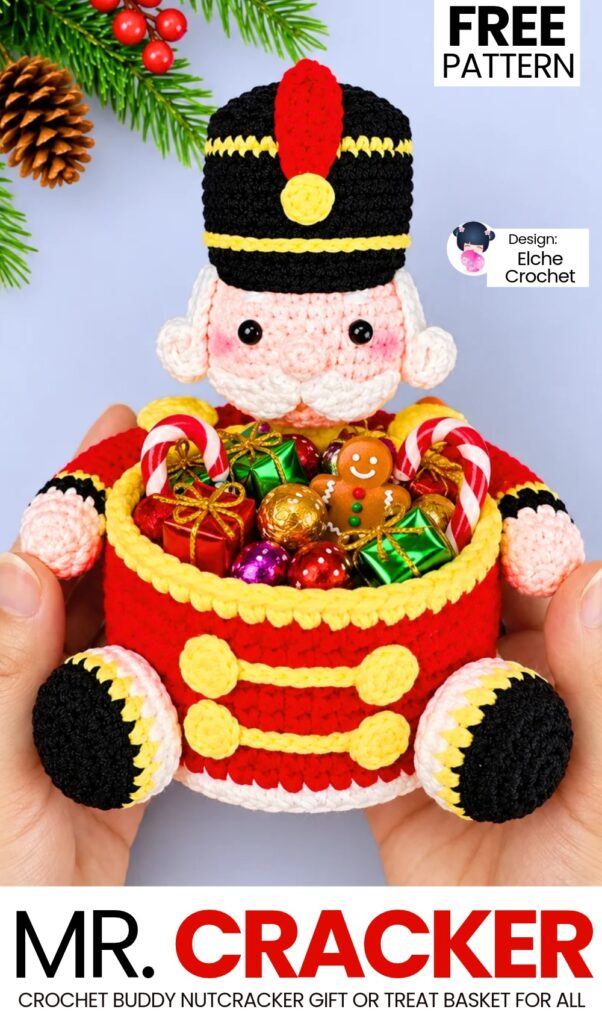
Tutorial to Crochet Amigurumi Buddy Gift Basket
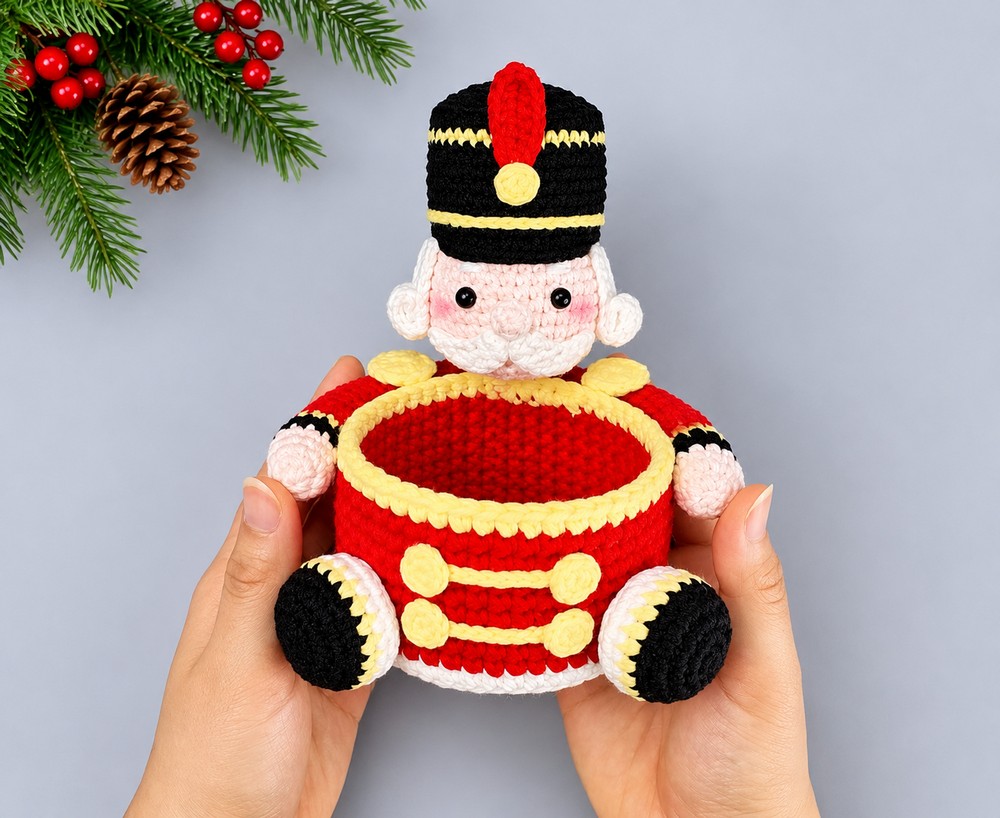
This festive Nutcracker crochet basket is a charming holiday organizer and decoration rolled into one. Shaped like a classic toy soldier holding a bright red and gold drum-style bowl, it is perfect for holding wrapped candies, small gifts, ornaments, or desk trinkets during the Christmas season.
You can customize the soldier’s uniform and hat in classic black and red or bright red and white, and the bendable wired arms allow the Nutcracker to wrap snugly around the basket. Each piece is worked with simple amigurumi stitches and joined cleanly for a sturdy, polished finish.
Materials Needed
Yarn: Smooth cotton or cotton-blend yarn in Skin Color, White, Red, Black, and Yellow.
Single strand is used with the 2.75 mm hook for the head, nose, mustache, hair, hat, arm, legs, and uniform details.
Two strands held together are used with the 4.0 mm hook for the sturdy basket.
Crochet Hooks: 2.75 mm hook (for all figure pieces and details) and 4.0 mm hook (for the basket).
Stuffing: Polyester fiberfill stuffing.
Wire: 1 piece of craft wire, approximately 30 cm long (for the arms).
Eyes and Cheek Details (shown on finished model): 2 small black eyes/beads and pink blush or yarn for cheeks.
Tools: Stitch marker, yarn/tapestry needle, scissors, tweezers (helpful for stuffing small parts), pliers (for bending wire ends), and a hot glue gun.
Abbreviations and Notes (US Crochet Terms)
ch: chain
sc: single crochet
hdc: half double crochet
dc: double crochet
sl st: slip stitch
inc: increase (work 2 stitches into the same stitch)
hdc inc: half double crochet increase (work 2 hdc into the same stitch)
dc inc: double crochet increase (work 2 dc into the same stitch)
dec: invisible or standard decrease (single crochet 2 stitches together)
BLO: back loops only
FLO: front loops only
surface sl st: surface slip stitch
MR: magic ring
st(s): stitch(es)
Spiral rounds vs. Joined rounds: The head, nose, arm, and legs are worked in continuous spiral rounds (use a stitch marker to track the first stitch of each round). The hat, buttons, epaulettes, cockade, and basket are worked in joined rounds (join each round with a slip stitch and chain 1 to begin the next round).
Are you a Beginner? Learn Crocheting Easily!
You can learn to crochet better with this elegant and cute nut cracker buddy basket in this tutorial for beginners:
Written Pattern?
Now, following a video tutorial is easier than ever! Use the “ask” feature of the tutorial to retrieve the quick pattern. This method is designer-compliant! You can email me if you need help with that at [email protected].

See More:
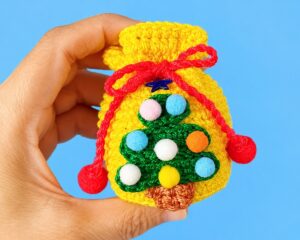
How to Crochet Christmas Tree Yellow Treat Pouch with Colorful Poms & Red Strings

How to Crochet Holly Leaf & Pom Poms White Holiday Treat Sack for Christmas

How to Crochet Mr. Reindeer Snail Buddy Holding a Treat Basket with Holly Leaves
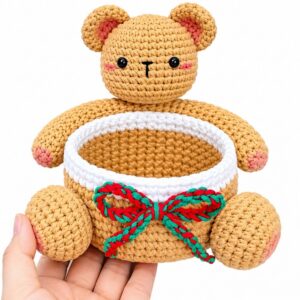
Featuring: How to Crochet Treat Basket Christmas Bears Amigurumi Buddies & Decoration
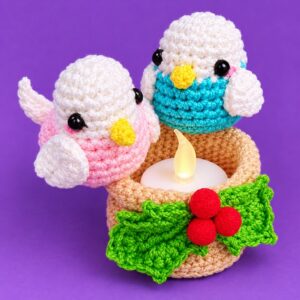
How to Crochet Festive Birds Amigurumi in Treat Basket & Holly Leaf Decoration
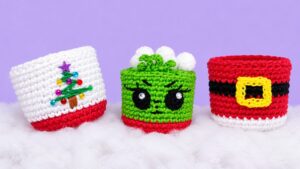
3-in-1 Crochet Tree Embroidery, Grinch and Santa Miniature Treat Baskets
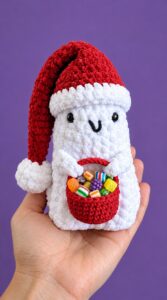
How to Crochet Christmas Ghost Buddy Holding A Treat Basket Plushie
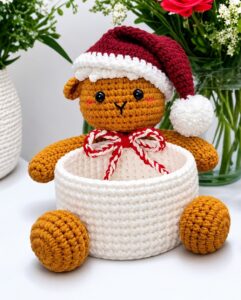
Featuring: How to Crochet Festive Goat Candy Basket and Treat Decoration
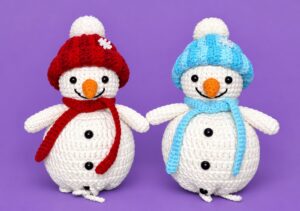
Featuring: How to Crochet Snow Buddy in A Beanie Treat Bag for Christmas
