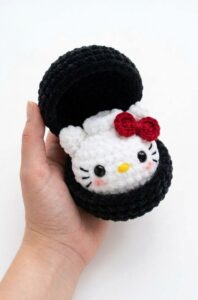
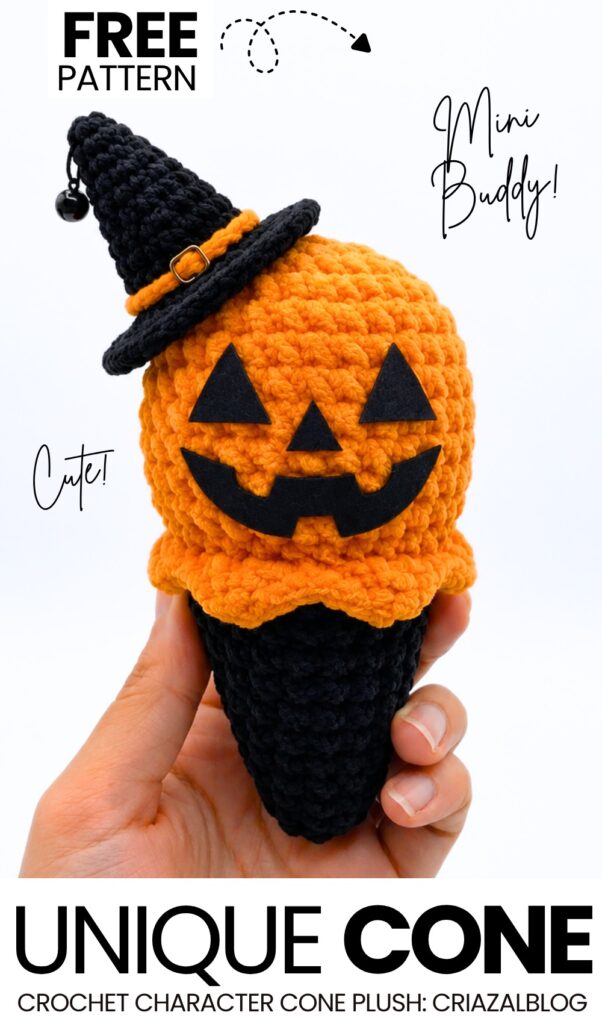
Two weeks ago, I shared this same spooky face design but for the plush dumpling series, and you all loved it. Now, let’s learn how to crochet this UNIQUE food plush for our favorite American dessert – the ice cream cone! So, say welcome to this brand-new free crochet spooky face orange scoop anti-stress treat plushie that is also wearing a small crochet witch hat!
This time, with a FREE written pattern, you will learn to crochet a larger crochet witch hat than we used in all remaining crochet spooky character cone plushies in the series.
I have also provided a FREE printable template to cut the felt spooky jack-o-lantern face exactly that will be glued instead of being sewn. You will love this crochet pumpkin cone plush to have as a treat charm and anti-stress toy as well. Now, continue reading for learning more about this crochet amigurumi and plush cone character toy!
Pattern to Crochet the UNIQUE Orange Cone With Felt Face
Skill Level: Beginner – Level 2
Abbreviations (US Terms)
MR: Magic Ring
sc: Single Crochet
hdc: Half Double Crochet
inc: Increase (2 sc in the same stitch)
dec: Decrease (sc 2 together)
sl st: Slip Stitch
ch: Chain
BLO: Back Loop Only
FLO: Front Loop Only
st(s): Stitch(es)
Materials Needed
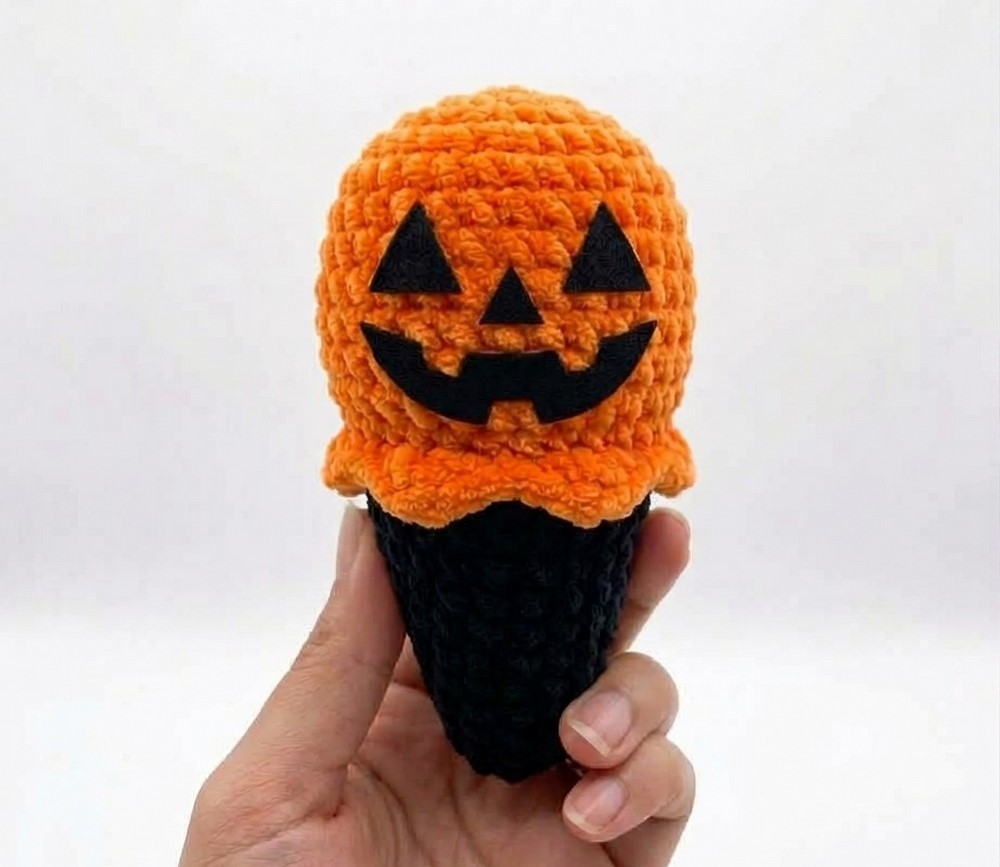
Main Body (Scoop & Cone)
Bulky / Chenille Yarn:
Bright Orange: For the Pumpkin Scoop
Black: For the Cone
Main Crochet Hook: 4.5mm–5.5mm (or hook appropriate to match bulky yarn weight)
Witch Hat
Fine (Sport/Baby) Weight Yarn (Ne 6/5): 100% mercerized cotton in Black (main hat) and Orange (hat band detail)
Hat Crochet Hook: 2.0mm hook
Face & Finishing Details
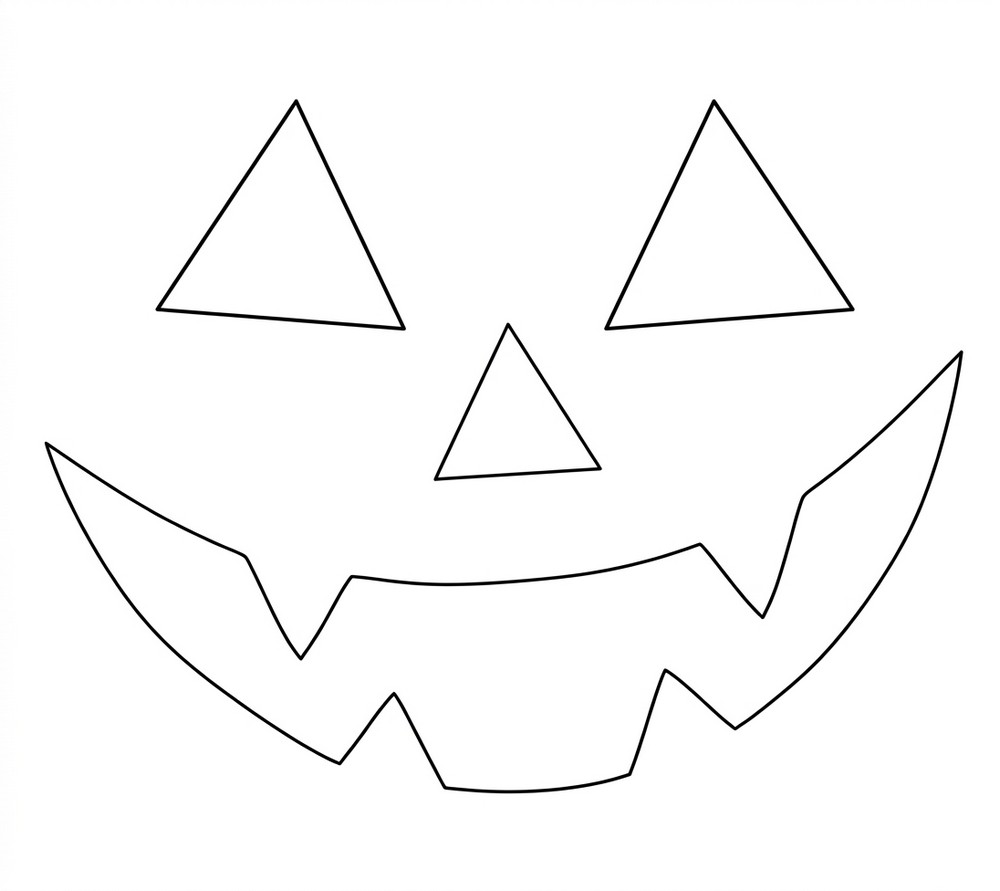
Jack-o’-Lantern Face Template: Printable face template sheet
Black Felt: 1 sheet for cutting out facial features
Fabric / Craft Glue: Heavy-duty fabric glue or hot glue for securing felt pieces
Notions: Fiberfill stuffing, yarn needle, stitch marker, scissors
Optional Accent: 1 small black or green bell with jump ring for the hat tip
Pattern Instructions
Part 1: The Pumpkin Scoop
Worked in continuous rounds from top to bottom using Orange Bulky Yarn.
Rnd 1: 6 sc in a magic ring. (6)
Rnd 2: Inc in each st around. (12)
Rnd 3: [1 sc, inc] 6 times. (18)
Rnd 4: [2 sc, inc] 6 times. (24)
Rnd 5: [3 sc, inc] 6 times. (30)
Rnd 6–10: Sc in each st around. (30 sts for 5 rounds)
Rnd 11: [3 sc, dec] 6 times. (24)
Rnd 12 (The Ruffle): Work in FLO for this round. [Sl st in next st, skip 1 st, 4 hdc in next st, skip 1 st] repeat around to create the ruffled ice cream edge. Fasten off orange yarn.
Part 2: The Black Cone
Attach Black Bulky Yarn to the first unworked Back Loop from Rnd 11, behind the orange ruffle.
Rnd 13: Working in BLO of Rnd 11, sc in each st around. (24)
Rnd 14: [2 sc, dec] 6 times. (18)
Rnd 15–16: Sc in each st around. (18 sts for 2 rounds)
Rnd 17: [1 sc, dec] 6 times. (12)
Rnd 18–19: Sc in each st around. (12 sts for 2 rounds)
Pause to stuff the pumpkin scoop firmly and begin stuffing the upper cone.
Rnd 20: Dec 6 times. (6)
Rnd 21: Sc in each st around. (6)
Finish: Fasten off leaving a short tail. Weave the tail through the front loops of the remaining 6 stitches, pull tight to close the bottom tip of the cone, and hide the end inside the body.
Part 3: Witch Hat
Worked with Fine (Sport/Baby) Weight 100% Mercerized Cotton Yarn (Ne 6/5) using a 2.0mm Hook.
Start with Black Yarn (or Orange):
Round 1: Magic ring, 4 SC, sl st to join [4]
Round 2: Ch 1, (1 SC, Inc) × 2, sl st [6]
Round 3: Ch 1, (2 SC, Inc) × 2, sl st [8]
Round 4: Ch 1, (3 SC, Inc) × 2, sl st [10]
Round 5: Ch 1, (4 SC, Inc) × 2, sl st [12]
Round 6: Ch 1, (5 SC, Inc) × 2, sl st [14]
Round 7: Ch 1, (6 SC, Inc) × 2, sl st [16]
Round 8: Ch 1, (7 SC, Inc) × 2, sl st [18]
Round 9: Ch 1, (8 SC, Inc) × 2, sl st [20]
Round 10: Ch 1, 20 SC around, sl st [20]
(Tip: Switch to Orange yarn for Round 10 or embroider a surface chain line around Round 10 to create the orange hat belt band).
Round 11 (Brim): Ch 1, in FLO, Inc with HDC in every stitch (2 HDC in each st), sl st around the rim [40]
Round 12 (Brim): HDC in each stitch around [40]
Fasten Off: Cut yarn, leaving a long tail for sewing onto the scoop. Attach a small bell to the top tip or rim edge using a jump ring if desired.
Detailed Assembly & Facial Guide
1. Cutting and Attaching the Jack-o’-Lantern Face
Print & Cut Template: Print the Jack-o’-Lantern face template to 100% scale. Carefully cut out the paper pattern pieces (two eye triangles, one nose triangle, and one wide jagged mouth).
Trace on Felt: Lay the paper cutouts over a sheet of stiff black felt and trace around them using chalk or a fine fabric pen.
Cut Felt Pieces: Cut the black felt shapes out cleanly using sharp craft scissors.
Glue Placement:
Apply a thin, even layer of fabric glue or hot glue across the back of each felt cutout.
Eyes: Glue the two triangular eyes between Rnds 7 and 8 of the orange scoop, leaving 3 to 4 stitches of space between them.
Nose: Glue the small triangle nose centrally between and slightly below the eyes at Rnd 8–9.
Mouth: Glue the jagged smile across Rnds 9–10, directly centered under the nose. Press firmly down for 30 seconds to set the adhesive.
2. Hat Placement & Sewing
Lightly stuff the cone portion of the witch hat with fiberfill to maintain its shape.
Position the hat on top of the orange pumpkin scoop, tilting it slightly to one side for a playful, asymmetrical look.
Using the long black tail end from the hat and a yarn needle, stitch through the inner loops under the hat brim directly into the top of the pumpkin scoop.
Attach a small black or green bell to the tip of the hat using a small jump ring.
See More:
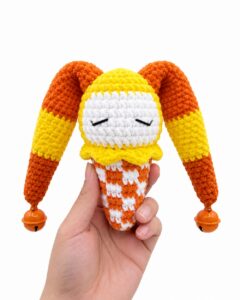
How to Crochet Candy Corn Mr. Enternainer Scoop & Cone Plushie for Gifting
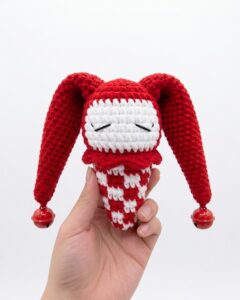
Tester Call: How to Crochet Mr. Enternainer Funny Character Cone Plushie for Gifting
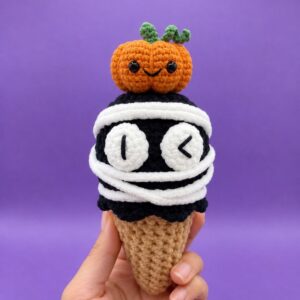
Pattern Tester: How to Crochet Funny Mummy Scoop & Cone in Orange Hat Plushie
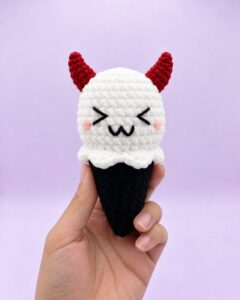
Pattern Tester: To Crochet Red-Horned Meow Ghost Treat Cone Plushie for Gifting
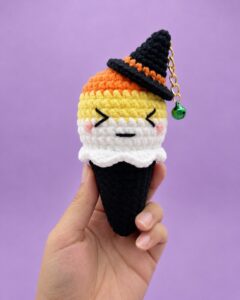
Tester Call: Crochet Orange, Yellow & White Treat Cone Plushie for Gifting
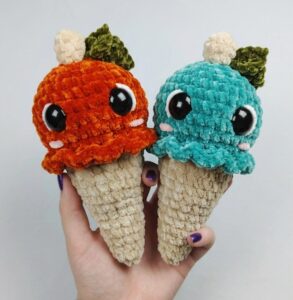
How to Crochet CUTE Pumpkin Ice Cream Cone Plushie for Fall & Halloween
Tester Call: How to Crochet Gingerbread Bao Bun Dumpling Plushie for Christmas
Pattern Tester: Flower on the Top Tribute Spooky Dumpling Plushie Pattern
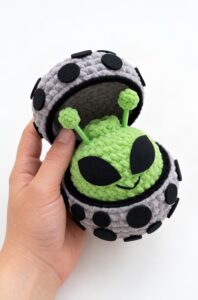
Pattern Tester: How to Crochet An Alien Dumpling in A Pod Box Plushie