Author: Talha
I am a crochet designer, macramé maker and a crafter who also loves doing MATH.
Last month, I shared a FREE tutorial to crochet a SUPER CUTE crochet mask ghost plush doll. Recalling that today, I designed a similar spooky face food ball and will be sharing a FREE written pattern to crochet one today.
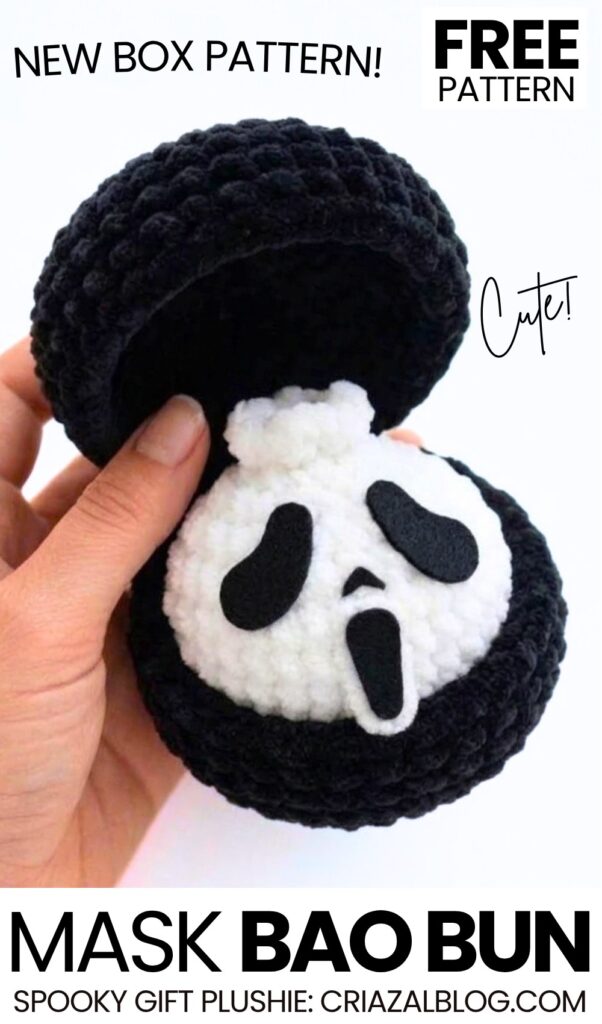
Introducing the crochet FUNNY ghost face mask bao bun plush that you can learn to crochet with a beginner-friendly crochet tutorial for gifting at spooky festivals.
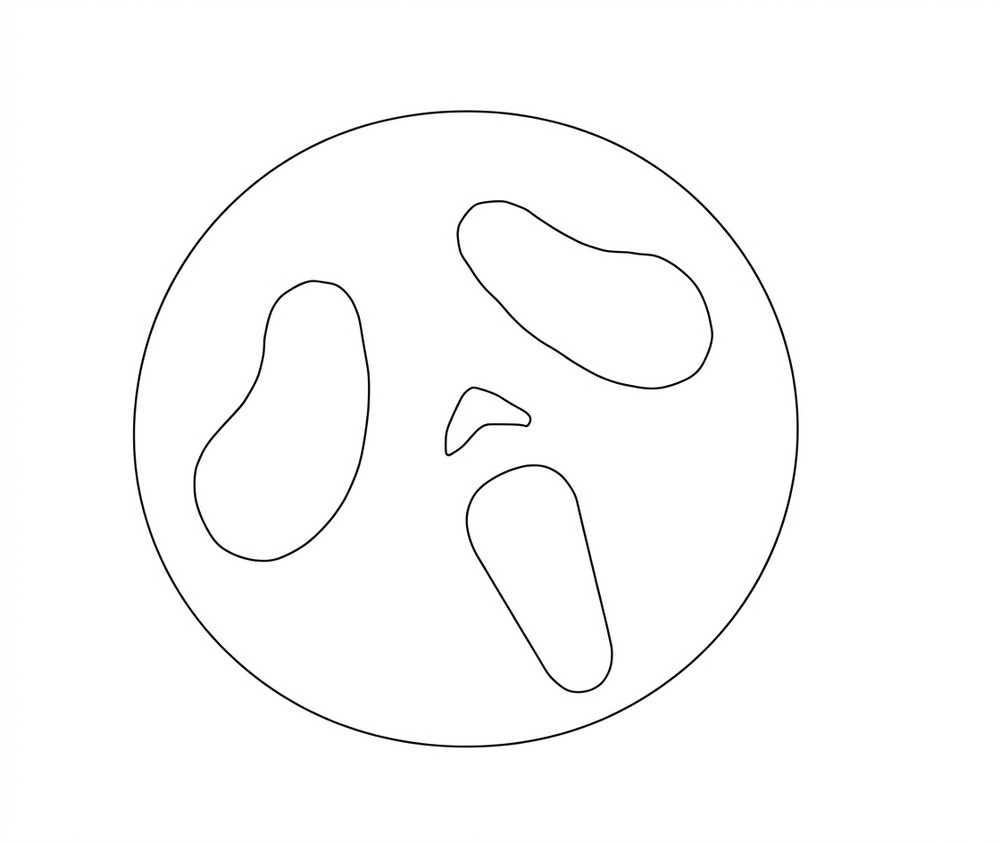
I have also provided a FREE printable template to cut the exact felt face for your reaper dumpling plush, so everybody can prepare this LOVELY and spooky crochet ball in a black steamer box with lid plush. Now, continue reading to learn more about this crochet plush ghost project for beginners!
Similar Project(s)
Pattern to Crochet the Mask Bao Bun Dumpling Plush
Materials List
White plush yarn (100g / 120m) for the dumpling.
Black plush yarn (slightly thicker, 100g / 120m) for the box.
Semi-cotton yarn (like YarnArt Jeans) in white for closing the top hole.
Felt in black (for the facial features) and white (optional, for backing or details).
Fabric glue or a sewing needle with black/white thread (to attach the felt).
Crochet hook size: 4 mm.
Toy stuffing.
Yarn needle for sewing/weaving in ends.
Scissors.
Printable template for the ghost face.
Abbreviations List
MR = Magic Ring
sc = single crochet
inc = increase (2 single crochets in one stitch)
dec = decrease (crochet 2 stitches together)
sl st = slip stitch
ch = chain
BLO = back loops only
FLO = front loops only
R = Round
Ghost Dumpling Pattern
- R1: 8 sc in MR (8).
- R2: 8 inc (16).
- R3: (1 sc, inc) repeat 8 times (24).
- R4: (2 sc, inc) repeat 8 times (32).
- R5 to R8 (4 rounds): 32 sc (32).
- R9: (2 sc, dec) repeat 8 times (24).
- R10: (1 sc, dec) repeat 8 times (16). Stuff the dumpling with toy stuffing (make it soft, not too tight).
- R11: 8 dec (8).
Creating the Top “Skirt” Ruffle
R12: Working in FLO only, (inc, 1 sc) repeat all the way around until the end of the round. Cut the yarn and finish with a sl st.
Closing the Hole
Take a piece of white semi-cotton yarn on a needle. Weave it through the remaining unworked back loops of R11. Pull the ends tightly to close the hole, tie a knot, and hide the threads inside.
Basket / Box Pattern (Make 2 parts)
- R1: 8 sc in MR (8).
- R2: 8 inc (16).
- R3: (1 sc, inc) repeat 8 times (24).
- R4: (2 sc, inc) repeat 8 times (32).
- R5: (7 sc, inc) repeat 4 times (36).
- R6: 36 sc in BLO (36).
- R7 to R8 (2 rounds): 36 sc (36).
For the first part (top lid): Cut the yarn and hide the end.
For the second part (bottom base): Do not cut the yarn.
Connecting the Box
Align the bottom base and the top lid. Connect them by crocheting sc stitches through the back loop of the lid and the front loop of the base for a few stitches (about 5-6 stitches) to create a hinge. Finish off and hide the yarn.
Adding the Handle
Join yarn to the side of the base/lid.
Chain your desired length for the handle.
Join the chain to the opposite side of the box.
Chain 1, turn, and crochet sc back down each chain stitch.
Sl st into the starting side to secure. Cut the yarn and hide all ends inside.
Face Assembly Guide
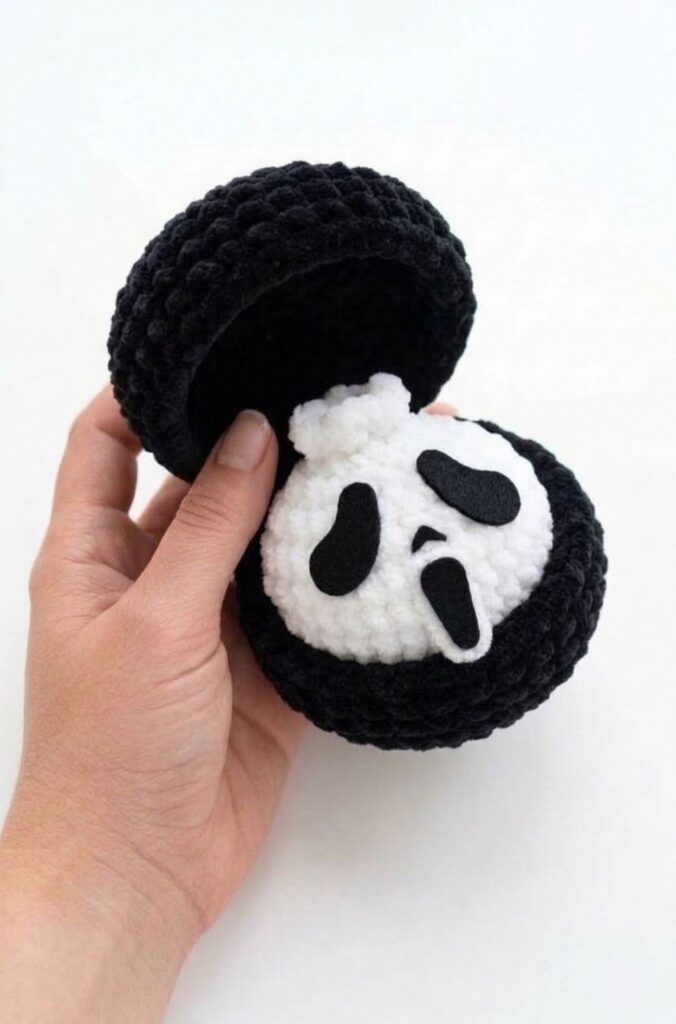
To get that perfect spooky expression shown in “crochet mask bao bun (2).jpg”, follow these steps using your printable template:
Cut the Template: Print out your ghost mask template. Neatly cut out the eye, nose, and mouth shapes.
Trace and Cut the Felt: Pin or hold your paper template pieces onto your black felt. Use sharp scissors to cut out the two elongated, sad-looking eyes, the small teardrop-shaped nose, and the long, screaming mouth. (Note: If your template requires a white background to make the black pop against the plush yarn texture, cut a base mask shape out of the white felt first).
Position the Features: Place your white dumpling so the top ruffle is centered slightly toward the back. Lay your black felt pieces onto the front of the dumpling. The eyes should tilt slightly downward on the outer edges, the nose goes right between the bottom of the eyes, and the mouth should be stretched out below.
Attach the Face:
If using fabric glue: Apply a thin, even layer of glue to the back of each felt piece. Press them firmly onto the dumpling and hold for a few seconds. Let it dry completely.
If sewing: Use black sewing thread and a sharp needle to whip-stitch around the edges of each felt piece to secure them securely to the yarn.
See More:
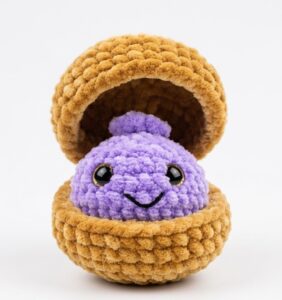
Tester Pattern: How to Crochet Birthday-Popper Dumpling Plushie for Gifting

Tester Pattern: How to Crochet Dumpling Buddy in A Steamer Costume Plushie

Tester Pattern: To Crochet A Snowball Christmas Dumpling in Basket Plush
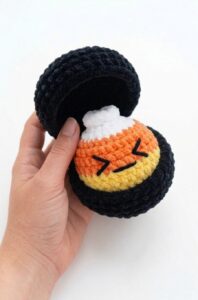
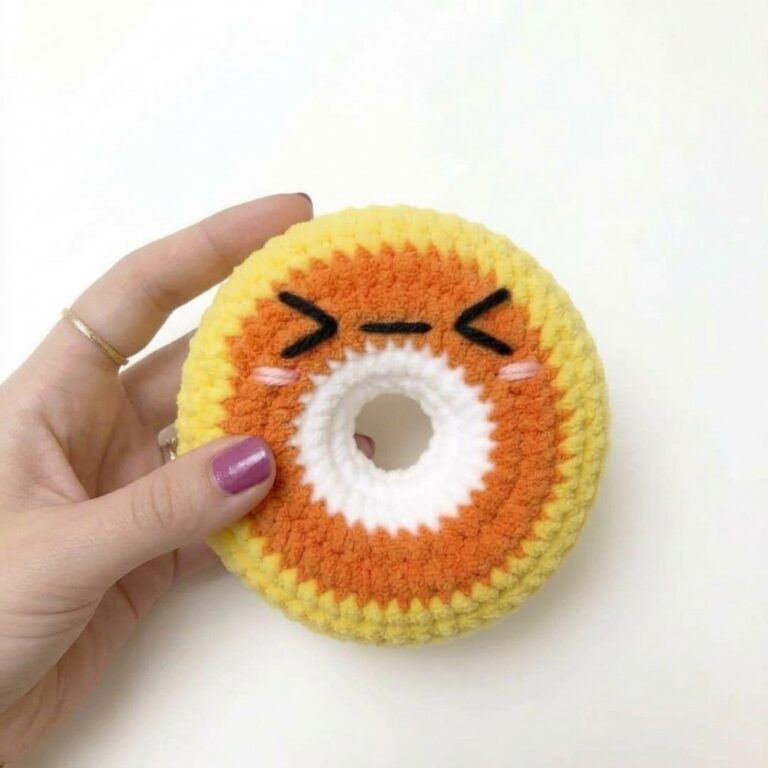
Tester Call: Free Crochet Orange, Yellow & White Dumpling Plushie
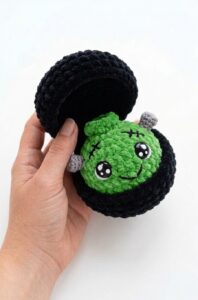
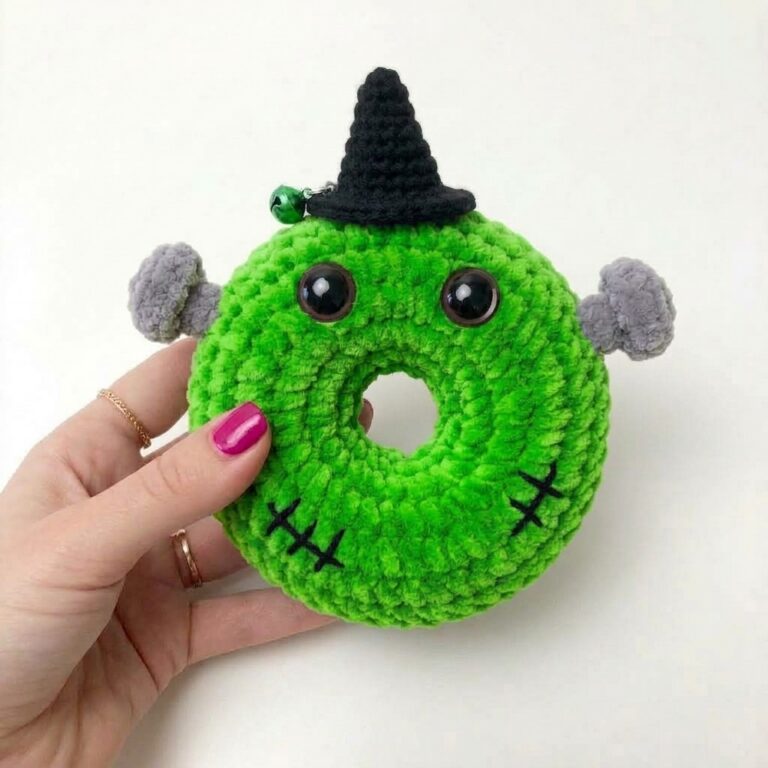
Tester Call: Free Crochet Kawaii-Eyes Bolt Zombie Dumpling Plushie
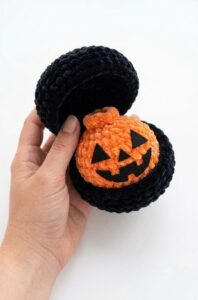
Tester Call: How to Crochet A Pumpkin Dumpling Plush for Halloween
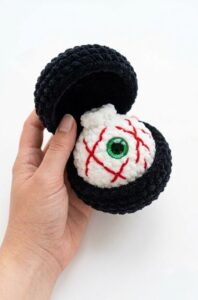
Free Crochet Eyeball Dumpling in a Steamer Plushie for Halloween
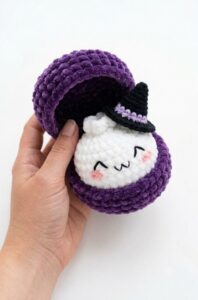
Tester Call: Crochet Spooky Ghost Dumpling Plushie Pattern
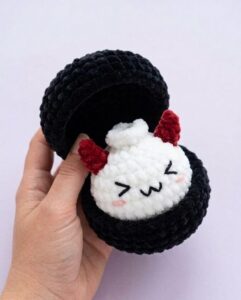
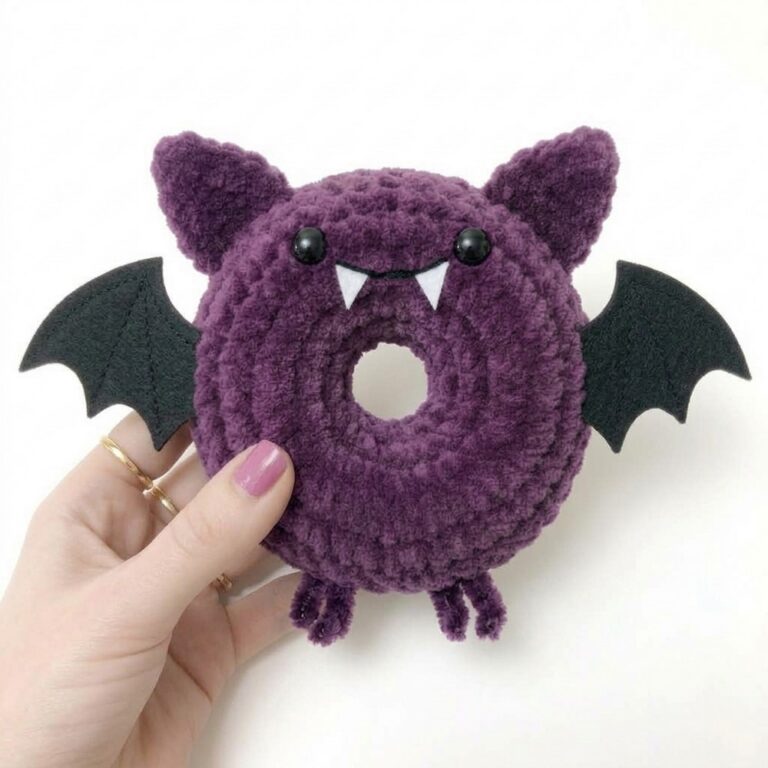
How to Crochet Spooky Dumpling with Red Horns Plushie Variation