Author: Talha
I am a crochet designer, macramé maker and a crafter who also loves doing MATH.
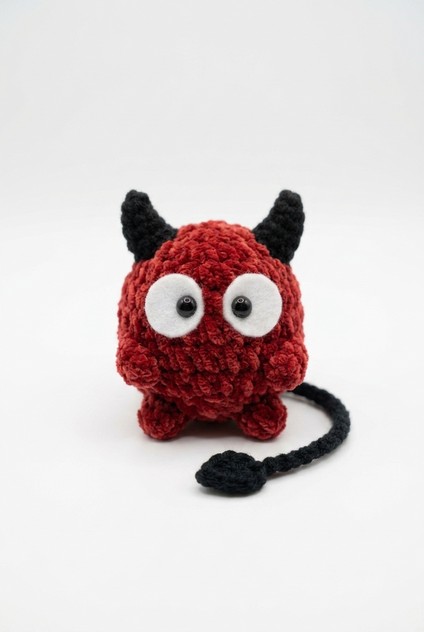
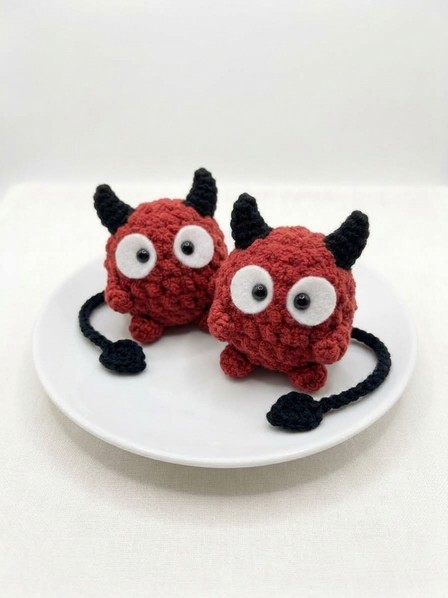
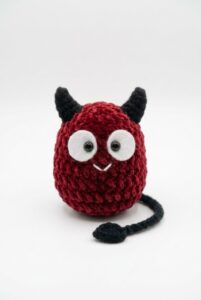
This crochet tester pattern is the continuation of the “red spooky buddies for beginners” crochet plushie series. Last time, you learned how to crochet a red bat with black horns and wings plushie. Today, learn how to crochet these sitting sphere buddies with little legs and arms, black horns, googly eyes, and an arrow tail following a FREE written pattern for absolute beginners.
Since you only have to crochet some basic shapes such as the sphere and cone (learn how to arch the horns in the tutorial), this will also be a super beginner-friendly crochet plush gift.
I wanted the arms of this red buddy plushie to be made using the DK yarn, but you can also use the thin plush yarn so the whole plushie has the same texture and softness. Now, you can continue reading to learn more about this crochet red devil plush. However, be sure to use the black DK yarn for the stuffed horns.
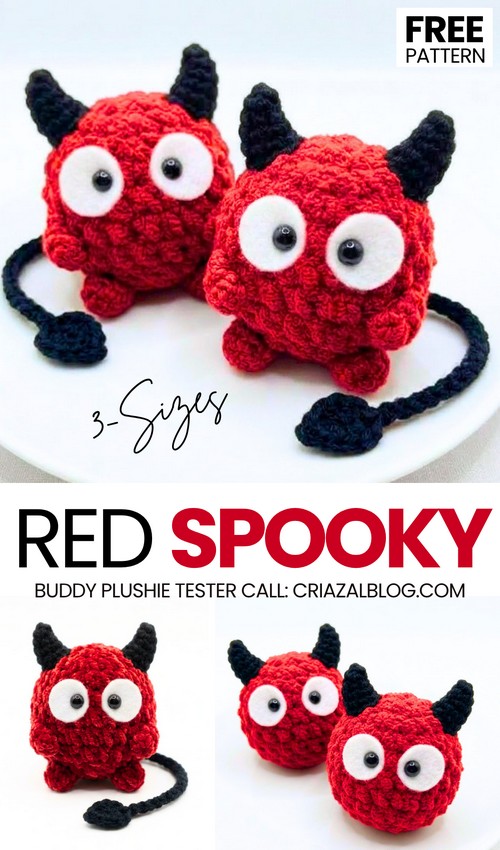
Similar Project(s)
Free Pattern to Crochet the Sphere Red Devil Buddy Plushie
Skill Level: Beginner – Level 3
Materials Needed
Super Bulky Yarn: Red (for the body)
DK or Thin Plush Yarn: Black (for horns, legs, arms, and tail)
Crochet Hooks: 6.0 mm (body) and 2.5 mm – 3.0 mm (features)
Felt & Eyes: White felt (for the eye base) and two 9mm black half beads
Tools: Fiberfill stuffing, fabric/hot glue, yarn needle, scissors, stitch markers
Pattern Instructions
Body (Super Bulky Red Yarn)
Work in joined rounds.
Rnd 1: 6 sc in a Magic Ring [6]
Rnd 2: inc in each stitch around [12]
Rnd 3: [1 sc, inc] x 6 [18]
Rnd 4-7: sc in each stitch around for 4 rounds [18]
Rnd 8: [1 sc, dec] x 6 [12] (Stuff the body firmly with fiberfill here)
Rnd 9: dec x 6 [6]
Fasten off: Weave the yarn tail through the front loops of the remaining 6 stitches, pull tight to close the sphere, and weave in the end.
Horns (Black DK Yarn – Make 2)
Work in joined rounds.
Rnd 1: 3 sc in a Magic Ring [3]
Rnd 2: inc, 2 sc [4]
Rnd 3: inc, 3 sc [5]
Rnd 4: inc, 4 sc [6]
Rnd 5: inc, 5 sc [7]
Rnd 6: inc, 6 sc [8]
Rnd 7: inc, 7 sc [9]
Fasten off: Leave a long yarn tail for sewing and shaping.
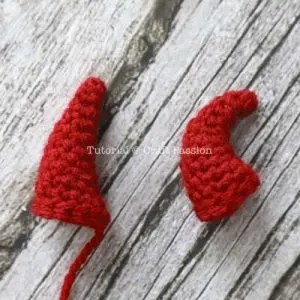
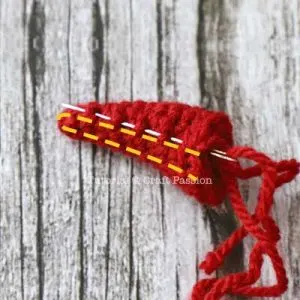
How to Arch the Horns: To pull the horn into a curved arch, follow these optional steps:
Thread your yarn needle with the long tail left on the horn.
Start sewing a loop of running stitches from the horn base up to the tip along the side you want to be concave (the inner curve).
Once you reach the tip, turn and sew back down along the exact same path to the base.
Gently pull the yarn tails from the base. This will cinch the side and make the horn arch more dramatically.
Tie the yarn securely at the base to lock in the arched shape.
Legs (Black DK Yarn – Make 2)
Work in joined rounds.
Rnd 1: 6 sc in a Magic Ring [6]
Rnd 2: inc in each stitch around [12]
Rnd 3-5: sc in each stitch around for the next 3 rounds [12]
Fasten off: Leave a tail for sewing to the bottom of the body. Stuff lightly if desired.
Arms (Black DK Yarn – Make 2)
Work in joined rounds.
Rnd 1: 4 sc in a Magic Ring [4]
Rnd 2-5: sc in each stitch around for the next 4 rounds [4]
Fasten off: Leave a tail for sewing.
Devil Tail (Black DK Yarn)
Part 1: Tail Tip (Spade Shape)
Start with a slip knot and ch 8.
Work into the 2nd chain from the hook: 1 sc.
In the next chains across, work: 1 hdc, 1 dc, 1 tr, 1 dc, 1 hdc.
In the last chain, work: 1 sc.
ch 2 and turn to work on the opposite side of the foundation chain.
Mirror the stitches on the other side: 1 sc, 1 hdc, 1 dc, 1 tr, 1 dc, 1 hdc, 1 sc.
Finish by making a sl st in the very first sc to close the leaf shape. Do not fasten off.
Part 2: Tail Stem
From the base of the completed leaf/spade, chain to your desired length (e.g., 18 chains).
sl st in the 2nd chain from the hook and in every chain all the way back down the stem until you reach the base of the leaf.
Fasten off: Leave a long tail to sew the tail to the back of the plushie.
Assembly
Eyes: Cut two circles out of white felt. Glue a 9mm black half bead onto the center of each white circle. Glue the completed eyes directly to the front of the red body.
Attach Limbs: Sew the two legs side-by-side on the bottom of the body so it can sit upright. Sew the tiny arms to the sides.
Attach Horns & Tail: Sew the arched horns to the top of the head, curving inward or outward depending on your preference. Sew the long chain tail to the lower back.
Share on Social Media!
See More:
Pattern Tester: How to Crochet Red Horn Ghost Ring Donut Pluhsie for Gifting
Pattern Tester: To Crochet Spooky-Cute Red Bao Bun Plush for Spooky Festival
Tester Pattern: How to Crochet A Cape-Wearing Red Buddy Plushie for Halloween
Tester Pattern: To Crochet A Red Soot Bat Amigurumi Plushie Pattern
Tester Pattern: How to Crochet Red, Blue and White Turtle Plushie
How to Crochet Knotted Bow and Earthy Red, Green and Orange Leaves Charm
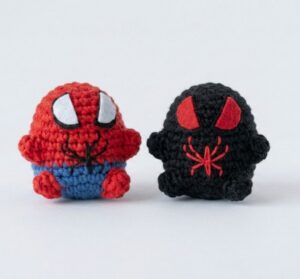
How to Crochet No-Sew Red & Blue Superhero Amigurumi for Kids

How to Crochet A Spiderweb Red Bandana Pattern for Halloween
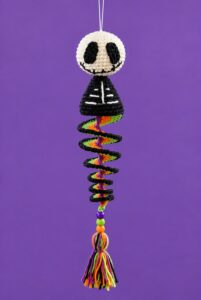
Featuring: How to Crochet the Skeleton Wind Spinner With Stripes of Halloween Colors