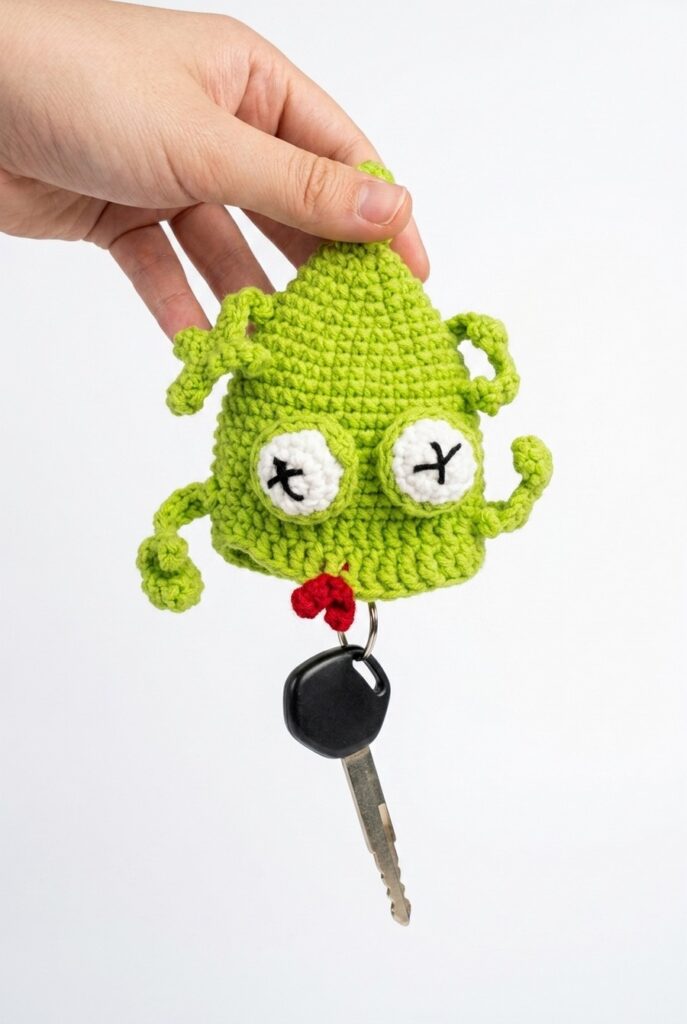
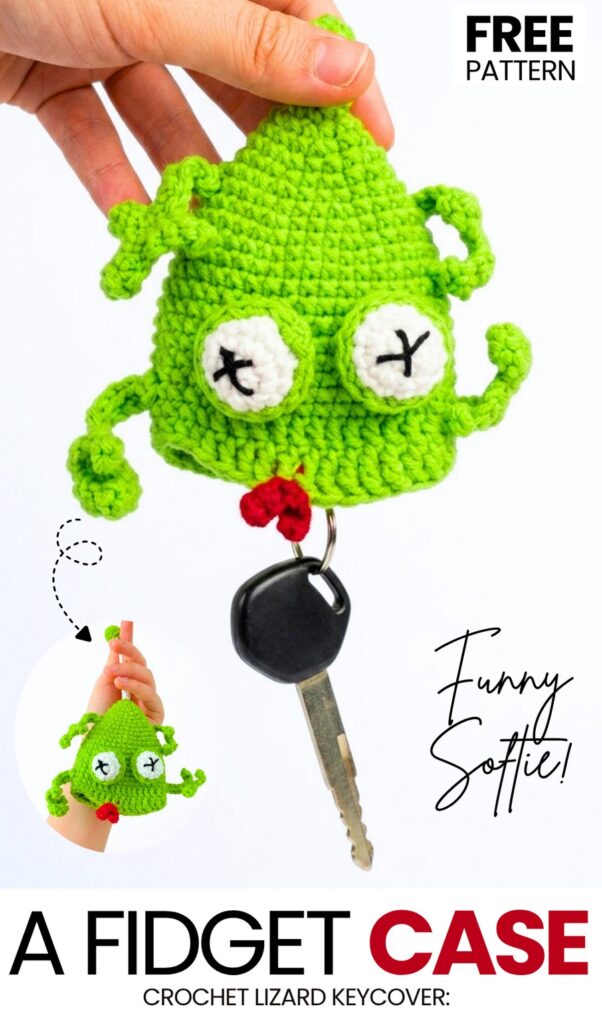
Today’s tutorial is a part of both the “crochet fidget accessories” & “crochet funny animals” series, so going to be a fun project! Introducing the crochet funny, stressed green animal fidget key cover that you can learn how to crochet with a step-by-step tutorial for a person with an exhausting routine. So, they have this car key holder as a softie to lift the mood instantly. The idea is to crochet an exhausted frog key cover with exaggerated features such as the tongue outside, with which you can attach your key.
Moreover, there are those stuffed sphere eyes with cross-stitch eyeballs and the chain stitch legs that make it look so wacky but cute and funny. And we have a small crochet pocket to hide the keys.
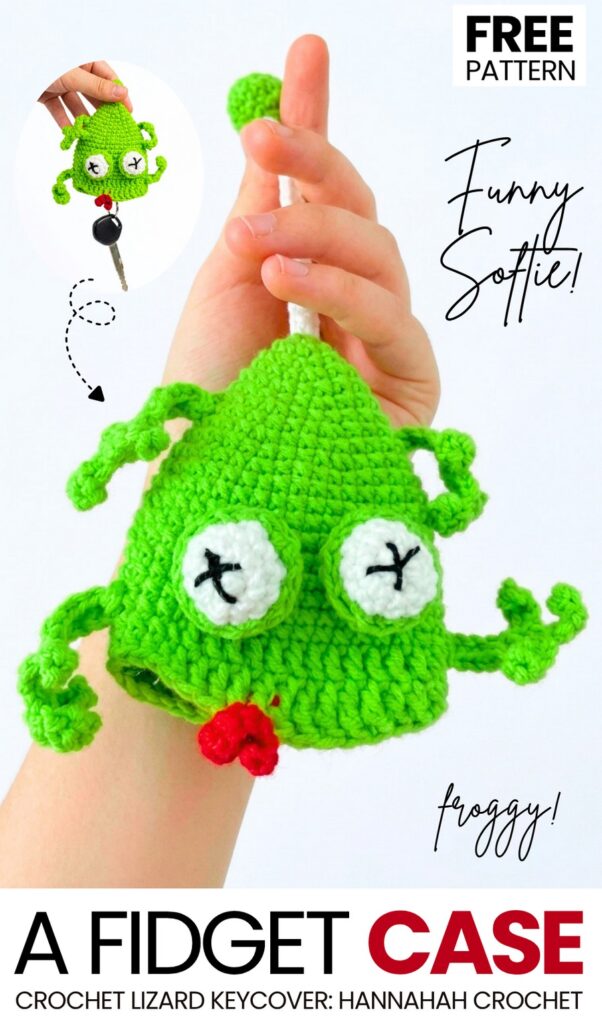
In my opinion, this crochet fidget green animal key cover is the BEST way to combine utility with fun and cuteness of crochet wacky characters. Before this, you have shown much love for the crochet fidget toy series and the crochet fidget coasters as well. I am hoping you would definitely like this exhausted frog or lizard toy and functional key cover as well. Now, you can continue reading to learn more about this crochet fun project as well as get the pattern below!
[ez-toc]
Pattern to Crochet the Fidget Funny Frog Key Holder
This crochet project is a small monster key cover. You make a hollow body using yarn and a crochet hook. Keys go inside the monster body to keep them covered and safe.
A cord goes through the top of the head to pull the keys up inside the monster or push them down when you need to unlock doors. You also make big lips, eyes, and small horns to sew onto the main body.
Materials Needed
Yarn (Milk Cotton Yarn):
Green (or any preferred color) for the body and horns
Red or Pink for the big lips
White for the eyes
Black for the eye pupils
Crochet Hook: 2.5 mm or 3.0 mm
Key Ring / Keychain Hardware
Fiberfill Stuffing: Small amount for the eyeballs
Tools: Tapestry needle, scissors, stitch marker
Pattern Abbreviations (US Terms)
MR: Magic Ring (or Ch 2, work into 2nd chain from hook)
ch: chain
sc: single crochet
inc: increase (2 sc in the same stitch)
dec: decrease (single crochet 2 stitches together)
sl st: slip stitch
st(s): stitch(es)
Are you a Beginner? Learn Crocheting Easily!
You can learn to crochet better with this kawaii fidget toy with the following video tutorials or continue to the pattern:
Detailed Crochet Pattern
1. Main Body Pouch
Worked in continuous rounds using Green yarn. Leave a small opening at the top center for the key cord.
Rnd 1: Work 6 sc into a MR [6 sts]. (Do not pull the magic ring completely shut—leave a small hole for the hanging cord).
Rnd 2: Work 6 inc [12 sts].
Rnd 3: (1 sc, inc) × 6 [18 sts].
Rnd 4: (2 sc, inc) × 6 [24 sts].
Rnd 5: (3 sc, inc) × 6 [30 sts].
Rnds 6–16 (11 rounds): Work 30 sc around [30 sts].
Rnd 17: (3 sc, dec) × 6 [24 sts].
Rnd 18: Work 24 sc around [24 sts].
Rnd 19: Work 24 sl st around all stitches to create a smooth bottom border. Fasten off and weave in ends.
2. Big Lips / Mouth
Worked in oval rounds using Red or Pink yarn.
Foundation Chain: Ch 12.
Rnd 1: Starting in 2nd ch from hook, work 10 sc down the chain, 3 sc in the last chain st. Turn to work along the opposite side of the chain: work 9 sc, inc in the final st [24 sts].
Rnd 2: 1 inc, 9 sc, 3 inc, 9 sc, 2 inc [30 sts].
Rnd 3: (1 sc, inc), 9 sc, (1 sc, inc) × 3, 9 sc, (1 sc, inc) × 2 [36 sts].
Rnd 4: Sl st around in all 36 sts.
Fasten off, leaving a long yarn tail for sewing onto the body.
3. Eyeballs (Make 2)
Worked in rounds starting with Black yarn and changing to White.
Rnd 1 (Black): Work 6 sc into a MR [6 sts]. Change to White yarn on the last stitch.
Rnd 2 (White): Work 6 inc [12 sts].
Rnd 3 (White): (1 sc, inc) × 6 [18 sts].
Rnds 4–5 (White): Work 18 sc around [18 sts].
Rnd 6 (White): (1 sc, dec) × 6 [12 sts].
Add a small pinch of fiberfill stuffing. Fasten off, leaving a yarn tail for sewing.
4. Horns / Antennae (Make 2)
Worked in continuous rounds using Green yarn.
Rnd 1: Work 4 sc into a MR [4 sts].
Rnd 2: (1 sc, inc) × 2 [6 sts].
Rnds 3–6 (4 rounds): Work 6 sc around [6 sts].
Fasten off, leaving a tail for sewing.
5. Pull Cord Assembly
Cord: Ch 50 to 60 using Green yarn (or use a strong braided cord).
Key Ring: Attach your key ring securely to the bottom end of the cord.
Threading: Thread the top loop of the cord up through the bottom opening of the body pouch and out through the small top center hole (Rnd 1).
Top Stopper: Tie a large knot or attach a small crochet ball/bead at the outer top end of the cord so it does not pull through into the body.
Assembly Instructions
Mouth Attachment: Center and pin the oval lips onto the lower portion of the main body (around Rnds 12–16). Sew firmly around the border.
Eye Attachment: Pin the two eyeballs directly above the top lip (around Rnds 7–11) and sew them securely.
Horn Attachment: Sew the two horns to the top of the head on both sides of the center cord opening.
Final Check: Place keys on the key ring inside the monster body. Pull the top cord to hide keys inside the mouth, or push down to expose keys for use.
Share on Social Media!
See More:
How to Crochet 20cm Variation of Mushroom Frog Plushie for Fall
How to Crochet No-Sew Mushroom Hat Frog Plushie for Fall

Featuring: How to Crochet Flipping Over Lizard Cup Coaster for Kids
Tester Call: How to Crochet Mr. Snow in Hat & Scarf Chrsitmas Fidget Ring Plushie
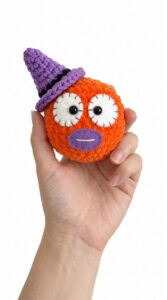
Tester Call: How to Crochet the Mr. Googly Sphere Witch Fidget Toy Plushie
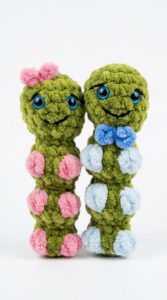
Featuring: How to Couple Gift Fidget Caterpillar Pair Plushie (no-sew!)
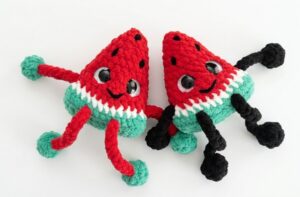
Featuring: How to Crochet A Watermelon Slice Buddy Fidget Toy Plush
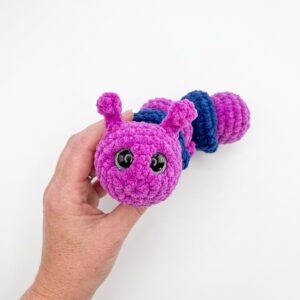
Featuring: Crochet “Push & Pull” Caterpillar Fidget Pop Toy Plushie for Kids
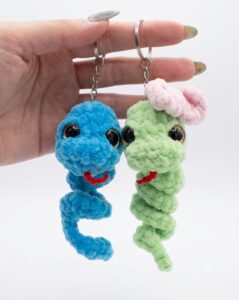
How to Crochet Couple Gift Snake Fidget Toy Plushies