Show support for Inna!
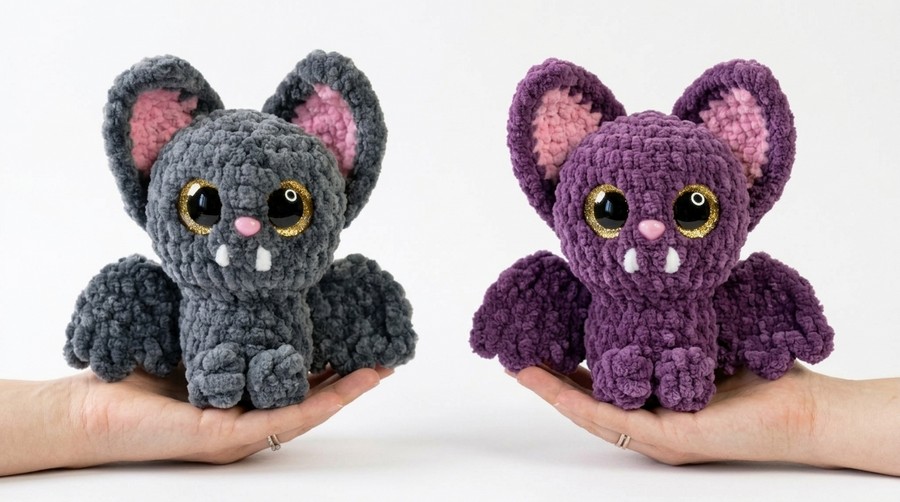
While I am sharing crochet bat amigurumi and plushie patterns, including other Halloween gift tutorials, resisting a low-sew baby plushie pattern is impossible! So, today, I am FEATURING this crochet glitter-eyed super bulky yarn sitting bat plushie with little wings that you can learn how to crochet with a step-by-step tutorial + a written pattern as well. The idea is to crochet a big-eyed kawaii bat plush using the usual “table buddy” crochet base but with detailed purple and pink ears, a plastic nose, embroidery fangs, and clever no-sew detailing.
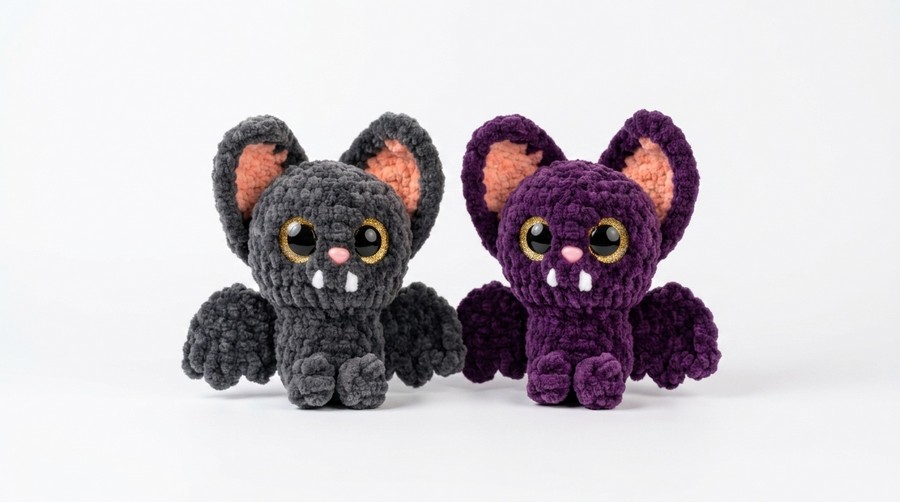
With the recommended yarn, you can crochet this bat plush in less than 43 minutes, as it is smaller and we are using the chenille yarn. Just like the crochet miniature bat plushies, you can crochet this bat plush in a set of different sizes and colors. Last time, I recommended purple, pink, and even beige, too.
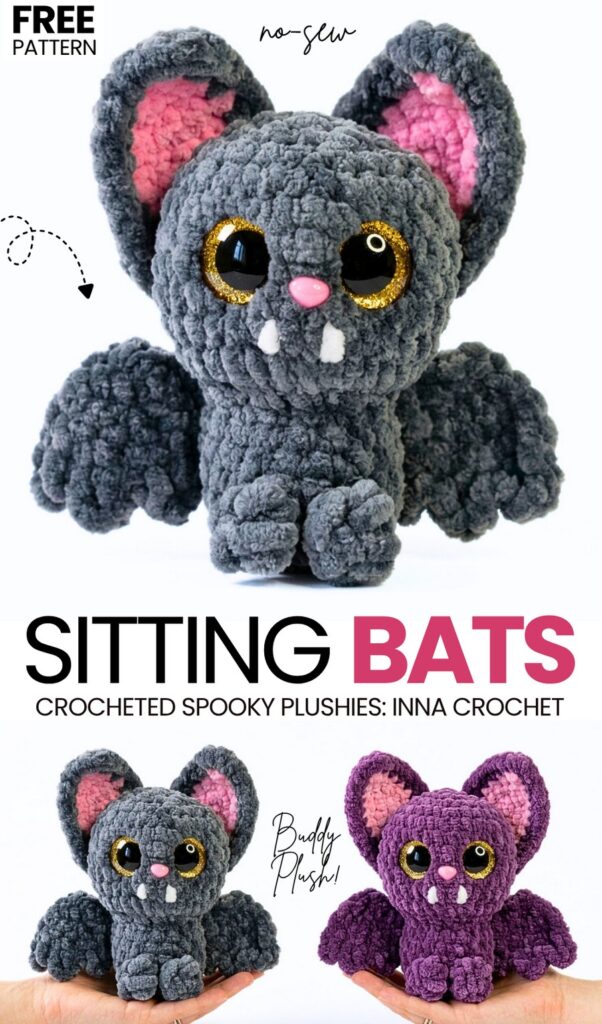
If you want a little smaller crochet kawaii ready-to-fly bat plushie for Halloween, you can also use the thin plush yarn. Aka skinny chennile yarn. This way, you can also have a keychain-sized crochet bat that you can hang from your Halloween treat bags. By the way, I am still low on crochet treat bags in this blog, and I am also planning a series on both the crochet Halloween treat bags and treat bag charms. For now, let’s continue to the crochet sitting bat plushie pattern below!
[ez-toc]
Pattern to Crochet the Halloween Bat Plushie
This pattern creates a small plush bat toy using soft chenille yarn. The body and head are crocheted in one piece from the bottom up, with tiny feet worked directly into the lower body as you go. The ears feature pink inner panels bordered in gray, and the wings are crocheted separately before being attached to the back.
Are you a Beginner? Learn Crocheting Easily!
You can learn to crochet better with this kawaii bat plushie with the following video tutorials or continue to the pattern:
Materials Needed
Dark Gray Plush Yarn: ~20–25 grams (e.g., Wolans Bunny Baby #42 or Himalaya Dolphin Baby)
Pink Plush Yarn: Small amount for inner ears (e.g., Himalaya Dolphin Baby #309)
White Fine Yarn: Small amount for embroidering teeth (e.g., YarnArt Jeans or fine cotton)
Crochet Hook: 3.5 mm
Safety Eyes: 18 mm (glitter with slanted pupil style preferred)
Safety Nose: Pink, size 9×6 mm (or 9×7 mm)
Stuffing: Fiberfill / Hollofiber
Tools: Yarn needle, scissors, stitch marker, pins, and lighter (optional, to melt safety backings securely)
Pattern Abbreviations (US Terms)
MR: Magic Ring (or Ch 2, work into 2nd chain from hook)
ch: chain
sc: single crochet
inc: increase (2 sc in the same stitch)
dec: decrease (single crochet 2 stitches together)
dc: double crochet
sl st: slip stitch
st(s): stitch(es)
Detailed Crochet Pattern
1. Wings (Make 2)
Use Dark Gray Plush Yarn.
Row 1: Ch 2, work 3 sc into the 2nd ch from hook [3 sts]. Ch 1, turn.
Row 2: Work an inc into every stitch across [6 sts]. Ch 1, turn. (Note: work 4 incs across to reach 8 sts if working larger spans).
Row 3 (Scalloped Edging): [Ch 3, sl st into the same st, sl st into the next st] 4 times total across the bottom curved edge.
Side Border: Sc 3 times along the straight top edge of the wing to clean up the border, then sl st to finish.
Fasten off, leaving a long tail for sewing.
2. Ears (Make 2)
Start with Pink Plush Yarn.
Row 1: Ch 2, work 3 sc into the 2nd ch from hook [3 sts]. Ch 1, turn.
Row 2: 1 inc, 2 sc [4 sts]. Ch 1, turn.
Row 3: Work 4 incs across [8 sts]. Ch 1, turn.
Row 4: 1 inc, 7 sc [9 sts]. Ch 1, turn.
Row 5: 1 inc, 8 sc [10 sts]. On the final stitch, change to Dark Gray Plush Yarn before completing the stitch.
Outer Border (with Dark Gray Yarn):
Work around the triangular border of the ear:
3 sc in the top corner point, 4 sc down the side, 3 sc in the bottom corner point, 4 sc up the opposite side, 3 sc in the top corner point, then 9 sc along the base edge.
Sl st to join. Fasten off, leaving a long tail for sewing.
3. Body & Head (One Piece, Bottom to Top)
Use Dark Gray Plush Yarn.
Rnd 1: Ch 2, work 6 sc into the 2nd ch from hook [6 sts].
Rnd 2: 6 inc [12 sts].
Rnd 3: (1 sc, inc) × 6 [18 sts].
Rnd 4 (Leg Round): 5 sc, [Leg 1: ch 4, starting in 3rd ch from hook work 1 dc, 1 dc in next ch], 2 sc on body, [Leg 2: ch 4, starting in 3rd ch from hook work 1 dc, 1 dc in next ch], 11 sc to end of round [18 body sts total, legs are skipped in count].
Rnds 5–7 (3 rounds): 18 sc around (work directly behind legs into main body stitches) [18 sts].
Rnd 8 (Neck Decrease): 6 dec [12 sts].
Rnd 9 (Head Expansion): [(3 sc into 1 st), 1 inc] × 6 [30 sts].
Rnds 10–15 (6 rounds): 30 sc around [30 sts].
Rnd 16: (3 sc, dec) × 6 [24 sts].
Safety Detail Attachment:
Place the 18 mm safety eyes between Rnds 13 and 14, spaced approximately 4 to 5 stitches apart.
Insert the safety nose centrally between and slightly below the eyes.
Melt and flatten the plastic backings with a lighter for extra security.
Rnd 17: (2 sc, dec) × 6 [18 sts]. Begin stuffing the body and head firmly with fiberfill.
Rnd 18: (1 sc, dec) × 6 [12 sts]. Finish stuffing.
Rnd 19: 6 dec [6 sts]. Fasten off, leaving a yarn tail. Keep the opening accessible until assembly is finished.
Assembly & Finishing
Wings: Pin the wings to the back of the body with the scalloped tips pointing down. Sew securely using the yarn tails and pull loose ends up through the top head hole.
Ears: Pin the ears to the top of the head. Position them angled slightly backward so they stand up firm without drooping forward. Sew in place and pull yarn ends to the top hole.
Face Embroidery: Using thin white yarn, embroider two small vampire fangs/teeth under the nose.
Closing: Tie all internal yarn tails together at the top opening, push them inside the head, and use a yarn needle to weave through the front loops of the remaining 6 stitches to cinch the head fully closed.
Share on Social Media!
See More:

How to Crochet Bunny Bat White Foldable Wings Amigurumi with Bow for Halloween
How to Crochet Red Mouth Spooky-Cute Grey and Black Bat Amigurumi
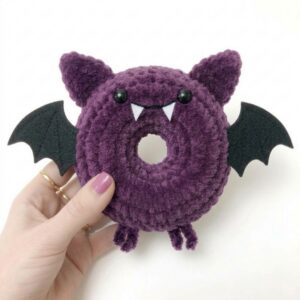
Pattern Tester: How to Crochet A Spooky-Cute Bat Food Ring Plush for Gifting
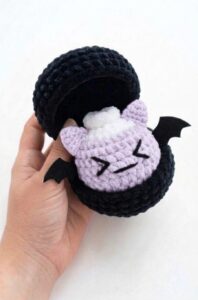
Tester Pattern: To Crochet A Plush Spooky Bat Bao Bun Plushie
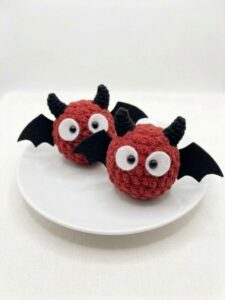
Tester Pattern: To Crochet A Red Soot Bat Amigurumi Plushie Pattern
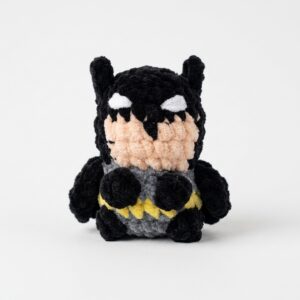
How to Crochet Low-Sew Mr. Bat Superhero Plushie for Kids
Featuring: Crochet Black Kitty Amigurumi But it is A Bat for Halloween (2-in-1 Tutorial)
How to Crochet the Watermelon Bat No-Sew Plushie Pattern
How to Crochet An Orange, Watermelon & Strawberry Fruit Bat Plushie