How to Crochet A Kawaii Bee No-Sew Plushie for Kids

Save this Crafty Article

Talha
Author: Talha
I am a crochet designer, macramé maker and a crafter who also loves doing MATH.

Lyubov of Love Knitting
Contributor: Lyubov of Love Knitting
She is a Ukrainian crochet plushie designer and our most favorite crocheter. She became our contributor on mid 2026 through mycraftybasket.

Show support for Lybouv!

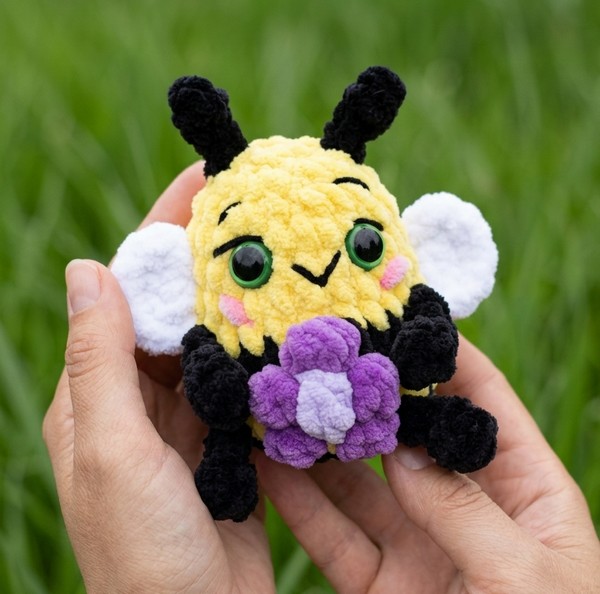
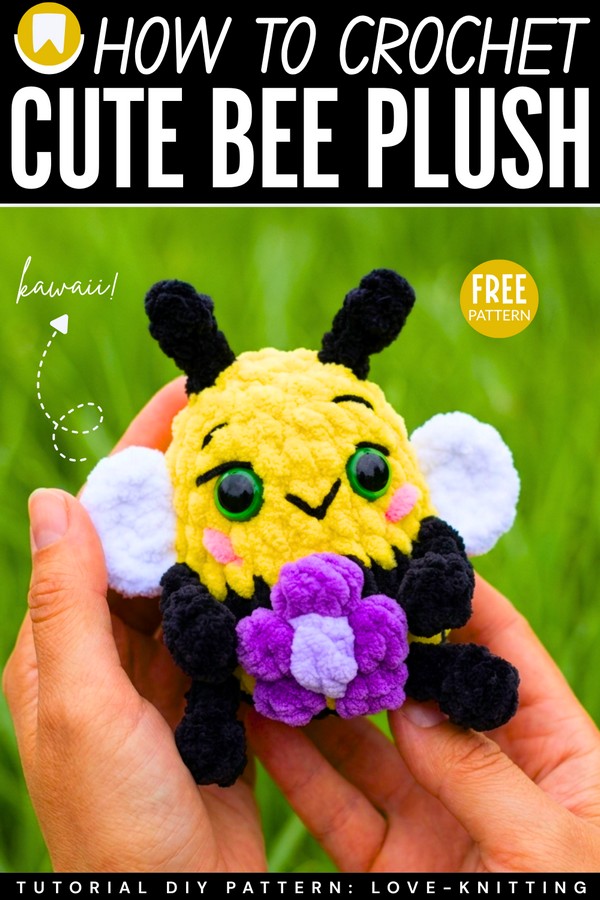
Here is another oh-so-cute crochet plushie from the “kawaii & no-sew animal plushies” series. Today, learn how to crochet this bee holding a puffy flower plushie with a step-by-step tutorial + a written pattern as well. Unlike the crochet bumblebee round plushies, this is a crochet small bee doll plushie made with little sewing needed. This crochet bee plushie also has a blush on the cheeks, eyelashes, and eyebrows. Crochet this as a LOVE for spring or any time of the year.

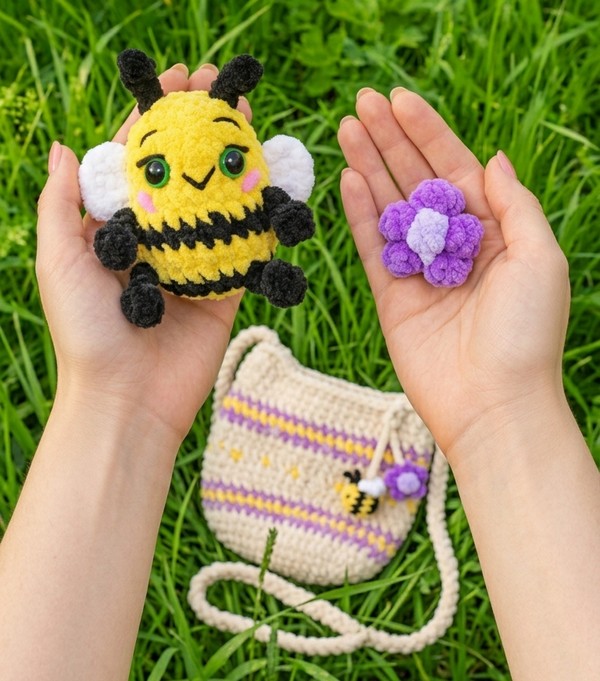
You will also learn to crochet the 5-petal puffy flower following this crochet little bee doll plushie tutorial. After you have crocheted the flower, just attach it to the belly of the crochet bee. You can also customize it with a crochet heart for Valentine’s Day.
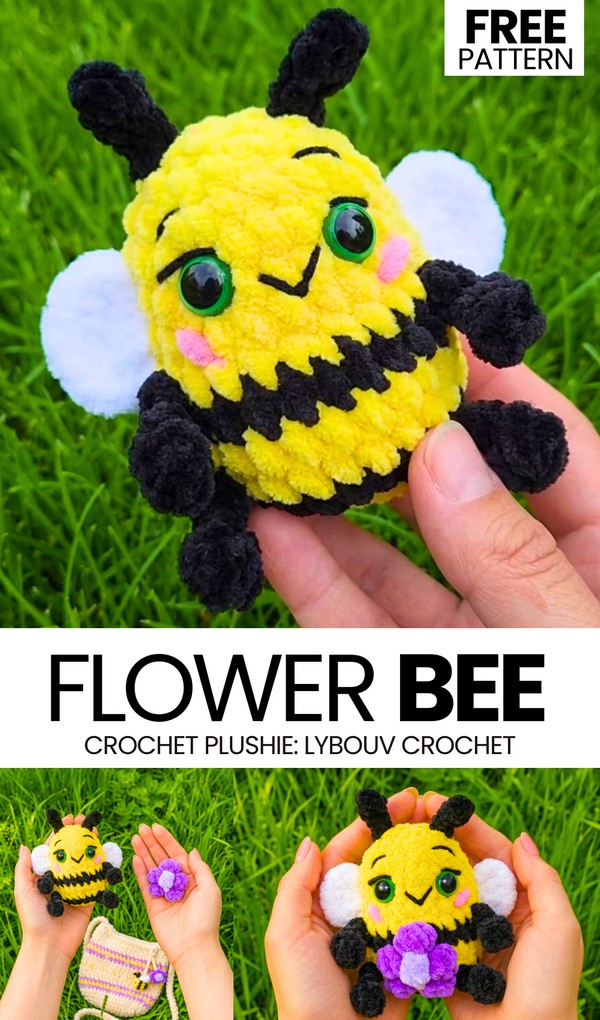
One variation idea for this crochet bee plushie that I wanted to share for a while is a “crochet strawberry bee” plushie. While the rainbow bee plushie is already a popular customization of a bumblebee plushie, crocheting it as a fruit is definitely an irresistible idea, too. Anyway, continue reading to learn how to crochet the yellow-and-black-striped bee in this tutorial.

Pattern to Crochet An Amigurumi Baby Bee Plushie

Skill Level: Intermediate

This is a fast and fun project. You will make a small and soft bee that has a flower on its belly. The pattern is easy to read and follow. You start at the bottom of the bee and work your way to the top.

You make the legs, the flower, and the arms at the same time as you make the body. When the body is done, you make the wings and the antennae on the outside. At the end, you have a cute bee that can sit on your desk or be a small toy to carry with you.
Materials

  • Plush Yarn (Super Bulky / Category 6): Yellow and Black for the main body.

  • Plush Yarn in White: For the wings.

  • Scrap Plush Yarn: Two colors for the flower (e.g., Pink for petals, Yellow/Orange for the center).

  • Crochet Hook: 4.0 mm.

  • Safety Eyes: 12 mm.

  • Stuffing: Fiberfill.

  • Embroidery Thread/Yarn: Thin black thread (for the mouth, eyelashes, and eyebrows) and a bit of pink yarn (for cheeks).

  • Tools: Yarn needle and scissors.

  • (Optional) Keychain clip.

Abbreviations

  • MR = Magic Ring

  • ch = chain

  • sc = single crochet

  • hdc = half double crochet

  • dc = double crochet

  • inc = increase (2 sc in one stitch)

  • dec = decrease (sc 2 together)

  • sl st = slip stitch

  • dc2tog = double crochet 2 together in the same stitch (cluster of 2 dc)

  • dc3tog = double crochet 3 together in the same stitch (cluster of 3 dc)

  • st(s) = stitch(es)

  • R = round

Are you a Beginner? Learn Crocheting Easily!

You can learn to crochet better with this crochet amigurumi bee as a beginner:

Pattern

Body & Flower Work starts from the bottom going up.

  • R1: With Yellow yarn, make 8 sc in a MR. (8 sts) Change to Black yarn in the last step of the 8th sc.

  • R2: With Black yarn, 8 inc. (16 sts) Change to Yellow yarn at the end of the round.

  • R3: With Yellow yarn, (1 sc, inc) 8 times. (24 sts) Change to Black yarn at the end of the round.

  • R4 (Legs): With Black yarn, 9 sc. Make the first leg: ch 5, in the 3rd ch from the hook make a dc2tog, sl st in the same ch, then make 2 sl st down the chain, sl st back into the same base st on the body. 6 sc. Make the second leg exactly like the first one (ch 5, dc2tog in 3rd ch, sl st, 2 sl st down chain, sl st into base). 9 sc. (24 sts) Change to Yellow yarn at the end of the round.

  • R5 (Flower Petals): With Yellow yarn, 10 sc. Change to Petal Color. In the next st, make a petal: 1 dc3tog. Change to Yellow. 1 sc. Change to Petal Color. In the next st, make a petal: 1 dc3tog. Change to Yellow. 11 sc. (24 sts)

  • R6 (Flower Center & Petals): With Yellow yarn, 10 sc. Change to Petal Color. In the next st, make a petal: 1 dc3tog. Change to Flower Center Color. In the next st, make the center: 1 dc3tog. Change to Petal Color. In the next st, make a petal: 1 dc3tog. Change to Yellow. 11 sc. (24 sts) Change to Black yarn at the end of the round.

  • R7 (Arms & Last Petal): With Black yarn, 7 sc. Make the first arm just like you made the legs (ch 5, dc2tog in 3rd ch, sl st, 2 sl st down chain, sl st back into base). 4 sc. Change to Petal Color. In the next st, make the top petal: 1 dc3tog. Change to Black. 4 sc. Make the second arm exactly like the first one. 8 sc. (24 sts) Change to Yellow yarn at the end of the round.

    Note: Cut all extra flower colors and tie the ends securely inside the body so they don’t unravel.

  • R8-R11: With Yellow yarn, 1 sc in each st around. (24 sts for 4 rounds)

  • R12: (2 sc, dec) 6 times. (18 sts)

    Insert safety eyes between R10 and R11. Stuff the body firmly with fiberfill.

  • R13: (1 sc, dec) 6 times. (12 sts)

    Add more stuffing to top off the shape.

  • R14: 6 dec. (6 sts)

  • Finish body: Fasten off, weave the yarn tail through the front loops of the remaining 6 stitches, pull tight to close the hole, and hide the end inside the body.

Antennae (Make 2)

  1. Attach Black yarn to the top of the head.

  2. Ch 4.

  3. In the 2nd ch from the hook, make 1 hdc.

  4. sl st in the same ch, then make 2 sl st down the remaining chain.

  5. sl st into the base on the head to secure.

  6. Fasten off and hide the ends inside. Repeat these steps on the other side of the head for the second antenna.

Wings (Make 2)

  1. Attach White plush yarn to the side of the bee’s body (placed directly behind the arms, working across a black row and yellow row).

  2. Ch 2, make 5 dc into the exact same space, ch 2, and sl st into that same space again.

  3. Fasten off and weave the ends inside. Repeat for the second wing on the other side.

Face Details

  1. Using a needle and thin black thread, embroider a small V-shaped smile sitting between and slightly below the eyes.

  2. Embroider small straight eyelashes on the outer edges of the eyes and small slanted eyebrows right above the eyes.

  3. Using pink yarn or thread, embroider horizontal cheek blushes just below the eyes.

Share on Social Media!

Save this Crafty Article

Leave a Reply

Your email address will not be published. Required fields are marked *