Author: Talha
I am a crochet designer, macramé maker and a crafter who also loves doing MATH.

Contributor: Creator of Bunny Pink
She is a crochet amigurumi designer who has been our contributor since mid 20226 via mycraftybasket.
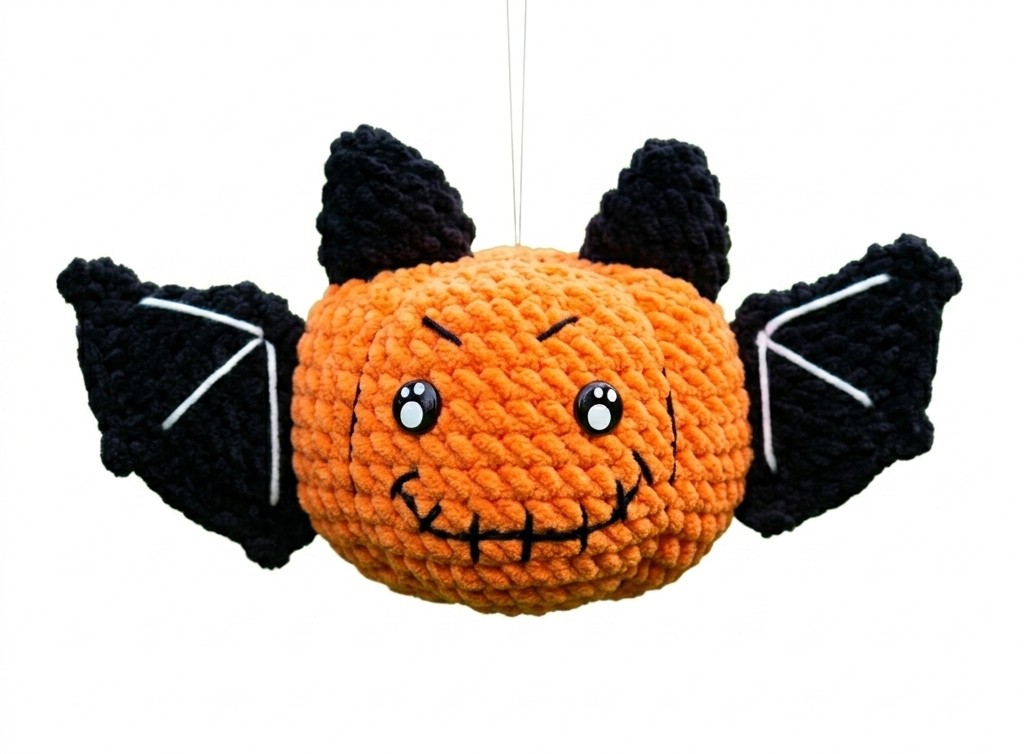
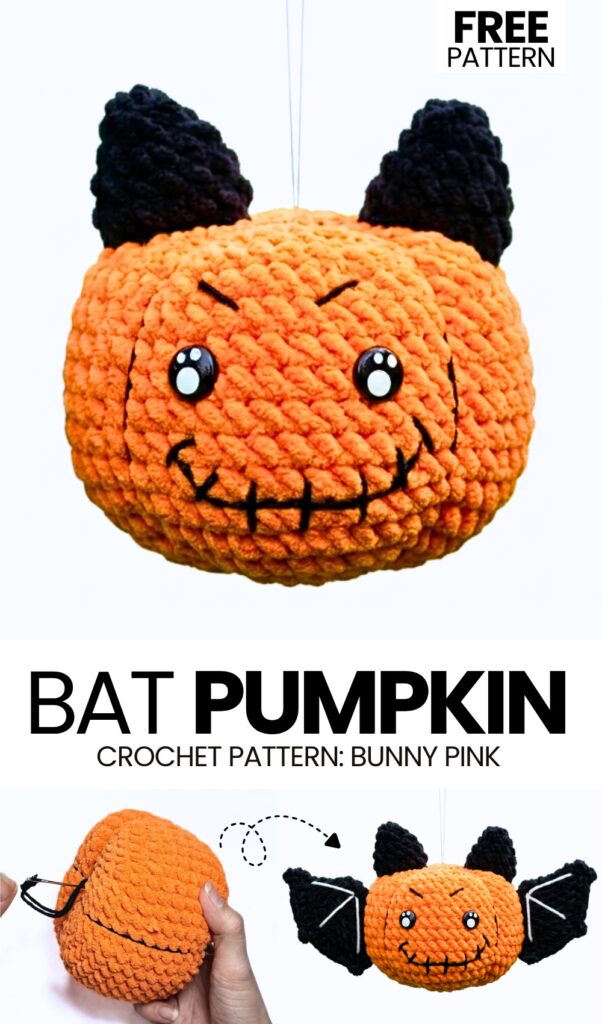
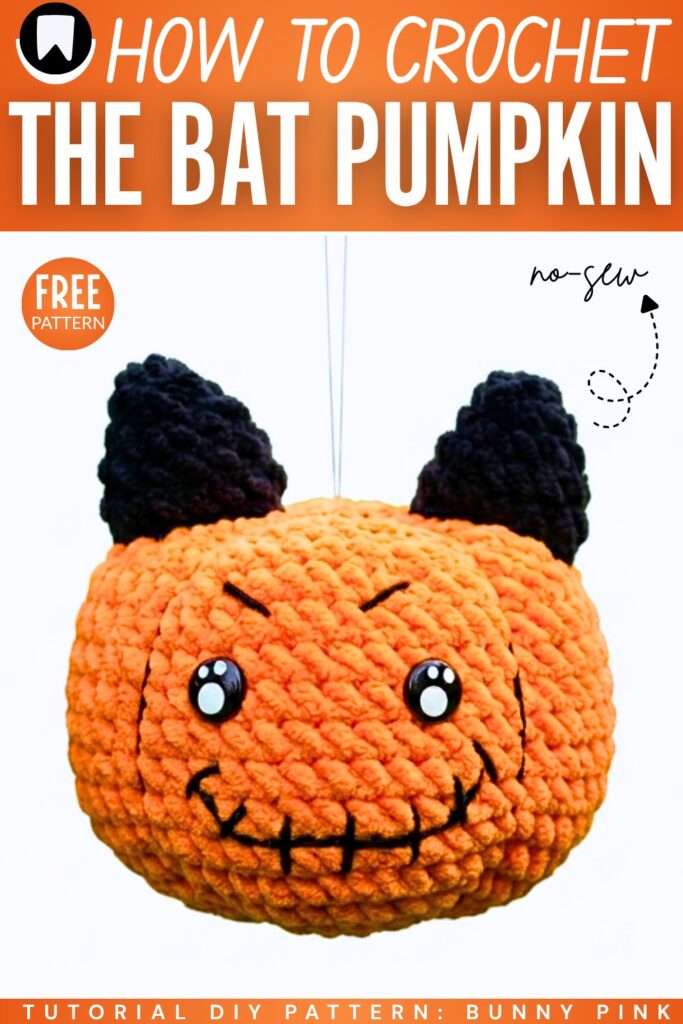
I am more excited than ever about today’s Halloween crochet project, as it is a part of a “2-in-1 Halloween plushies” series. So, this Halloween, learn how to crochet this SUPER UNIQUE, THE MOST WELL-DESIGNED, and the only KAWAII-EYED “bat pumpkin plushie” with a tutorial + a written pattern as well. This will be a medium-sized smiling pumpkin plushie, but with the bat wings & ears in black. It will make a spooky Halloween decoration for party night and a spooky WELCOME DECORATION for guests.
This crochet bat pumpkin amigurumi plush also has an embroidered scar seam smile and quirky eyebrows, too. Can be crocheted in any shade of orange along with the black in less than 45 minutes.
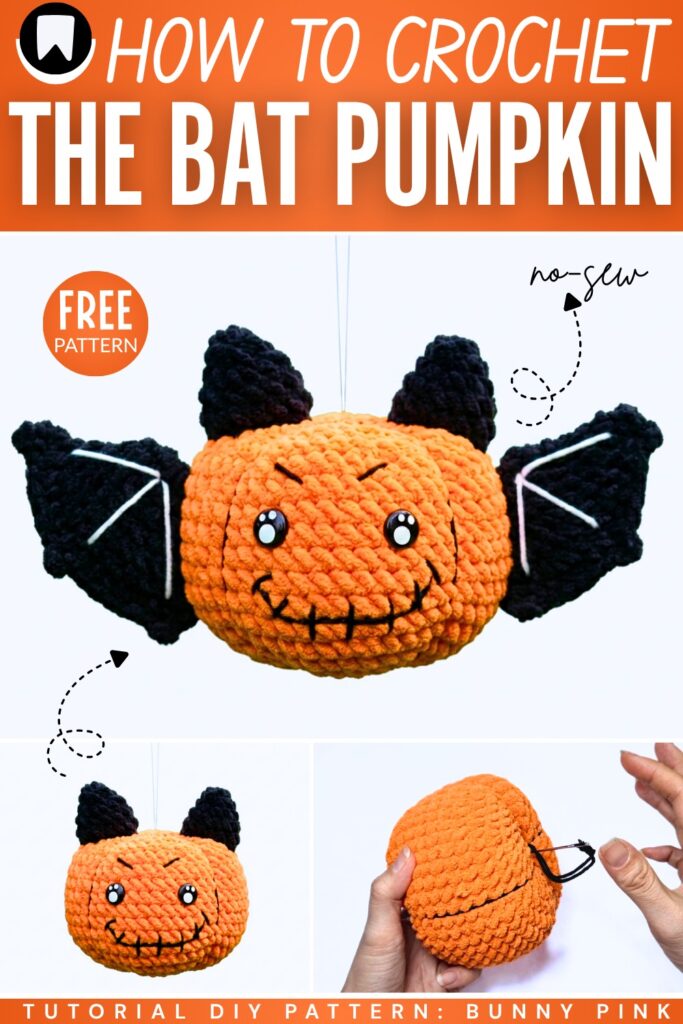
If you are looking for a keychain-sized crochet bat pumpkin plushie, you can also use thin plush yarn or cotton yarn. It is still a low-sew plushie and can be crocheted alongside our other spooky pumpkins and ghost plushie patterns, too. The bat wings also have white embroidery that makes it a bit more detailed. Now, continue reading to learn more about this Halloween pumpkin plushie project for beginners.
Similar Project(s)
Pattern to Crochet Bat Pumpkin Plushie Decoration
Skill Level: Beginner – Level 4
This project is a crochet pumpkin with bat wings and ears. It is for Halloween. You use orange and black yarn. You also use white thread for the face. You stuff it with cotton. It looks like a bat and a pumpkin mixed together.
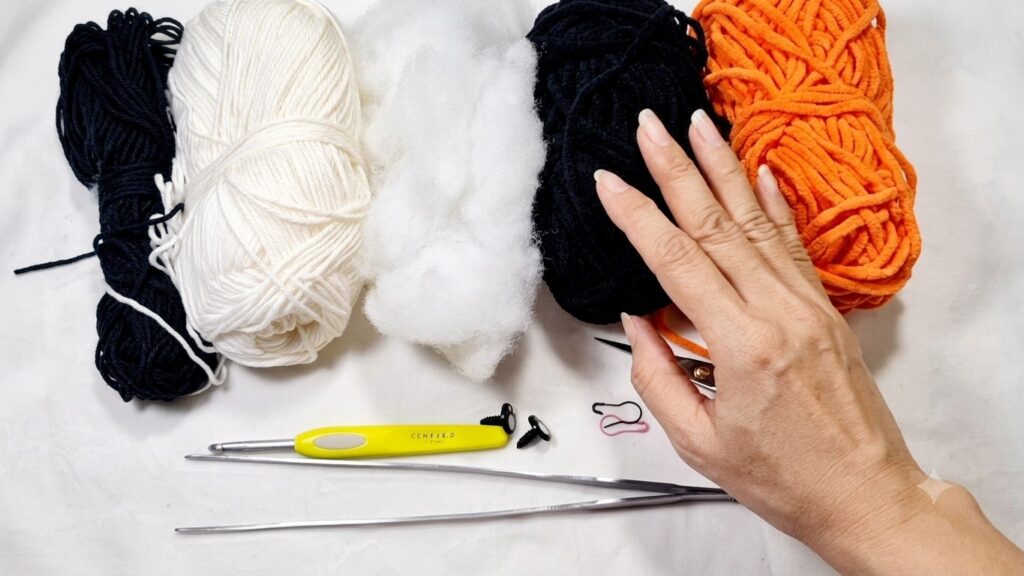
Materials
Yarn: Cotton Yarn Chunky (Orange for body, Black for wings/ears)
Crochet Hook: 5.0mm
Thread: White and black microfiber thread (for decorative embroidery)
Eyes: 12-14mm safety eyes or spotted craft eyes
Tools: Stitch marker, tapestry needle, scissors, glue gun, tweezers
Stuffing: Cotton fiberfill
Abbreviations
ch: chain
sc: single crochet
inc: increase (2 sc in one stitch)
dec: decrease (sc 2 together)
sl st: slip stitch
st: stitch
()*x: repeat instructions inside parentheses x times
Are you a Beginner? Learn Crocheting Easily!
You can learn to crochet this UNIQUE spooky pumpkin plushie as a beginner by following this tutorial, too:
Spooky Pumpkin Pattern
1. Pumpkin Body (Orange Yarn)
Row 1: ch 2. Hook 8 sc into the second chain from the hook (8).
Row 2: 8 inc (16).
Row 3: (1 sc, 1 inc) * 8 (24).
Row 4: (2 sc, 1 inc) * 8 (32).
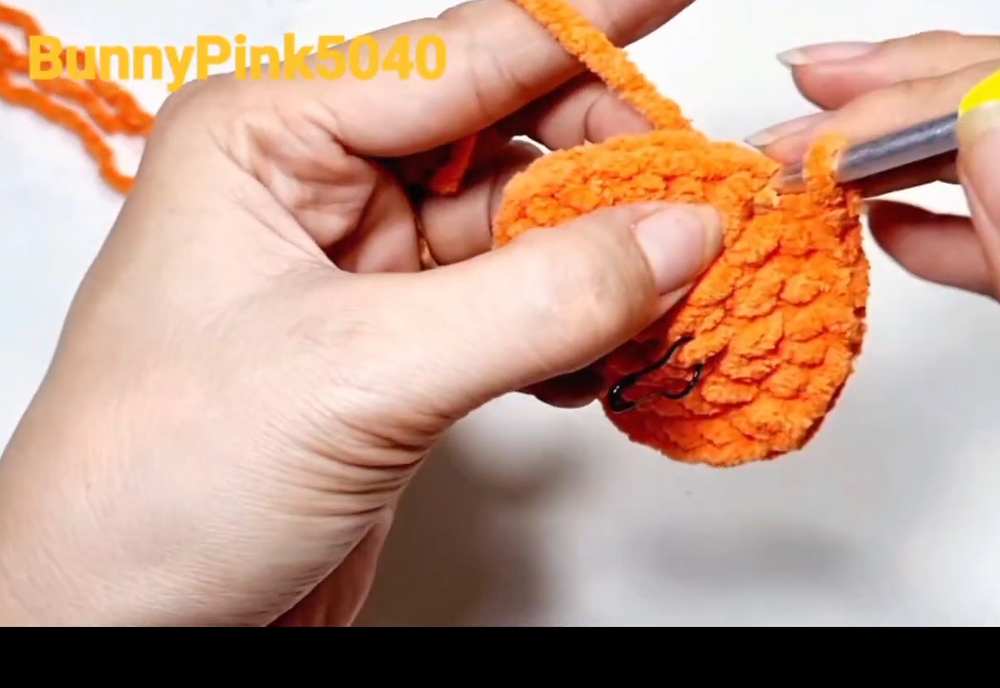
Row 5: (3 sc, 1 inc) * 8 (40).
Row 6: (4 sc, 1 inc) * 8 (48).
Row 7-14: 48 sc for 8 rows (48).
Row 15: (4 sc, 1 dec) * 8 (40).
Row 16: (3 sc, 1 dec) * 8 (32).
Row 17: (2 sc, 1 dec) * 8 (24).
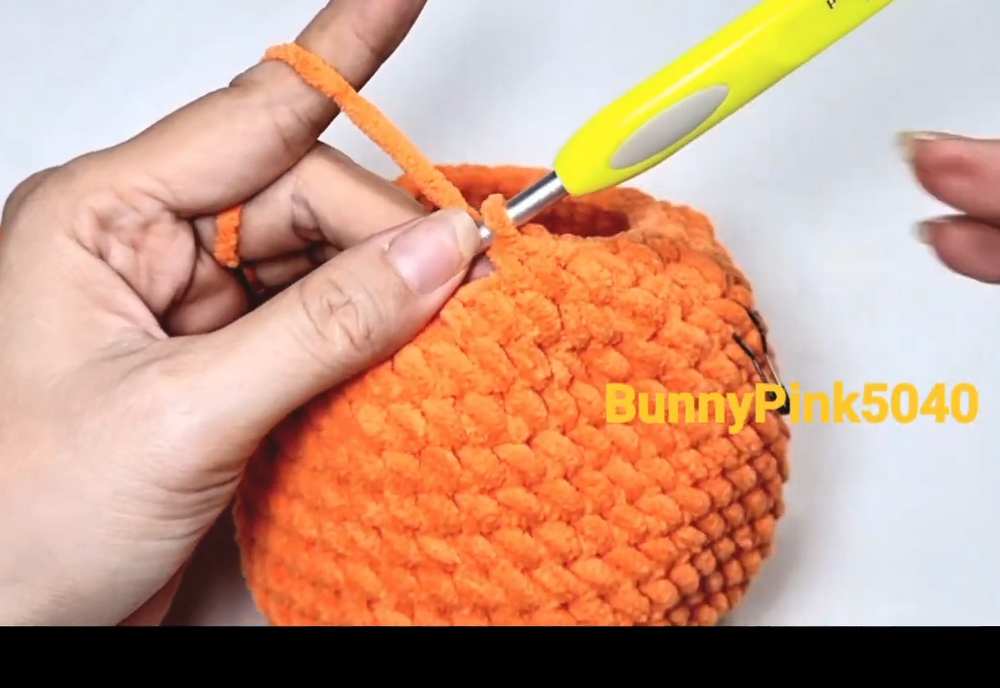
Row 18: (1 sc, 1 dec) * 8 (16).
Stuffing: Fill the body firmly with cotton stuffing.
Row 19: (1 sc, 1 dec) * 5, 1 sc (11).
Row 20: 5 dec, sl st (6).
Finish: Cut the thread leaving 20cm. Use a needle to close the hole and weave in the end.
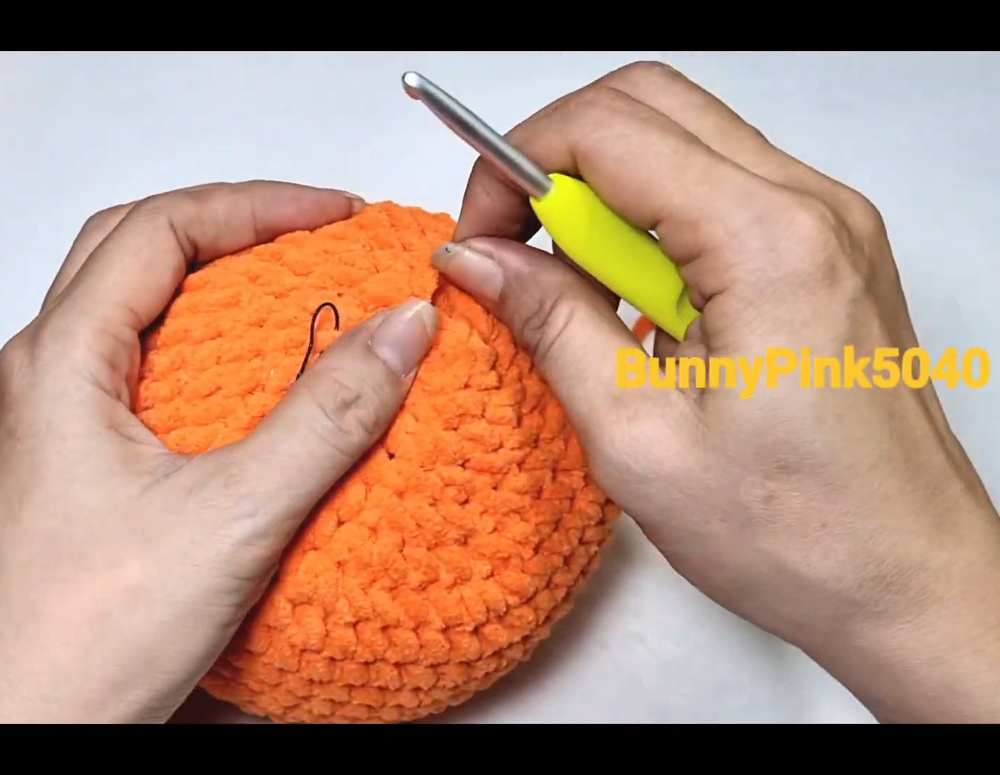
2. Bat Wings (Make 2 – Black Yarn)
Row 1: ch 2. Hook 8 sc into the second chain (8).
Row 2: (1 sc, 1 inc) * 4 (12).
Row 3: (2 sc, 1 inc) * 4 (16).
Row 4: (3 sc, 1 inc) * 4 (20).
Row 5: (4 sc, 1 inc) * 4 (24).
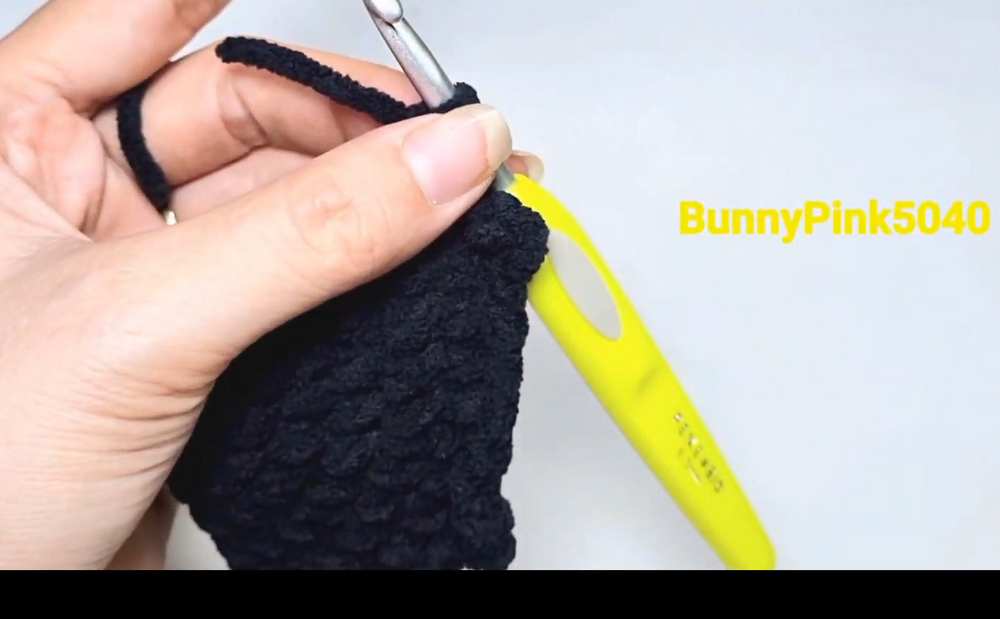
Row 6: (3 sc, 1 inc) * 6 (30).
Row 7 (Edge spikes): Fold the wing in half to work through both layers.
1 sc, (ch 2, sl st into the 2nd chain from hook),
6 sc, (ch 2, sl st into the 2nd chain from hook),
6 sc, (ch 2, sl st into the 2nd chain from hook),
2 sc, ch 1.
Finish: For Wing 1, cut leaving 3cm. For Wing 2, leave 30cm for sewing.
3. Bat Ears (Make 2 – Black Yarn)
Row 1: ch 2. Hook 6 sc into the second chain (6).
Row 2: (1 sc, 1 inc) * 3 (9).
Row 3: (2 sc, 1 inc) * 3 (12).
Row 4-5: 12 sc for 2 rows (12).
Finish: sl st and cut, leaving 25cm for sewing.
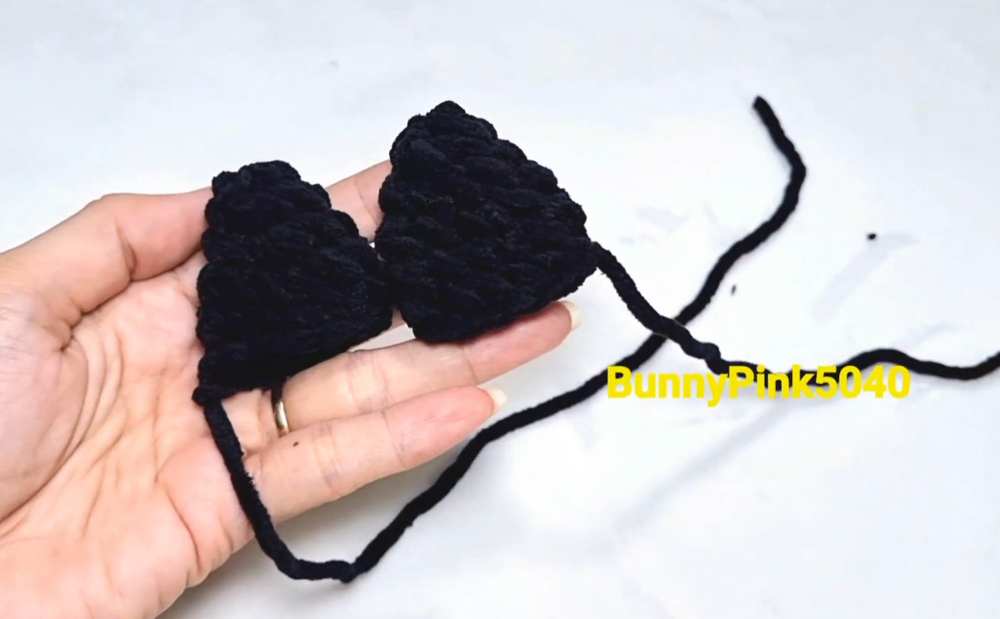
Assembly and Decoration
Pumpkin Segments: Use black thread and a needle. Run the thread from the center top to the center bottom 4 times to divide the pumpkin into 4 segments. Pull tight to create indents.
Wing Embroidery: Use white thread to embroider 3 lines on each wing (like wing “fingers”) stemming from the top corner.
Attaching Ears: Sew ears starting from Row 3 of the pumpkin, centered over the segments.
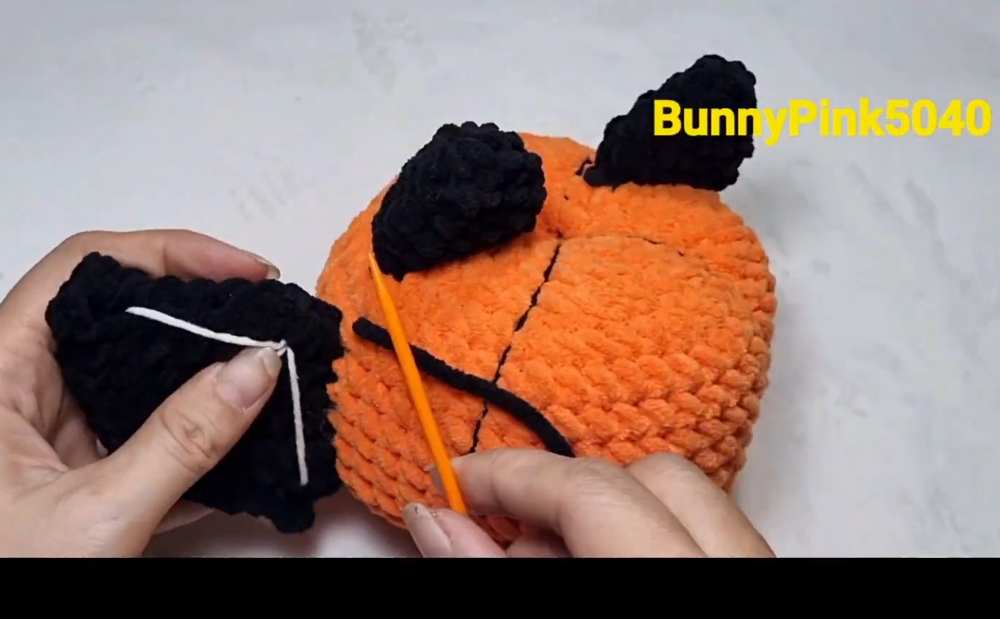
Attaching Wings: Sew wings from Row 8 down, positioned one row away from the ears.
Eyes: Position eyes between Rows 9-10, spaced 6 stitches apart. Secure with glue.
Mouth: Position the mouth between Rows 11-12. Embroider a wide curve 9 stitches wide using black thread. Add vertical stitches to create “stitched” teeth.
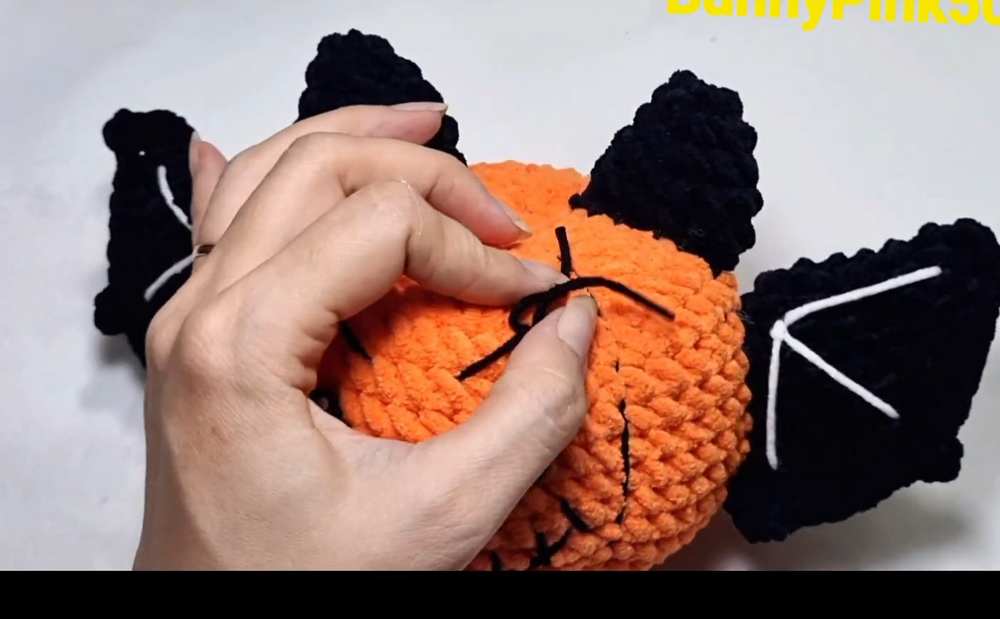
Eyebrows: Embroider angry diagonal eyebrows 1 row above the eyes. Each eyebrow should be about 3 stitches wide.
Share on Social Media!
See More:
Pattern Tester: How to Crochet A Spooky-Cute Bat Food Ring Plush for Gifting
Tester Pattern: To Crochet A Plush Spooky Bat Bao Bun Plushie
Tester Pattern: To Crochet A Red Soot Bat Amigurumi Plushie Pattern
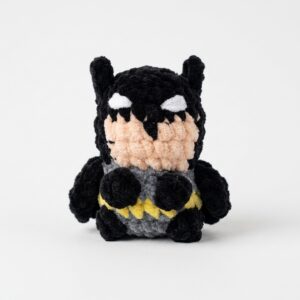
How to Crochet Low-Sew Mr. Bat Superhero Plushie for Kids
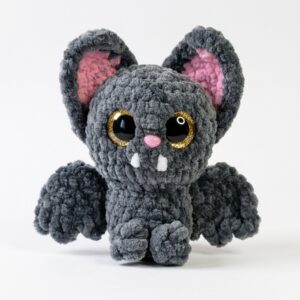
How to Crochet Glitter-Eyed Kawaiiest Bat Softie for Halloween
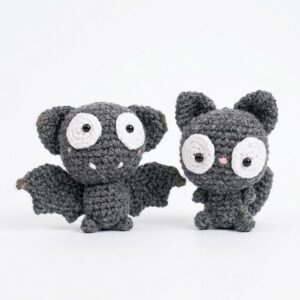
Featuring: Crochet Black Kitty Amigurumi But it is A Bat for Halloween (2-in-1 Tutorial)
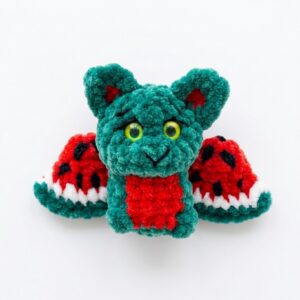
How to Crochet the Watermelon Bat No-Sew Plushie Pattern
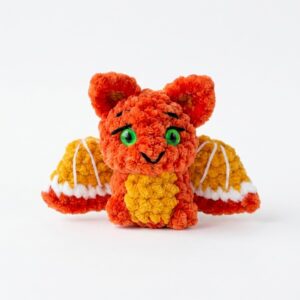
How to Crochet An Orange, Watermelon & Strawberry Fruit Bat Plushie
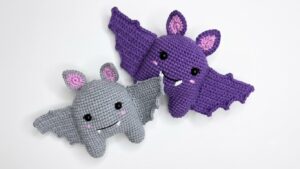
How to Crochet the CUTEST Kawaii Bat Amigurumi Buddy for Kids