Author: Talha
I am a crochet designer, macramé maker and a crafter who also loves doing MATH.
Contributor: Annie of AnnieAHMAD
She crochets and designs accessories and cute things and has been our friend since mid 2026 via mycraftybasket.
Show support for heyannieahmed!
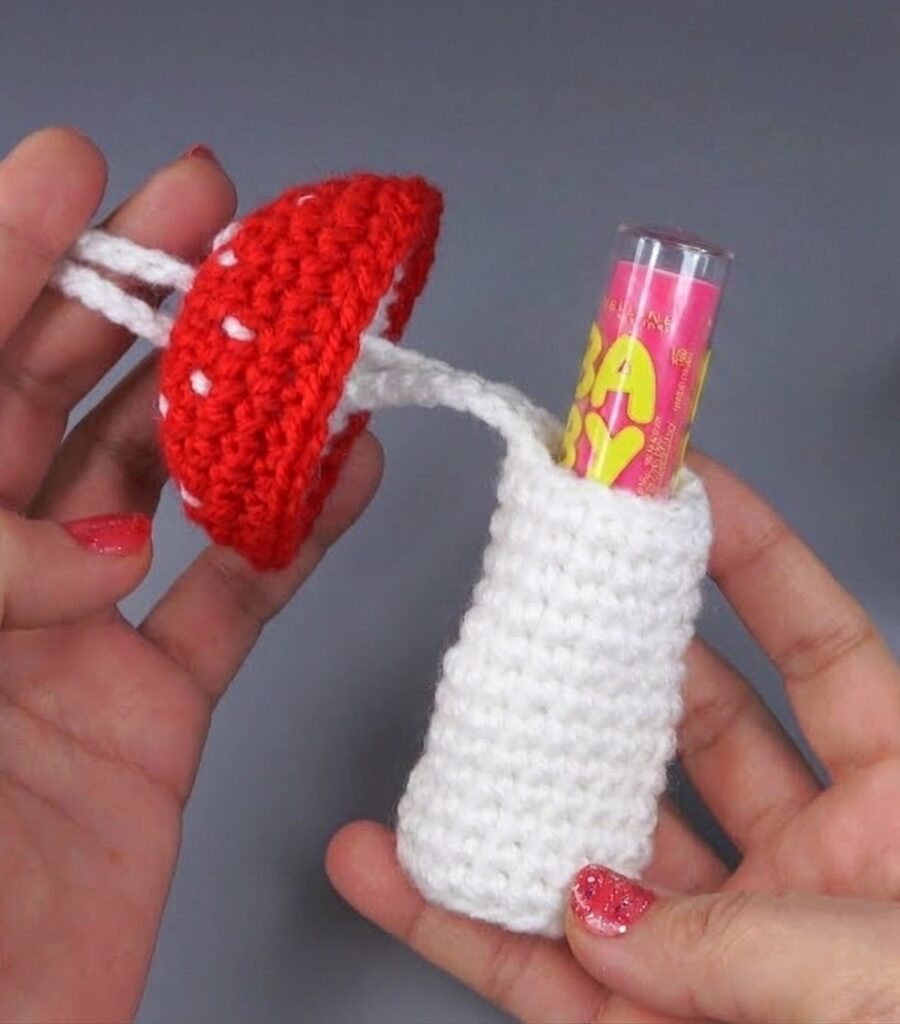
Another crochet project from the “mushroom charms” series is here! Today’s tutorial is 2-in-1, as you will learn how to crochet a miniature mushroom charm that doubles as a chapstick holder. You can also use it as a lipstick, rolled money, or makeup brush holder. Then, attach it to your fall tote bag purse as a bag charm using its small hanging loop. Or, like the rainbow mushroom holder, you can also crochet a crossbody sling handle for your mushroom lip balm holder.
You can also make your crochet toadstool chapstick holder longer or shorter based on the size of your lip balm. Following this mushroom charm tutorial, you will also learn how to make the popular “slide the cap to open” closing mechanism using crochet.
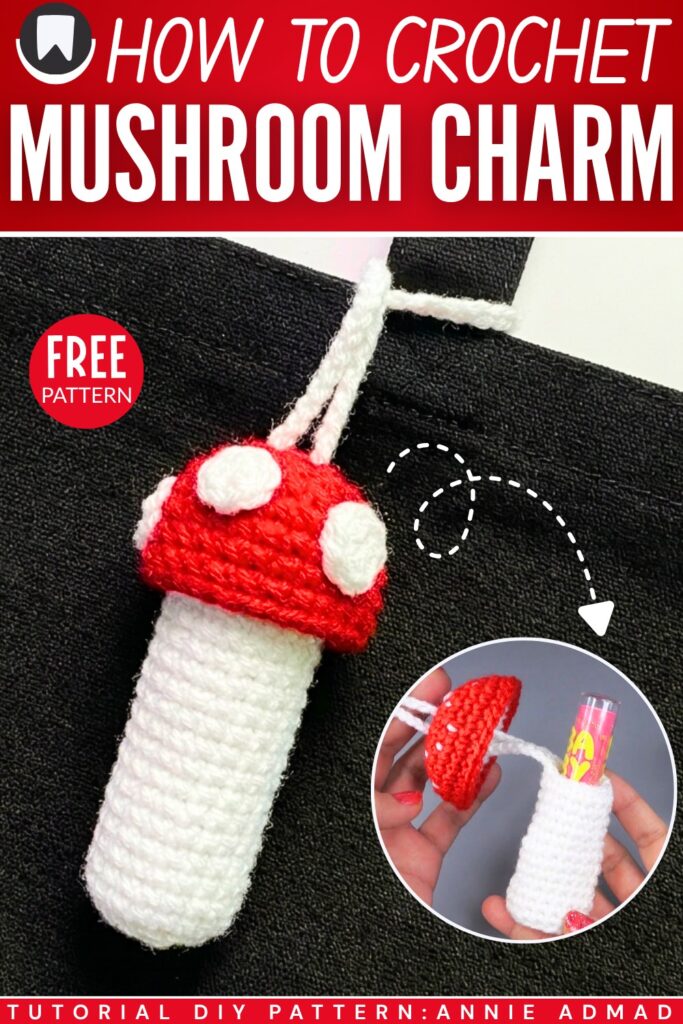
Also features small crocheted mushroom spots on its cap. If you want it as an anti-stress softie, you can also turn your mushroom charm into an amigurumi by stuffing it and seaming the cap with the stem. Anyway, you can customize it based on color, yarn choice, and size, too. But below, you will find the complete pattern to crochet that medium-sized crochet mushroom lip balm holder.
Similar Project(s)
Pattern to Crochet Mushroom Lip Balm Holder
Skill Level: Beginner – Level 2
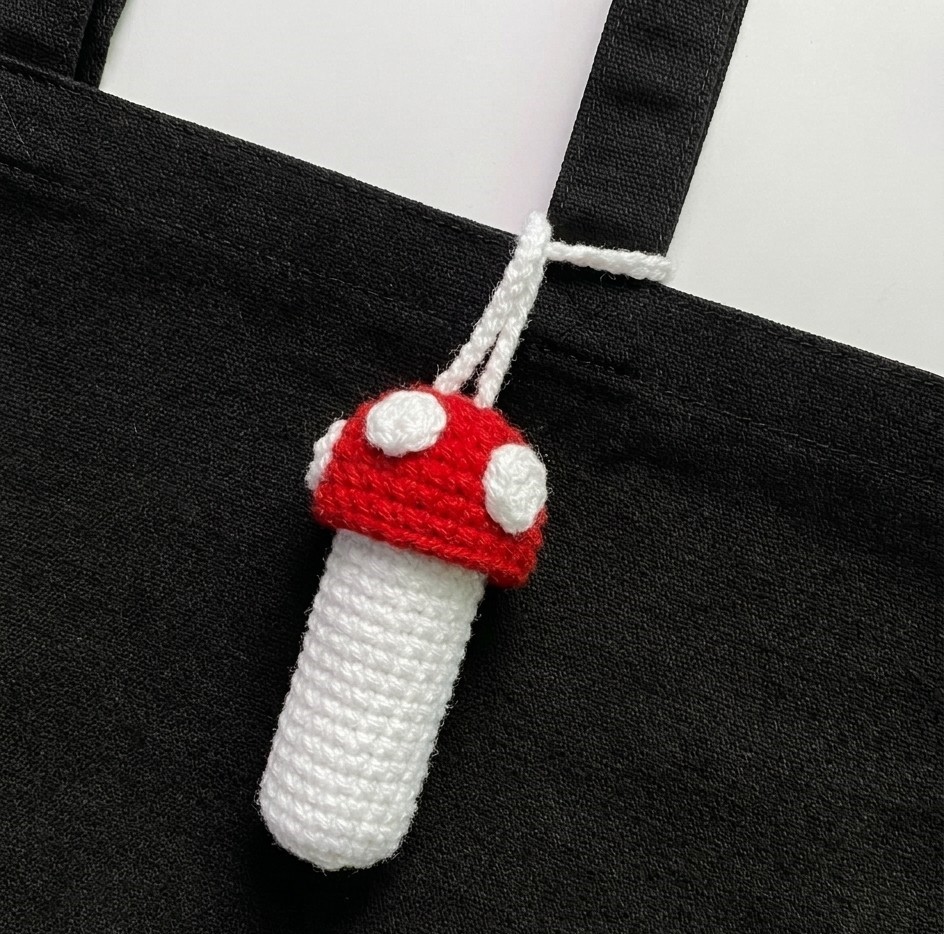
This project is a small crochet case for your lip balm. It is shaped like a red and white mushroom. The lip balm fits inside the white stem part. The red cap sits on top like a lid. It has a long string so you can tie it to your bag. It is a cute and useful item.
Materials
Yarn: Acrylic (4ply) in White and Red
Hook: 3.0mm
Stitch Marker
Scissors
Needle
Glue
Abbreviations
mr: Magic Ring
ch: Chain
R: Round
inc: Increase (2 sc in one stitch)
sc: Single Crochet
- sl st: Slip Stitch
Are you a Beginner? Learn Crocheting Easily!
You can learn to crochet this UNIQUE toadstool mushroom charm as a beginner by following this tutorial, too:
Pattern Instructions
1. Stem (White Yarn)
R1: Start with a mr. Work 6 sc into the ring. (6 sts)
R2: inc in every stitch around. (12 sts)
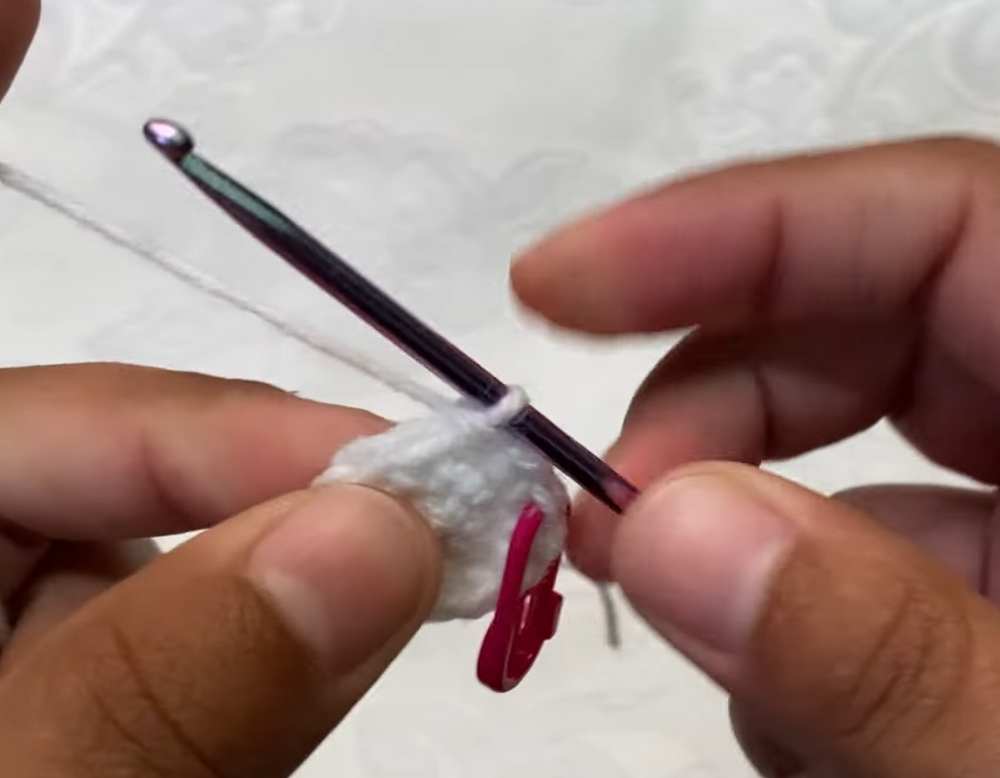
R3: (inc, 1 sc) repeat 6 times. (18 sts)
R4: 18 sc around. (18 sts)
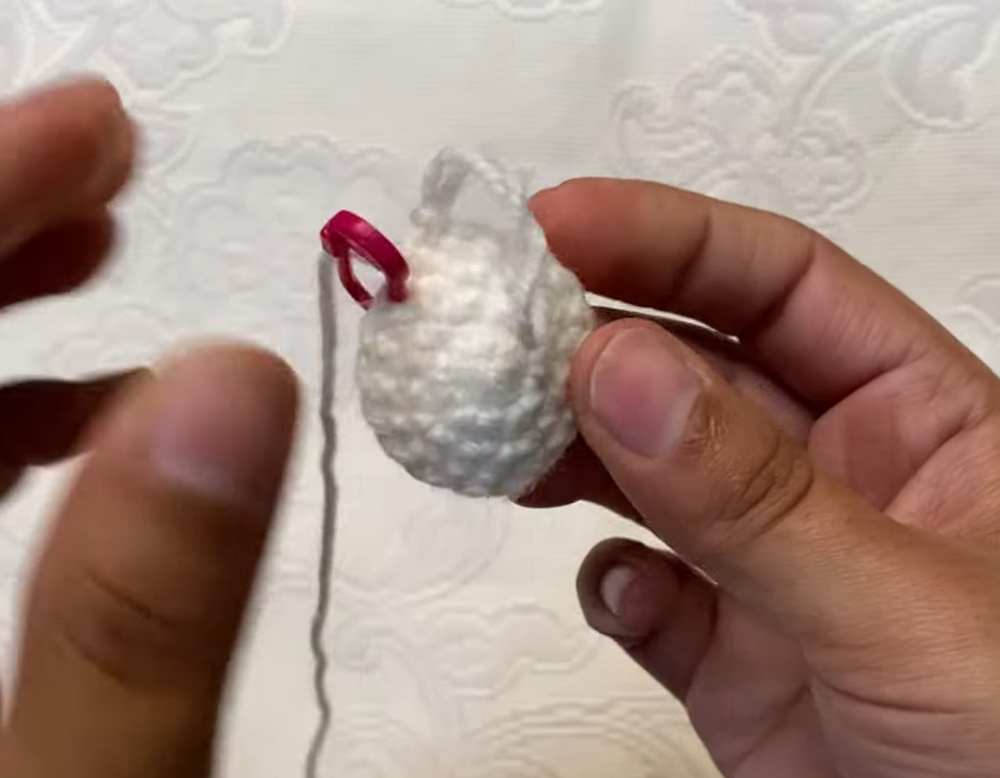
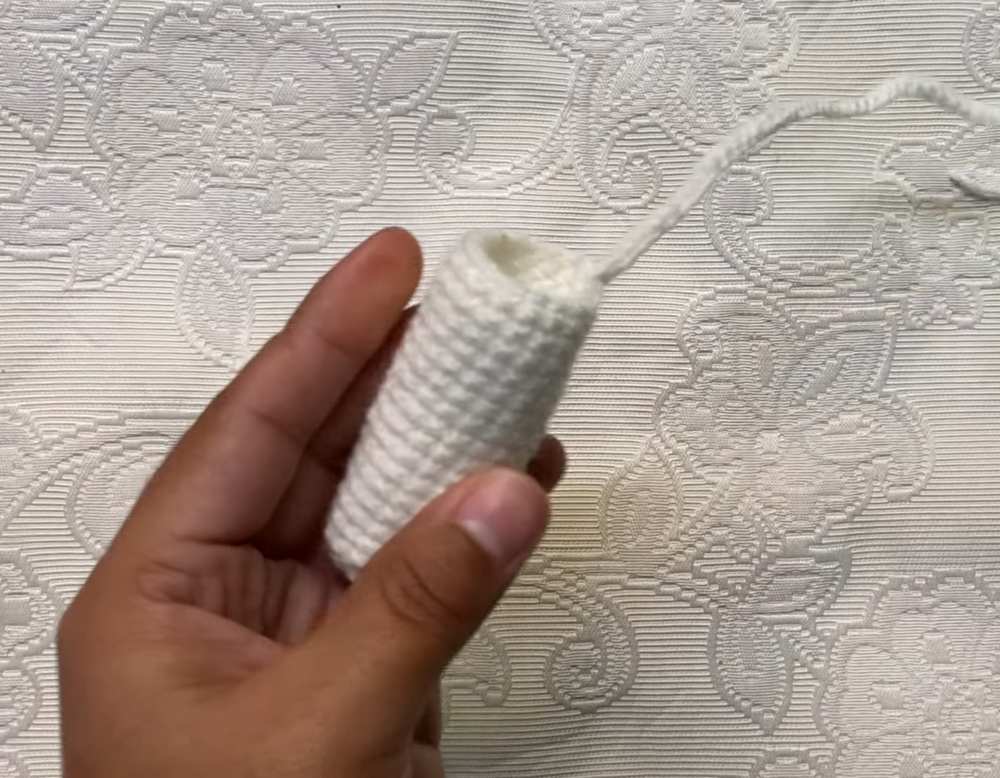
R5–19: 18 sc around. (18 sts for 15 rounds)
Finishing: At the end of R19, sl st into the next stitch. ch 65 to create the hanging loop. Fasten off and leave a tail. Tie a knot at the end of the chain loop to secure it.
2. Cap (Red Yarn)
R1: Start with a mr. Work 6 sc into the ring. (6 sts)
R2: inc in every stitch around. (12 sts)
R3: (inc, 1 sc) repeat 6 times. (18 sts)
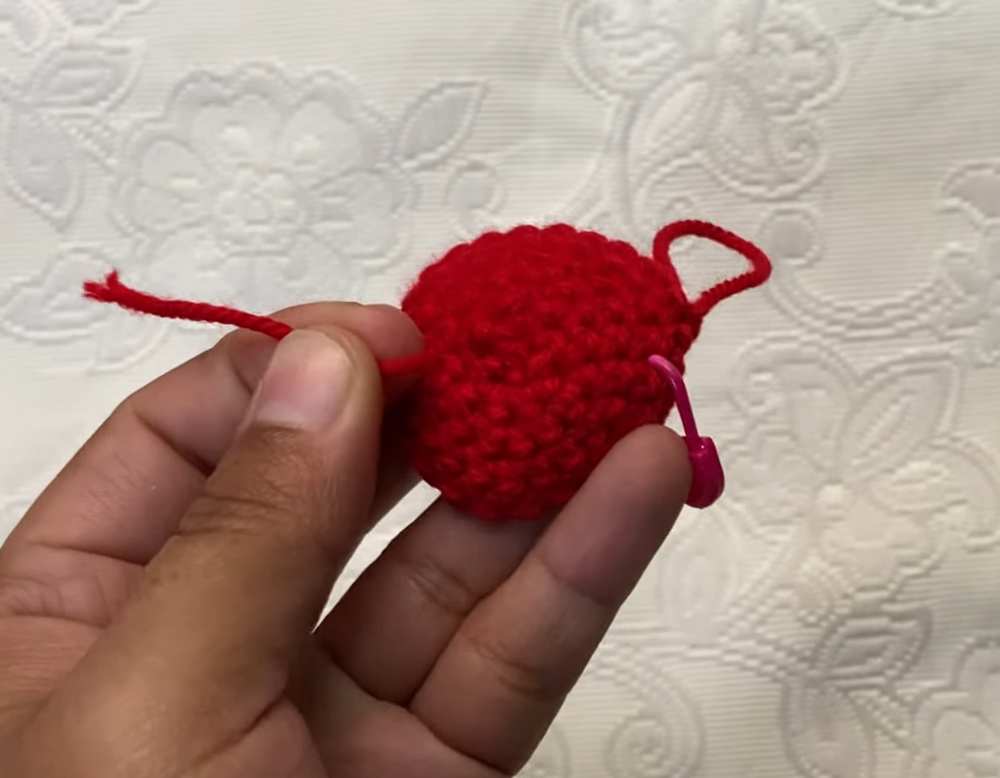
R4: (1 sc, inc, 1 sc) repeat 6 times. (24 sts)
R5–8: 24 sc around. (24 sts for 4 rounds)
Finishing: sl st to join, fasten off, and weave in the ends.
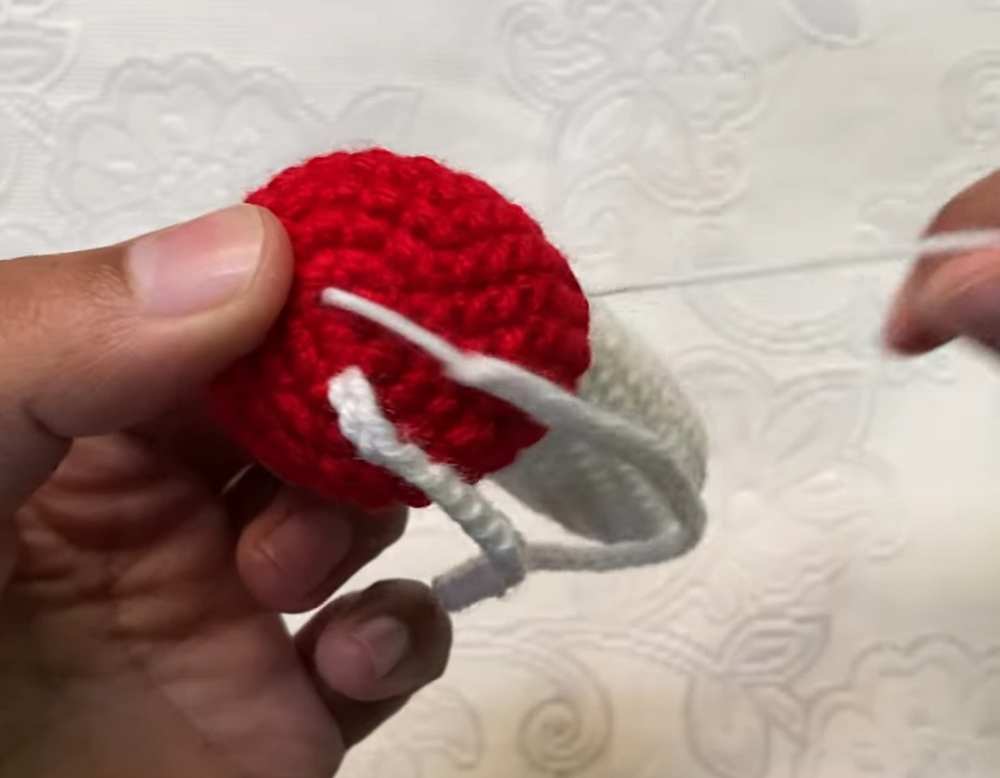
3. Spots (White Yarn) – Make 5
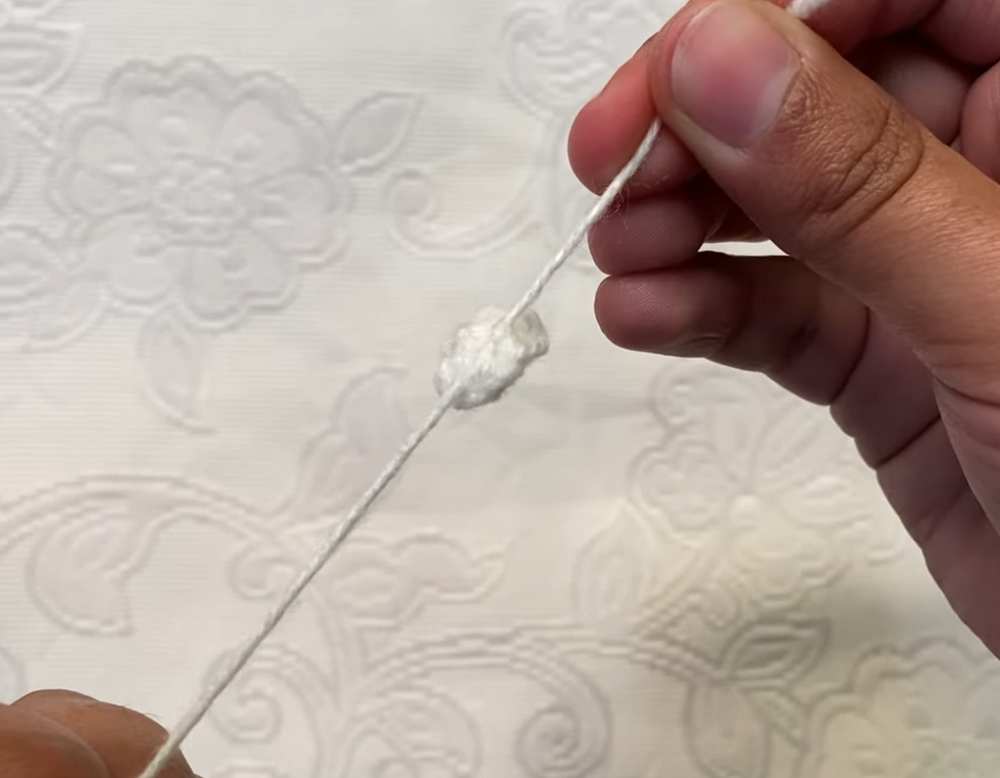
R1: Start with a MR. Work 6 sc into the ring.
Finishing: Use an invisible fasten-off to create a clean circle. Leave a small tail to hide.
Assembly
Cap Attachment: Take the white stem part. Use your crochet hook or needle to pull the long white chain loop through the very center of the red cap (the magic ring hole).
Decorating: Use glue to attach the 5 white spots randomly onto the surface of the red cap.
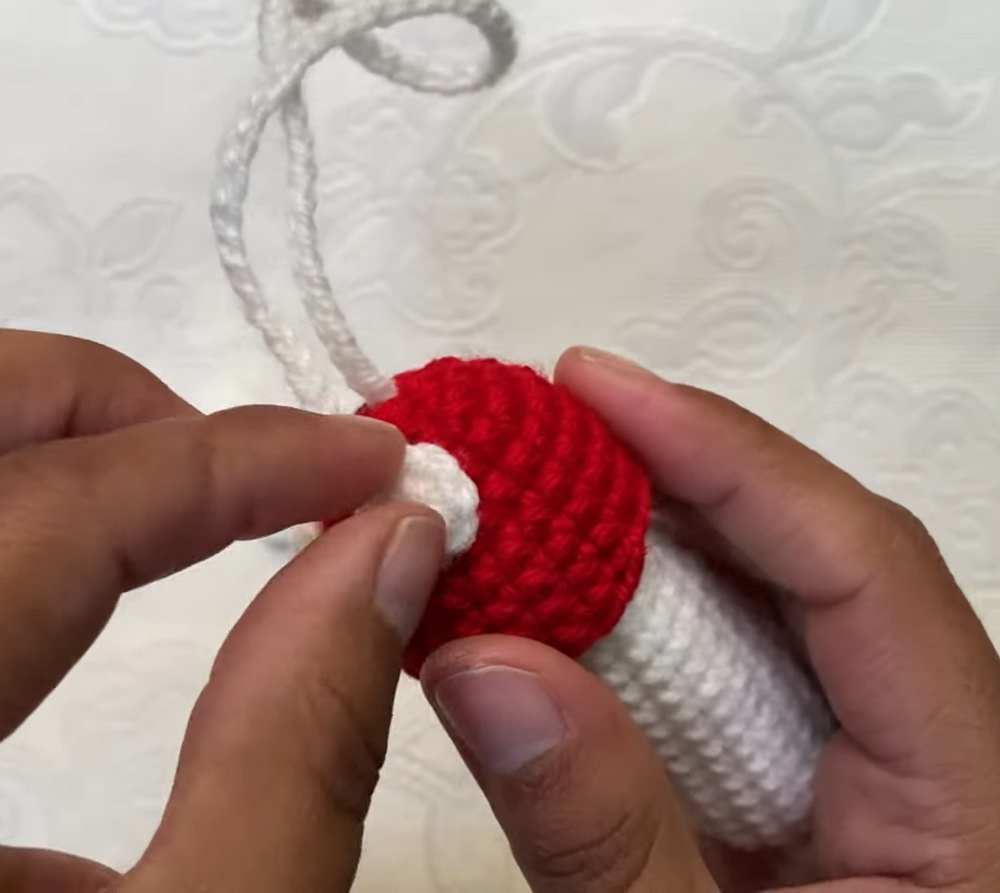
Final Use: Place your lip balm inside the stem, slide the cap down the loop to cover the top, and tie the loop to your bag or keys.
See More:
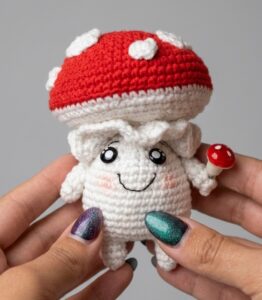
How to Crochet A Plastic Kawaii-Eyed Mushroom with Legs and Arms Plushie
Free Crochet Mushroom Plushies Pattern Series
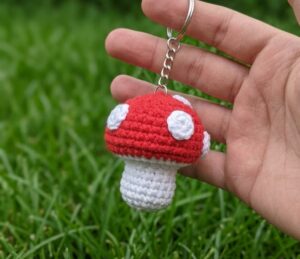
How to Crochet A Mushroom & Maple Leaf Keychain for Fall
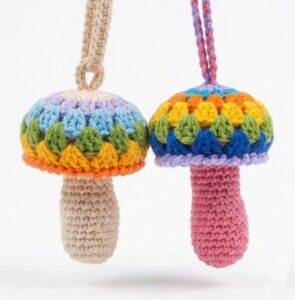
Let’s Crochet the Only Colorful 2-in-1 Mushroom for this Fall
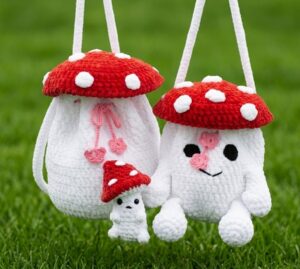
How to Crochet Back-to-School Mushroom Buddy Shoulder Bag for Kids & Adults
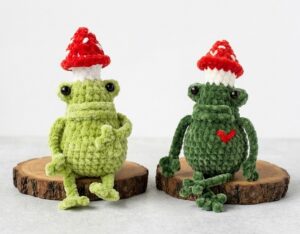
How to Crochet 20cm Variation of Mushroom Frog Plushie for Fall
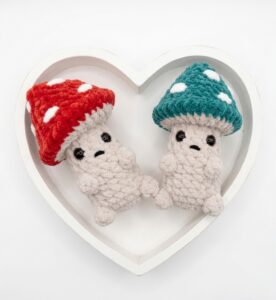
How to Crochet No-Sew Tilted Cap No-Sew Buddy Mushroom Plushie for Fall
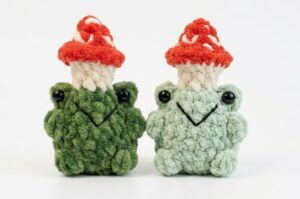
How to Crochet No-Sew Mushroom Hat Frog Plushie for Fall
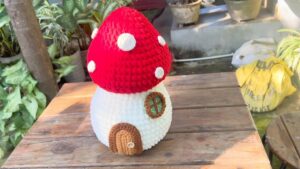
How to Crochet Plush Mushroom House for Fall Home Decoration