

Da Crochet here!
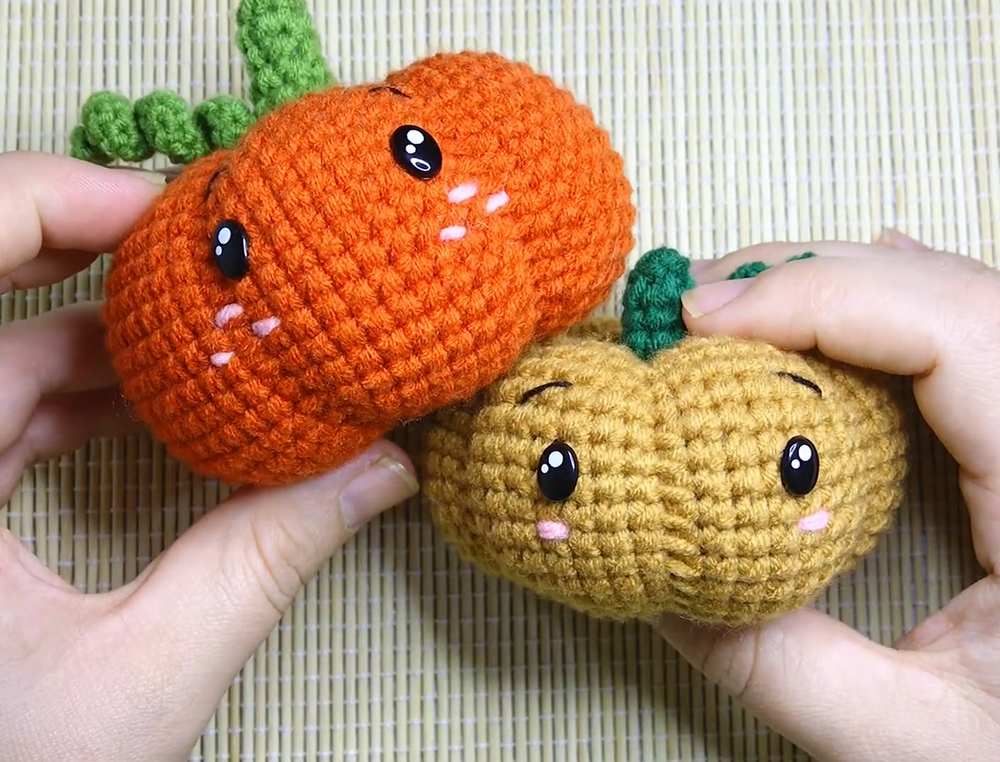
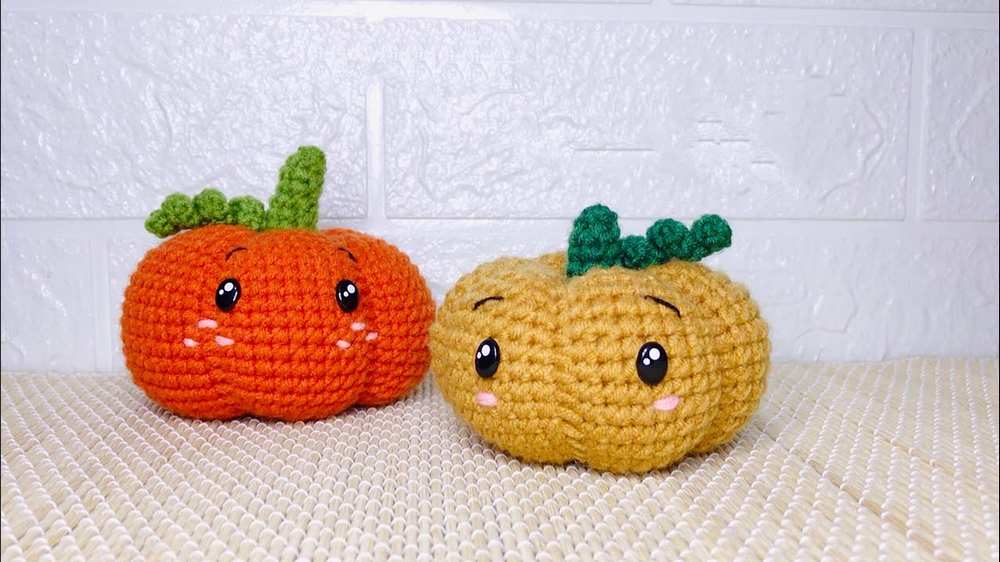
Learn how to crochet this oh-so-cute kawaii-eyed pumpkin amigurumi as a present for kids this fall, with a FREE written pattern and a tutorial as well. We will be crocheting an almost no-sew stuffed pumpkin by working in the rounds, unlike the ribbed fall pumpkin. It will be finished with an embroidery blush on the cheeks, kawaii plastic eyes, and even eyebrows.
Charm up your desk this fall or modify it for Halloween following the same pattern. This crochet pumpkin pattern also has a crochet curly vine pattern and a separate crochet stem.
Crochet Kawaii Eyed Pumpkin Amigurumi Pattern
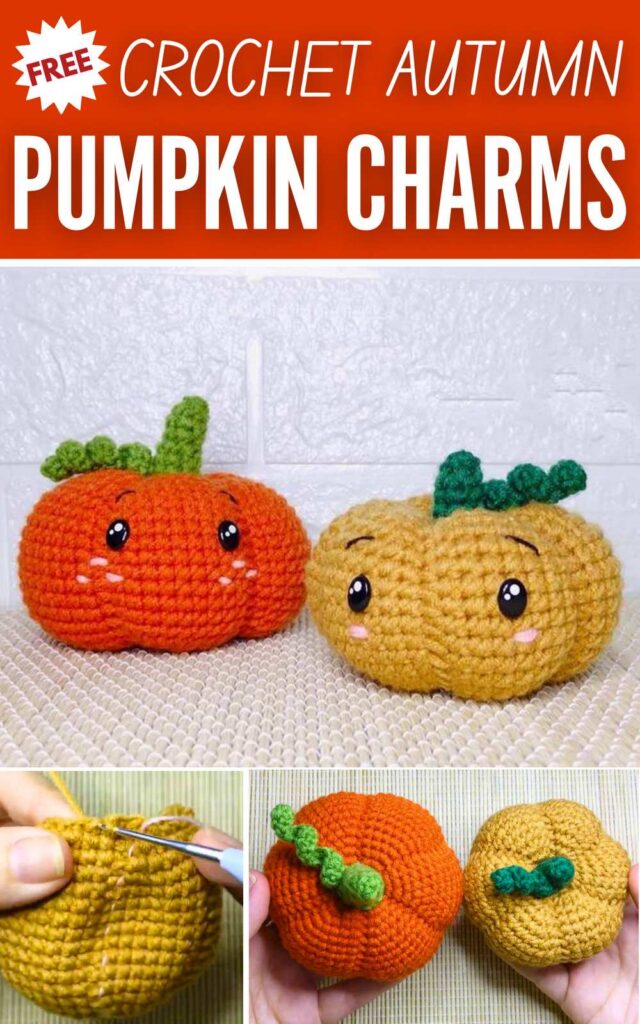
You can either crochet the orange or soil pumpkin version, as I will show below. Crocheting this pumpkin amigurumi is easier and quick, too. So, continue reading if you are looking for the full pattern to crochet this kawaii pumpkin.
How to Crochet Pumpkin Amigurumi with Kawaii Eyes
This project is for an amigurumi Halloween pumpkin (rather than a traditional doll) featuring a curly vine and realistic ribbed segments. The pattern cleverly uses “back loop only” (BLO) stitches to create a visible guideline on the outside of the pumpkin.
Once the base is finished, you use those unworked loops to guide your yarn, pulling tightly to sculpt the deep, signature ridges of the pumpkin before attaching the stem.
Materials
- Yarn: Dark green (for the stem/vine) and orange or golden brown (for the pumpkin)
- Hook: Appropriate size for your chosen yarn weight
- Notions: Fiberfill stuffing, yarn needle, and scissors
Are you a Beginner?
In case you can’t follow the written pattern, continue with the following tutorial or written pattern below!
Abbreviations (US Terms)
- MR: Magic Ring
- ch: chain
- sc: single crochet
- inc: increase (2 sc in the same stitch)
- dec: decrease (sc 2 together)
- BLO: back loop only
- sl st: slip stitch
- FO: fasten off
Pattern: Stem & Vine
Use dark green yarn.
- Rnd 1: 6 sc in MR (6)
- Rnd 2: BLO, 6 sc (6)
- Rnd 3: 6 sc (6)
- Rnd 4: (2 sc, 1 inc) x 2 (8)
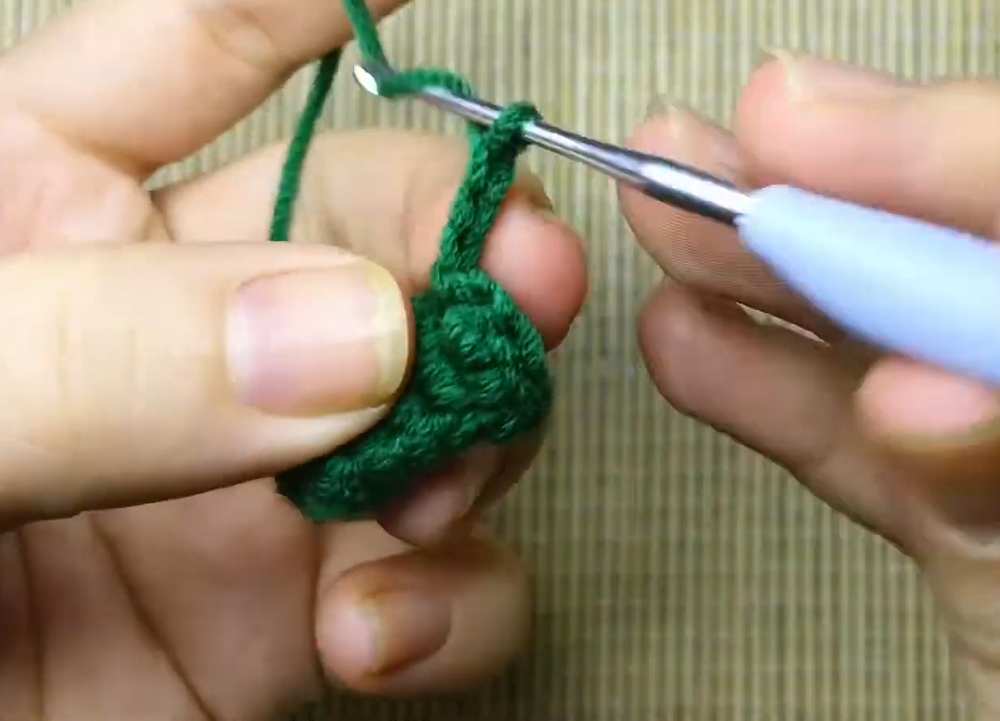
- Rnd 5: (3 sc, 1 inc) x 2 (10)
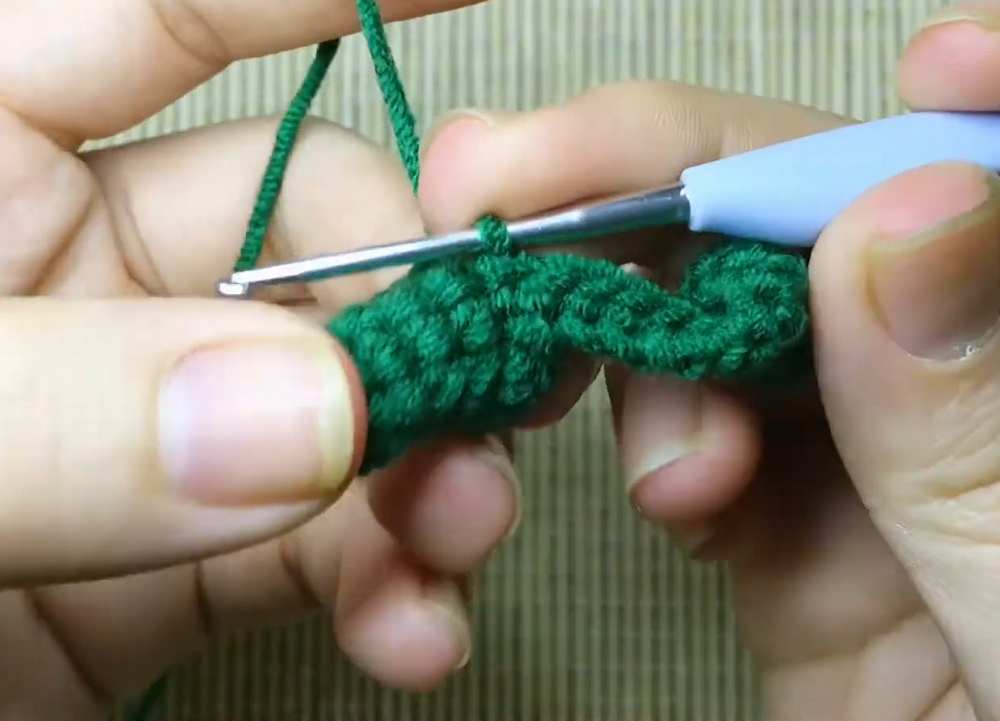
- Vine detail: sl st into the next st, ch 20. Starting in the 2nd ch from the hook, crochet 19 sc back down the chain. Sl st into the next stitch on the base of the stem to finish.
- FO. Leave a long tail for sewing. Lightly stuff the base of the stem.
Pattern: Pumpkin Body
Use orange or golden-brown yarn.
Note: Every round from Rnd 3 to Rnd 22 begins its repeat sequence with a single crochet in the Back Loop Only. This creates the vertical lines you will use for sculpting later.
- Rnd 1: 6 sc in MR (6)
- Rnd 2: 6 inc (12)
- Rnd 3: (1 BLO sc, 1 inc) x 6 (18)
- Rnd 4: (1 BLO sc, 1 sc, 1 inc) x 6 (24)
- Rnd 5: (1 BLO sc, 2 sc, 1 inc) x 6 (30)
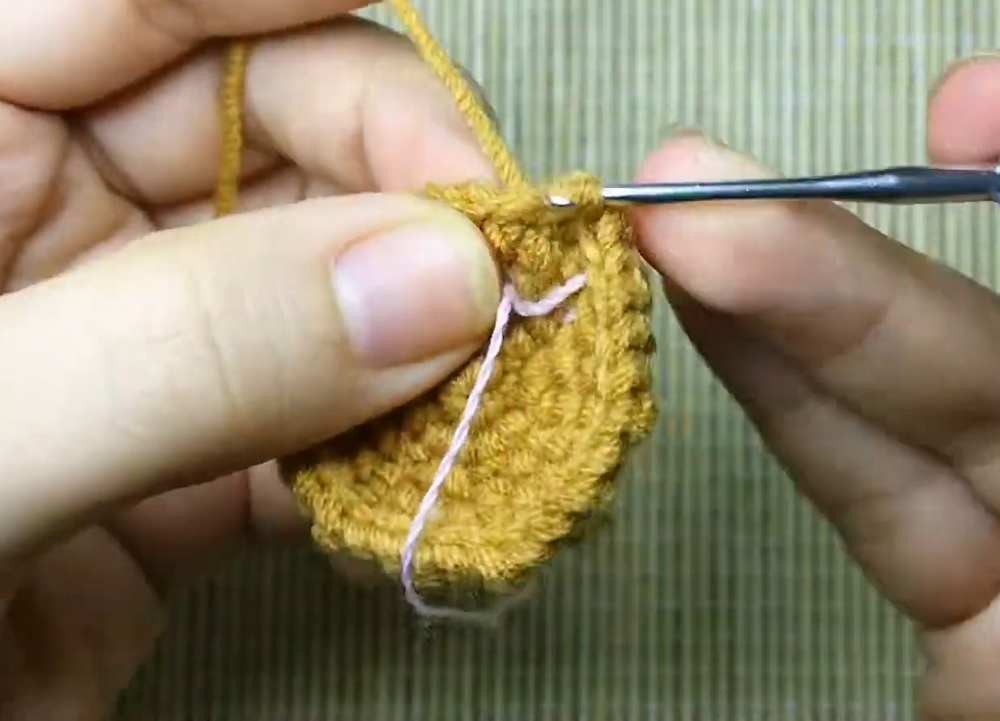
- Rnd 6: (1 BLO sc, 3 sc, 1 inc) x 6 (36)
- Rnd 7: (1 BLO sc, 4 sc, 1 inc) x 6 (42)
- Rnd 8: (1 BLO sc, 5 sc, 1 inc) x 6 (48)
- Rnds 9-16: (1 BLO sc, 7 sc) x 6 (48) (8 rounds total)
- Rnd 17: (1 BLO sc, 5 sc, 1 dec) x 6 (42)
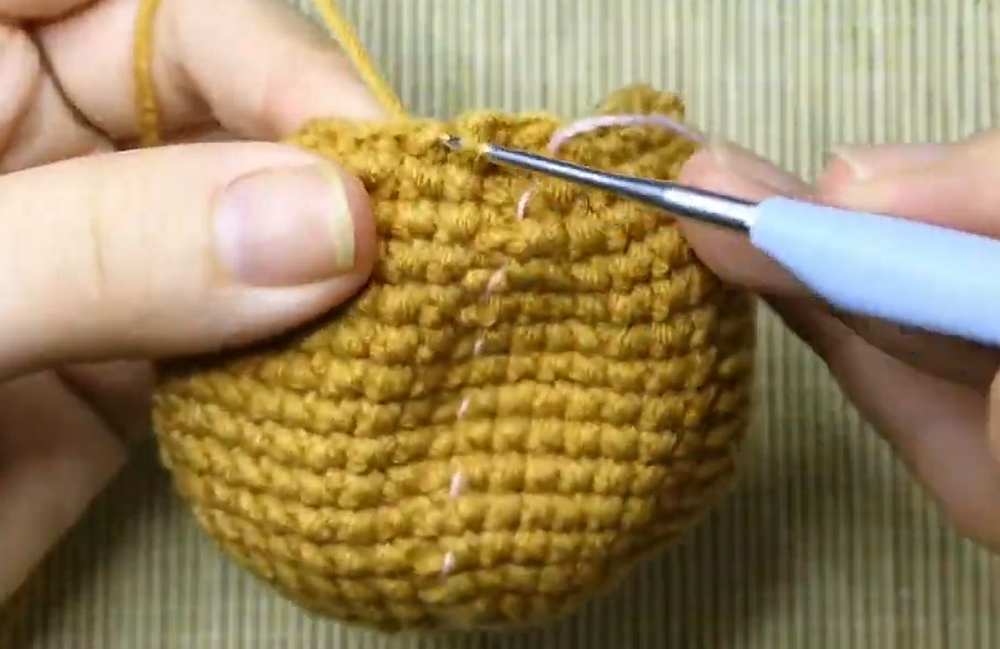
- Rnd 18: (1 BLO sc, 4 sc, 1 dec) x 6 (36)
- Rnd 19: (1 BLO sc, 3 sc, 1 dec) x 6 (30)
- Rnd 20: (1 BLO sc, 2 sc, 1 dec) x 6 (24)
- Rnd 21: (1 BLO sc, 1 sc, 1 dec) x 6 (18)
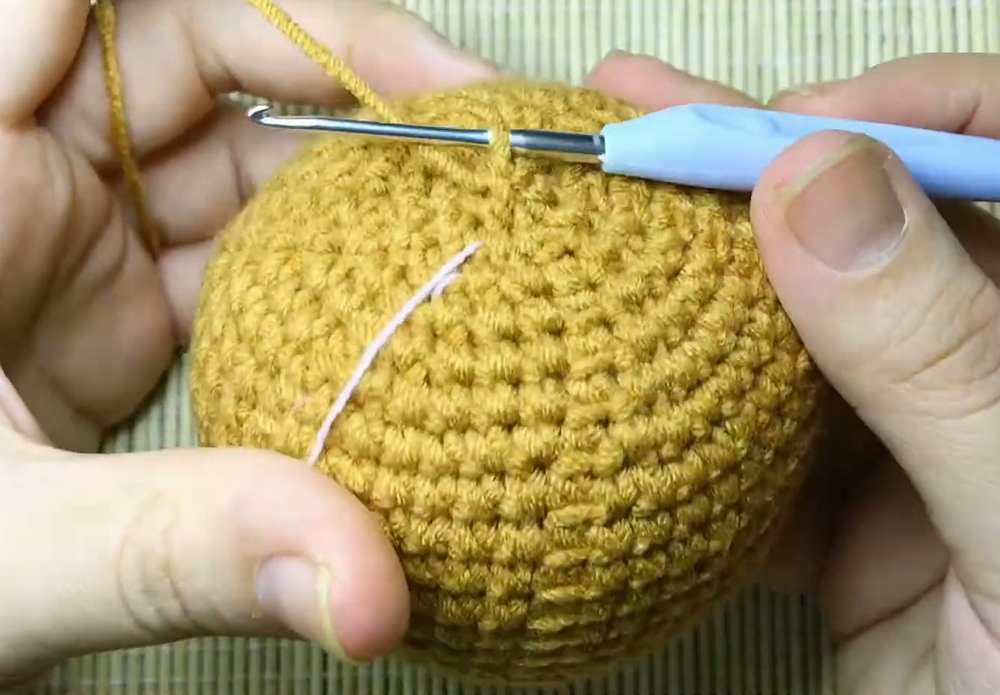
- Rnd 22: (1 BLO sc, 1 dec) x 6 (12)
- Stuff the pumpkin firmly.
- Rnd 23: 6 dec (6)
- FO. Leave an extra-long tail (about 24 inches) for sculpting.
Assembly & Sculpting
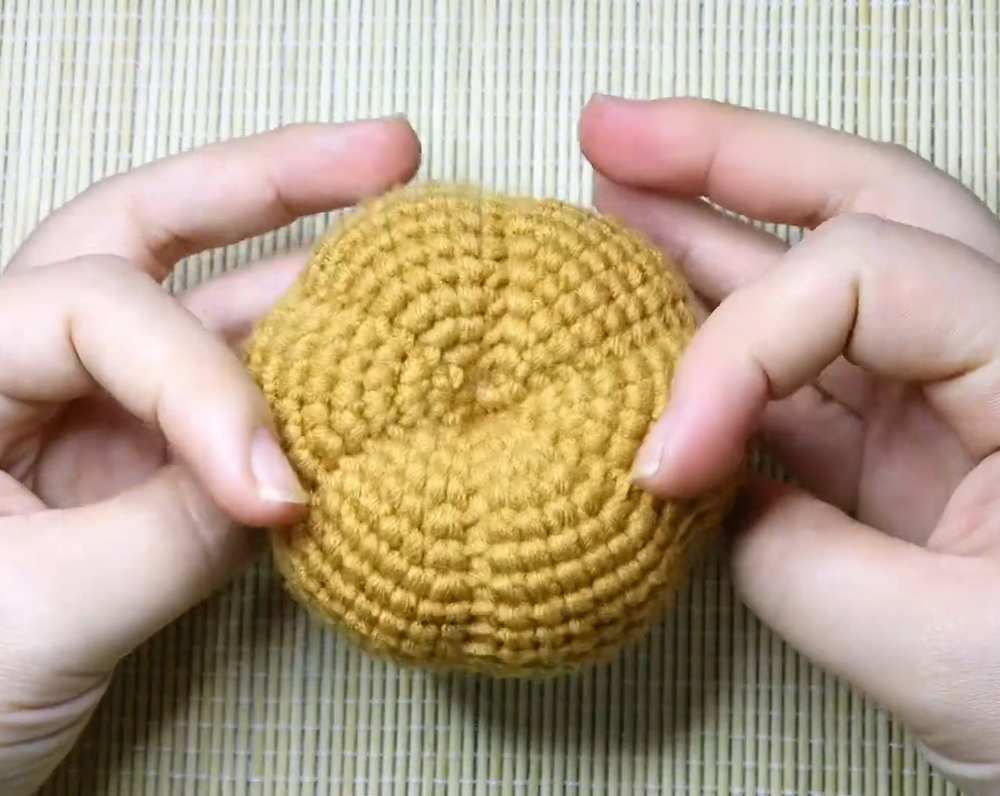
- Dimple the center: Thread the long pumpkin tail onto your yarn needle. Weave it through the remaining 6 stitches to close the hole. Push the needle straight down through the top center and pull it out the bottom center. Pull tightly to flatten the pumpkin and create dimples.
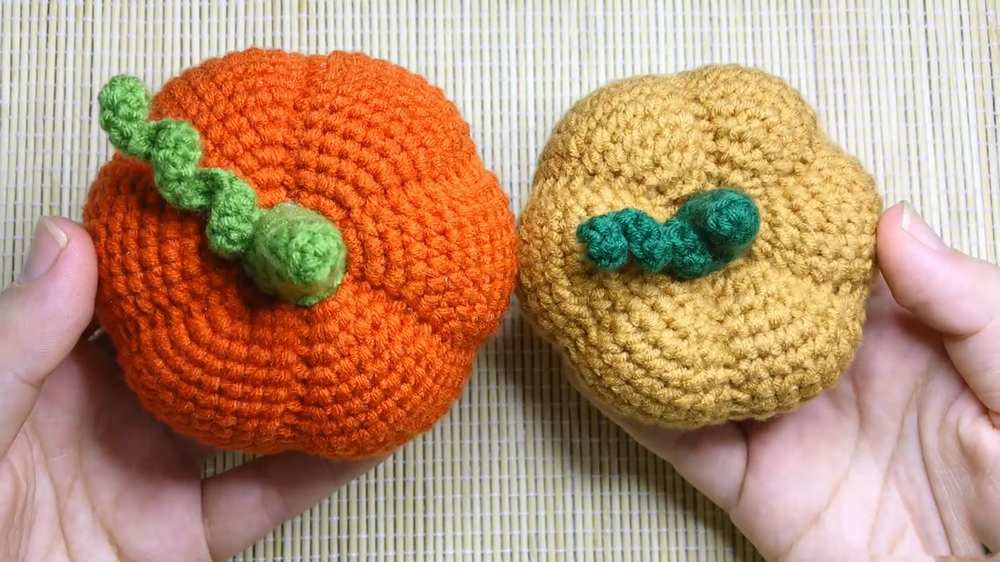
- Sculpt the segments: Wrap the yarn up the outside of the pumpkin, aligning it with the vertical line of unworked front loops left behind by your BLO stitches. Insert the needle back into the top center hole and out the bottom hole. Pull firmly to sink the yarn into the side of the pumpkin, creating a deep ridge. Repeat this for all 6 segmented lines.
- Attach the stem: Secure your sculpting yarn. Sew the open base of the stuffed stem directly over the top center dimple of the pumpkin.
See More:

Crochet CUTEST Guest-Welcoming BOO Ghost with Bow, Hat and Pumpkin Accessories

Tester Call: How to Crochet A Candy Corn, Pumpkin & Kawii Buddy Potted Plant Plushie

Featuring: How to Crochet the Smallest Pumpkin Fall Turtle Plushie with Orange & Parrot

Pattern Tester: How to Crochet Pumpkin Ridges Face Donut Ring Plushie for Fall

How to Crochet An Amigurumi Long-Legged Kawaii Pumpkin in Shoes Buddy

How to Granny Square with Pumpkin Applique in the Middle

Tester Pattern: To Crochet Pumpkin Hello Kitty Plushie with Big Paws Buddy

Featuring: How to Crochet Tiered Unusual Texture Pumpkin Decoration (3 Sizes)

Tester Pattern: To Crochet A Grizzly Bear Presenting You A Pumpkin Plushie
