Show support for Gulnara!
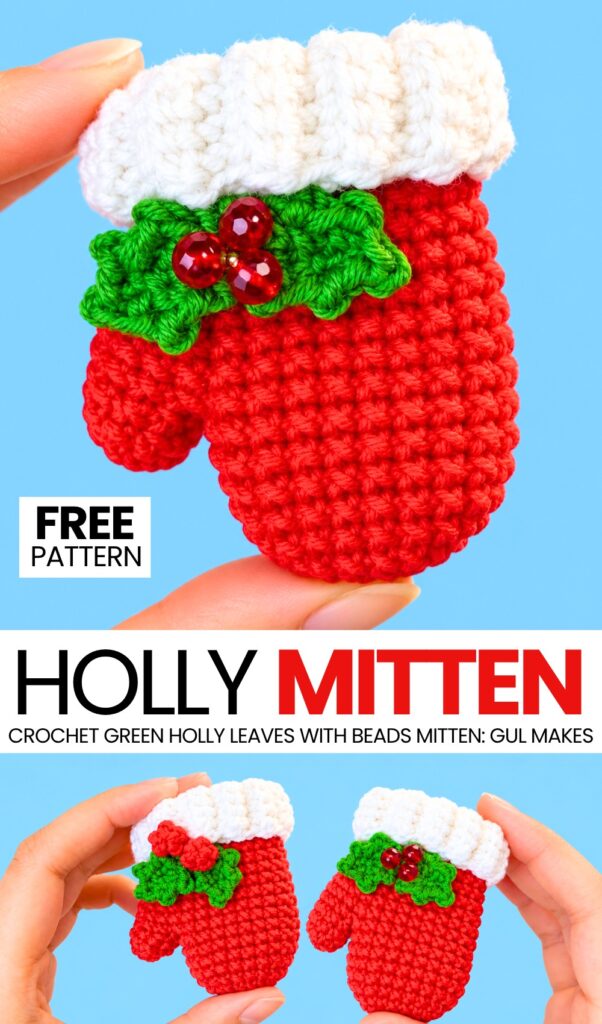
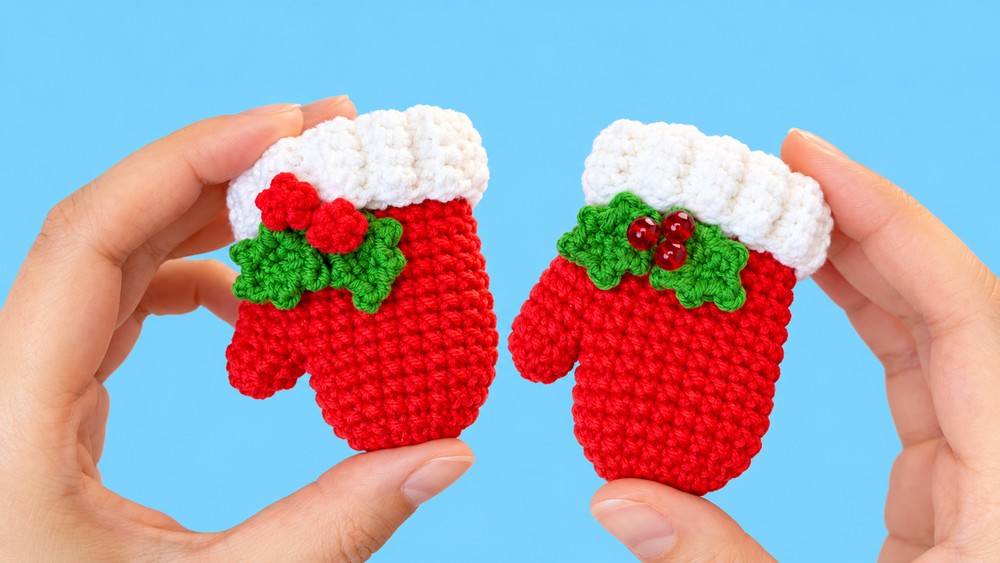
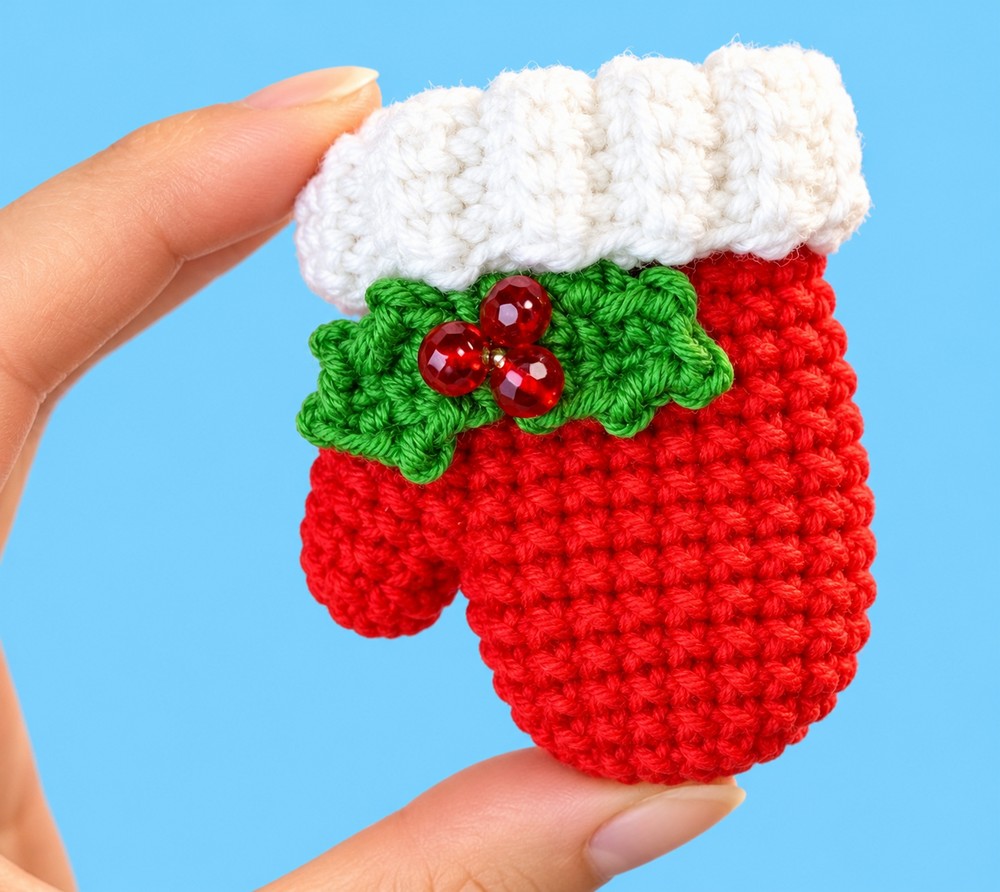
This is the second miniature Christmas mitten tutorial of this year and the MOST elegant one, as well. Last time, you crocheted a miniature Christmas glove ornament as part of my “3 must-have Christmas accessories with snowflake embroidery” series. Introducing the crochet ribbed cuff mitten charm that is decorated with small crocheted leaves and shiny ruby beads as cherries.
These mini crochet mittens make the CUTEST holiday decorations! Measuring approximately 2.5 inches (6.5 cm) tall, they are quick to make, beginner-friendly, and require only a small amount of yarn.
You can use them to decorate your Christmas tree, tie them onto holiday gift packages as festive gift tags, or make a matching pair as a lovely keepsake gift. You also have the option to crochet the berries using cotton yarn.
Pattern to Crochet Little Perfect Mitten Ornaments
Skill Level: Beginner – Level 5
Materials & Tools
Yarn: Sport / Fine weight yarn (such as Alize Cotton Gold: 55% cotton, 45% acrylic; 100 g / 330 m) in:
Red
White
Green
Crochet Hook: 2.5 mm
Notions:
Yarn needle / tapestry needle
Scissors
Stitch marker
Red beads (optional, as an alternative to crocheted berries)
Crochet Abbreviations & Terms (US Terms)
MR: Magic Ring
ch: chain
sc: single crochet
inc: increase (work 2 single crochets into the same stitch)
inv dec: invisible decrease (insert hook through the front loops of the next 2 stitches, yarn over, pull through 2 loops, yarn over and pull through remaining 2 loops)
sl st: slip stitch
BLO: back loops only
picot (ch-1 picot): chain 1, then slip stitch into the back ridge/bump of that chain
st(s): stitch(es)
Step 1: The Thumb (Red Yarn)
Work in continuous spirals. Use a stitch marker in the last stitch of each round to keep track.
Round 1: Make a Magic Ring. Work 5 sc into the ring. Pull the yarn tail to close the ring tightly. (5 sts)
Round 2: Work 1 inc in each stitch around. (10 sts)
Rounds 3–4: Work 1 sc in each stitch around (2 rounds total). (10 sts)
Finishing the Thumb:
Cut the red yarn, leaving a short tail (around 6 to 8 inches) for sewing closed the gap later.
Fasten off invisibly: Thread your yarn needle with the tail. Skip the first stitch after your last worked stitch. Insert the needle under both top loops of the next stitch from back to front (or front to back), then insert the needle directly down through the center of the last worked stitch. Pull gently to mimic a normal crochet stitch.
Do not cut or weave in this tail—leave it hanging on the thumb for joining later.
Step 2: The Mitten Body (Red Yarn)
Start with a foundation chain to form an oval base.
Foundation Chain: Ch 4.
Round 1:
Skip the first chain from the hook.
Work 2 sc into the second chain from the hook.
Work 1 sc into the next chain.
Work 3 sc into the last chain.
Rotate your work to crochet along the opposite/underside of the foundation chain.
Work 1 sc into the next stitch.
Work 2 sc into the last stitch. (8 sts total)
Round 2:
Work 2 inc (1 inc in each of the next 2 sts).
1 sc in next st.
Work 3 inc (1 inc in each of the next 3 sts).
1 sc in next st.
1 inc in last st. (14 sts total)
Round 3:
Work 2 inc.
Work 5 sc.
Work 2 inc.
Work 5 sc. (18 sts total)
Round 4:
Work 2 sc.
1 inc in next st.
Work 8 sc.
1 inc in next st.
Work 6 sc. (20 sts total)
Rounds 5–8: Work 1 sc in each stitch around (4 rounds total). (20 sts in each round)
Step 3: Attaching the Thumb & Shaping the Hand
Round 9 (Joining Round):
Work 1 sc in each of the first 2 sts on the mitten body.
Pick up the thumb. Leaving 2 stitches on the thumb unworked, work 1 sc into each of the remaining 8 stitches around the thumb.
Skip 2 stitches on the mitten body (these line up with the 2 unworked stitches on the thumb).
Work 1 sc in each of the remaining 16 stitches on the mitten body. (26 sts total around the entire opening)
Closing the Thumb Gap:
Pause here before continuing. Inside, where the thumb joins the hand, there is a small gap caused by the 2 skipped body stitches and the 2 unworked thumb stitches.
Thread the yarn tail left on the thumb onto your yarn needle.
Neatly whipstitch the gap closed from the inside of the mitten.
Secure the yarn with a knot on the inside, weave the end slightly, and trim the excess yarn.
Continuing the Mitten Body:
Rounds 10–11: Work 1 sc in each stitch around (2 rounds total). (26 sts)
Round 12:
Work 3 sc.
Work 1 inv dec.
Work 1 sc.
Work 1 inv dec.
Work 1 sc in each of the remaining 18 stitches. (24 sts total)
Rounds 13–14: Work 1 sc in each stitch around (2 rounds total). (24 sts)
Finishing the Body:
Cut the red yarn, leaving a 4-inch tail.
Fasten off using the invisible finish method: Skip 1 st, pass needle under both loops of the next st, then down through the center of the final st.
Weave the tail neatly inside the mitten body and trim.
Step 4: The Ribbed White Cuff (White Yarn)
The cuff is worked in short perpendicular rows attached directly to the top edge of the mitten using slip stitches.
Attach Yarn: Insert hook into the mitten opening on the side directly above the thumb. Pull up a loop of white yarn.
Foundation: Ch 9.
Row 1: Skip the 1st chain from hook, work 1 sc into each of the next 8 chains. (8 sts)
Join to Edge: Work 1 sl st into the next stitch along the mitten opening edge, then work 1 sl st into the following stitch on the edge (2 sl sts total on the edge).
Row 2: Turn work. Skip the 2 slip stitches on the edge. Work 1 sc in BLO (Back Loops Only) across the 8 cuff stitches. (8 sts)
Row 3: Ch 1, turn work. Work 1 sc in BLO across all 8 stitches back down toward the mitten. (8 sts)
Join to Edge: Work 1 sl st in each of the next 2 stitches along the mitten edge.
Repeat: Continue repeating Rows 2 and 3 all the way around the top opening of the mitten (using up all 24 stitches of the mitten rim).
Joining the Cuff Ends:
After the last row connects to the edge, bring the first row and last row of the cuff together.
Join the edges by working 8 slip stitches through both layers (connecting the foundation chain edge and the final row edge).
Leave a long white yarn tail (about 12 inches) for creating the hanging loop, then cut the yarn.
Folding & Hanging Loop:
Fold the white cuff downward in half over the red body to create the classic folded cuff look.
Thread the remaining white yarn tail onto a needle.
Bring the needle up through the top fold of the cuff to create a hanging loop (approx. 2 to 3 inches long). Secure firmly with a stitch/knot on the inside and weave in the end.
Step 5: Holly Leaves (Make 2 – Green Yarn)
Follow this stitch pattern for each leaf:
Ch 4.
Skip the 1st chain from the hook.
In the 2nd chain: work 1 sl st, then work 1 ch-1 picot (chain 1, sl st into the back bump of the chain).
In the 3rd chain: work 1 sl st, then work 1 ch-1 picot.
In the 4th (last) chain: work 1 sl st, 1 ch-1 picot, and 1 sl st all into this same chain.
Rotate to work along the opposite side of the chain:
Work 1 ch-1 picot, then 1 sl st in the next space.
Work 1 ch-1 picot, then 1 sl st in the next space.
Finish with 1 sl st into the very last end.
Cut the yarn leaving a tail for sewing, and fasten off.
Step 6: Holly Berries (Make 2 – Red Yarn)
(Note: You can substitute these with small red craft beads if preferred).
Make a Magic Ring.
Work 4 sc into the ring.
Pull the ring completely closed and join with a sl st to the first sc.
Fasten off, leaving a tail for sewing. Repeat for the second berry.
Step 7: Final Assembly & Embellishment
Position the Leaves: Arrange the two green holly leaves slightly angled on one side of the red mitten body, right beneath the white folded cuff.
Attach the Leaves: Using the green yarn tails and a tapestry needle (or fabric glue), sew each leaf securely onto the front layer of the mitten.
Attach the Berries: Place the two small crocheted red berries (or red beads) at the stem base of the leaves and sew them firmly into place.
Finish: Pull all loose ends inside the mitten, tie them securely, trim excess threads, and your mini Christmas mitten ornament is complete!
Are you a Beginner? Learn Crocheting Easily!
You can learn to crochet better with this crochet amigurumi mitten tutorial. Or continue to the written pattern below!

See More:
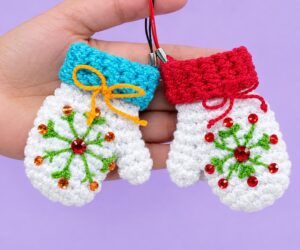
How to Bead-Decorated White & Red or Blue Christmas Mitten Charms for Gifting

How to Crochet Holly Christmas Coaster with Snowflake Embroidery
Featuring: How to Crochet Holly Leaf on the Hat Gnome Wind Spinner with Tassel

How to Crochet Holly Leaf & Pom Poms White Holiday Treat Sack for Christmas

How to Crochet Mr. Reindeer Snail Buddy Holding a Treat Basket with Holly Leaves
How to Crochet Festive Birds Amigurumi in Treat Basket & Holly Leaf Decoration

How to Crochet Red-Nose Funny Holly Leaf Decorated Candle Buddy Amigurumi
How to Crochet Holly Leaf & Pair of Bells Festive Holiday Decoration Pattern
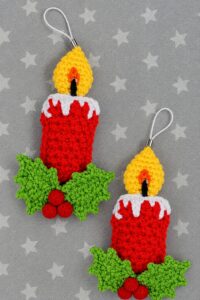
How to Crochet Ornament Stuffed Candle Amigurumi with Holly Leaves & Berries