Show support for Otakulandia!
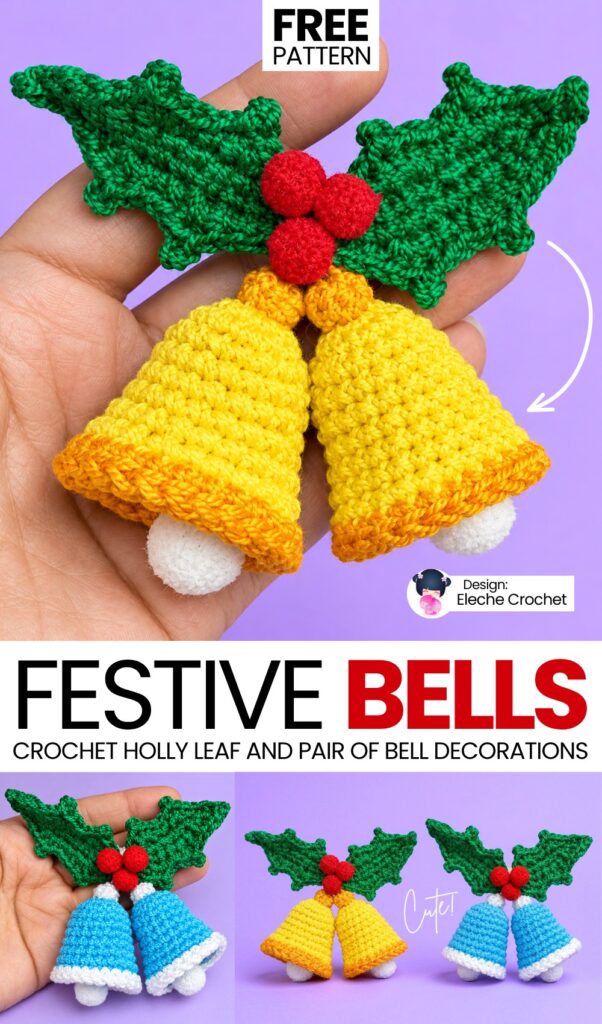
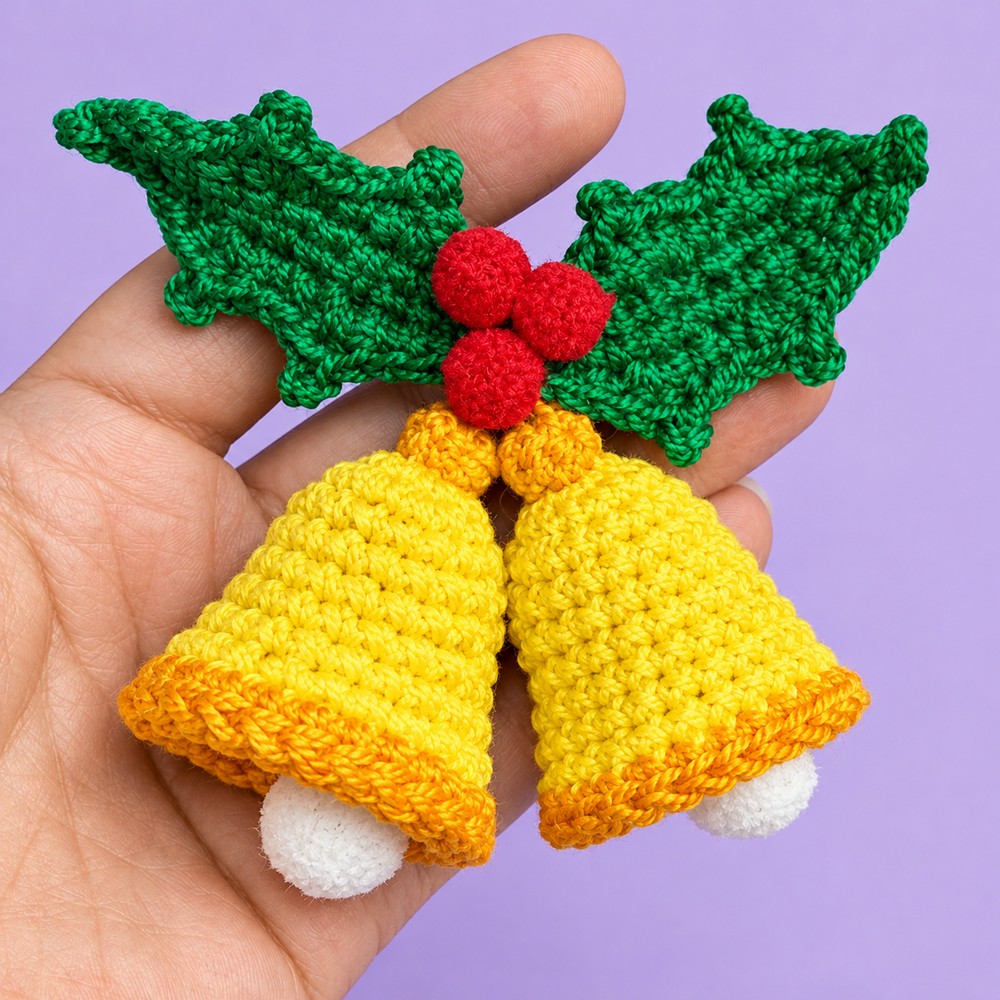
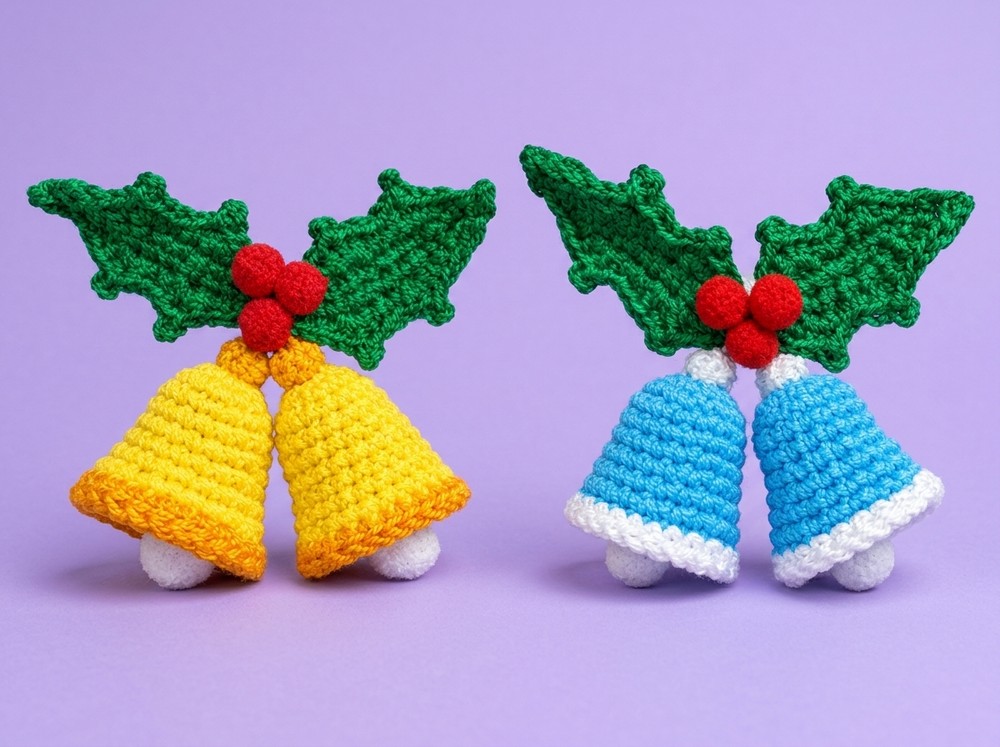
I am back with another crochet TRADITIONAL, but UNIQUELY crocheted holiday decorations tutorial. Learn how to crochet this pair of festive DK yarn bells topped with classic holly leaves, bright red berry pompoms, and little pompom clappers peeking out from underneath.
Designed to be mounted onto a snap clip or alligator barrette for a crochet holiday hairstyle, it can also easily be made with a hanging loop to decorate a Christmas tree, embellish wrapped gifts, or accent a holiday garland.
You can also use the crochet Holly Leaf pattern taught in this step-by-step tutorial and written pattern to crochet the Holly Leaf amigurumi dolls. Can be crocheted in less than 45 minutes. Now, continue reading to learn more about this DK yarn bell pair!
Materials & Tools
Yarn: Size 5 pearl cotton or fine mercerized cotton crochet thread (worked holding 2 strands together throughout for structure).
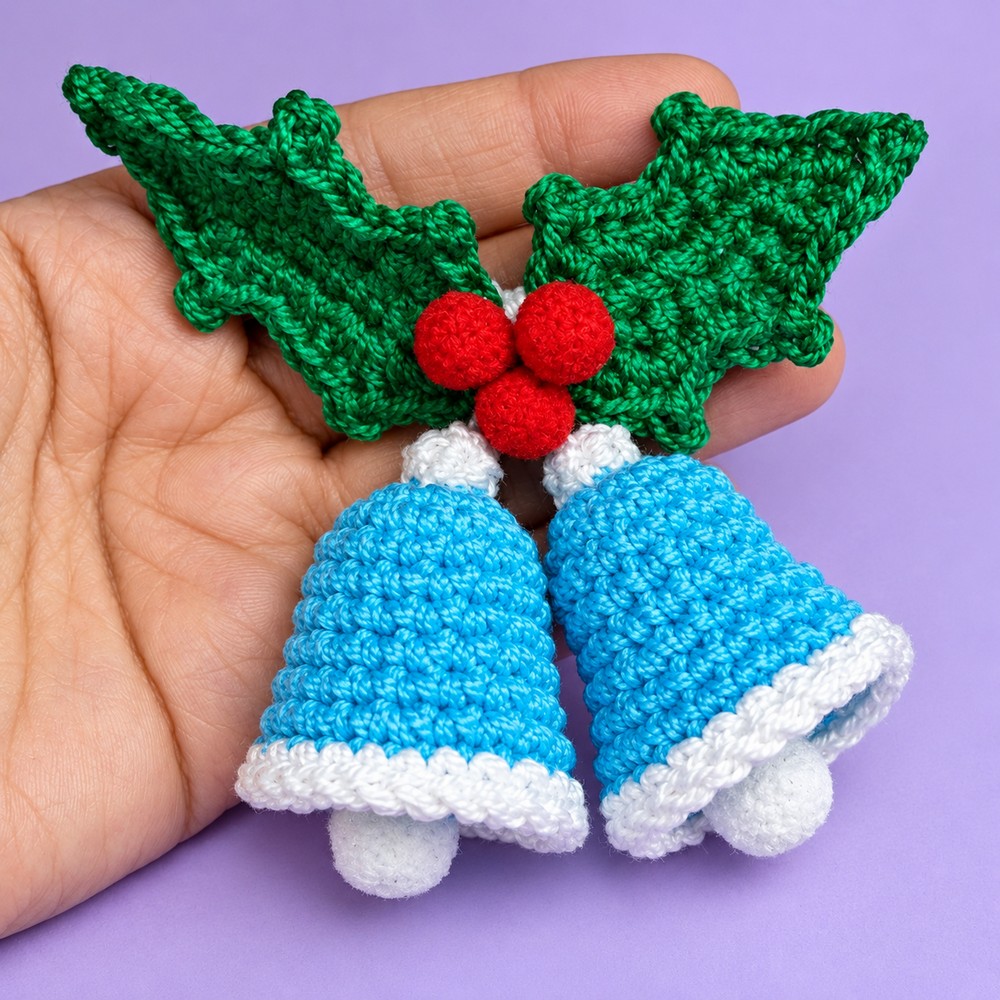
Main Bell Color: Cyan / Light Blue (or Golden Yellow, Red, etc.)
Contrast Color: White (for the bell rim, cap, and hanging cords)
Leaf Color: Forest Green
Crochet Hook: 1.75 mm
Pompoms:
2 white pompoms (approx. 12 mm / 0.5″) for the bell clappers (badajos)
3 red pompoms (approx. 7 mm / 0.25″) for the holly berries
Hair Hardware: 1 snap hair clip (clip / horquilla) approx. 5 cm (2″) long
Notions:
Tapestry/yarn needle
Scissors
Hot glue stick (melted carefully with a lighter or hot glue gun)
Sewing pins (for positioning)
Pattern Notes & Abbreviations (US Terms)
Holding 2 Strands: Work with two strands of thread held together throughout to give the bells and leaves sufficient firmness and body.
Continuous Rounds: The bell body is worked in a continuous spiral. Do not join with a slip stitch at the end of each round unless explicitly instructed. Use a stitch marker to keep track of the first stitch of each round.
Abbreviations:
MR: Magic Ring
ch: Chain
sc: Single crochet
inc: Increase (work 2 sc in the same stitch)
hdc: Half double crochet
sl st: Slip stitch
st(s): Stitch(es)
picot: Ch 2, sl st into the top of the previous stitch (or into the front loop and left vertical bar)
Are you a Beginner? Learn Crocheting Easily!
You can learn to crochet better with this crochet set bell decoration tutorial. Or continue to the written pattern below!
Step-by-Step Instructions
1. Bell Body (Make 2)
Start with Main Color (holding 2 strands together) and a 1.75 mm hook.
Round 1: In a MR, work 7 sc. (7 sts)
Gently pull the ring closed.Round 2: Work 2 sc in each st around (7 increases). (14 sts)
Round 3: [2 sc, inc] repeat around 4 times, finish with 2 sc (or space increases evenly) to reach 17 sts. (17 sts)
Rounds 4–6 (3 rounds): Work 1 sc in each of the 17 sts around. (17 sts)
Round 7: [4 sc, inc] 3 times, sc in the remaining 2 sts. (20 sts)
Round 8: Work 1 sc in each of the 20 sts around. (20 sts)
Round 9: [3 sc, inc] repeat around 5 times to reach 25 sts. (25 sts)
Round 10 (Color Change): On the final stitch of Round 9, pull through the two loops with White thread (holding 2 strands). Work 1 sc in each st around. (25 sts)
Round 11 (Bell Flare Rim): Work 1 sl st loosely into each st around (25 sl sts).
Note: Keep your slip stitches relaxed so the rim slightly flares out and does not curl inward.
Fasten off, cut yarn, and weave in all loose ends on the inside.
2. Top Bell Cap / Button (Make 2)
Use White thread (holding 2 strands together).
Round 1: In a MR, work 7 sc. (7 sts)
Join: Sl st into the first sc to close the circle.
Finishing: Cut the thread, leaving a long tail (approx. 25–30 cm / 10–12″). Do not flatten the piece; allow the natural cup/dome shape of the stitches to form the top button.
Attachment to Bell:
Position the white dome directly over the top closed tip (crown) of the bell.
Thread the long tail onto a tapestry needle.
Sew the cap securely around its perimeter to the top of the bell using small, discreet stitches.
Once stitched around, bring the remaining tail up through the very center top of the cap and leave it hanging free—this tail will suspend the clapper inside and anchor the bell to the leaves.
3. Holly Leaves (Make 2)
Use Green thread (holding 2 strands together).
Central Vein / Base:
Foundation: Ch 9.
Round 1:
Starting in the 2nd ch from the hook, work 1 sc in each of the next 7 chs. (7 sc)
In the very last chain stitch (the tip), work: (1 sc, ch 1, 1 sc) all into the same chain.
Rotate work to crochet along the opposite side of the foundation chain: work 1 sc in each of the next 7 chain loops. (7 sc)
Serrated Holly Edge (Points):
Work directly along the outer perimeter to form the classic pointed holly peaks.
Round 2 (5 Points Total):
Point 1 (Side): In the next st, work (1 hdc, ch 2 picot, 1 hdc) all in the same st. Sc in the next 2 sts.
Point 2 (Side): In the next st, work (1 hdc, ch 2 picot, 1 hdc) all in the same st. Sc in the next 2 sts.
Point 3 (Top Tip): In the ch-1 tip space, work (1 hdc, ch 2 picot, 1 hdc) all in the same space. Sc in the next 2 sts down the opposite side.
Point 4 (Side): In the next st, work (1 hdc, ch 2 picot, 1 hdc) all in the same st. Sc in the next 2 sts.
Point 5 (Side): In the next st, work (1 hdc, ch 2 picot, 1 hdc) all in the same st. Sc in the next 2 sts.
Sl st into the starting stitch to join.
Finishing:
For the first leaf: Fasten off and weave in ends neatly along the back.
For the second leaf: Fasten off leaving a tail (approx. 20 cm / 8″) for sewing the two leaves together.
Joining the Leaves:
Overlap the lower bases of the two leaves slightly at an angle (so the tips point outwards in opposite directions).
Use the yarn needle and tail to take several firm, invisible stitches through the overlapping area from the back side.
Fasten off and secure the tail.
4. Assembling the Clappers (Badajos)
Take the long white thread emerging from the top of a bell and thread it onto a yarn needle.
Pass the needle completely through the center core of one 12 mm white pompom.
Apply a tiny droplet of hot glue right where the thread enters the pompom to lock it permanently in place.
Pass the needle back up inside the bell cavity and out through the center top cap.
Pull the thread until the white pompom hangs just low enough so half of it peeks out beneath the white rim of the bell.
Take a small securing stitch at the top white cap to lock the hanging height. Repeat for the second bell.
5. Final Assembly & Mounting
Suspending the Bells:
Hold both bells by their top white tails side-by-side.
Position them under the central junction of the joined green holly leaves so they hang slightly staggered or evenly touching.
Wrap the white threads securely through the base of the leaves and tie/stitch them firmly on the back side.
Attaching the Holly Berries:
On the front side where the two leaves meet (covering any exposed assembly stitches):
Apply small drops of hot glue and press the three 7 mm red pompoms together in a triangle cluster.
Attaching the Hair Clip:
Turn the piece over to the back side.
Position the open metal snap clip horizontally across the leaf stems, directly over the stitched bell threads.
Use sewing pins to mark the clip’s precise placement so it sits centered and balanced.
Apply a generous strip of hot glue onto the back surface of the leaves (avoiding getting glue into the clip’s moving hinge).
Press the hair clip firmly into the glue until fully cooled and bonded.
(Optional Alternative: For a Christmas tree ornament, simply braid or knot the top white threads into a 10 cm / 4″ loop instead of gluing on a hair clip).
See More:
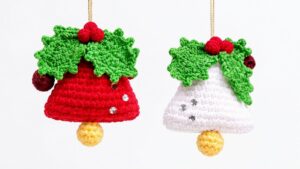
How to Crochet Holly Leaf, Berry & Stuffed Bell Ornament for Christmas
Featuring: Tutoral to Crochet White Edging & Bell Hanging Mini Tree Spinner
How to Crochet Red Bell Topped Snowy Christmas Tree Table Decoration for All
Featuring: How to Crochet A Sitting Grey Baby Sheep with Bell & Little Horns Plushie
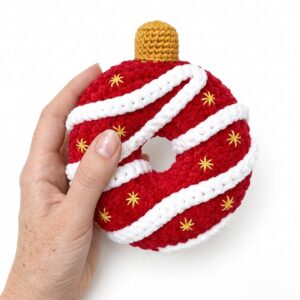
Crochet Bell Christmas Ornament Ring Plushie for Decoration & Playing with
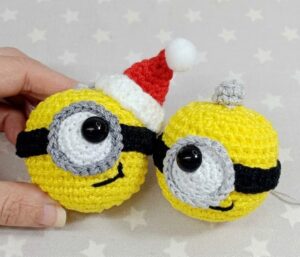
How to Crochet Christmas Yellow Goggle Character Bell Buddy in Santa Hat
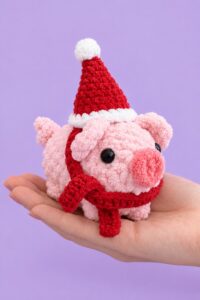
Tester Call: How to Crochet Festive No-Sew Pig Plushie with Coild Tail in Hat & Scarf
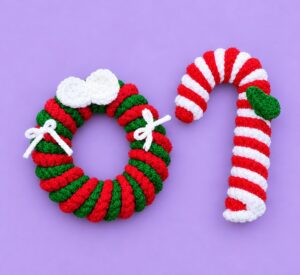
2-in-1 Tutorial: How to Crochet Red & White Festive Candy & Twisted Wreath from Crochet Stripe

Tester Call: How to Crochet Buddy Honey Puppy in Festive Accessories No-Sew Plushie