Show support for Otakulandia!
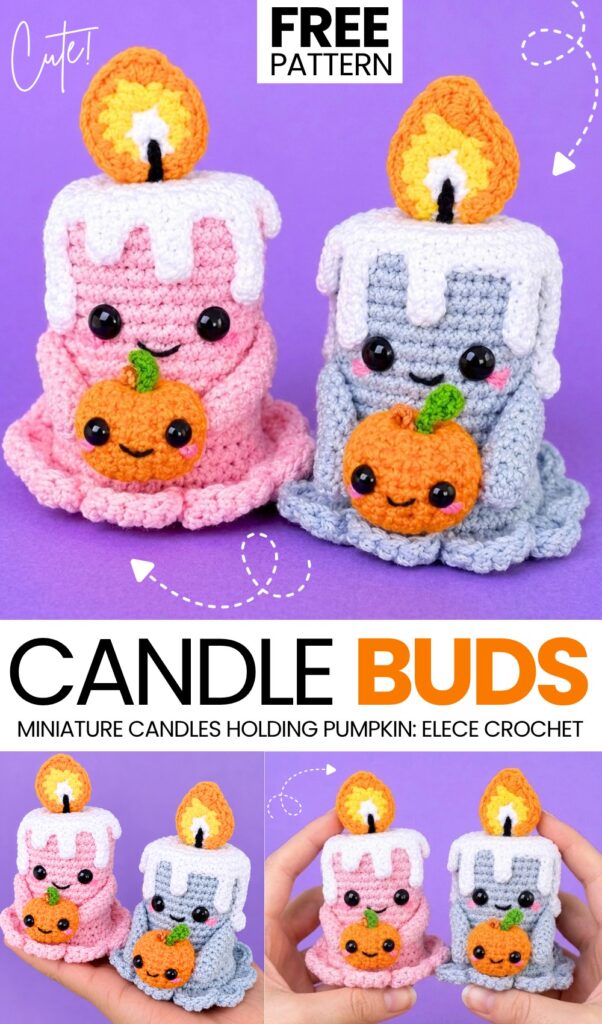
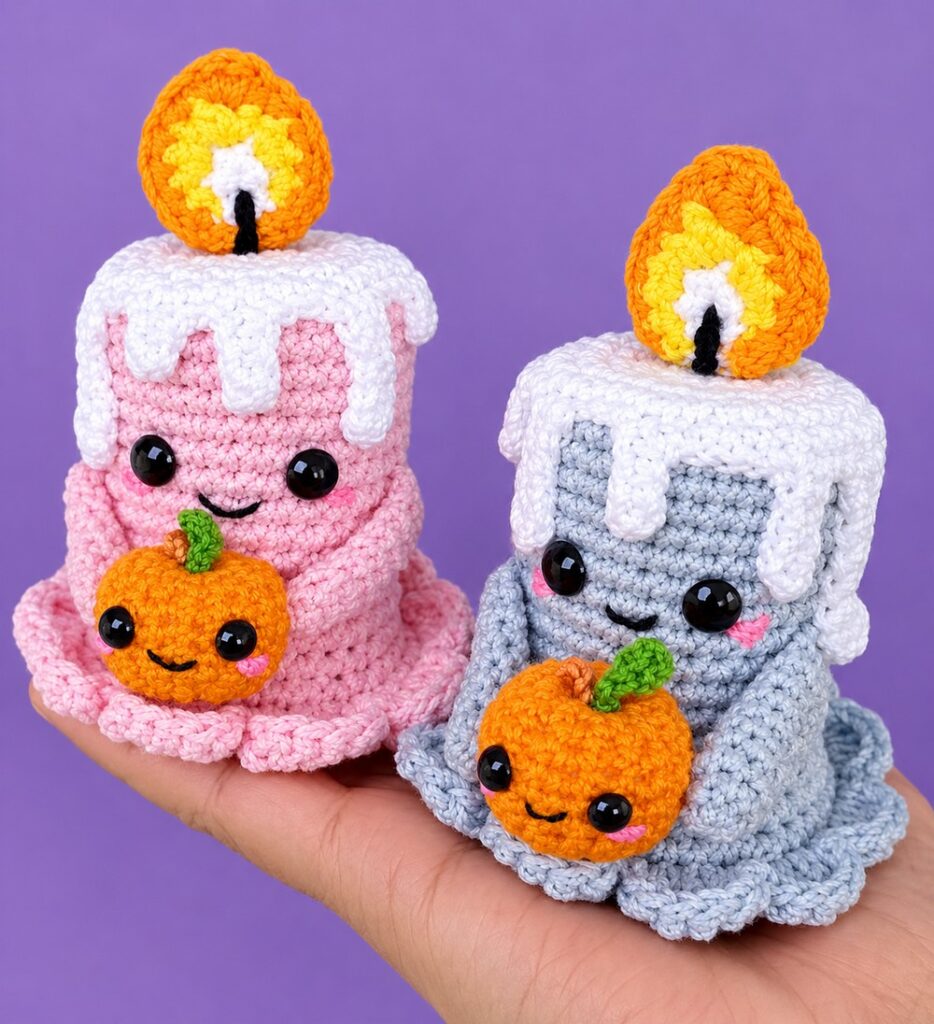
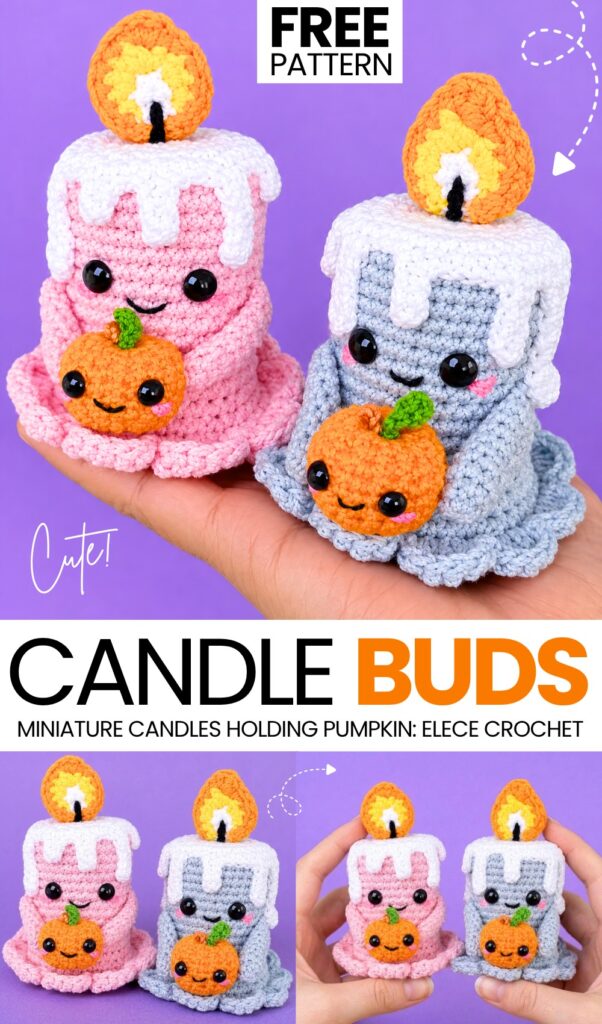
This year, I have shared tons of crochet spooky-cute buddy amigurumi to welcome guests to the Halloween party. Today, too, I will be sharing a CUTE crochet welcome decoration amigurumi, but with a UNIQUE theme! Introducing the crochet amigurumi smiling candles desk buddies that you can learn to crochet with a step-by-step tutorial, as well as a full written pattern!
These are practically the easiest amigurumi festive decorations that will look great when made using the DK cotton yarn.
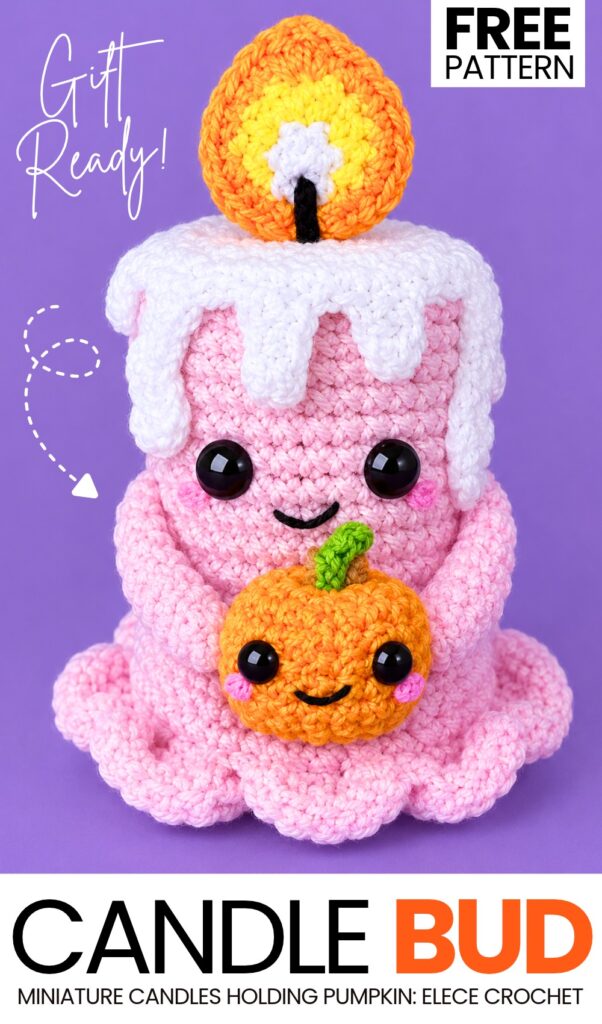
We are actually crocheting an iconic candle character amigurumi that is holding smiling pumpkins in its arms. You can choose from the blue and pink crochet candle amigurumi! Anyway, continue reading to learn more about this crochet amigurumi Halloween candle plush project!
Pattern to Crochet Adorable Amigurumi Candle
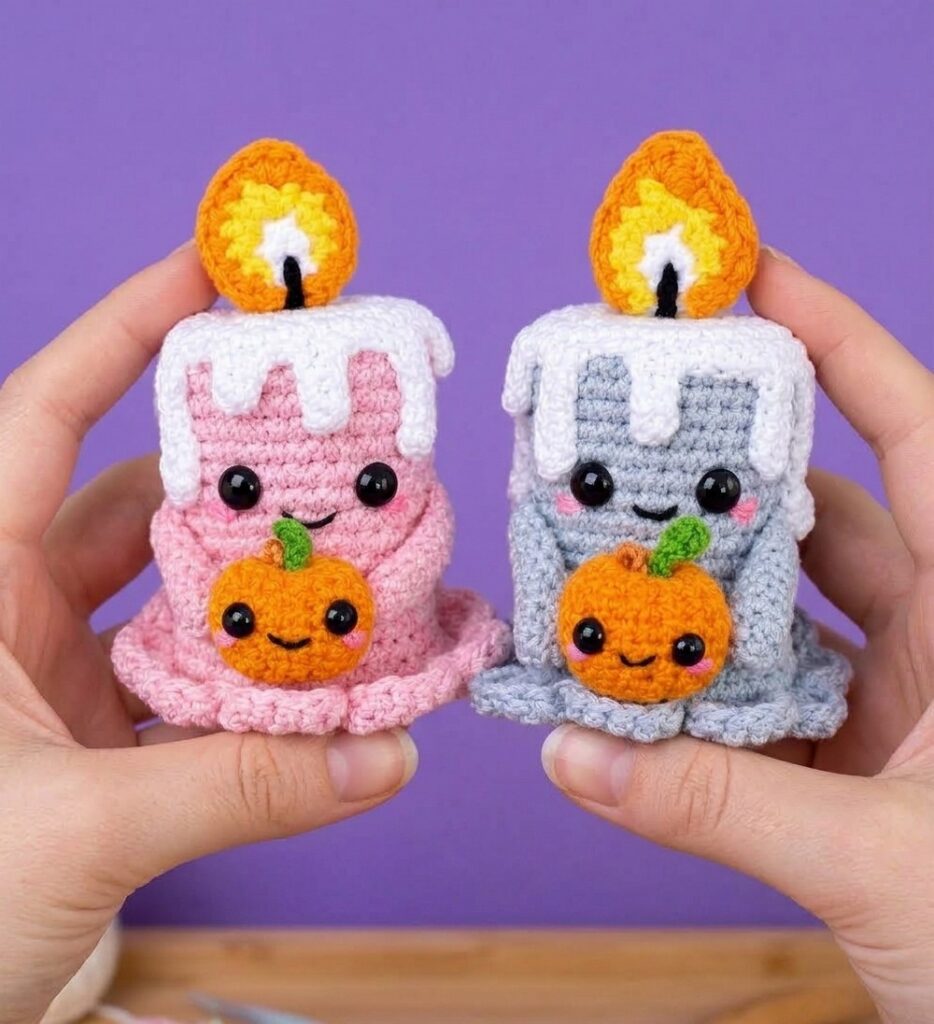
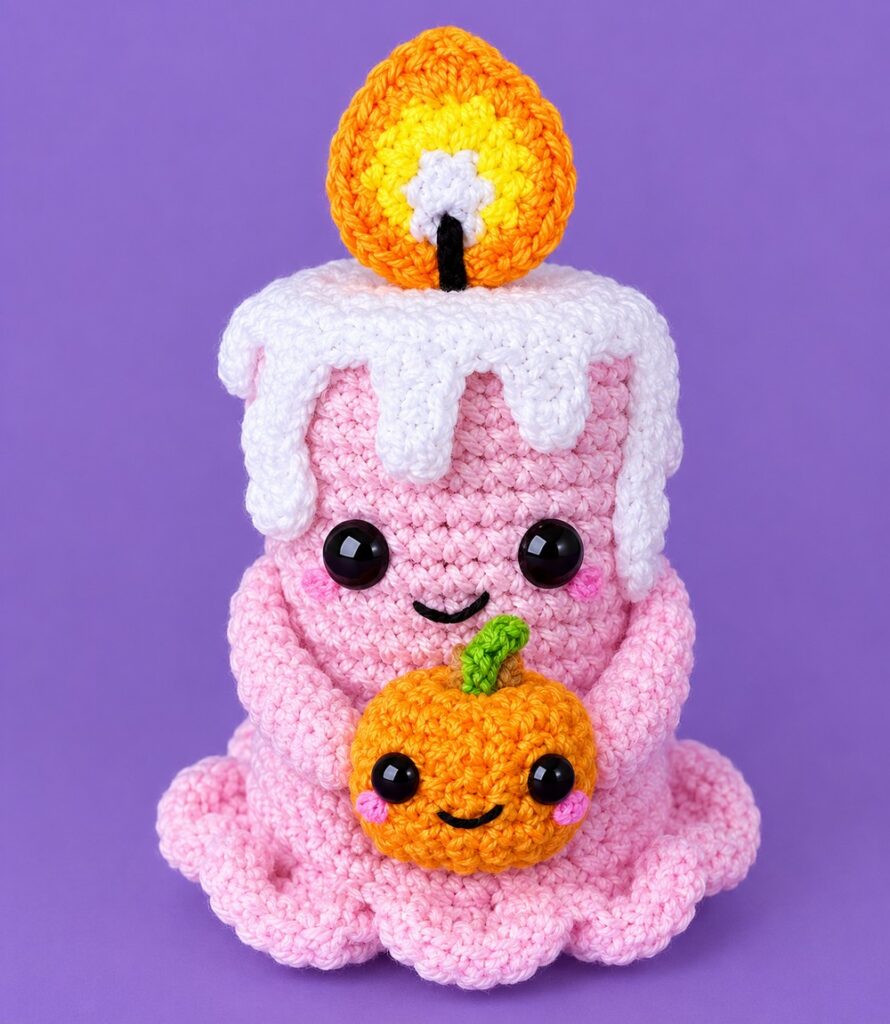
This project is a cute ghost candle made with yarn and a crochet hook. You make a tall candle body using pink or blue yarn that fits over a cardboard toilet paper tube. You make a white melted wax top with dripping wax pieces to place on top. You stitch two small white arms, a red-yellow flame, black eyes, a black mouth, and pink cheeks. You can also make a small orange pumpkin for the ghost to hold in its arms. It is a simple and fun Halloween or Christmas craft.
Materials Needed
Yarn:
Pink or Light Blue yarn (Body) — double-stranded or thick worsted weight.
White yarn (Melted wax top, ghost arms, flame center).
Yellow yarn (Flame middle).
Orange yarn (Flame border and tiny pumpkin).
Black embroidery thread or thin black yarn (Mouth, candle wick, eye details).
Pink thread or thin yarn (Cheek blush lines).
Crochet Hooks:
1.75 mm hook (Body, wax drips, arms).
2.55 mm hook (Flame).
Tools & Hardware:
1 Cardboard toilet paper roll (Inner support core).
2 Black glass beads or safety eyes (8 mm – 10 mm).
Craft glue or hot glue (if using glue-on eyes).
Tapestry yarn needle.
Scissors.
Fiberfill stuffing (optional, for pumpkin).
Crochet Abbreviations
MR: Magic Ring
sc: Single Crochet
inc: Increase (2 sc in same stitch)
dec: Decrease (2 sc worked together)
hdc: Half Double Crochet
dc: Double Crochet
sl st: Slip Stitch
ch: Chain
BLO: Back Loops Only
Are you a Beginner? Learn Crocheting Easily!
You can learn to crochet better with this cute amigurumi candle ghost using the following video tutorial, or continue with the pattern:
Step-by-Step Pattern
Part 1: Main Candle Body (Pink or Blue Yarn)
Worked in a continuous spiral using a 1.75 mm hook.
Round 1: Work 6 sc into a MR. (6 sts)
Round 2: 6 inc around. (12 sts)
Round 3: [1 sc, 1 inc] repeat 6 times. (18 sts)
Round 4: [2 sc, 1 inc] repeat 6 times. (24 sts)
Round 5: [5 sc, 1 inc] repeat 4 times. (28 sts)
Round 6 (BLO): 28 sc in Back Loops Only. (This forms the bottom ridge that sits around the cardboard roll).
Round 7: [6 sc, 1 inc] repeat 4 times. (32 sts)
Rounds 8–18 (11 rounds): Work 28 sc in each round (or 32 sc if using a wider cardboard tube).
Round 19: [6 sc, 1 inc] repeat 4 times. (32 sts)
Round 20: Work 32 sc around. (32 sts)
Round 21: [7 sc, 1 inc] repeat 4 times. (36 sts)
Round 22: [8 sc, 1 inc] repeat 4 times. (40 sts)
Round 23 (Ruffled Bottom Skirt / Volantito):
Repeat this ruffle sequence 10 times around the bottom edge:
In stitch 1: Work 1 sl st, 1 hdc.
In stitches 2 and 3: Work 2 dc-inc (2 double crochets in stitch 2, 2 double crochets in stitch 3).
In stitch 4: Work 1 hdc, 1 sl st.
Fasten off and weave in the end behind the ruffle edge.
Part 2: Melted Wax Top Cap (White Yarn)
Worked from center out, ending with wax drip chains.
Round 1: Work 6 sc into a MR. (6 sts)
Round 2: 6 inc around. (12 sts)
Round 3: [1 sc, 1 inc] repeat 6 times. (18 sts)
Round 4: [2 sc, 1 inc] repeat 6 times. (24 sts)
Round 5: [3 sc, 1 inc] repeat 6 times. (30 sts)
Wax Drips (Churretones):
Do not fasten off. Create 11 dripping wax strands around the outer perimeter:
Short Drip: Ch 4, start in 2nd ch from hook: 1 hdc, 2 sc down chain. Sl st into next stitch on disk, sc in next 2 sts on disk.
Medium Drip: Ch 5, start in 2nd ch from hook: 1 hdc, 3 sc down chain. Sl st into next stitch on disk, sc in next 2 sts on disk.
Alternate chain lengths between 4 and 6 chains around the disk until you have 11 total drips.
Fasten off leaving a long white tail for sewing.
Part 3: Ghost Arms (Make 2 in White Yarn)
Worked in continuous spiral rounds.
Round 1: Work 6 sc into a MR. (6 sts)
Round 2: Work 6 sc around. (6 sts)
Round 3: 1 inc, 5 sc. (7 sts)
Rounds 4–9 (6 rounds): Work 7 sc in each round. (7 sts)
Fasten off with a sl st, leaving a long tail for sewing. Do not stuff.
Part 4: Candle Flame (Make 2 Pieces in White, Yellow, and Orange Yarn)
Worked in flat color-change rounds with a 2.55 mm hook.
White Center:
Ch 3. In 1st ch, work 1 sc, 4 hdc (quadruple increase). Turn, 1 sc, 1 sl st. Cut white yarn.
Yellow Middle:
Join yellow yarn in next st. Work 2 sc in same st, 2 hdc in next st.
At top tip: Work 1 hdc, 1 dc, ch 1, 1 hdc all in tip st.
Down opposite side: 2 hdc in next st, 2 sc in next st, 1 sc, 1 sl st. Cut yellow yarn.
Orange Outer Edge:
Join orange yarn. Work 5 sc up side.
At top tip: Work 1 sc, 1 hdc-inc, 1 sc all in tip st.
Work 5 sc down opposite side, 2 sl st at base. Fasten off.
Pair the two flame pieces back-to-back and whip-stitch the outer orange edges together to form a sturdy double-sided flame.
Assembly Instructions
Place the two black glass beads between Rounds 10 and 11 on the candle body, leaving 3 stitches of space between them. Using black embroidery thread and a needle, bring thread up between the lower eye level, stitch a slight curved smile 1 round down, and catch the center loop to secure the smile shape.
Using black thread, sew a small black stem/wick stitch at the center of the white flame base. Sew the bottom of the flame to the center top of the melted wax cap piece.
Slide the cardboard toilet paper tube inside the main candle body. Pull the body up so the cardboard core sits flat inside the bottom ruffle ring.
Fit the white wax cap over the top opening of the candle. Pin the 11 dripping wax strands down around the top outer body. Using the white yarn tail, stitch only the inner loop edge of the wax cap into the pink/blue body to secure it in place.
Sew the open top edge of each arm onto the sides of the ghost body, placed 3 stitches outward from the outer eye corners, just below eye level. Add 3 small pink horizontal stitch lines under each eye for cheek blush. If adding a pumpkin, stitch it between both hands so the ghost appears to hold it.
Share on Social Media!
See More:

Featuring: How to Crochet A Plush Blushing Flying Mr. Soul Ghost Plushie for Halloween

How to Crochet Bunny Bat White Foldable Wings Amigurumi with Bow for Halloween
Tester Call: How to Crochet A Spooky Flowers Red Horns Potted Buddy Plushie for Halloween
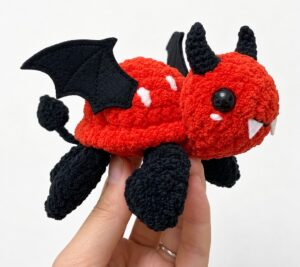
Tester Call: How to Crochet A Red & Black Spooky Turtle Plushie for Halloween
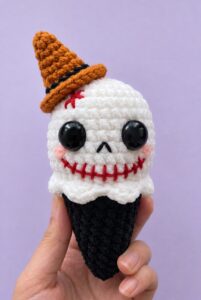
Tester Call: How to Crochet REALLY Spooky Witch Halloween Treat Plushie
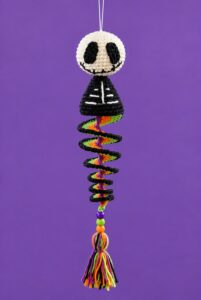
Featuring: How to Crochet the Skeleton Wind Spinner With Stripes of Halloween Colors
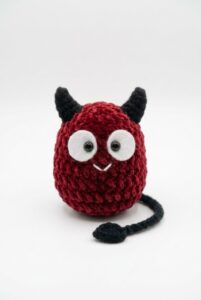
Tester Pattern: How to Crochet A Cape-Wearing Red Buddy Plushie for Halloween
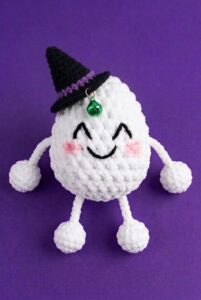
Tester Pattern: How to Crochet An Tug & Pull Witch Egg Halloween Plushie Toy
Featuring: Crochet SPOOKY-CUTE Black & White Ghost Plushie for Halloween