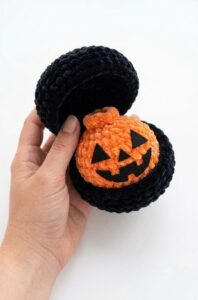
This is the 2nd crochet dumpling variation from 4 of this week’s brand-new bao bun plush patterns! Today, learn how to crochet this oh-so-cute plush Hello Kitty face dumpling in a black steamer box plushie with a FREE written pattern for absolute beginners.
And the best part is that we are using the same 12-round crochet dumpling plush and 8-round box pattern.
Our little crochet dumpling kitty is also wearing a little red bow that you will learn to crochet separately. I have also added the stuffed ears that make it the same iconic Hello Kitty face we all know. So, continue reading to learn more about this plush dumpling pattern!
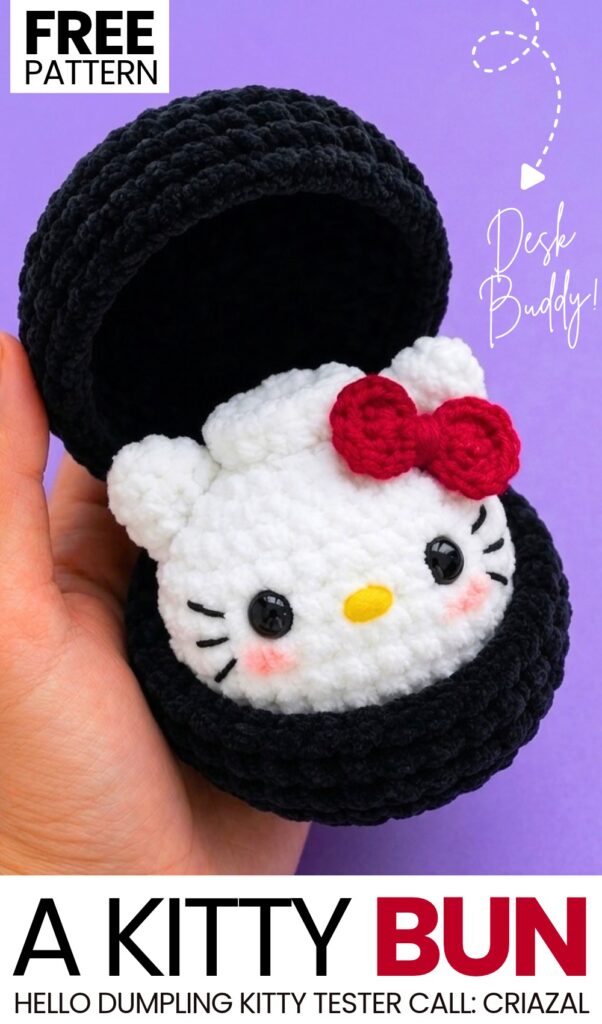
Pattern to Crochet the Kitty Bun Plushie for Kids
Skill Level: Beginner – Level 4
Materials & Abbreviations
White Plush yarn (100g / 120m): For the Hello Kitty dumpling body and ears.
Red or Pink Plush yarn (100g / 120m): For the basket/box and the signature bow.
Yellow felt scrap: for nose (you can also use a bead)
Black semi-cotton yarn: For embroidering the eyes and whiskers.
Crochet hook: 4 mm.
Tools: Toy stuffing, yarn needle, scissors.
Abbreviations: MR = Magic Ring | sc = single crochet | inc = increase | dec = decrease | sl st = slip stitch | ch = chain | BLO = back loops only | FLO = front loops only | R = Round
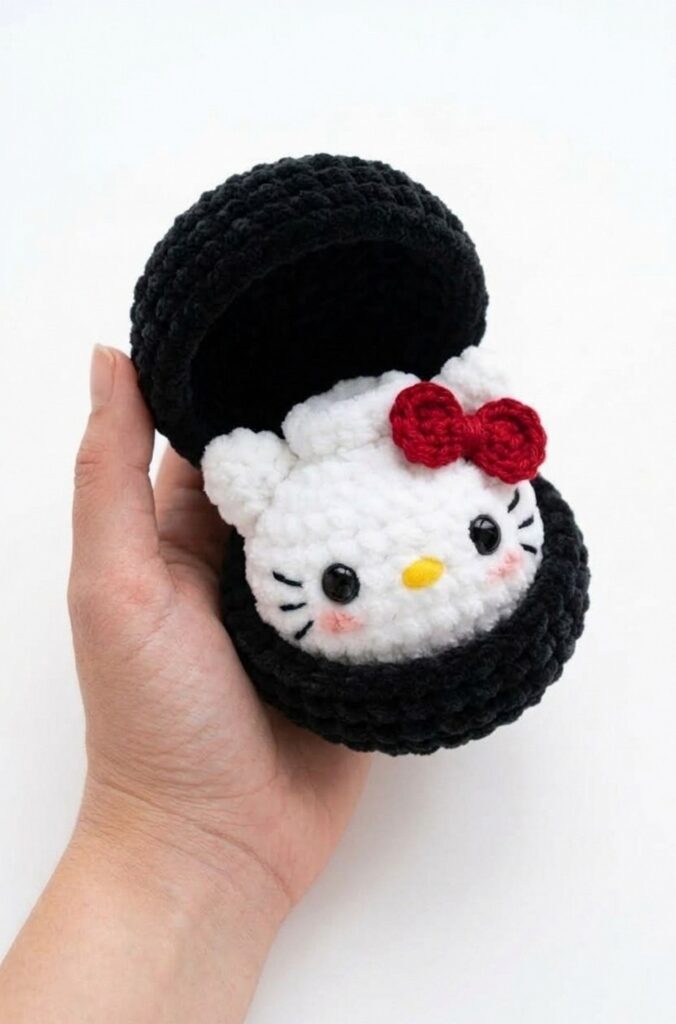
Hello Kitty Dumpling Pattern
(Worked in continuous rounds using White Plush yarn)
R1: 8 sc in MR (8).
R2: 8 inc (16).
R3: (1 sc, inc) repeat 8 times (24).
R4: (2 sc, inc) repeat 8 times (32).
R5 to R8 (4 rounds): 32 sc (32).
R9: (2 sc, dec) repeat 8 times (24).
R10: (1 sc, dec) repeat 8 times (16). Stuff the dumpling with toy stuffing until plush and soft.
R11: 8 dec (8).
R12 (Top pouch ruffle): Working in FLO only, (inc, 1 sc) repeat all the way around until the end of the round. Cut the yarn and finish with a sl st. Weave in the white plush end.
Closing the hole: Thread a needle with white semi-cotton yarn. Weave through the remaining unworked back loops of R11, pull tightly to cinch the hole closed, tie a knot, and hide the yarn end inside.
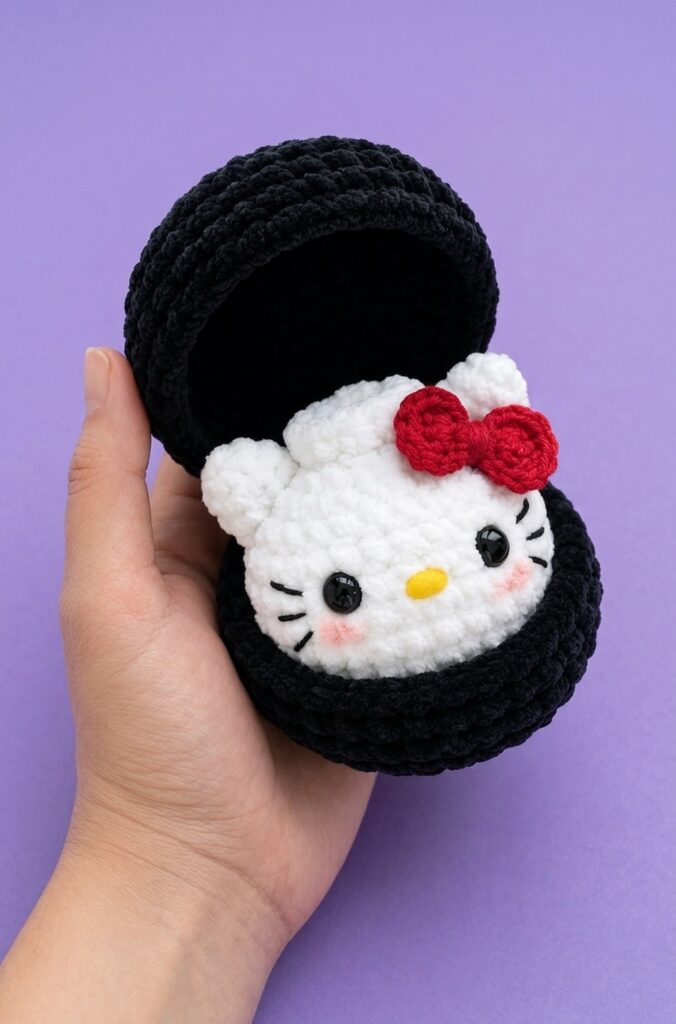
Hello Kitty Ears & Bow Patterns
Ears (Make 2 using White Plush yarn)
R1: 4 sc in MR (4).
R2: (1 sc, inc) repeat 2 times (6).
R3: (2 sc, inc) repeat 2 times (8).
R4: (3 sc, inc) repeat 2 times (10).
Fasten off, leaving a long yarn tail for sewing. Do not stuff. Flatten the ears slightly into shape.
Bow (Worked in rows using Red or Pink yarn)
Row 1: Ch 7. Starting in the second ch from hook, work sc in each st across [6].
Rows 2–8: Turn, ch 1, sc in each st across [6].
Row 9 (Border finish): Turn, sc in each st around the outer border of the entire piece for a clean finish. Work 2 sc into each of the outer corners to turn smoothly. Sl st in the first sc to join.
Bow Assembly: Cut the yarn, leaving a long tail for finishing and attachment. Thread a needle with the yarn tail and bring it to the center back of the rectangle. Pinch the center of the rectangle to form a bow shape, wrap the yarn tightly around the pinched center a few times, and secure with a knot at the back. Keep the remaining yarn tail for sewing.
Basket / Box Pattern
(Make 2 parts using Red or Pink Plush yarn)
R1: 8 sc in MR (8).
R2: 8 inc (16).
R3: (1 sc, inc) repeat 8 times (24).
R4: (2 sc, inc) repeat 8 times (32).
R5: (7 sc, inc) repeat 4 times (36).
R6: 36 sc in BLO (36).
R7 to R8 (2 rounds): 36 sc (36).
For the top lid: Fasten off, cut yarn, and hide the end.
For the bottom base: Do not cut the yarn.
Connecting the Box & Handle
Hinge: Align the top lid and bottom base. Join them by crocheting sc stitches through the back loop of the lid and the front loop of the base across 6 stitches to form the rear hinge. Fasten off and weave in ends.
Handle: Attach Pink/Red semi-cotton yarn to the right side of the bottom base. Chain 10–12 (or desired length for a finger loop), sl st into the adjacent stitch to secure, tie off, and weave in ends.
Assembly & Facial Details
Ear Placement: Flatten the dumpling slightly. Sew the two ears onto the top of the dumpling head around R3 to R5, spacing them evenly apart.
Bow Attachment: Sew the completed bow directly in front of the base of the left ear.
Eyes: Using black semi-cotton yarn, embroider two vertical oval eyes between R6 and R7, leaving about 5 to 6 stitches between them.
Nose: Using yellow semi-cotton yarn, embroider a small horizontal oval nose directly between the eyes at R7.
Whiskers: Using black semi-cotton yarn, embroider two or three straight horizontal whisker lines on each cheek, extending outward from the sides of the face.
See More:
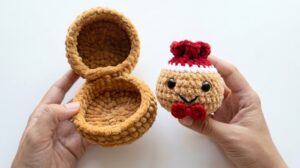
Tester Call: How to Crochet Gingerbread Bao Bun Dumpling Plushie for Christmas
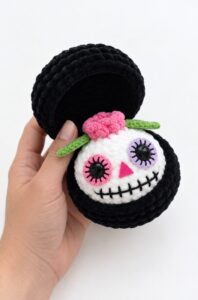
Pattern Tester: Flower on the Top Tribute Spooky Dumpling Plushie Pattern
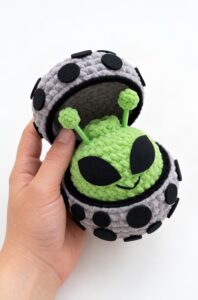
Pattern Tester: How to Crochet An Alien Dumpling in A Pod Box Plushie
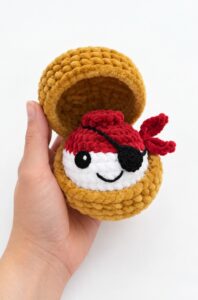
Tester Call: How to Crochet Mr. Pirate Dumpling Plushie in A Treasure Box
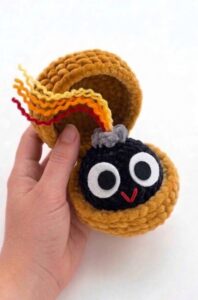
Tester Pattern: How to Crochet Birthday-Popper Dumpling Plushie for Gifting

Tester Pattern: How to Crochet Dumpling Buddy in A Steamer Costume Plushie

Tester Pattern: To Crochet A Snowball Christmas Dumpling in Basket Plush
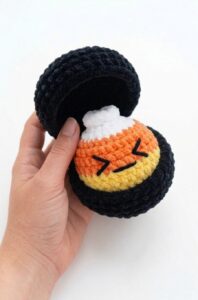
Tester Call: Free Crochet Orange, Yellow & White Dumpling Plushie
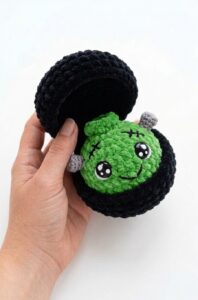
Tester Call: Free Crochet Kawaii-Eyes Bolt Zombie Dumpling Plushie