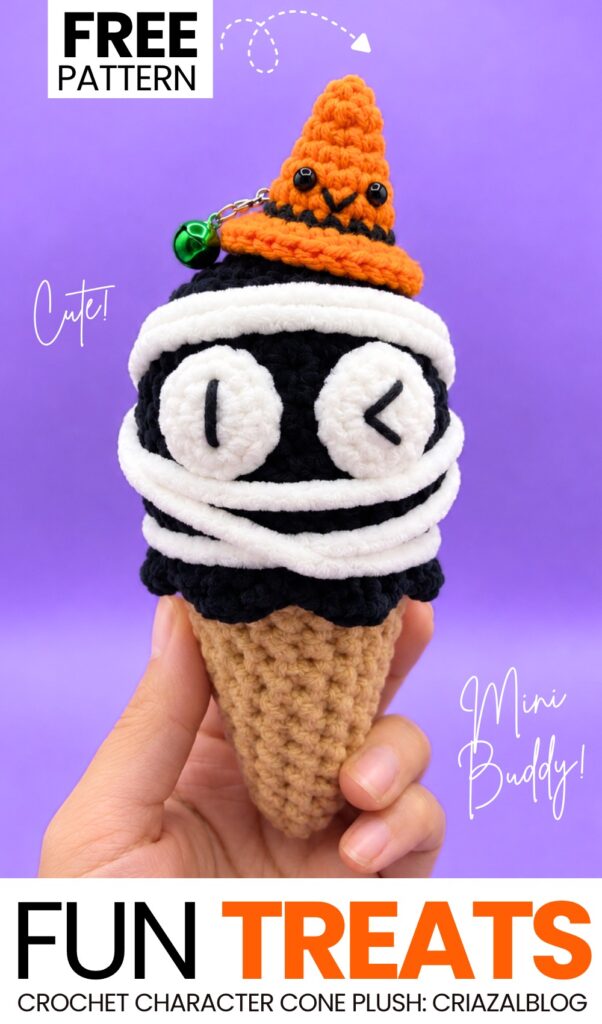
I am back with another tester pattern to continue our NEW “crochet kawaii but spooky festival crochet treat” plushie series. Today, learn how to crochet this SUPER UNIQUE, funny black mummy in a smiling witch hat plushie by following a FREE written pattern for absolute beginners. This crochet plush ice cream cone has wacky, stressed googly eyes that will instantly lift your mood.
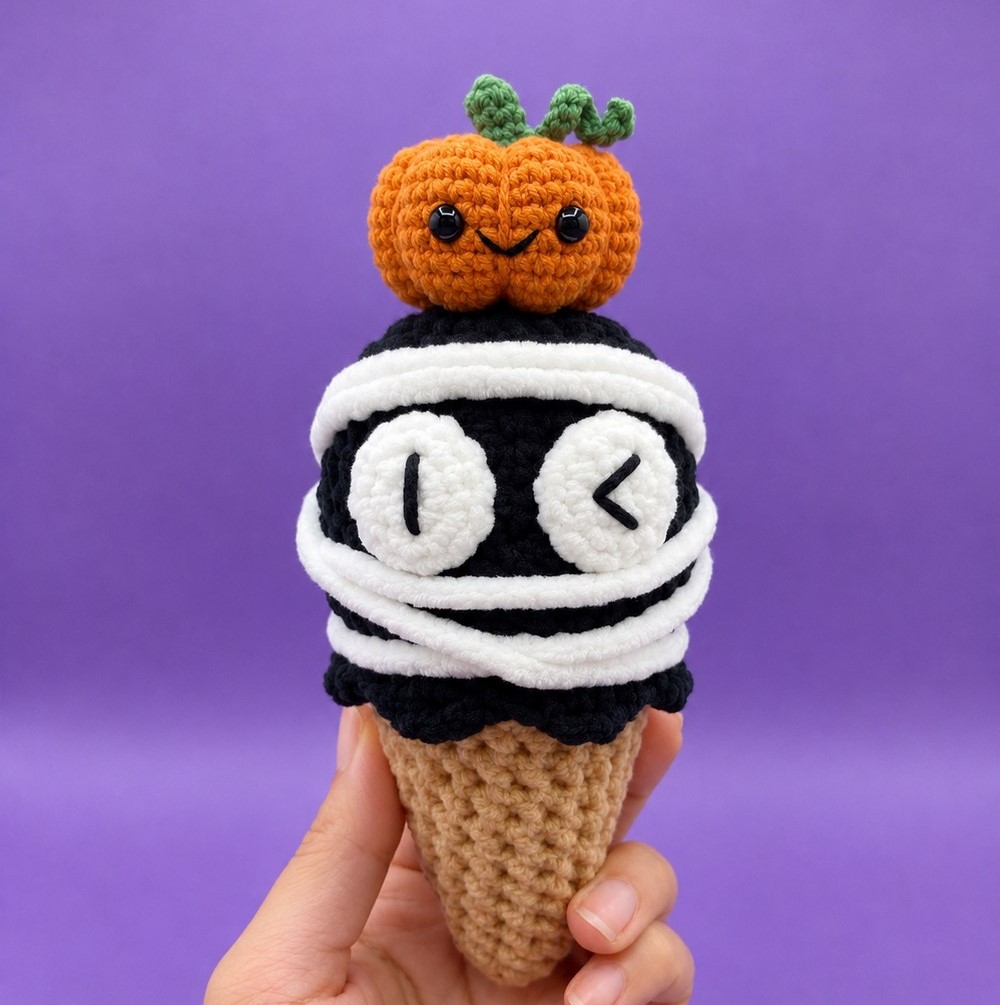
We will be crocheting the same shell-stitch-dripping, no-sew ice cream cone plush but in black and biscuit-colored yarn. I especially like its kawaii “1<” eyes and the white mummy bands made of just the super bulky yarn scraps.
Unlike my other crochet mummy plushie patterns, you can make the mummy bands instantly from your remaining white bulky chennile yarn instead. You will simply adore the face on the witch hat, too. Makes a great decoration as well. So, continue reading to learn more about this crochet plush sweet treat plushie!
Pattern to Crochet the Fun Mummy Treat Cone and Scoop Plushie
Skill Level: Beginner – Level 3
Abbreviations (US Terms)
MR: Magic Ring
sc: Single Crochet
hdc: Half Double Crochet
inc: Increase (2 sc in the same stitch)
dec: Decrease (sc 2 together)
sl st: Slip Stitch
ch: Chain
BLO: Back Loop Only
FLO: Front Loop Only
st(s): Stitch(es)
Materials Needed
Main Body (Scoop & Cone)
Bulky / Chenille Yarn:
Black: For the Mummy Scoop
Light Brown / Beige: For the Cone
Main Crochet Hook: 4.5mm–5.5mm hook (or size needed for bulky yarn weight)
Eyes & Mummy Wraps
Eyes: Thin plush yarn in White
Eye Hook: 2.5mm hook
Mummy Bands: Scrap white bulky yarn (for wrapping body bandages)
Embroidering Thread / Fine Yarn: Black yarn or embroidery floss for eye expression details
Witch Hat
DK Mercerized Cotton Yarn: Orange (main body) and Black (brim/band detail)
Hat Crochet Hook: 2.5mm hook
Notions & Hardware
Fiberfill Stuffing
Yarn Needle & Sewing Needle
Fabric / Craft Glue (or hot glue for securing wrap ends)
Small Green Bell & Jump Ring
Scissors & Stitch Markers
Pattern Instructions
Part 1: The Mummy Scoop
Worked in continuous rounds from top to bottom using Black Bulky Yarn.
Rnd 1: 6 sc in a magic ring. (6)
Rnd 2: Inc in each st around. (12)
Rnd 3: [1 sc, inc] 6 times. (18)
Rnd 4: [2 sc, inc] 6 times. (24)
Rnd 5: [3 sc, inc] 6 times. (30)
Rnd 6–10: Sc in each st around. (30 sts for 5 rounds)
Rnd 11: [3 sc, dec] 6 times. (24)
Rnd 12 (The Ruffle): Work in FLO for this round. [Sl st in next st, skip 1 st, 4 hdc in next st, skip 1 st] repeat around to create the ruffled ice cream edge. Fasten off black yarn.
Part 2: The Cone
Attach Light Brown Yarn to the first unworked Back Loop from Rnd 11, behind the black ruffle.
Rnd 13: Working in BLO of Rnd 11, sc in each st around. (24)
Rnd 14: [2 sc, dec] 6 times. (18)
Rnd 15–16: Sc in each st around. (18 sts for 2 rounds)
Rnd 17: [1 sc, dec] 6 times. (12)
Rnd 18–19: Sc in each st around. (12 sts for 2 rounds)
Pause to stuff the mummy scoop firmly and begin stuffing the upper cone.
Rnd 20: Dec 6 times. (6)
Rnd 21: Sc in each st around. (6)
Finish: Fasten off leaving a short tail. Weave the tail through the front loops of the remaining 6 stitches, pull tight to close the bottom tip of the cone, and hide the end inside the body.
Part 3: Mummy Eyes (Make 2)
Worked using White Medium Plush Yarn and a 2.5mm hook. Spans 2 rounds.
Round 1: 6 sc in a magic ring. [6]
Round 2: Inc in each st around. [12]
Finish: Sl st to the next st, fasten off leaving a long tail for sewing onto the scoop.
Part 4: Witch Hat
Worked with DK Mercerized Cotton Yarn using a 2.5mm hook.
Start with Orange Yarn:
Round 1 (Orange): Magic ring, 4 SC, sl st to join [4]
Round 2: Ch 1, (1 SC, Inc) × 2, sl st [6]
Round 3: Ch 1, (2 SC, Inc) × 2, sl st [8]
Round 4: Ch 1, (3 SC, Inc) × 2, sl st [10]
Round 5: Ch 1, (4 SC, Inc) × 2, sl st [12]
Round 6: Ch 1, (5 SC, Inc) × 2, sl st [14]
Round 7: Ch 1, 14 SC around, sl st [14]
Round 8: Ch 1, Inc with HDC in every stitch (2 HDC in each st), sl st around the rim [28]
Fasten Off: Cut yarn, leaving a tail for sewing onto the scoop. Attach a small green bell to the rim using a jump ring if desired.
Assembly & Detailed Finishing Guide
1. Eye Expressions & Attachment
Embroider Pupils: Using fine black yarn or embroidery floss, embroider details onto the white plush eye discs before attaching:
Left Eye: Embroider a vertical line
|through the center.Right Eye: Embroider a winking angle
<or>across the center.
Placement: Sew or glue the two white eyes onto the front of the black scoop across Rnds 7–9, positioning them directly next to each other.
2. Wrapping the Mummy Bandages
Cut 3 to 4 strands of scrap white bulky yarn.
Forehead Band: Wrap one strand horizontally around the upper black scoop above the eyes (Rnd 6), securing the ends at the back with yarn stitches or fabric glue.
Mouth/Lower Wrap: Wrap another strand directly underneath the eyes (Rnd 10), slanting it slightly for a layered mummy effect.
Ruffle Wrap: Wrap a final strand near the base above the ruffle (Rnd 11) to complete the mummy wrapping pattern.
3. Hat & Accessory Placement
Stuff the top of the orange witch hat lightly.
(Optional) Embroider two small black dots for eyes and a small ‘v’ mouth on the front of the orange hat cone if desired.
Attach the small green bell to the hat rim using a jump ring.
Sew the hat tilted slightly on top of the black mummy head using the long yarn tail.
See More:
Tester Call: How to Crochet A Food Ring Mummy Buddy Plushie for Kids
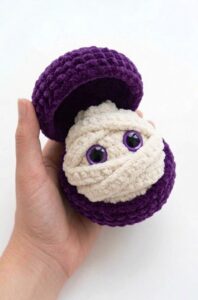
Tester Pattern: How to Crochet Mummy Face in a Lid Basket Plush
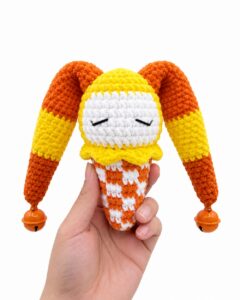
How to Crochet Candy Corn Mr. Enternainer Scoop & Cone Plushie for Gifting
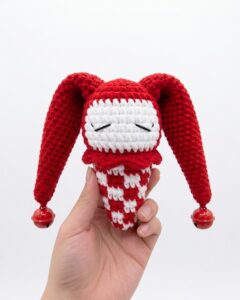
Tester Call: How to Crochet Mr. Enternainer Funny Character Cone Plushie for Gifting
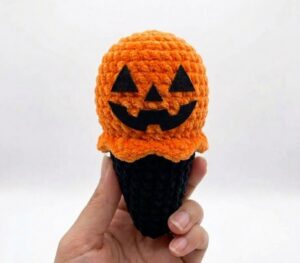
Tester Call: How to Crochet Spooky Face Ice Witch Cone Plushie
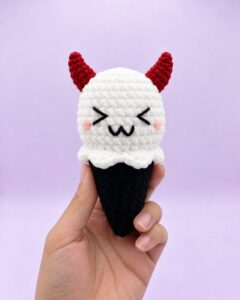
Pattern Tester: To Crochet Red-Horned Meow Ghost Treat Cone Plushie for Gifting
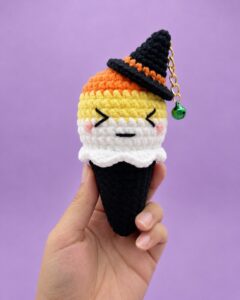
Tester Call: Crochet Orange, Yellow & White Treat Cone Plushie for Gifting
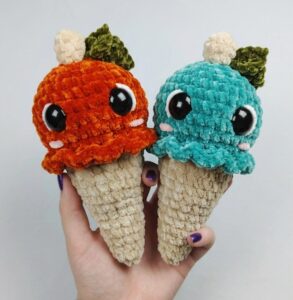
How to Crochet CUTE Pumpkin Ice Cream Cone Plushie for Fall & Halloween
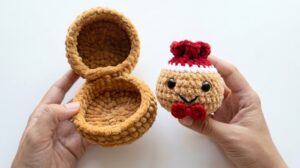
Tester Call: How to Crochet Gingerbread Bao Bun Dumpling Plushie for Christmas