Author: Talha
I am a crochet designer, macramé maker and a crafter who also loves doing MATH.

Contributor: Elche of Otakulandia Crochet
She is a GREAT crochet designer based in Spain who became our contributor via mycraftybasket!
Show support for Otakulandia!
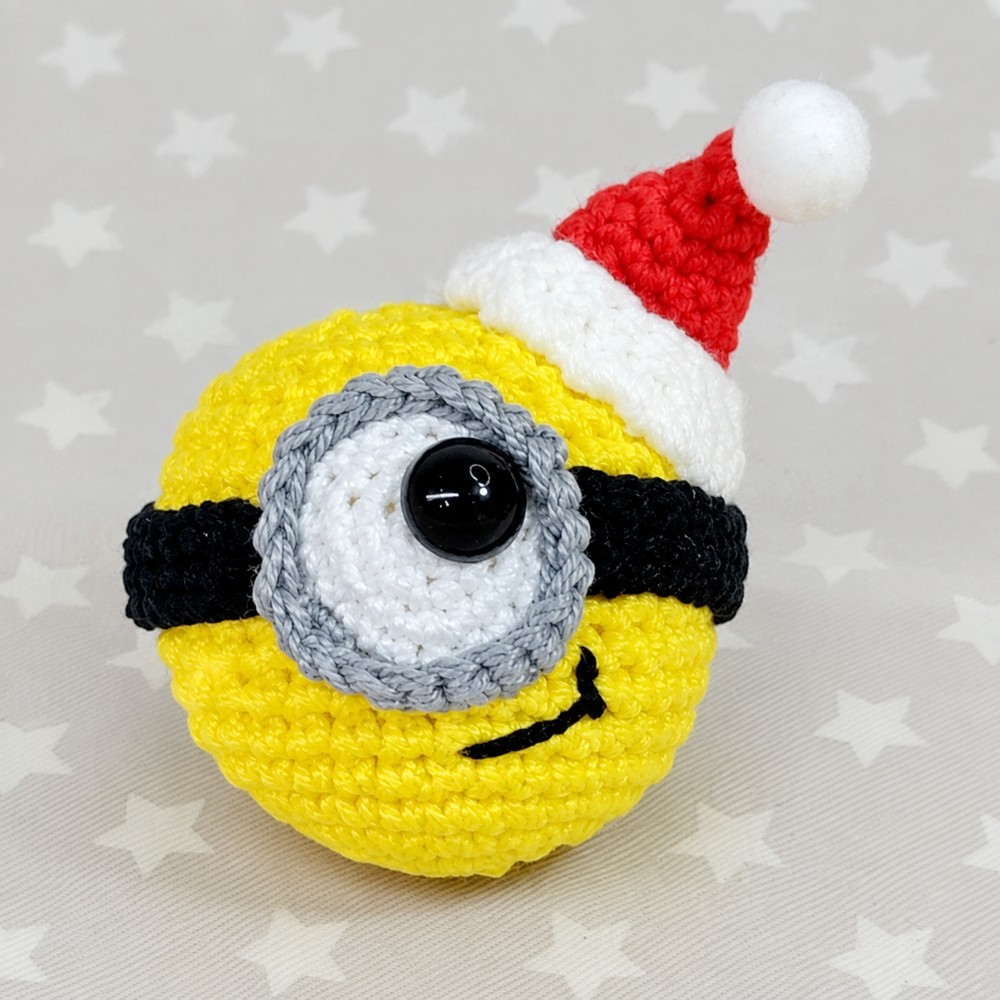
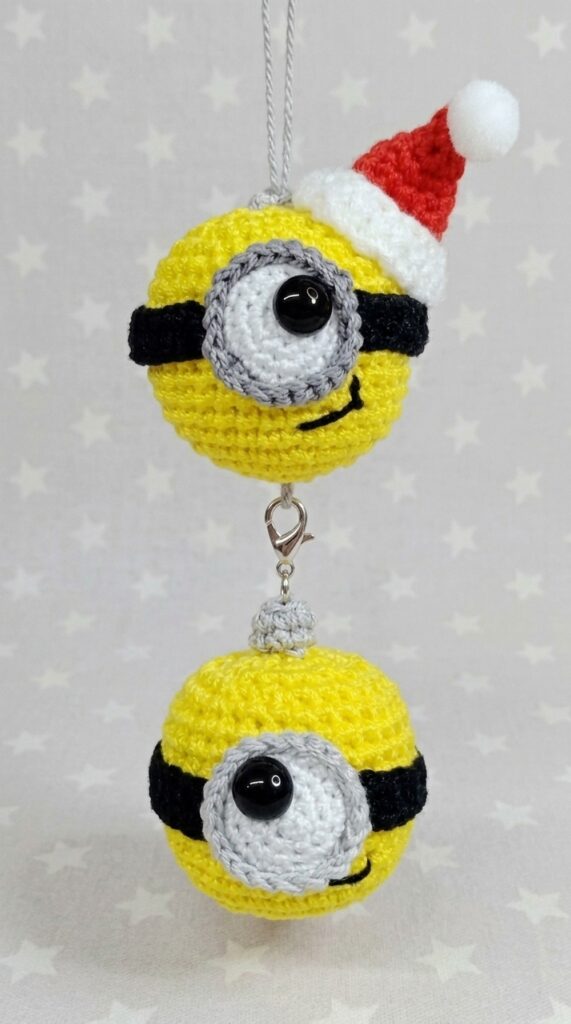
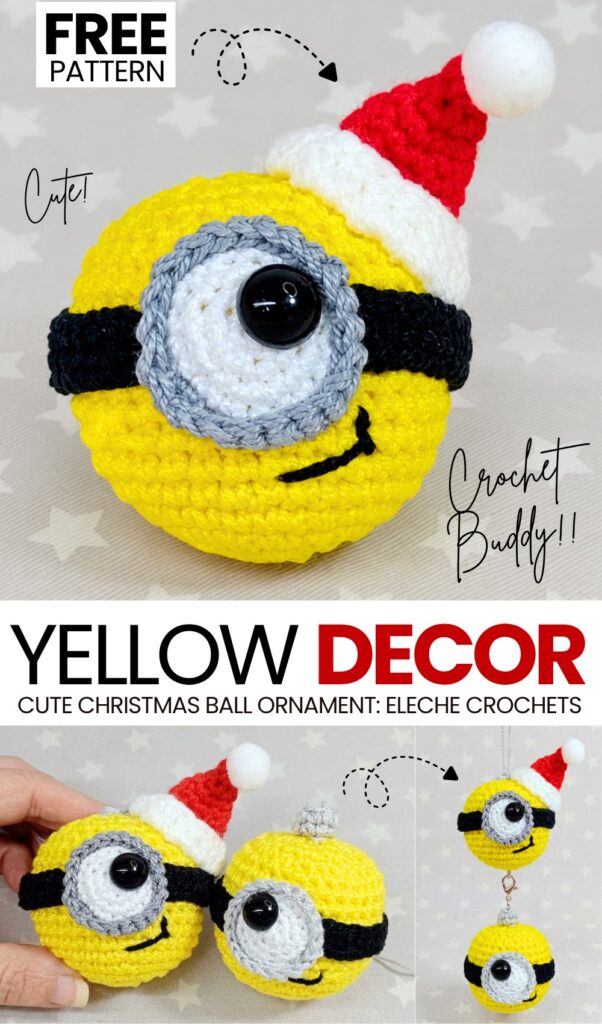
To make this Christmas more special than ever, this year, I am starting this new “crochet character Christmas ornament balls” series. The first one is going to be this crochet yellow goggle character funny Christmas ball amigurumi that you can learn to crochet by following both a tutorial and a FREE written pattern as well. These crochet Minion Santa amigurumi balls are also a part of our “beginners can crochet for Christmas” series, as this is one of the easiest ways to crochet a Christmas ornament. Decorate the tree or carry it as a bag charm; this is the CUTEST crochet Christmas ornament you can own.
You only have to crochet a yellow sphere, a black single crochet strip, and white and grey crochet circles that make the easiest crochet Christmas ornament for beginners.
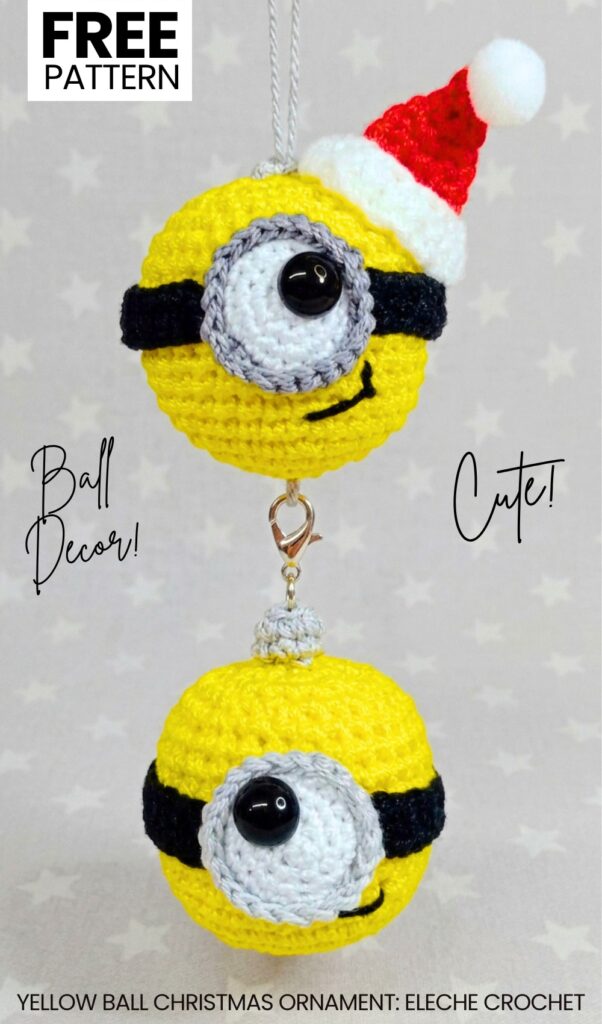
You will also learn to crochet a small Santa hat that can be put over any other small amigurumi doll. The Santa hat also has a small store-bought pom-pom that makes it a PERFECT hat to turn any amigurumi into a Christmas gift. I will soon also bring a guide to crochet a Santa hat of any size. So, you can crochet one for even our Minion plushies. Anyway, continue reading to learn more about this crochet amigurumi yellow buddy Christmas ball.
Similar Project(s)
Pattern to Crochet the Amigurumi Minion Santa Christmas Ornament
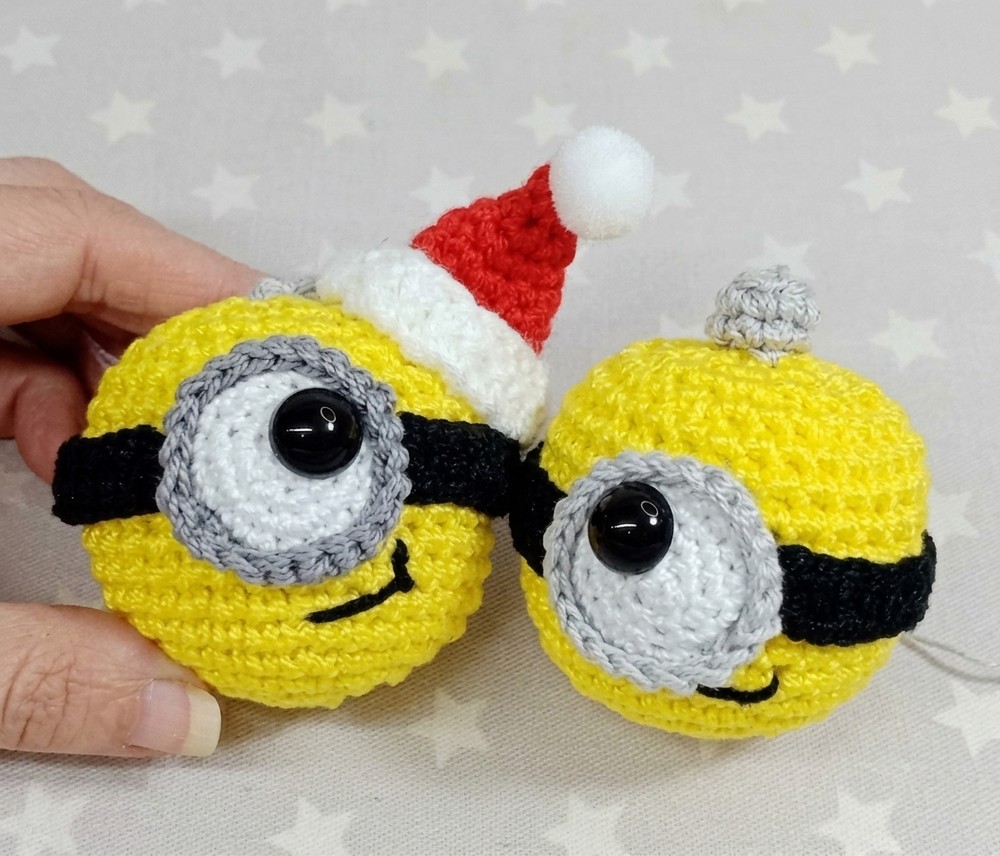
This project is a Minion ball for Christmas. You make a yellow ball. You make a white eye. You make a black band. You make a gray top. You sew all the parts together. You put a black dot in the eye. You make a small smile. It is fast to make. It is easy to make. You can hang it on a tree. You can make many and sell them.
Materials
Acrylic yarn (size 5 / chunky or worsted) in Yellow, Black, Light Gray, and White.
2.55 mm crochet hook (for the main body and top hanger)
2.0 mm crochet hook (for the eye, glasses rim, and black strap)
Toy stuffing (fiberfill)
One black half-bead or flat-back button (for the eye pupil)
Large eye yarn needle (tapestry needle)
Scissors
Stitch markers (or pins)
Hot glue and lighter (only if you are gluing a plastic bead for the eye pupil)
Abbreviations
MR: Magic Ring
ch: chain
sc: single crochet
inc: increase (2 single crochet in the same stitch)
dec: decrease (invisible decrease pulling 2 stitches together)
BLO: Back Loops Only
FLO: Front Loops Only
sl st: slip stitch
st / sts: stitch / stitches
- Rnd: Round
Are you a Beginner? Learn Crocheting Easily!
You can learn to crochet better with this miniature amigurumi googly eyed yellow buddy using the following video tutorial or continue to the pattern:
Pattern Instructions
1. The Main Ball (Minion Body)
Use Yellow yarn and hold it double (use two strands of yarn at the same time). Use the 2.55 mm hook. Work in a continuous spiral.
Rnd 1: Make 7 sc in a Magic Ring. (7 sts)
Rnd 2: Make increases to reach 13 stitches. (Note: Make 1 sc in the first st, then make 6 inc). (13 sts)
Rnd 3: (1 sc, 1 inc) repeat this sequence around. (20 sts)
Rnd 4: (2 sc, 1 inc) repeat this sequence around. (26 sts)
Rnd 5: (3 sc, 1 inc) repeat this sequence around. (32 sts)
Rnds 6 – 14: Make 1 sc in each st around. (32 sts) (9 rounds total)
Rnd 15: (3 sc, 1 dec) repeat this sequence around. (26 sts)
Rnd 16: (2 sc, 1 dec) repeat this sequence around. (20 sts)
Stop and stuff the ball partially with fiberfill.
Rnd 17: (1 sc, 1 dec) repeat this sequence around. (13 sts)
Stuff the ball firmly all the way to the top.
Rnd 18: Make dec in every stitch until you have 7 stitches left.
Finish: Make a sl st and cut the yarn, leaving a tail. Thread the tail through the front loops of the last 7 stitches and pull tightly to close the hole. Hide the yarn tail inside the ball.
2. The Top Hanger (Gray Part)
Use Light Gray yarn and hold it double (two strands). Use the 2.55 mm hook.
Rnd 1: Make 7 sc in a Magic Ring. (7 sts)
Rnd 2: Work in BLO (Back Loops Only). Make 1 sc in each st around. (7 sts)
Rnd 3: Work in both loops normally. Make 1 sc in each st around. (7 sts)
Finish: Make a sl st and cut the yarn, leaving a long tail for sewing.
3. The Eye Base
Use White yarn (single strand, do not double it). Use the 2.0 mm hook.
Rnd 1: Make 7 sc in a Magic Ring. (7 sts)
Rnd 2: Make 1 inc in each st around. (14 sts)
Rnd 3: (2 sc, 1 inc) repeat around. (18 sts)
Rnd 4: (3 sc, 1 inc) repeat around. (22 sts)
Finish: Make a sl st. Do not finish off if you plan to attach the gray directly, or cut white and attach gray in the next step.
4. The Goggles Rim
Use Light Gray yarn and hold it double (two strands) to make it thick. Use the 2.0 mm hook.
Rnd 5: Attach the gray yarn to the white eye base. Work in FLO (Front Loops Only) of the last white round. Make 1 sc in each st around. (22 sts)
Finish: Cut the yarn and finish off invisibly. Leave a tail for sewing.
5. The Goggles Strap
Use Black yarn (single strand). Use the 2.0 mm hook.
Row 1: Chain 36 (or enough chains to wrap around the yellow ball). Make 1 sc in the 2nd ch from the hook, and 1 sc in each ch across.
Row 2: Ch 1, turn your work. Make 1 sc in each st across.
Row 3: Ch 1, turn your work. Make 1 sc in each st across.
Finish: Cut the yarn and leave a tail for sewing.
6. Assembly
Attach the Eye: Pin the white eye with the gray rim to the front center of the yellow ball. Use the gray yarn tail to sew the rim firmly to the body.
Attach the Strap: Wrap the black strap around the sides and back of the yellow ball. It should line up with the middle of the gray eye rim. Sew the strap flat against the body.
Attach the Top Hanger: Pin the gray top hanger directly to the top center of the yellow ball. Sew it in place. Make a loop with a piece of string or yarn through the top so you can hang it.
The Pupil: Put a small drop of hot glue on the back of the black bead and press it into the exact center of the white eye. (If you do not have a bead, embroider a black dot with yarn).
The Mouth: Thread a needle with black yarn. Go under the eye and embroider a small, sideways smile. You can add a tiny stitch at the corner of the mouth to make it look cheeky. Hide all loose yarn ends inside the ball.
Share on Social Media!
See More:
![[PDF Pattern] How to Crochet A Green Christmas Character Basket in Santa Hat Pattern](https://criazalblog.com/wp-content/uploads/2026/09/crochet-grinch-basket-1-296x300.jpg)
[PDF Pattern] How to Crochet A Green Christmas Character Basket in Santa Hat Pattern

How to Crochet A Plush Grinch in a Santa Hat & Peppermint Scarf
Featuring: How to Crochet Sitting Santa Claus Plushie Tutorial (Low-Sew & Quick)
How to Crochet the Craziest FUNNY Christmas Tree Buddy Amigurumi Ornament
![[PDF Pattern] How to Crochet Smiling Snowman Wind Spinner for Christmas](https://criazalblog.com/wp-content/uploads/2026/09/snowman-wind-spinner-224x300.jpg)
[PDF Pattern] How to Crochet Smiling Snowman Wind Spinner for Christmas
![[PDF Pattern] How to Crochet Mr. Cookie Crochet Christmas Gift Basket](https://criazalblog.com/wp-content/uploads/2026/09/crochet-gingerbread-basket-2-223x300.jpg)
[PDF Pattern] How to Crochet Mr. Cookie Crochet Christmas Gift Basket

Tester Pattern: To Crochet A Snowball Christmas Dumpling in Basket Plush
PDF Pattern | How to Crochet A Christmas Animal Basket for Gifting
Featuring: Crochet Amuseables Sitting Christmas Tree & Star Are Buddies Plushie