Author: Talha
I am a crochet designer, macramé maker and a crafter who also loves doing MATH.

Contributor: Elche of Otakulandia Crochet
She is a GREAT crochet designer based in Spain who became our contributor via mycraftybasket!
Show support for Otakulandia!
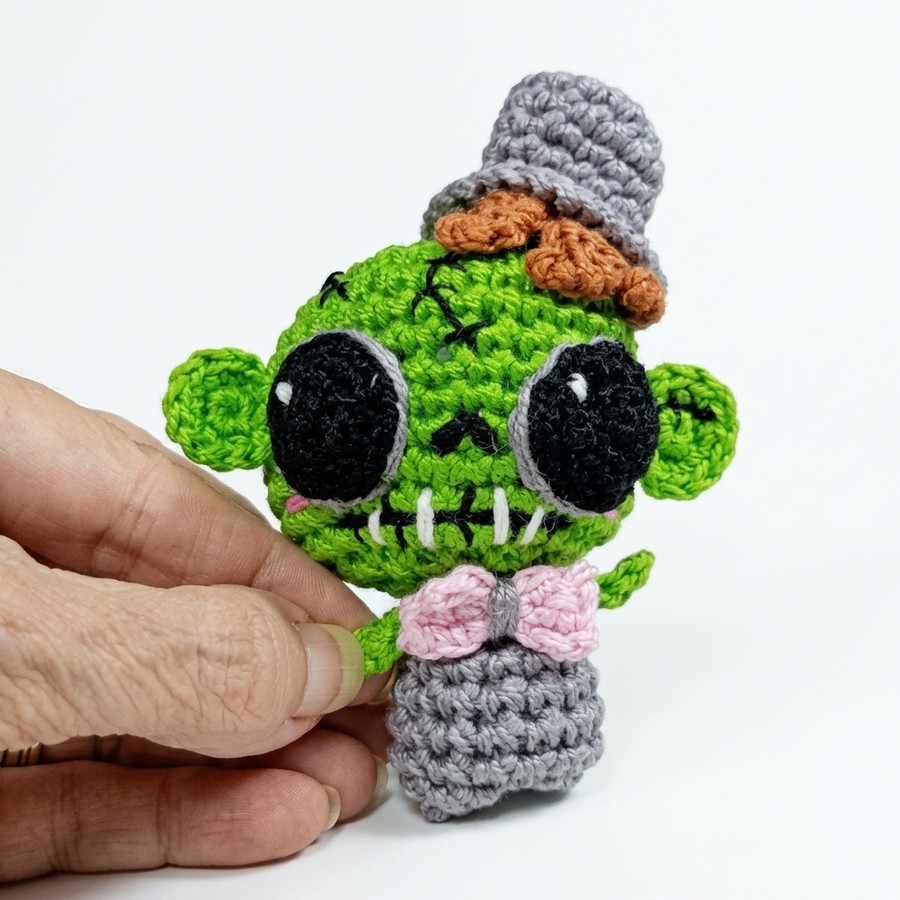
This is the 4th and last crochet pattern of the “mini spooky figures” amigurumi buddies series. Today, learn how to crochet this SUPER adorable green zombie amigurumi buddy with 3D black oval eyes by following a FREE written pattern and a video tutorial as well. This little crochet cosplay buddy wears a small tilted hat as well and has brown hair crocheted separately, too. It also wears a small pink bow, and that makes it an irresistible gift for the little ones. Kids can play with its little arms and make it their little buddy during Halloween parties.
We also have the wound embroidery on its face and mouth as well. This makes it my favorite “crochet custom Halloween amigurumi buddy” of this year. You have already learned to crochet an amigurumi Mr. Sickle, witch girl, and the Mr. Pumpkin Chibi buddy amigurumi.
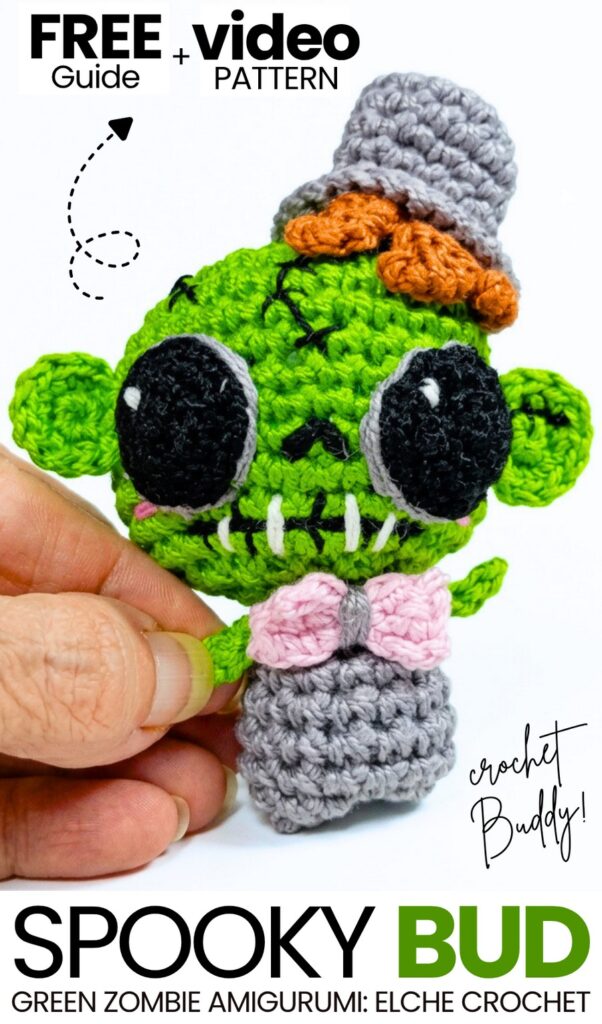
So, be sure to make this green zombie Chibi buddy, too, and present them all this Halloween. You can also call this the VOODOO ZOMBIE and make yours using the plush yarn instead. Anyway, customization is up to you, so you can continue reading to learn more about this crochet amigurumi standing zombie doll with the FREE patterns!
Similar Project(s)
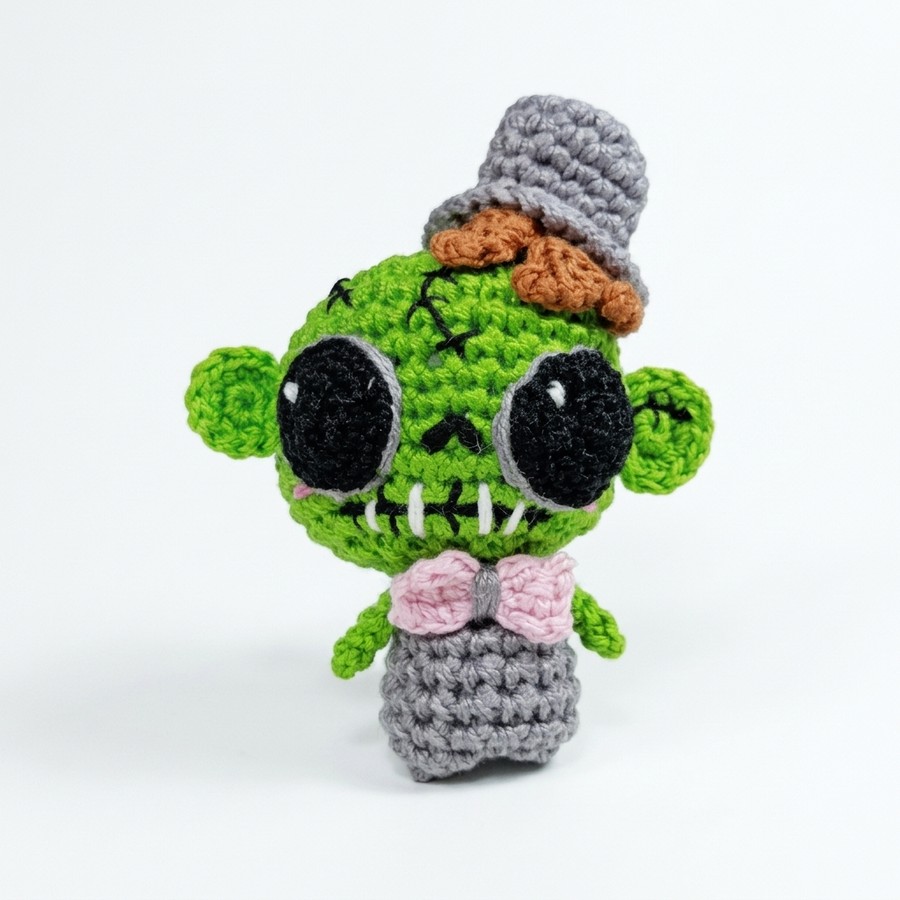
Pattern to Crochet A Green Bolt Zombie Amigurumi
This project is a crochet pattern to make clothes and parts for a zombie doll. You will make green ears, yellow hair, a gray hat, and a blue bow tie. You will also sew lines on the face for scars, teeth, and eyes. This pattern uses two strands of yarn at the same time to make the parts strong. You will add these pieces to a base doll to finish the zombie.
Materials Needed
Cotton Yarn (Size 5):
Green (for the ears)
Gray (for the hat and the center of the bow tie)
Sky Blue (for the hat stripe and the bow tie)
Yellow or Blonde (for the hair)
Small amounts of Black, White, Pink, and Gray (for face sewing)
Crochet Hook: 1.75 mm (a 1.50 mm hook also works)
Yarn Needle: Must have a large eye to fit two strands of yarn
Scissors
Important Note: For the entire project, you will work holding two strands of yarn together at the same time.
Are you a Beginner? Learn Crocheting Easily!
You can learn to crochet better with this miniature amigurumi zombie voodoo using the following video tutorial or continue to the pattern:
Detailed Pattern
1. Zombie Ears (Make 2)
Use Green yarn.
Round 1: Make 7 single crochet (sc) stitches inside a magic ring. Pull the ring tight.
Round 2: In this round, you will only work until you reach exactly 10 stitches total. Make 2 single crochets (an increase) in each of the first 3 stitches. This gives you 6 stitches. Now just count the remaining stitches from the previous round until you hit 10 total stitches for the ear shape. Finish with a slip stitch in the same spot as the 10th stitch.
Finishing the Ear: Cut the yarn, leaving a long tail for sewing. Fold the ear piece flat in half. Sew the open edges together flat—this trick makes the ear stand up stiff and straight.
Detail: Sew a small straight line with Black yarn on the front of the ear to look like a tiny scar. Set aside to sew onto the side of the head.
2. The Hat
Start with Gray yarn.
Round 1: Make 7 single crochet (sc) in a magic ring. Pull the ring tight. (7 stitches)
Round 2: Make an increase (2 sc in one stitch) in the first 6 stitches, and make 1 sc in the last stitch. You need to have exactly 13 stitches total for this round. (13 stitches)
Round 3: Make 1 slip stitch to join. Working in the back loops only (the loop furthest from you), make 1 sc in each of the 13 stitches around. (13 stitches)
Rounds 4, 5, and 6: Working in both loops normally, make 1 sc in each stitch around for three full rounds. (13 stitches per round)
Rounds 7 and 8: Change your yarn color to Sky Blue. Do not cut the gray yarn, let it hang inside. Make 1 sc in each stitch around for two full rounds. (13 stitches per round)
Round 9 (Brim): Change your yarn color back to Gray. Make an increase (2 sc) in every single stitch around to form the wide hat brim. (26 stitches)
Finishing the Hat: Make a slip stitch to close the round cleanly. Cut the yarn, leaving a very long tail so you can sew the hat to the head later. Hide any loose ends inside the hat.
3. The Bow Tie
Use Sky Blue yarn.
Row 1: Chain 6. Skip the first chain next to the hook, and make 1 single crochet (sc) in each of the next 5 chains going back down. (5 stitches)
Row 2: Chain 1 and turn your work. Make 1 sc in each of the 5 stitches. (5 stitches)
Row 3: Chain 1 and turn your work. Make 1 sc in each of the 5 stitches. (5 stitches)
Finishing the Bow Tie: Cut the yarn and hide the ends inside the blue block. Take a long piece of Gray yarn (remember to use two strands) and place it directly in the middle of your blue block. Wrap the gray yarn tightly around the middle over and over to pinch the center until it looks like a bow tie. Tie a knot on the back. Leave the leftover gray yarn tails to sew the bow tie directly to the front base of the doll’s neck.
4. The Hair (Make 3)
Use Yellow (Blonde) yarn.
Row 1: Chain 8. Do not make the chains too tight.
Row 2: Skip the first chain next to your hook, and work back down the chain in this exact order:
Make 1 slip stitch in the next chain.
Make 1 single crochet in the next chain.
Make 1 half double crochet in the next chain.
Make 1 double crochet in each of the last 4 chains.
Finishing the Hair: Cut the yarn and leave a tail for sewing. Because of the stitch sizes, the hair will naturally curve. Flip them upside down so they curve upwards like messy bangs. Sew them to the top of the forehead so they peek out from under the hat.
5. Face Details (Sewing)
Use your yarn needle to embroider the face directly onto the head.
Nose: Sew two stitches in the shape of a “V” (like the bottom of a heart) in the middle of the face.
Scars: Use Black yarn to sew straight lines on the head. Add tiny crossing lines over them so they look like stitched cuts. Place them wherever you like.
Mouth: Sew a straight line for the mouth below the nose. Use White yarn to make tiny box stitches right on top of the mouth line so it looks like remaining teeth.
Cheeks (Blush): Underneath the eyes, sew 3 tiny straight lines using Pink yarn.
Eyes: Outline the outside edges of the eyes with Black yarn. Add short Gray stitches under the eyes to make dark zombie circles. Finish the eyes by adding a small White stitch on the top side of each eye to make a light reflection. (Make sure both white dots point in the exact same direction so the zombie does not look cross-eyed).
1. Base Head and Body
Use green yarn and 2.5 mm hook. Work in continuous rounds.
Round 1: 7 sc in MR. (7)
Round 2: 6 inc, 1 sc. (13)
Round 3: 1 sc, inc around to the end. (20)
Round 4: 2 sc, inc around. (26)
Round 5: 3 sc, inc around. (32)
Rounds 6-14 (9 rounds): 1 sc in each stitch around. (32)
Round 15: 16 dec. (16) Stuff the head firmly now.
Round 16: 8 dec. (8)
Round 17: Change to grey yarn for the body. 1 sc, inc around until you reach 13 stitches total. (13)
Rounds 18-22 (5 rounds): 1 sc in each stitch around. (13)
Finishing: Slip stitch in the next stitch. Fasten off leaving a long tail for sewing. Stuff the pink body firmly.
Making the Legs: Flatten the bottom opening of the body. Sew the opening closed flat. To form the appearance of two little legs, insert your needle at the bottom center, push it all the way up through the head, and pull the yarn tight to create an indent in the bottom center. Secure the yarn and hide the tail inside.
2. Arms (Make 2)
Use skin color yarn.
Row 1: Chain 14.
Row 2: Starting in the second chain from the hook, slip stitch back down the chain 13 times.
Finishing: Fasten off, leaving a long tail. Thread the tail into your needle, poke a hole through the neck of the doll from side to side, and pull the arm string through so the arms dangle on the sides. Tie to secure.
3. Giant Eyes (Make 2)
Use Black yarn and 1.75 mm hook. Work in continuous rounds.
Round 1: 8 sc in MR. (8)
Round 2: 1 sc, inc around until you reach 11 stitches. (11)
Round 3: 2 sc, inc around until you reach 15 stitches. (15)
Round 4: 3 sc, inc around until you reach 19 stitches. (19)
Finishing: Slip stitch, fasten off, and leave a long tail. Sew the eyes onto the head, starting about 7 rounds down from the top of the head, leaving about 3 stitches between them.
See More:
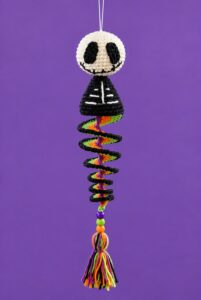
Featuring: How to Crochet the Skeleton Wind Spinner With Stripes of Halloween Colors
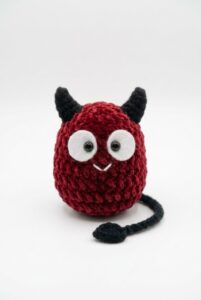
Tester Pattern: How to Crochet A Cape-Wearing Red Buddy Plushie for Halloween
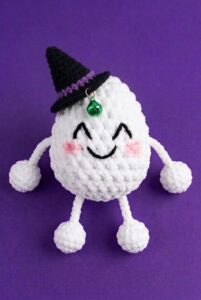
Tester Pattern: How to Crochet An Tug & Pull Witch Egg Halloween Plushie Toy
Featuring: Crochet SPOOKY-CUTE Black & White Ghost Plushie for Halloween
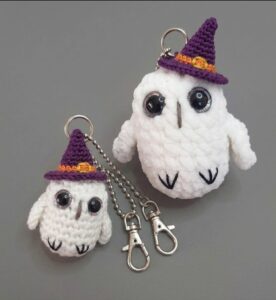
Tester Pattern: Crochet 10-Minute Pair of Ghost Owl Pals Plushies for Halloween
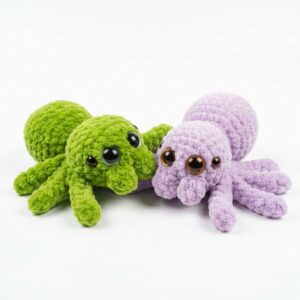
Featuring: Crochet 8-Legged & Four-Eyed Spider Plushie for Halloween
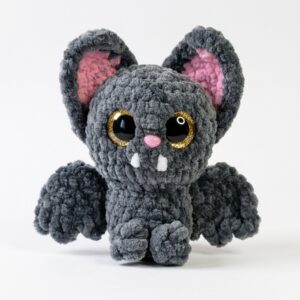
How to Crochet Glitter-Eyed Kawaiiest Bat Softie for Halloween
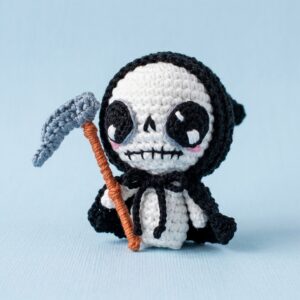
How to Crochet Mr. Sickle Holder Amigurumi for Halloween
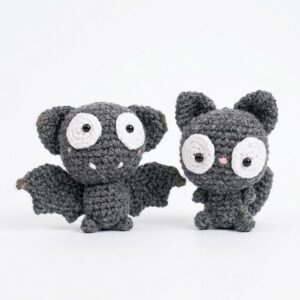
Featuring: Crochet Black Kitty Amigurumi But it is A Bat for Halloween (2-in-1 Tutorial)