Author: Talha
I am a crochet designer, macramé maker and a crafter who also loves doing MATH.
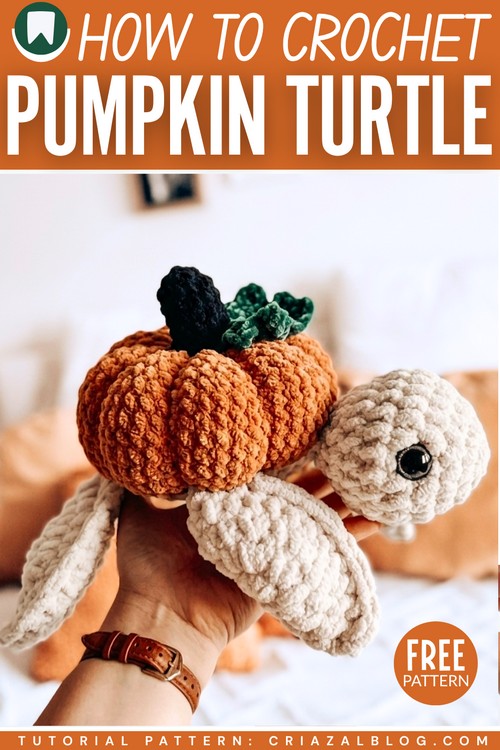
Test this NEW variant of the pumpkin shell turtle plushie following this FREE pattern for fall & Halloween. It is a big, low-sew turtle with a ribbed pumpkin shell that also has a brown stem and curly vines. Crochet this turtle plushie this fall or Thanksgiving as a buddy for kids or for yourself. This crochet turtle is made using the traditional sea turtle plushie pattern for its body parts. But to crochet the pumpkin, we are gonna use the “ridged sphere” method.
Crocheting this turtle plush should be easier for beginners, as crocheting a sphere is one of the easiest patterns. The clever aspect of this pattern is that we shall crochet the legs and arms of the turtle by folding a small crochet circle.
Note that I am calling for the “pattern testers” to first crochet and review this fall turtle plushie pattern. Then, I will put it in the category of the reviewed and tested patterns. I have tried my best to keep the pattern accurate. Be sure you have good assembly skills so your crochet turtle plush looks THE BEST!
Similar Project(s)
Materials & Notes
Main Color (A): Cream/Off-White for the head and legs.
Color (B): Orange for the pumpkin body.
Color (C): Dark Green for the leaf.
Color (D): Black/Dark Brown for the stem.
Hooks: 7mm hook for the head and pumpkin, 8mm hook for the legs
Head & Legs (Your Pattern, Cleaned Up)
Head
Using Main Color (A) and a 7mm hook.
Round 1: sc 6 in a magic ring (6)
Round 2: inc in each st (12)
Round 3: (sc 1, inc in next st) repeat sequence until end of round (18)
Round 4: (sc 2, inc in next st) repeat sequence until end of round (24)
Rounds 5–7: sc around (24) (3 rounds total / 72 total stitches)
Place safety eyes between rounds 4 & 5.
Round 8: (sc 2, dec) repeat sequence until end of round (18)
Round 9: (sc 1, dec) repeat sequence until end of round (12)
Stuff the head firmly.
Round 10: (sc 1, dec) repeat sequence until end of round (8)
Fasten off, leaving a long tail for sewing.
Legs (Make 4)
Using Main Color (A) and an 8mm hook.
Round 1: sc 8 in a magic ring (8)
Round 2: inc in each st (16)
Round 3: (sc 1, inc in next st) repeat sequence until end of round (24)
Round 4: sc around (24)
To Finish: Fold the circle in half (wrong sides facing together). Insert hook into the first stitch on the left, pull a loop through, chain 1, go back into that same spot, and make 1 sc. Continue to single crochet across the edge through both layers to close the semicircle. You should have 12 sc total across the flat edge. Fasten off, leaving a long tail.
Pumpkin Shell, Stem, & Leaf
Pumpkin Body (Replaces Shell)
Using Color (B – Orange) and a 7mm hook.
Round 1: sc 8 in a magic ring (8)
Round 2: inc in each st (16)
Round 3: (sc 1, inc in next st) repeat sequence until end of round (24)
Round 4: (sc 2, inc in next st) repeat sequence until end of round (32)
Round 5: (sc 3, inc in next st) repeat sequence until end of round (40)
Round 6: (sc 4, inc in next st) repeat sequence until end of round (48)
Rounds 7–14: sc around (48) (8 rounds total)
Round 15: (sc 4, dec) repeat sequence until end of round (40)
Round 16: (sc 3, dec) repeat sequence until end of round (32)
Round 17: (sc 2, dec) repeat sequence until end of round (24)
Stuff the body firmly with fiberfill.
Round 18: (sc 1, dec) repeat sequence until end of round (16)
Round 19: dec around (8)
Fasten off, leaving a very long tail (about 3 feet) for creating the pumpkin indents.
Creating the Pumpkin Ribs: Thread your long orange yarn tail onto a tapestry needle. Push the needle directly through the center bottom (Round 19) up and out of the center top (Round 1). Pull tightly to create a dimple. Bring the yarn around the outside of the ball, insert it back into the bottom center, and pull it out the top center again. Repeat this 6 times around the ball to divide it into even, puffy sections. Knot and secure the yarn at the bottom.
Pumpkin Stem
Using Color (D – Black/Brown) and a 7mm hook.
Round 1: sc 6 in a magic ring (6)
Round 2: (sc 1, inc) repeat around (9)
Rounds 3–6: sc around (9)
Fasten off, leaving a tail for sewing. Stuff lightly.
Leaf
Using Color (C – Green) and a 7mm hook.
Chain 8.
Starting in the 2nd chain from the hook, work back down the chain: sl st, sc, hdc, dc, hdc, sc, sl st.
Chain 1, turn to work along the opposite side of the starting chain: sl st, sc, hdc, dc, hdc, sc, sl st.
Fasten off, leaving a tail for sewing.
Assembly
Stem & Leaf: Sew the stem directly to the top center (Round 1) of your pumpkin body. Sew the green leaf right next to the base of the stem.
Head: Sew the open neck of the head (Round 10) to the lower front half of the pumpkin body, centered perfectly between two of your pumpkin rib lines.
Legs: Attach the flat, closed edges of the 4 legs to the underside/lower sides of the pumpkin body. Position two pointing slightly forward behind the head, and two pointing slightly backward at the rear.
See More:
How to Crochet Turtle Drawstring Pouch with Ribbon Handle for Fall & Summer
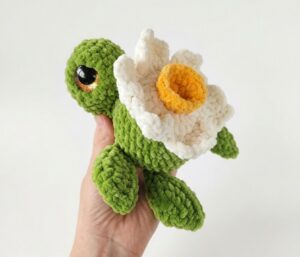
Featuring: How to Crochet 100% No-Sew Daffodil Turtle Plushie for Gifting
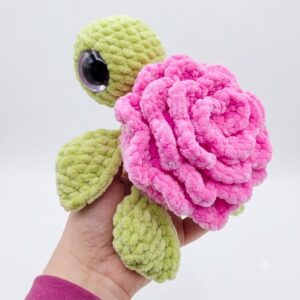
Featuring: How to Crochet No-Sew Rose Turtle Plushie (Pastel & Red Variations)
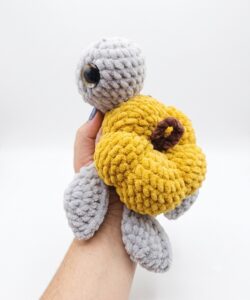
Featuring: How to Crochet the CUTEST No-Sew Halloween Pumpkin Turtle Plushie
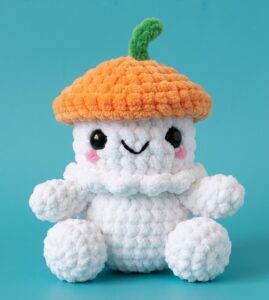
Tester Call: How to Crochet Ghost Monster in a Pumpkin Hat Plushie Pattern
Free Crochet Pumpkin Amigurumi with a Life-Like Leaf Pattern for Fall
Crochet Happy Pumpkin Applique For Fall Decorations
Crochet Pumpkin Coffee Cup Cozy Pattern
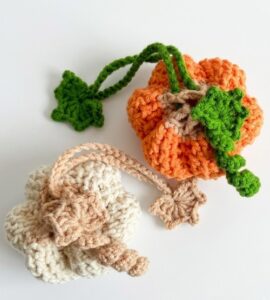
Featuring: How to Crochet 2-in-1 Pumpkin Treat Bag & Charm for Fall & Hallowen