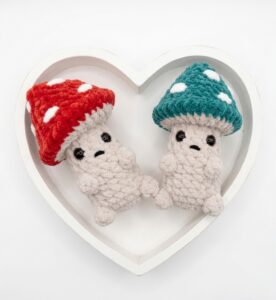
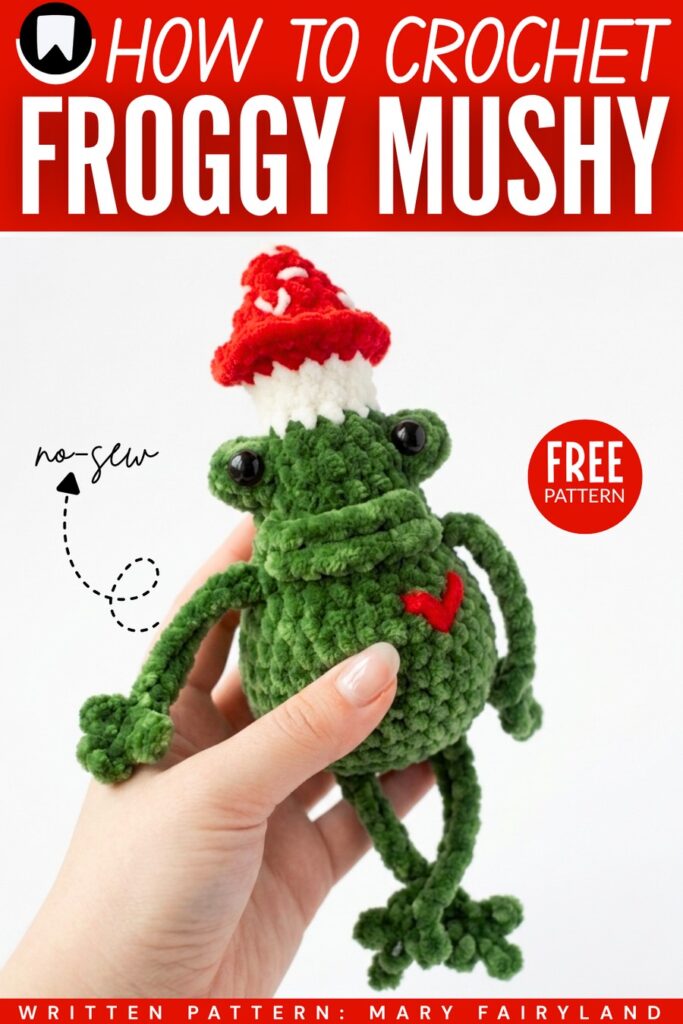
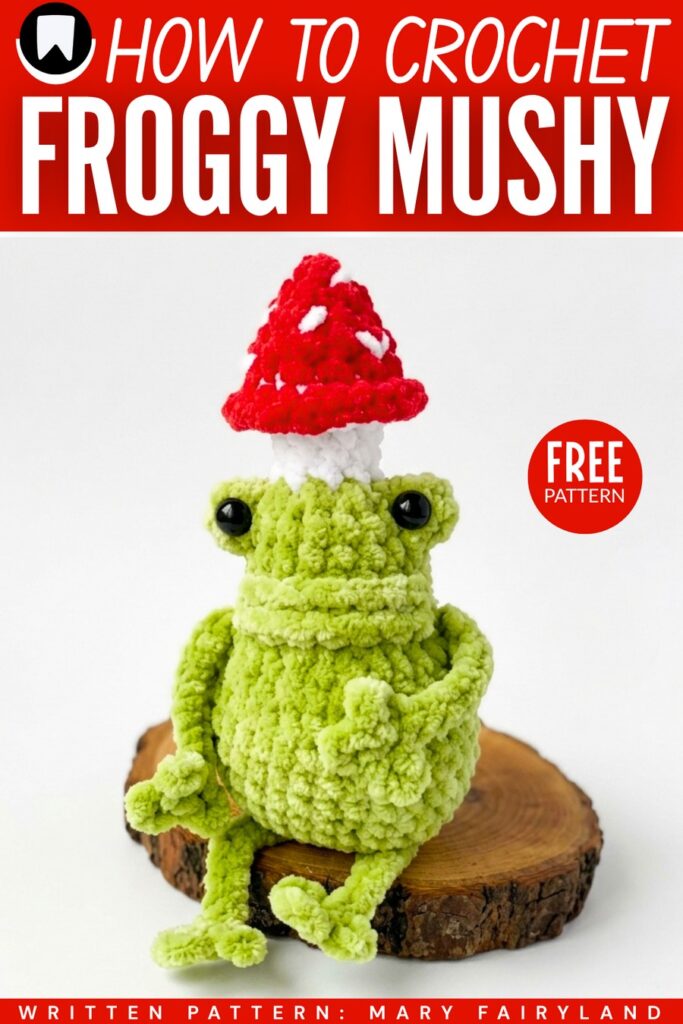
I have already shared a pattern to crochet a miniature version of a crochet mushroom cap frog plush! Now, let’s crochet this bigger & quirkier big-lips frog in the same mushroom hat plushie, following this free written pattern + a tutorial as well. This is a crochet leggy & chubby frog plushie that will be an irresistible snuggler for little ones. With those big lips, it will also make a lovely Valentine’s Day, Mother’s Day, and anniversary present.
This version of the froggy mushroom plushie is crocheted from the bottom up, all as a single piece. This variation also has a popular booty frog feature + an embroidered heart. You will be surprised by how little sewing is needed to crochet one.
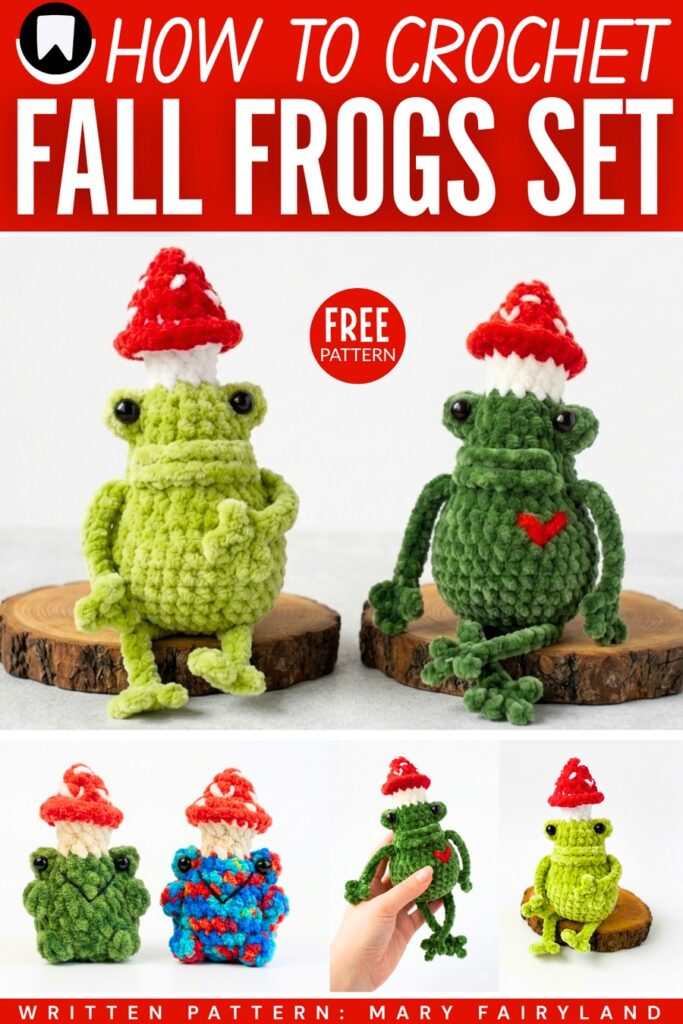
This plush mushroom frog is actually crocheted as a doll with unstuffed legs and arms, so it moves funnily when you carry it as a bag charm. The finished plushie this time measures 20 cm. If you are looking for the previous version, definitely check out the suggestion below. Now, we shall move on and I will provide you with the complete pattern to crochet this funny mushroom frog plushie.
[ez-toc]
Pattern to Crochet the Leggy Mushroom Hat Frog Plushie
To crochet this mushroom frog buddy plushie, we shall start by crocheting the frog from the bottom using green plush yarn. Make the body with single crochet rounds, adding increases to shape the base.
Then, crochet the legs by chaining and making small toes, then continue working upward. Crochet the arms in the same way and shape the mouth area using back loops.
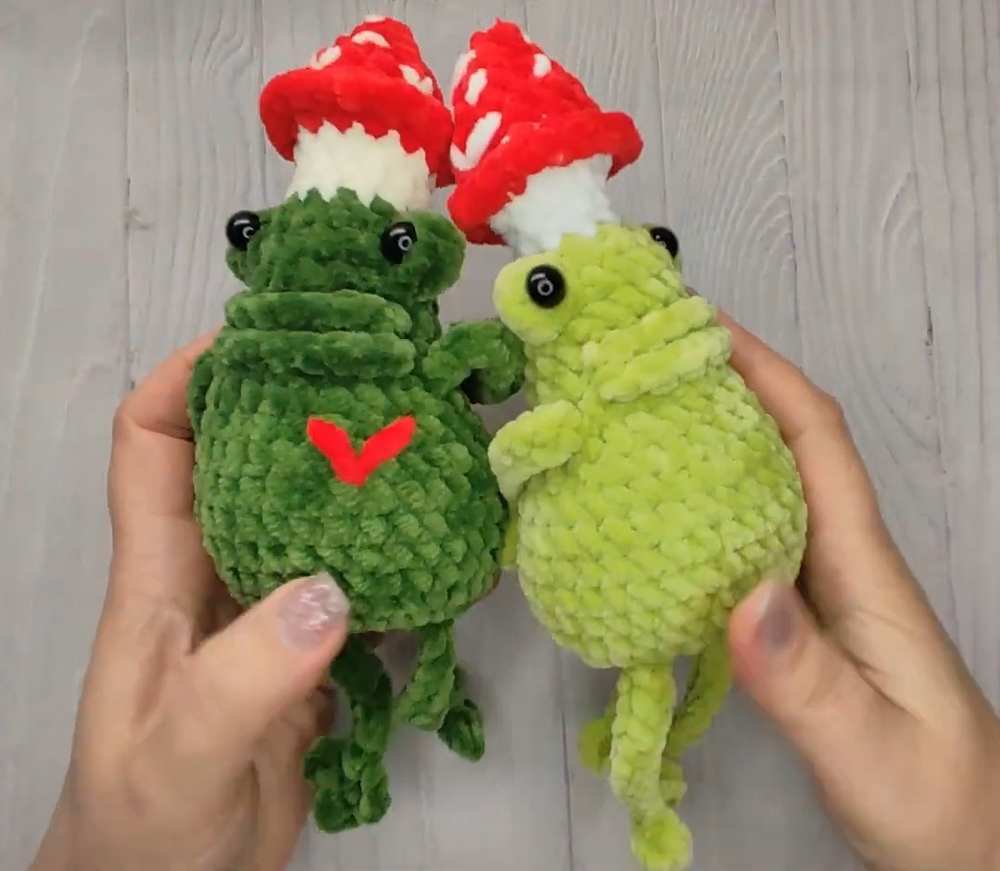
Stuff the body before closing the top. Make the eye sockets with popcorn stitches, then change yarn colors to form the white mushroom stem and red cap.
Finish by decreasing and closing the head. Add safety eyes, stitch the mouth, tighten the bottom for a sitting shape, and decorate the mushroom cap with white spots and a small heart.
Materials Needed
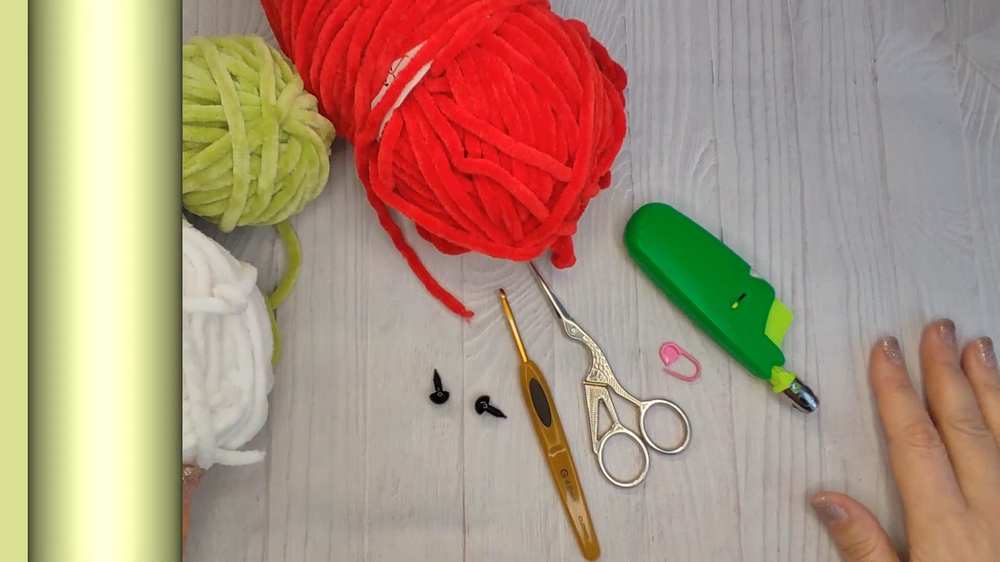
The following are the materials and tools needed for crocheting this
Yarn: Plush yarn (e.g., Himalaya Dolphin Baby or YarnArt Dolce) in green, white, and red.
Hook Size: 4.0 mm
Safety Eyes: 10 mm
Other Tools: Needle with a large eye, thick thread for tightening, filler (fiberfill), glue, scissors, and a stitch marker.
Abbreviations
ch: chain stitch
MR: magic ring
inc: increase
sc: single crochet
dec: decrease
sl st: slip stitch
FLO: front loops only
BLO: back loops only
Popcorn Stitch: 5 dc Popcorn
Basic Techniques for this Pattern
- Magic Ring (MR): Creating a loop to start. (Alternative: Ch 2, and do your first round of stitches into the first chain).
- BLO / FLO: Most crochet stitches go through two loops. BLO means insert your hook only into the Back Loop (the one further from you). FLO means Front Loop (the one closest to you).
- Popcorn Stitch: Used for eye sockets. To do this: Make 5 Double Crochets in one stitch. Take your hook out, insert it into the first DC, grab the loop of the 5th DC, and pull it through.
The Pattern Instructions
Part 1: Bottom & Legs (Green Yarn)
We start at the bottom of the frog and work up.
- Rnd 1: Ch 2. In the 2nd chain from the hook, make 6 Single Crochets (sc). [6 stitches]
- Rnd 2 (The Leg Round): This round creates the legs as you go.
- Make 2 sc in the next stitch (Increase).
- Make 2 sc in the next stitch (Increase).
Are you a Beginner? Learn Crocheting Easily!
You can learn to crochet better with this big frogy in a mushroom hat as a beginner:
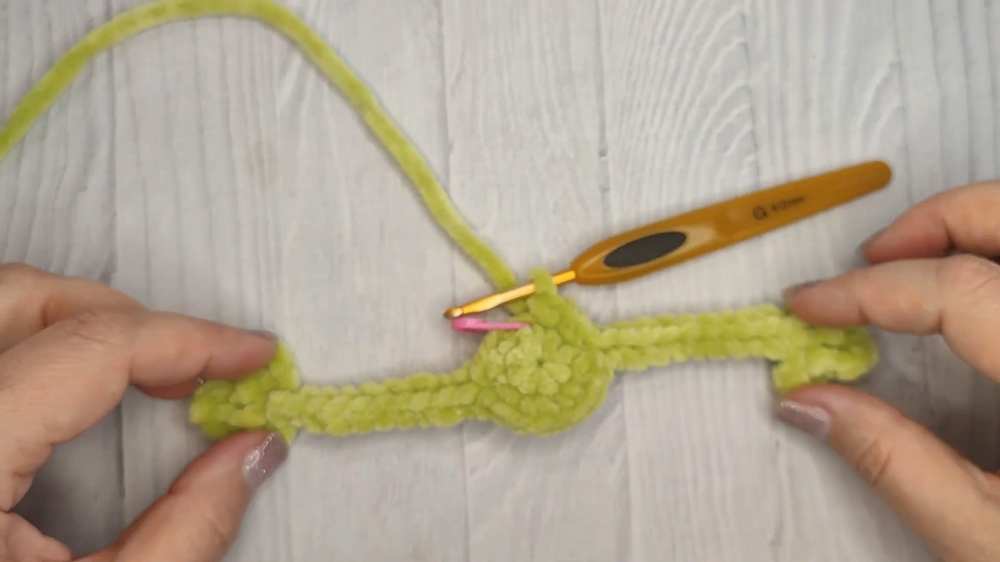
- Start Leg: Chain 15. Now, look at your chain. Count 5 chains back from the hook and make a Slip Stitch (sl st) in that 5th chain. (This makes a little loop/toe).
- *Chain 4, sl st in that same 5th chain.* Repeat this one more time. (You now have 3 toes).
- Make 10 sl st back down the remaining chains until you reach the body.
- Continue on the body: 2 inc.
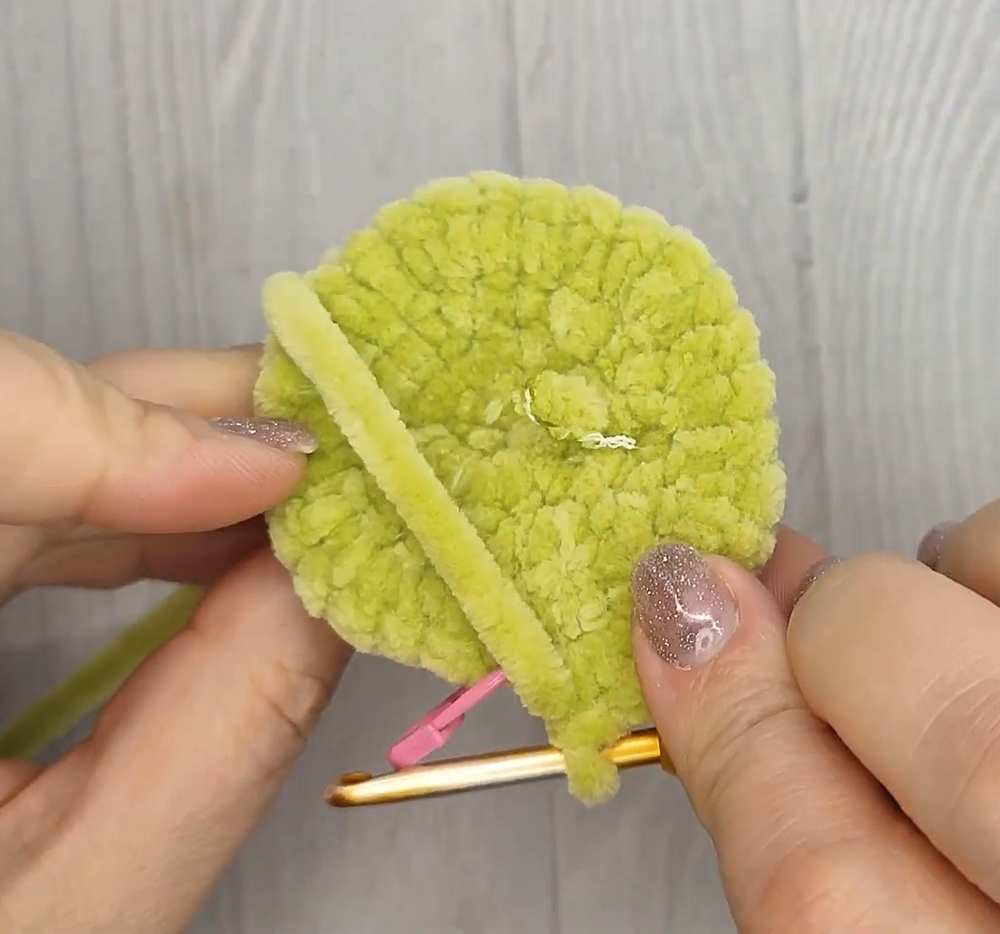
- Start 2nd Leg: Repeat steps 3–5 exactly to make the second leg.
- 2 inc on the remaining stitches. [12 stitches total on the body circle]
- Rnd 3: (1 sc, Increase) repeat 8 times. [24]
- Rnd 4: (3 sc, Increase) repeat 6 times. [30]
- Rnd 5–10: 1 sc in every stitch around. (Total 6 rows of plain green). [30]
- Rnd 11: (3 sc, Decrease) repeat 6 times. [24]
Part 2: Arms & Mouth Ridge (Green Yarn)
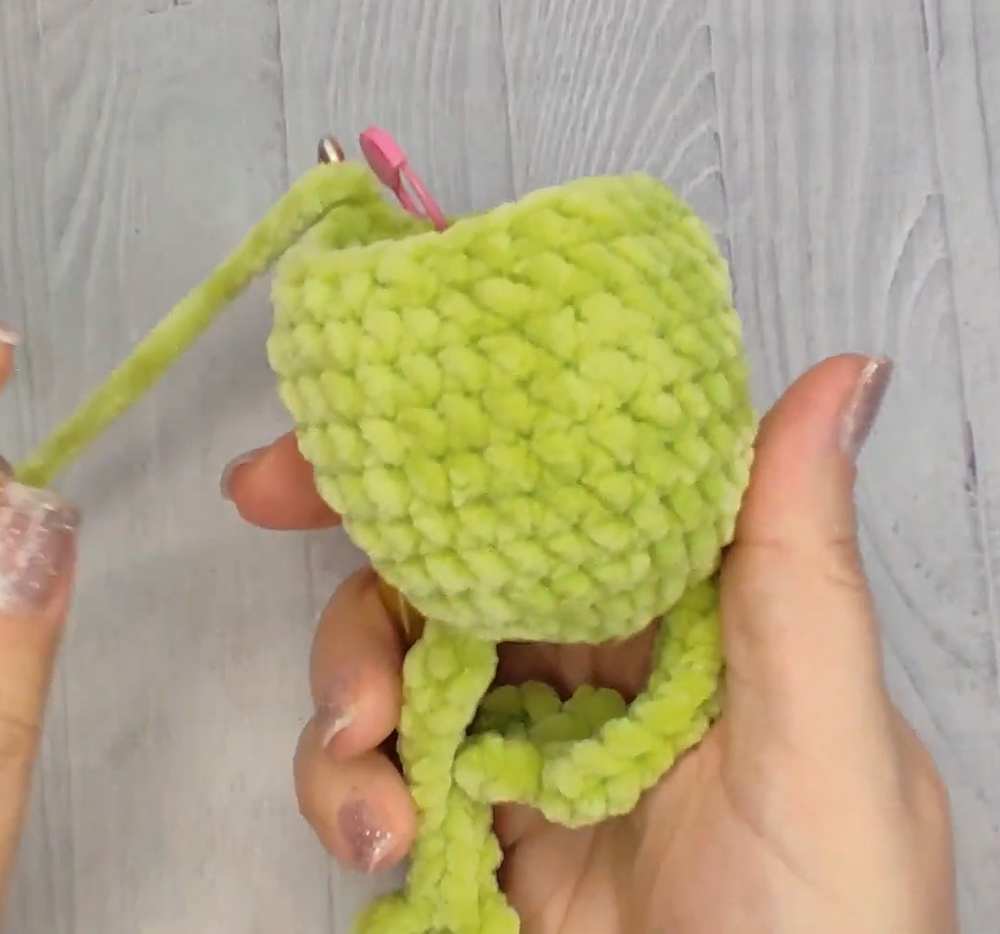
- Rnd 12 (The Arm Round):
- 8 sc.
- Start Arm: Chain 15. Follow the exact same “toe” instructions from Rnd 2 (steps 3-5).
- 12 sc across the front.
- Start 2nd Arm: Repeat step 2.
- 4 sc to finish the round. [24]
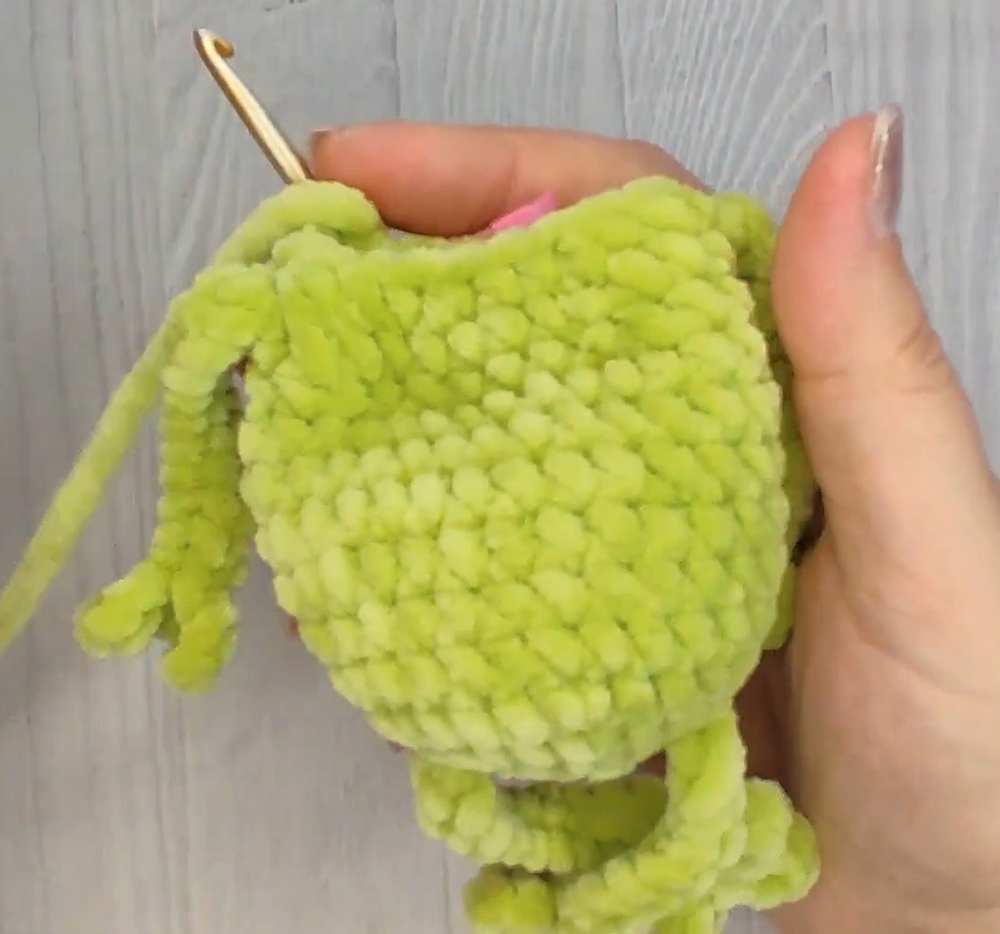
- Rnd 13: (2 sc, Decrease) repeat 6 times. [18]
- Rnd 14: 7 sc. Now, for the next 8 stitches, work in BLO only. Then 3 sc normally. [18]
- Note: Working in BLO leaves a little “line” on the outside. We will come back to this to build the mouth later.
- Rnd 15: 1 sc in every stitch around. [18]
- Stop here and stuff the body firmly with filler.
Part 3: Eyes & Top of Head (Green/White/Red)
- Rnd 16: 1 sc in every stitch. [18]
- Rnd 17 (The Eye Sockets): 8 sc, make a Popcorn Stitch (using white yarn if you want white eyes, or green for sockets), ch 1, 7 sc, Popcorn Stitch, ch 1, 1 sc. [18]
- Rnd 18: 9 Decreases. [9]
- Change to White Yarn for the Mushroom Stem.
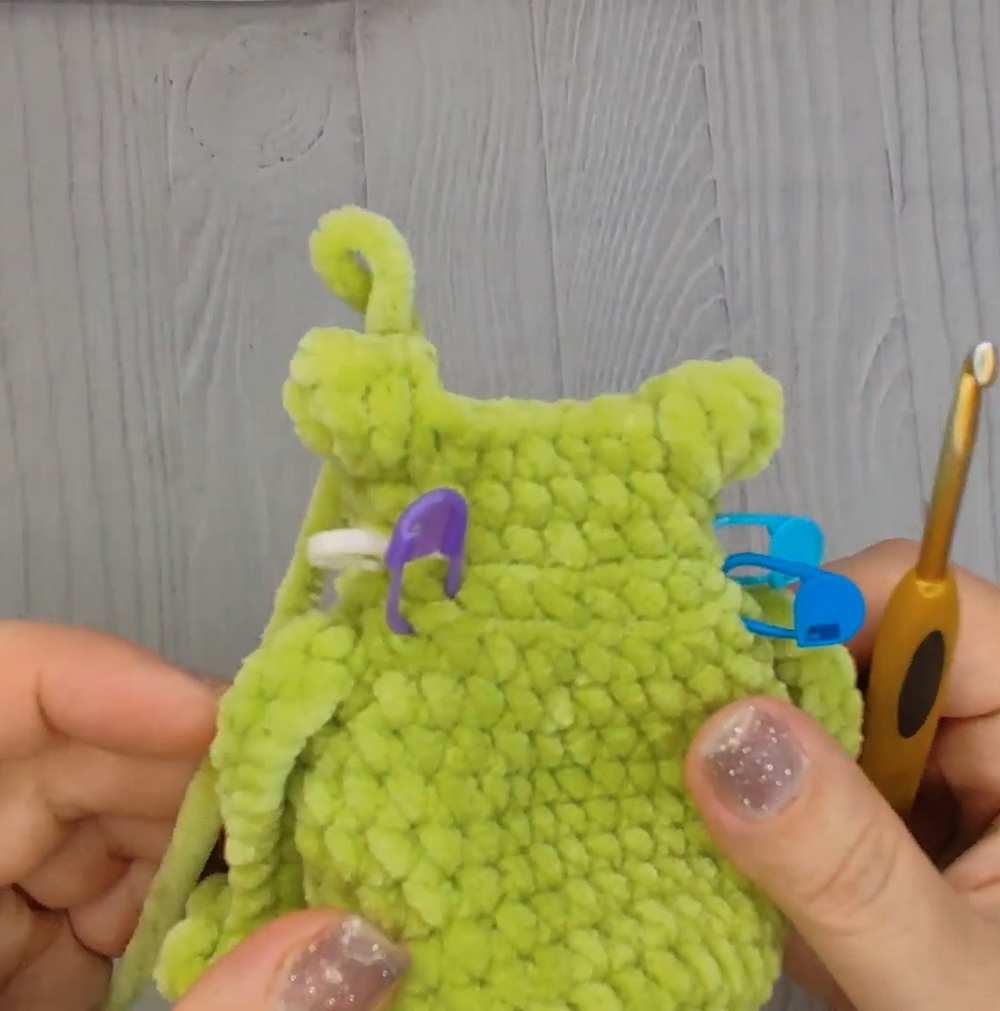
- Rnd 19–20: 1 sc in every stitch. [9]
- Rnd 21: (2 sc, Increase) repeat 3 times. [12]
- Rnd 22: Increase in every stitch around. [24]
- Change to Red Yarn for the Mushroom Cap.
- Rnd 23: Work in BLO only: 12 Decreases. [12]
- Rnd 24: 1 sc in every stitch. [12]
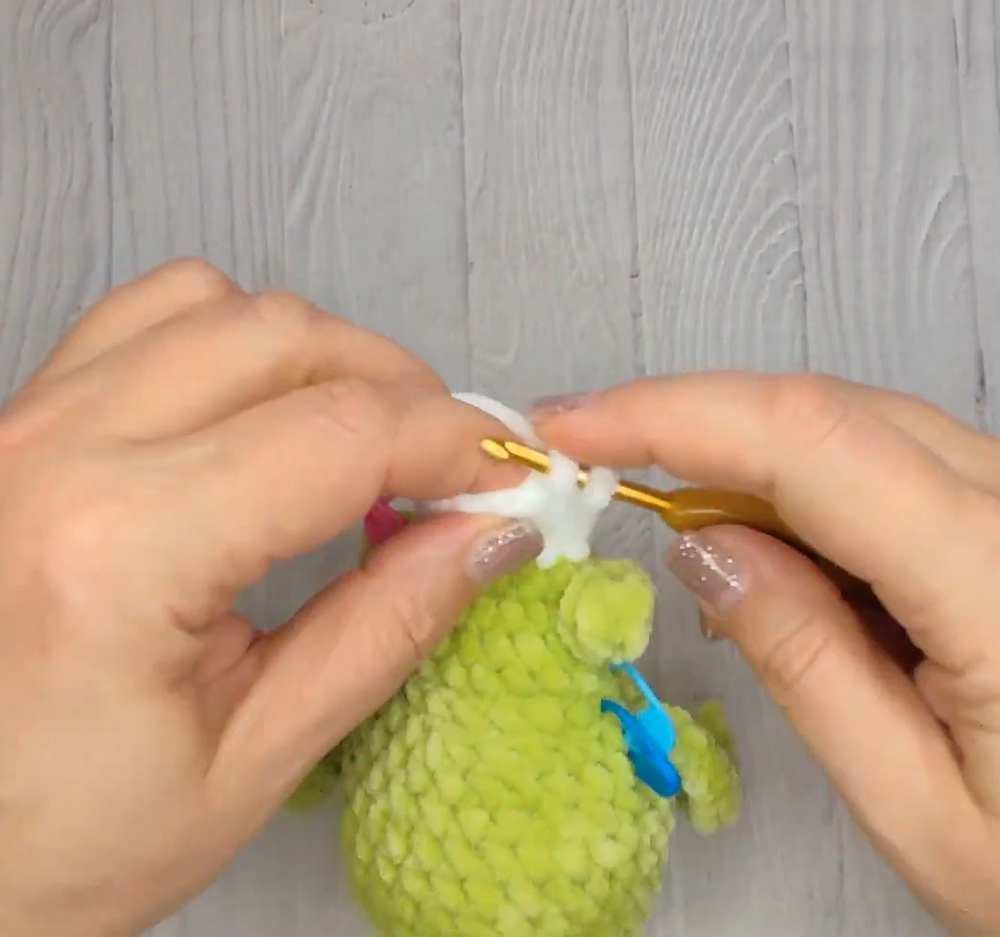
- Rnd 25: (1 sc, Decrease) repeat 4 times. [8]
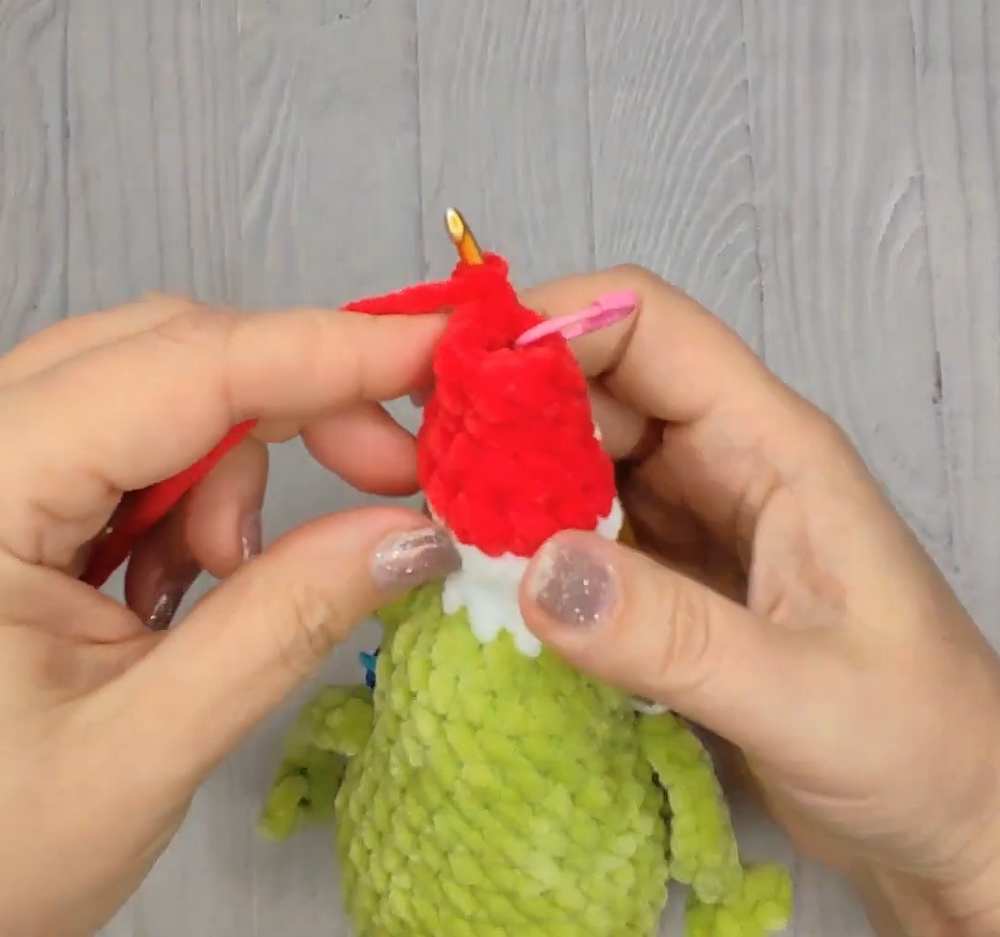
- Stuff the head and mushroom part with filler.
- Rnd 26: 1 sc in every stitch. [8]
- Rnd 27: 4 Decreases. [4]
- Fasten off. Use a needle to weave the tail through the last 4 stitches to close the hole tightly.
4. The “Beginner’s Secret” Assembly
1. The Mouth: Go back to the “line” created by the Front Loops in Rnd 14. Attach green yarn to that line. Crochet 8 sc across that line. This creates the “pouty” lower lip.
2. The Eyes:
- If you used black safety eyes: Glue or snap them directly into the center of the Popcorn stitches you made in Rnd 17.
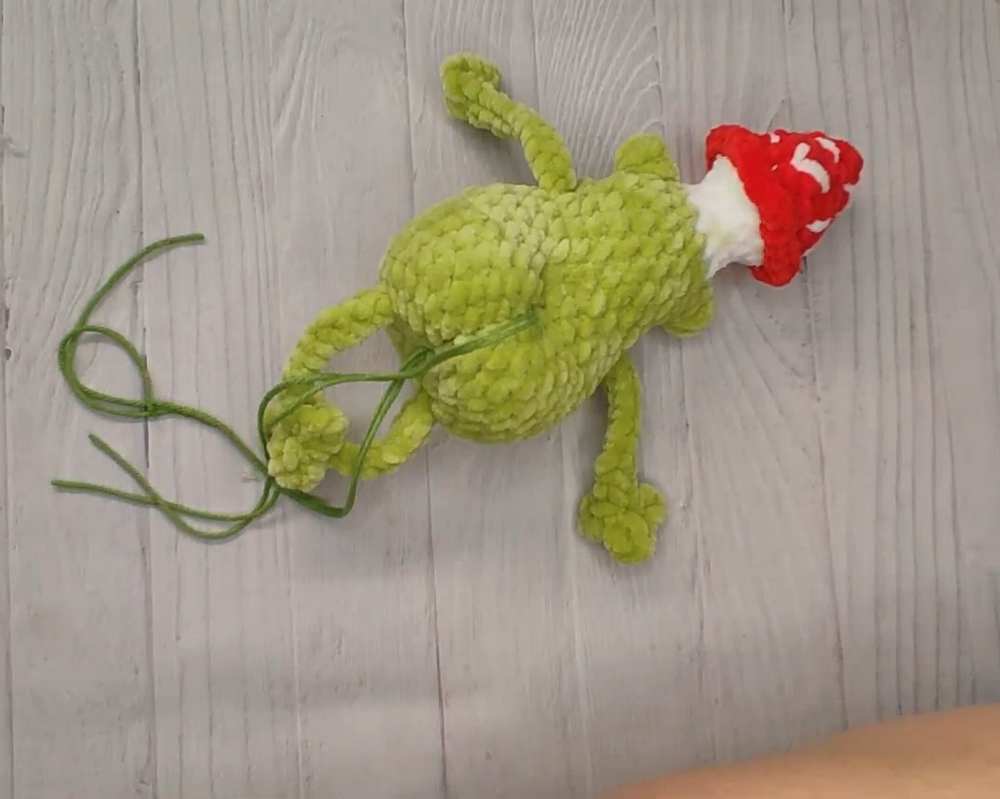
3. Butt Shaping (The “Butt Tightening”):
This makes the frog look like it’s sitting.
- Take a long piece of green yarn on a needle.
- Insert into the bottom center (Rnd 1).
- Bring it out at the back, around Rnd 11.
- Go over one stitch and back down to the bottom.
- Pull very tight to create a dent and tie a knot. Hide the ends inside the body.
4. Mushroom Decoration:
- Take some white yarn and a needle.
- Simply stitch small white lines or “French knots” randomly all over the red cap to create the mushroom spots.
5. Final Touch:
Use red yarn to stitch a tiny “V” shape on the chest for a heart.
Share on Social Media!
See More:
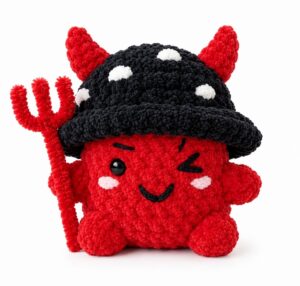
Tester Pattern: How to Crochet Amigurumi Spooky Red & Black Mushroom Plushie
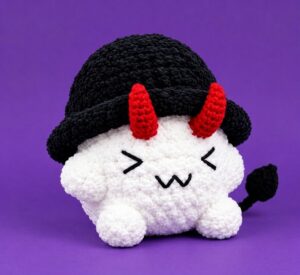
Tester Pattern: How to Crochet A No-Sew Mr. Red Horns Mushroom Plushie
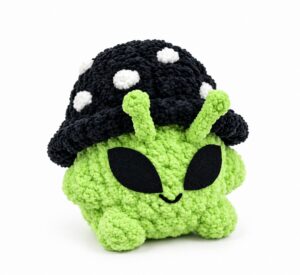
Tester Call: How to Crochet Green Alien Mushroom Plushie Buddy for Gifting
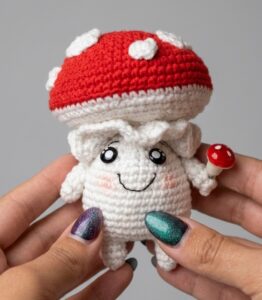
How to Crochet A Plastic Kawaii-Eyed Mushroom with Legs and Arms Plushie
Free Crochet Mushroom Plushies Pattern Series
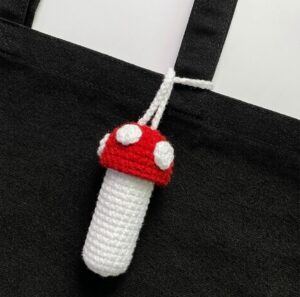
How to Crochet Mushroom Chapstick Holder & Charm for Fall
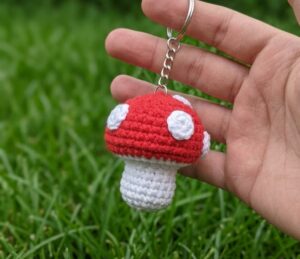
How to Crochet A Mushroom & Maple Leaf Keychain for Fall
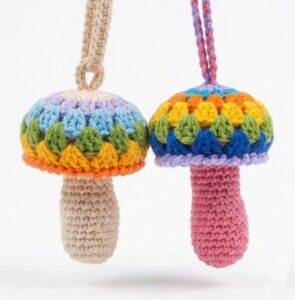
Let’s Crochet the Only Colorful 2-in-1 Mushroom for this Fall
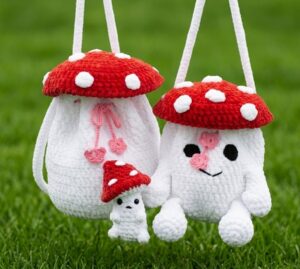
How to Crochet Back-to-School Mushroom Buddy Shoulder Bag for Kids & Adults