Show support for Mari!
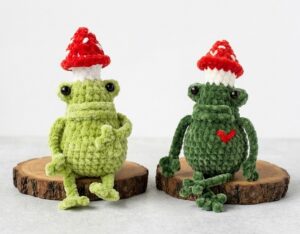
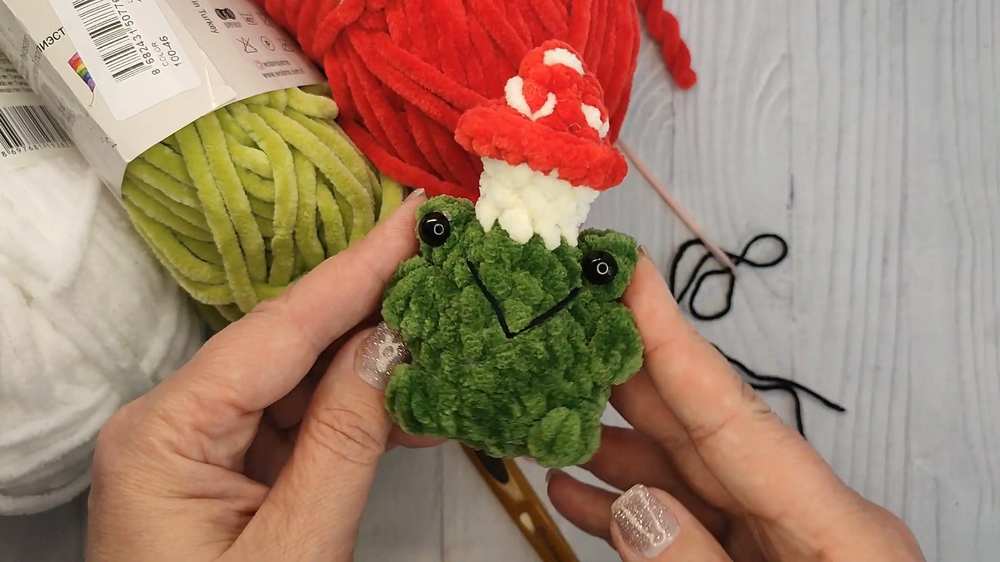
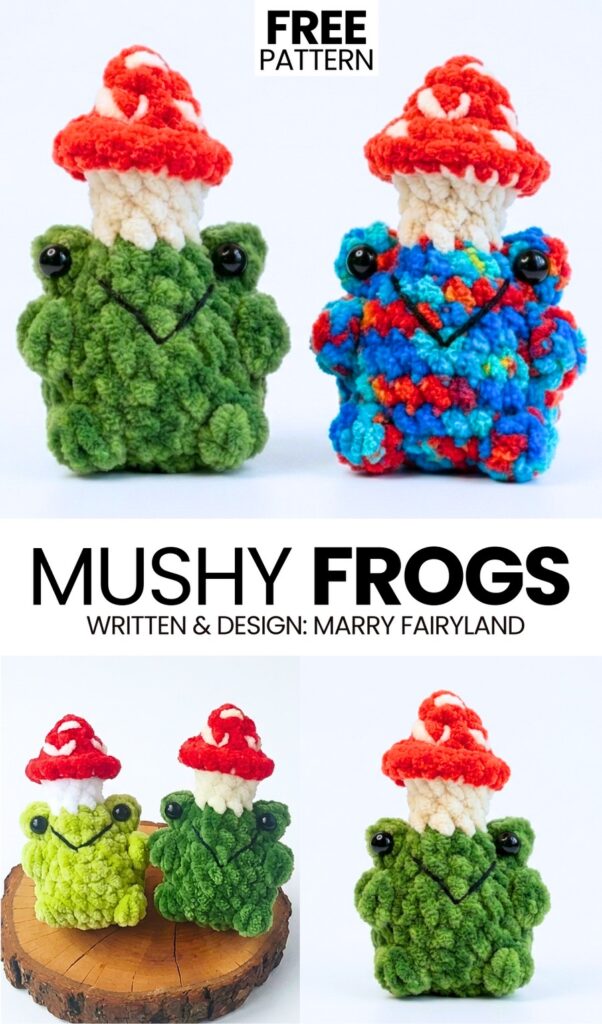
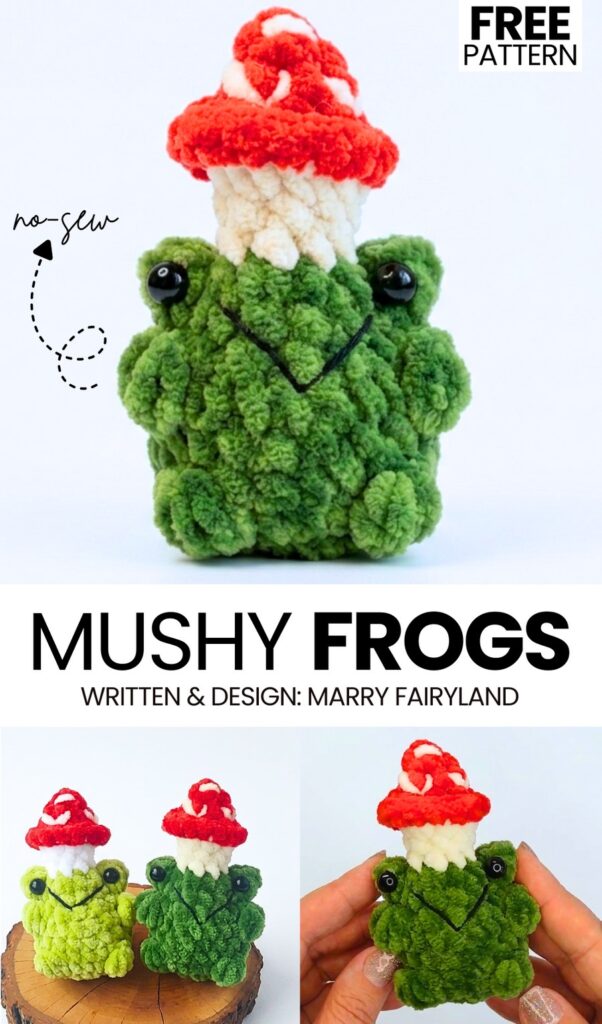
Let’s celebrate the ALL-TIME-FAVORITE crochet chubby frog plushie this fall by crocheting this chubby & cute mushroom hat chubby frog plushie. Luckily, this mushroom frog amigurumi is a no-sew pattern that can be crocheted in less than 20 minutes following a free written pattern + a tutorial as well. It is a part of the “crochet chonky plushie” series that always makes irresistible bag charms. This chonky frog variation will also make an anti-stress desk buddy.
You can crochet your frog plushie in either green or parrot! I like how you will also crochet the white stem along with the mushroom cap. This makes the crochet frog wearing this mushroom hat look a bit funny and look even cuter.
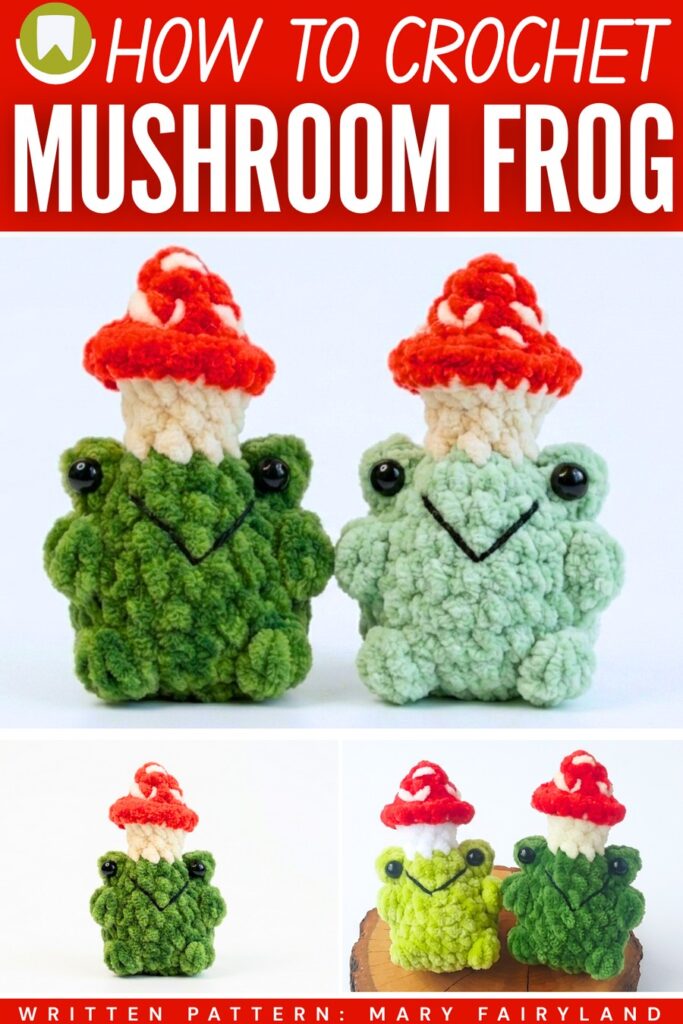
We shall use the bobble stitch for crocheting the no-sew legs and arms of the frog. The same goes for the eyes of the frog. You can also crochet the mushroom cap with the small crochet spots crocheted separately if you are not good at the embroidery spots. Since I am sure you will definitely want to crochet one of these mushroom frogs as a present, I am providing the pattern just below.
[ez-toc]
Pattern to Crochet Mini Mushroom Frog Plushie Keychain
Here is how we shall crochet this frog plush: the frog and mushroom hat will be crocheted as a single piece, starting from the bottom of the body and working upwards. Shape the legs and eye sockets directly into the rounds using cluster and popcorn stitches. Add the safety eyes onto the raised eye sections, then stuff the frog firmly before closing the base.
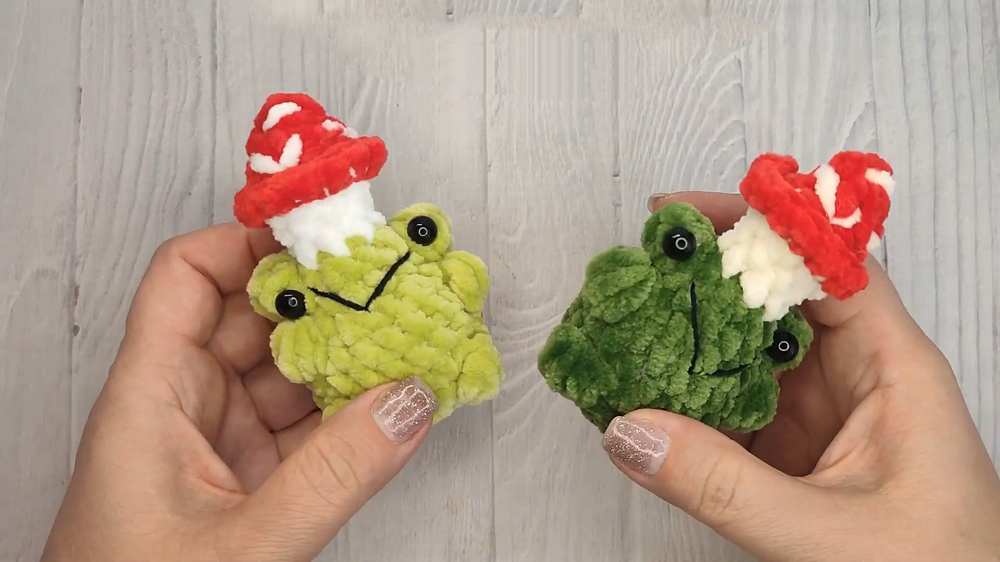
Change colours to create the white stem and red mushroom cap, adding the cap rim and embroidered spots afterwards. Finish the face with a black yarn embroidered smile.
Weave in all yarn ends securely, attach any keychain hardware if needed, and shape the plushie to complete the cute mushroom frog keychain.
Materials Needed
- Yarn: Plush yarn (e.g., Himalaya Dolphin Baby or YarnArt Dolce) in Green (frog), White, and Red (mushroom).
- Crochet Hook: 4.0 mm
- Safety Eyes: 8 mm
- Filling: Fiberfill/Stuffing
- Tools: Needle with a large eye, scissors, stitch marker, and glue.
- Embroidery: Small amount of black yarn for the mouth.
Abbreviations
- ch: chain stitch
- sc: single crochet
- inc: increase (2 sc in one stitch)
- dec: decrease (sc 2 together)
- dc: double crochet
- 4 dc Cluster: Crochet 4 double crochet stitches into the same stitch, leaving the last loop of each on the hook, then pull through all loops.
- 5 dc Popcorn: Crochet 5 double crochets into the same stitch, remove hook, insert into the first dc, then pull the working loop through.
- FLO: front loops only
- BLO: back loops only
Frog Body & Mushroom Hat
(Worked in one piece from the bottom up)
Rnd 1: ch 2, work 6 sc into the 2nd loop from the hook (6)
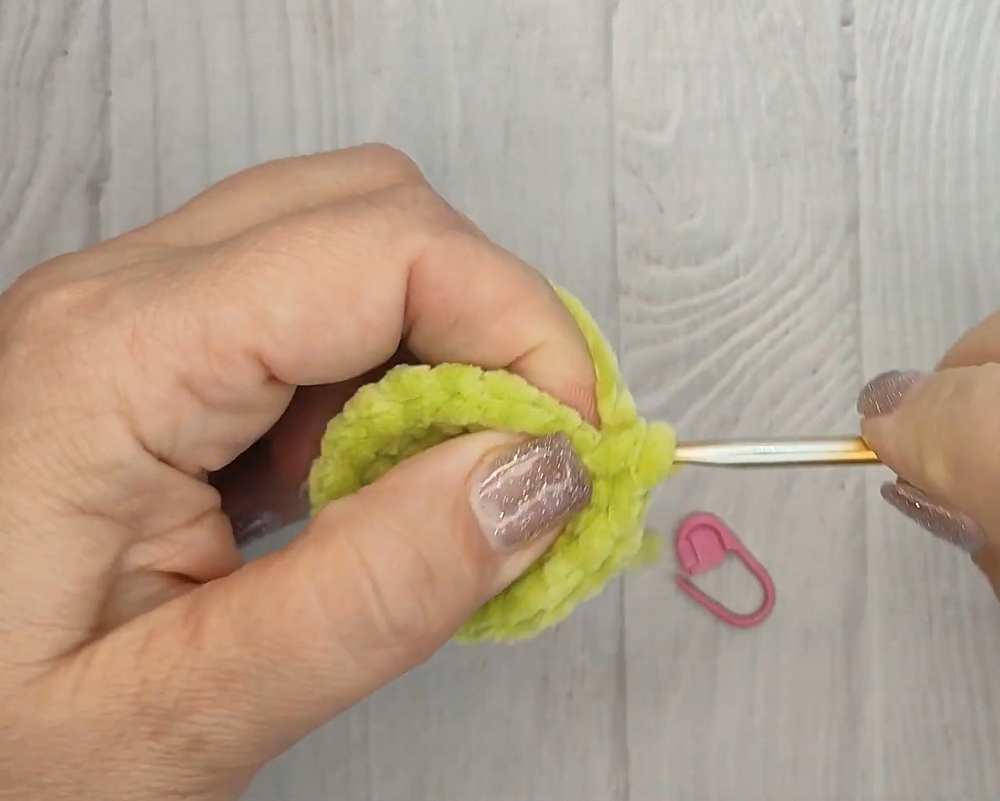
Rnd 2: 6 inc (12)
Rnd 3: (1 sc, 1 inc) x 6 (18)
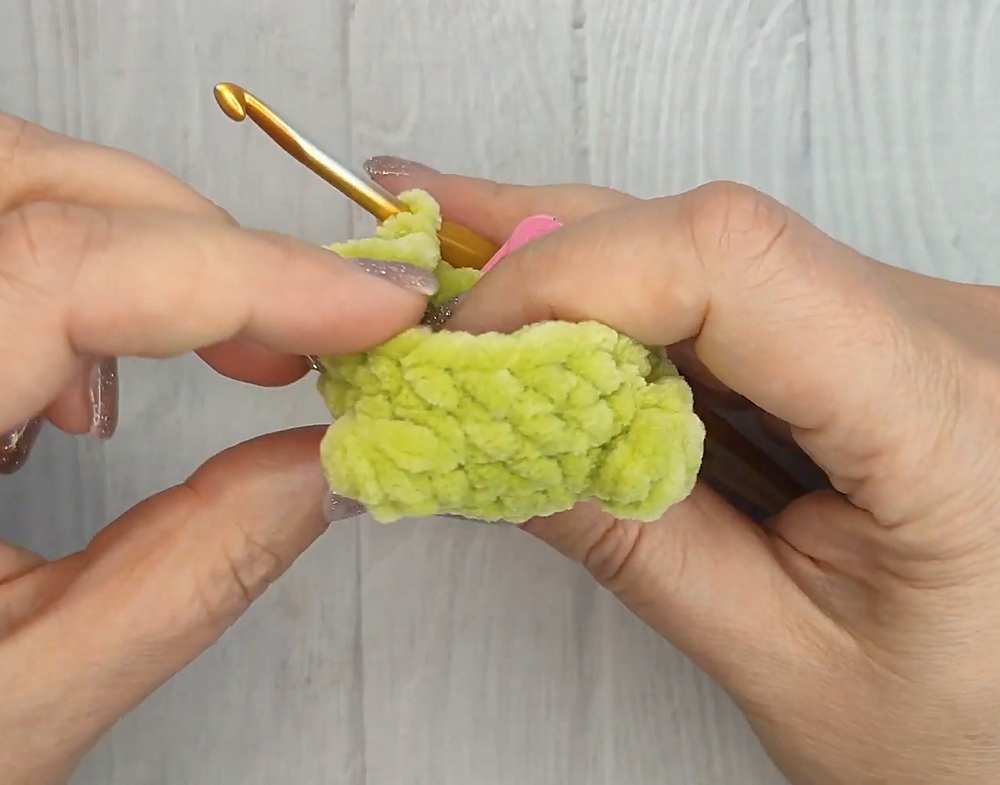
Rnd 4 (Bottom Legs): 6 sc, 4 dc Cluster, ch 1, 4 sc, 4 dc Cluster, ch 1, 6 sc (18)
Are you a Beginner? Learn Crocheting Easily!
You can learn to crochet better with this miniature spider plushie tutorial as a beginner:
Rnd 5–6: 18 sc (18)
Rnd 7 (Upper Legs): 5 sc, 4 dc Cluster, ch 1, 7 sc, 4 dc Cluster, ch 1, 4 sc (18)
Rnd 8: (1 sc, 1 dec) x 6 (12)
Rnd 9 (Eye Sockets): 3 sc, 5 dc Popcorn, 6 sc, 5 dc Popcorn, 1 sc (12)
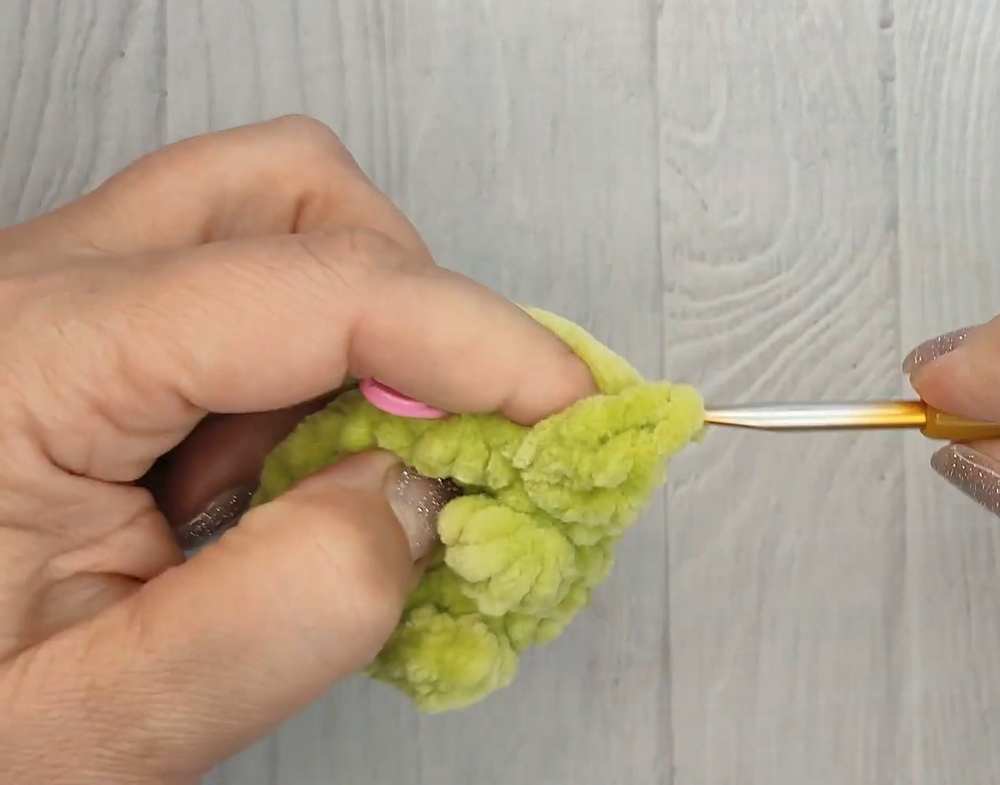
Rnd 10: (1 sc, 1 dec) x 4 (8)
Rnd 11: 1 sc, change thread to White, 8 sc (8)
Rnd 12: 8 sc (8)
Rnd 13: 8 inc (16)
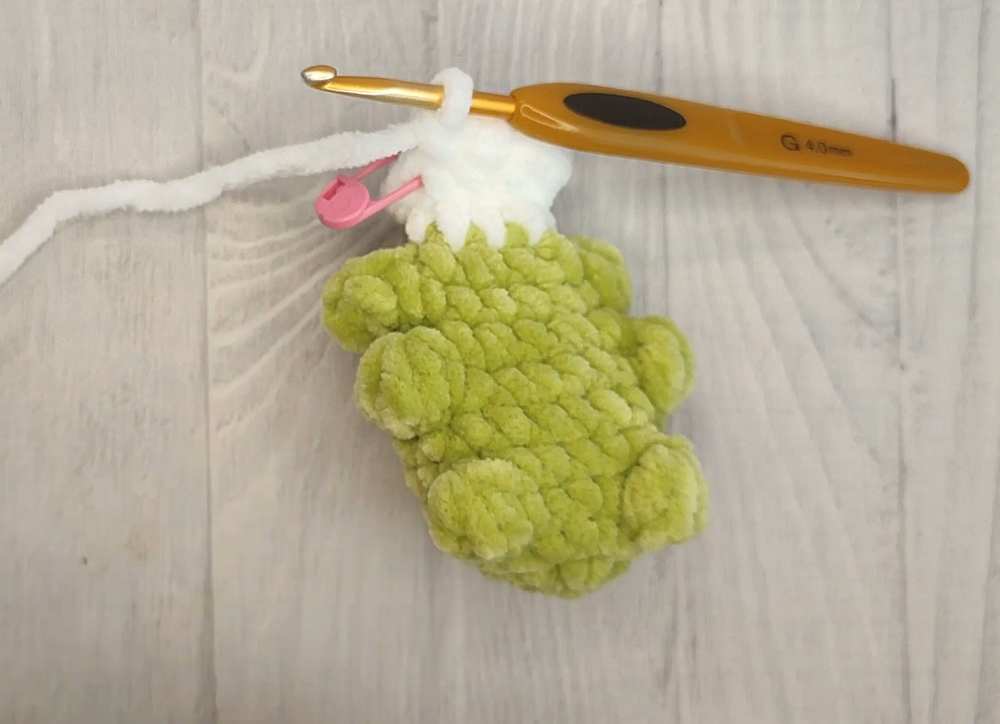
Fill the frog body firmly with stuffing.
Rnd 14: In BLO, 8 dec (8).
Change thread to Red.
Rnd 15: 8 sc (8)
Fill the mushroom cap with stuffing.
Rnd 16: 4 dec (4)
Cut the thread, secure, and pull the end through the remaining stitches to close.
Finishing the Mushroom Cap
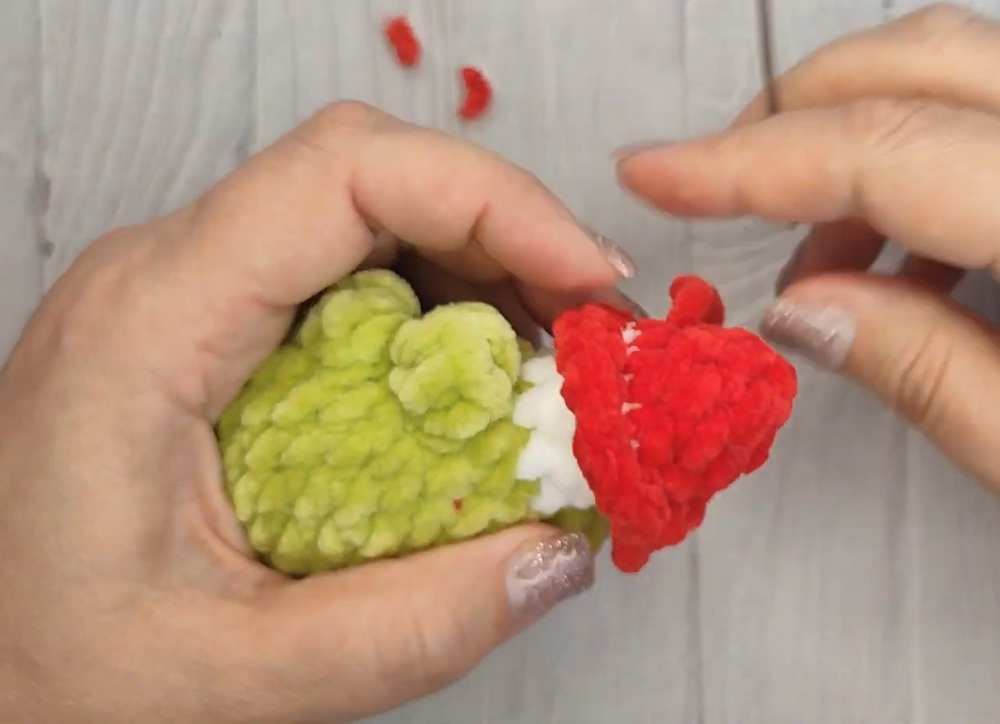
- Cap Rim: Return to the unused front loops of Row 14. Attach Red thread and work 16 sc around the FLO. Hide all loose threads.
- Spots: Using white plush yarn, embroider small spots randomly across the red mushroom cap.
Finishing the Frog Face
- Eyes: Glue the 8 mm safety eyes onto the popcorn stitches created in Round 9.
- Mouth: Using a needle and black yarn, embroider a wide “V” shape between the eyes to create the mouth.
Your frog with a mushroom hat is now ready!
Share on Social Media!
See More:
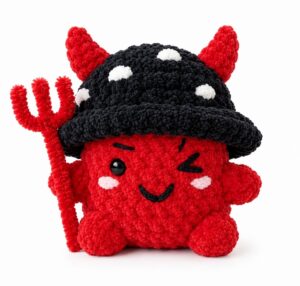
Tester Pattern: How to Crochet Amigurumi Spooky Red & Black Mushroom Plushie
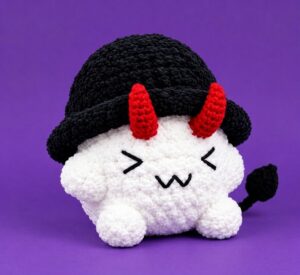
Tester Pattern: How to Crochet A No-Sew Mr. Red Horns Mushroom Plushie
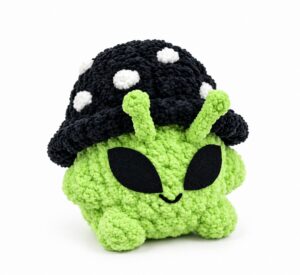
Tester Call: How to Crochet Green Alien Mushroom Plushie Buddy for Gifting
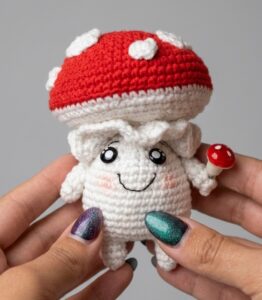
How to Crochet A Plastic Kawaii-Eyed Mushroom with Legs and Arms Plushie
Free Crochet Mushroom Plushies Pattern Series
How to Crochet Mushroom Chapstick Holder & Charm for Fall
How to Crochet A Mushroom & Maple Leaf Keychain for Fall
Let’s Crochet the Only Colorful 2-in-1 Mushroom for this Fall
How to Crochet Back-to-School Mushroom Buddy Shoulder Bag for Kids & Adults